Vim is a legendary text editor for Fedora Linux. It began in 1988 as a clone of Vi.
Bram Moolenaar created it for the Amiga computer system. The name originally meant Vi IMitation during early development.
It changed to Vi IMproved after many new features. Moolenaar released the first public version in late 1991.
Why Vim is Popular for Developers
Vim is popular because it is fast and lightweight. It runs on almost every server in the world.
Developers love it for its powerful modal editing style. This allows you to edit text without using mice.
You should learn Vim to boost your daily productivity. It works perfectly over slow remote SSH server connections.
Learning these five essential commands will start your journey. Practice them daily to build strong muscle memory quickly.
Five Essential Vim Commands
Insert Mode
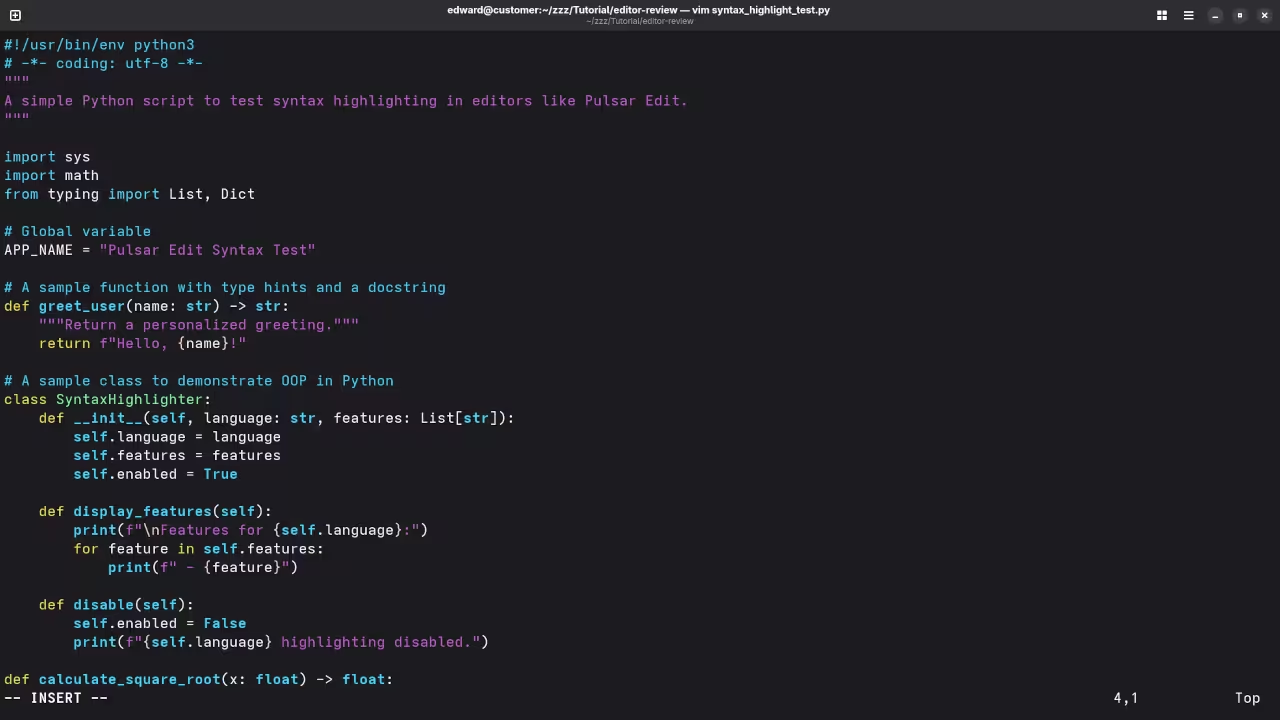
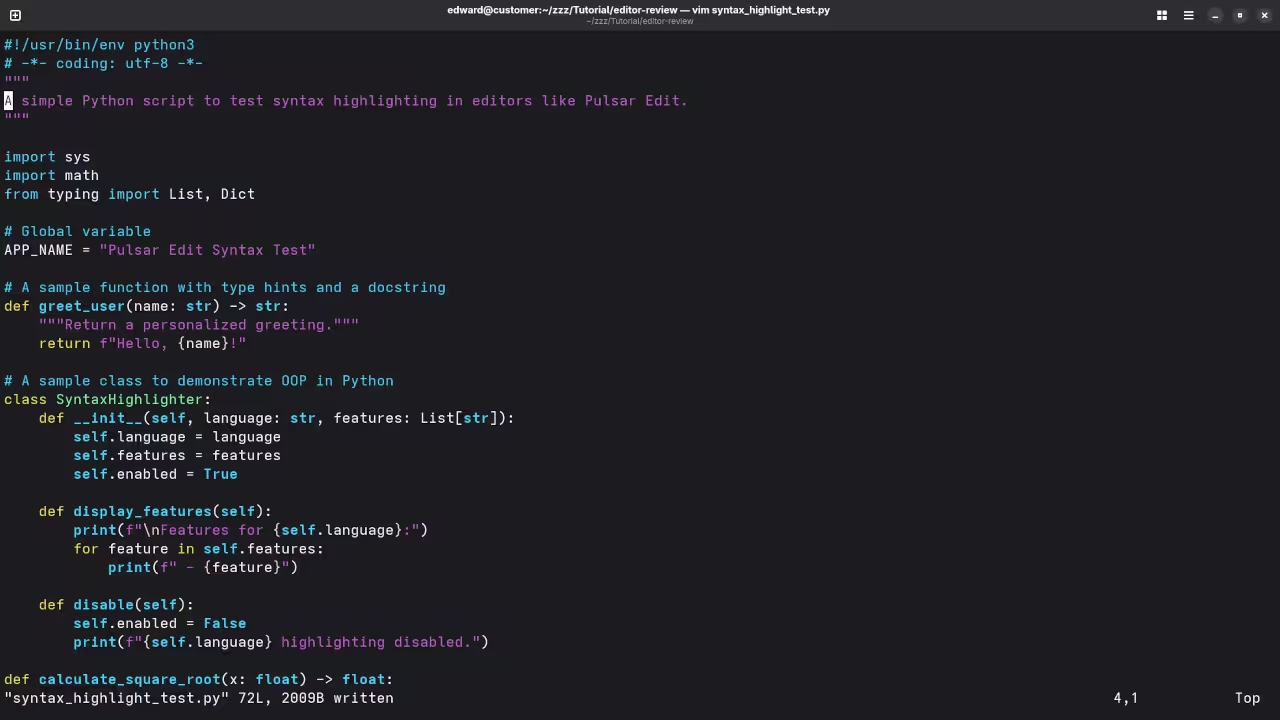
First press the i key for insert mode. This allows you to type text normally now.
Normal Mode
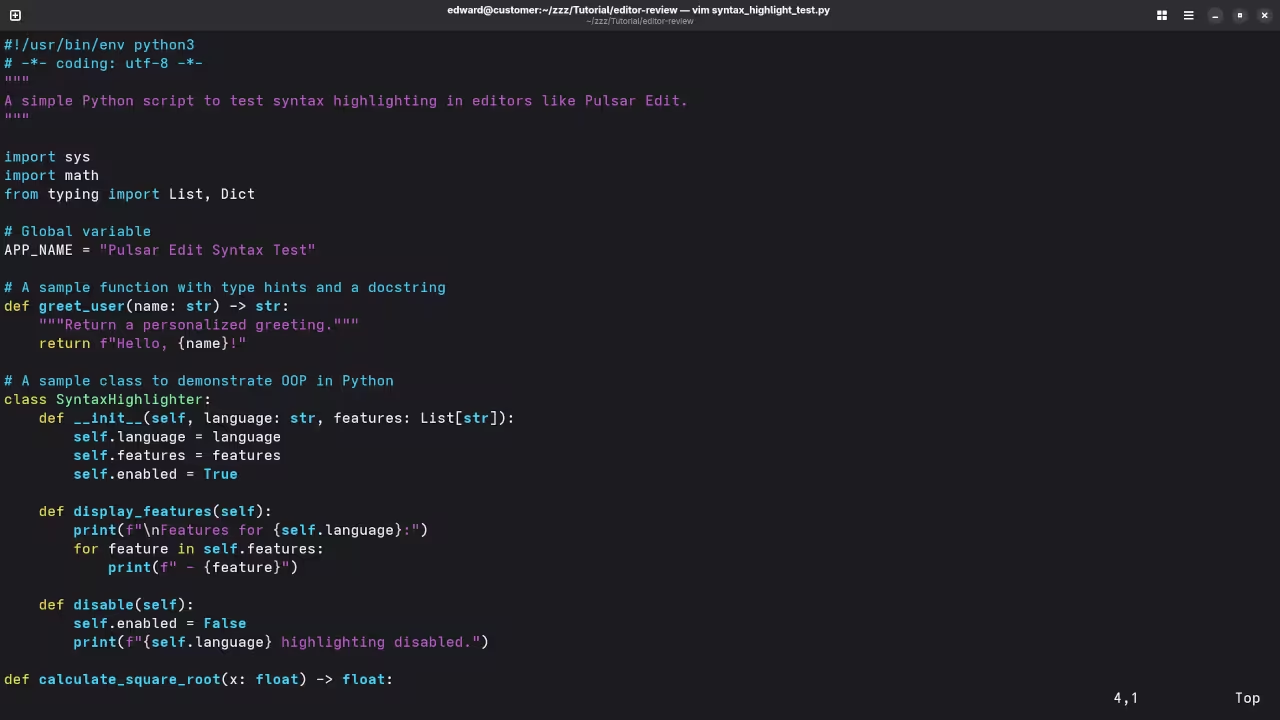
Second press the Esc key to exit mode. This returns you to the standard command mode.
Save Changes
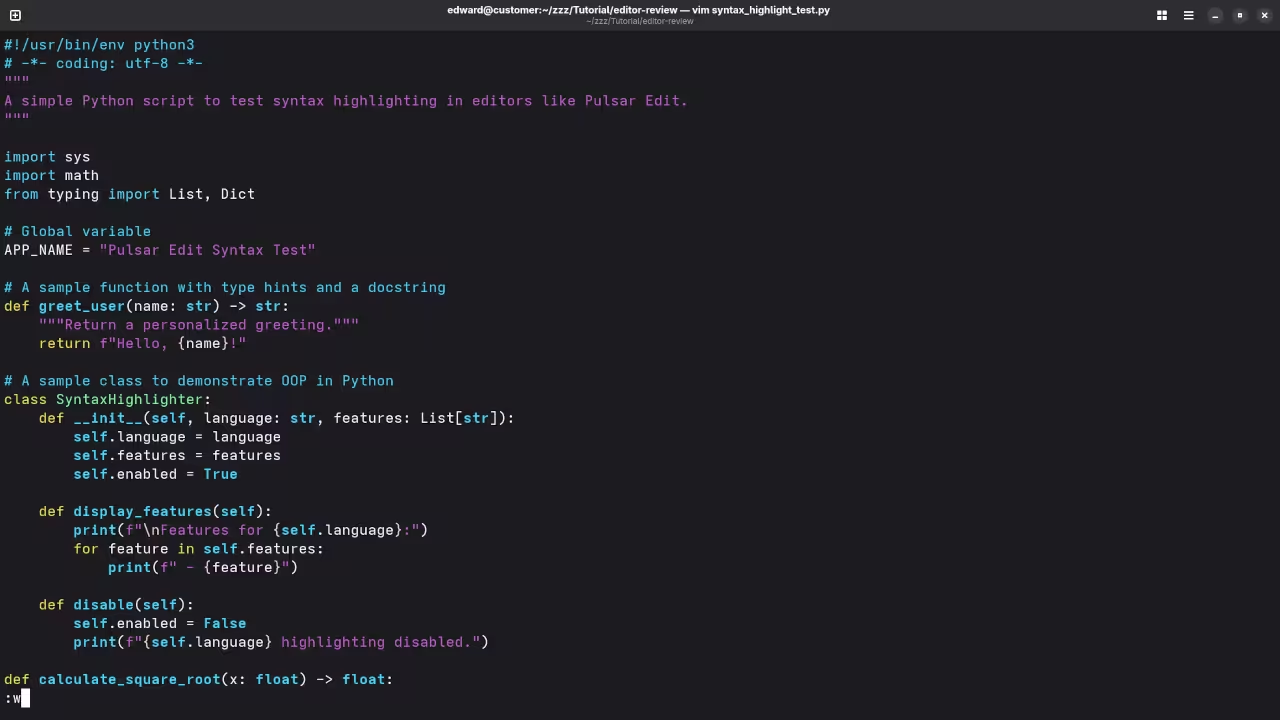
Third type :w to save your current file. Writing changes ensures your progress is kept safe.
Quit Editor
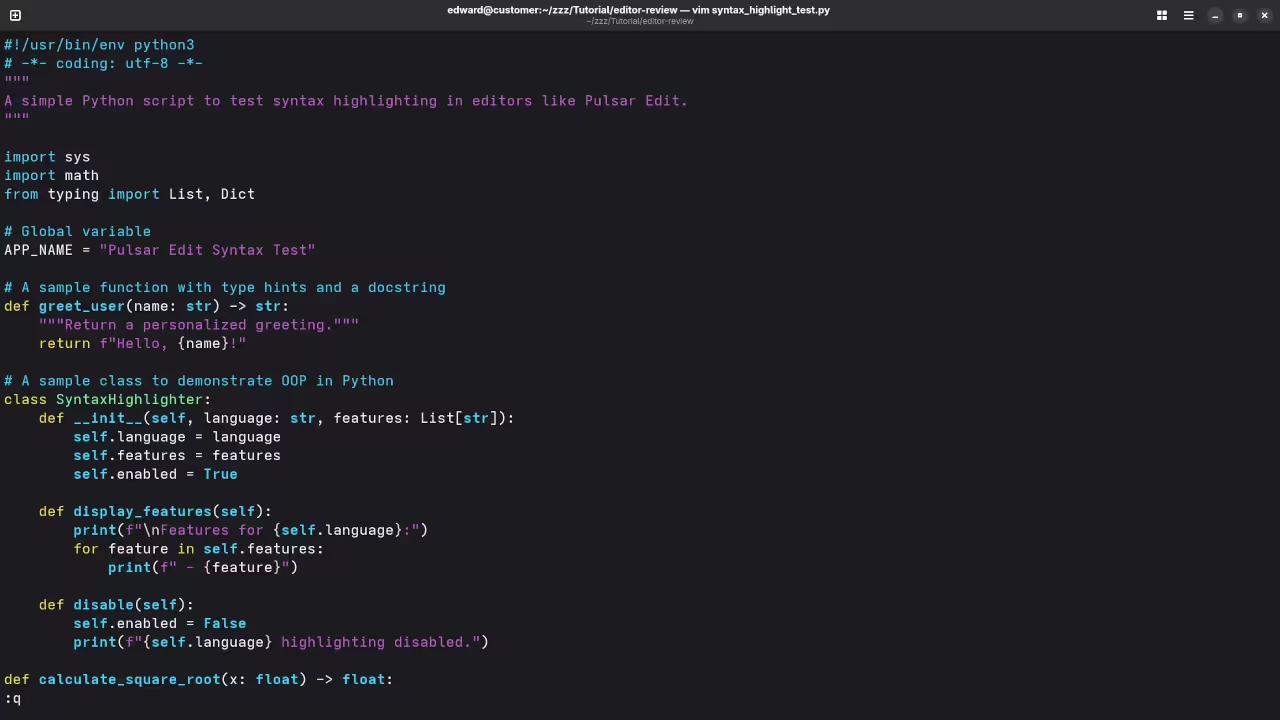
Fourth type :q to quit the Vim editor. You can combine these by typing :wq instead.
Undo Actions
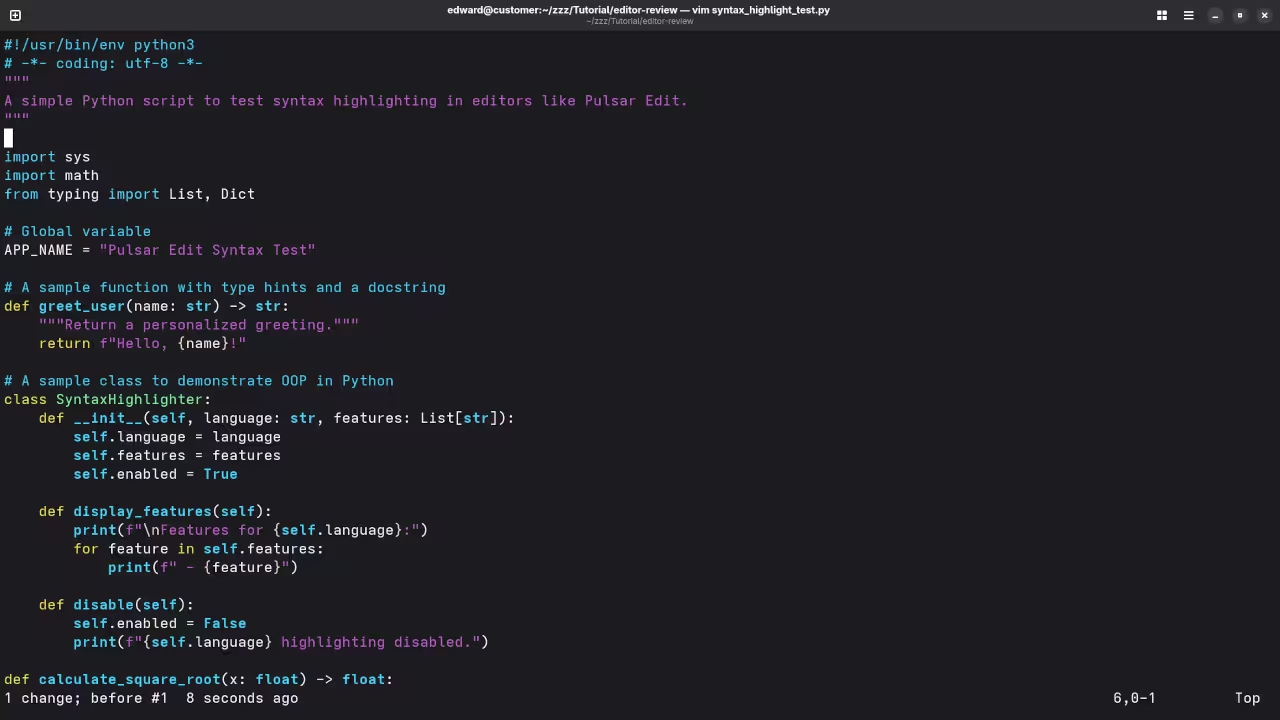
Fifth use the u key to undo mistakes. Fixing errors is very fast with this command.
Screenshot
Vim Displaying Insert ModeVim Displaying Standard ModeVim Displaying Save ModeVim Displaying Save Mode ResultsVim Displaying Quit ModeVim Displaying Undo Results
Live Screencast
Screencast Of Improved And Optimized Rubik’s Cube Code
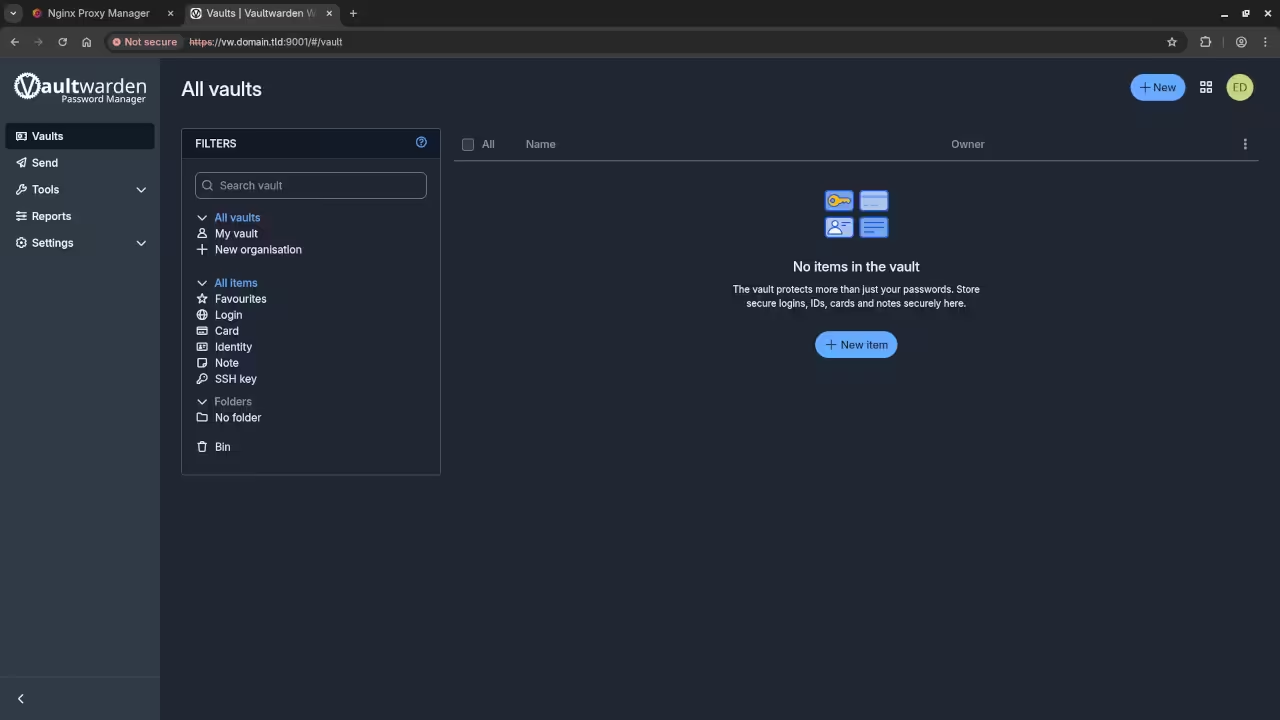
Managing your passwords securely is essential for digital privacy. You can self-host Vaultwarden, an open-source Bitwarden-compatible server, using Podman Desktop. This approach provides a graphical interface for users who prefer to avoid the command line.
Understanding the NGINX Reverse Proxy
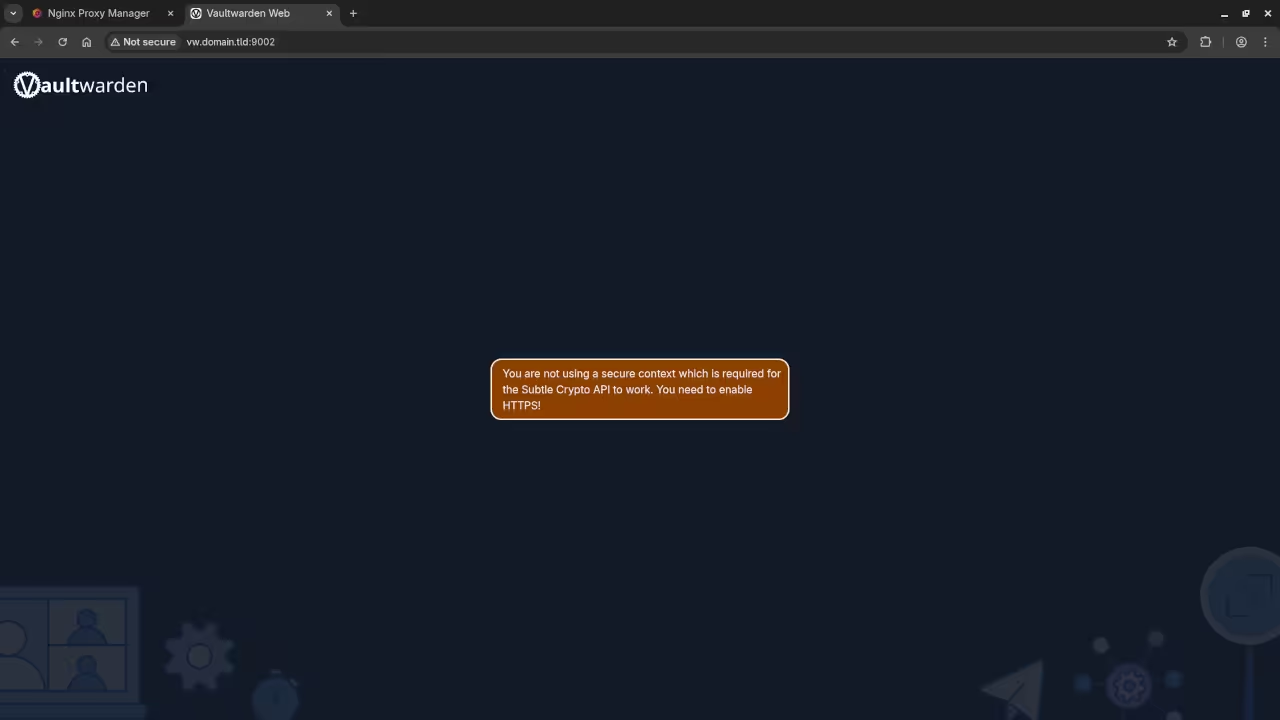
A Reverse Proxy like NGINX acts as a secure gateway between the internet and your home server. Instead of exposing Vaultwarden directly, the proxy receives all incoming requests first. It then handles SSL encryption (HTTPS) and forwards the traffic to your container. This setup is crucial because Vaultwarden requires a secure HTTPS connection for many features to work properly in modern browsers.
Getting Started with Podman Desktop
Podman Desktop is a user-friendly interface for managing containers. It works natively on Linux, Windows, and macOS without requiring a background daemon.
Windows/macOS: Download the installer from the official Podman Desktop website. Run the .exe or .dmg file and follow the setup wizard to initialize the Podman machine.
Linux (Fedora): Use the command sudo dnf install podman-desktop.
Once installed, open the application. It will automatically detect your Podman engine and guide you through the initial configuration.
Setting Up Vaultwarden via the UI
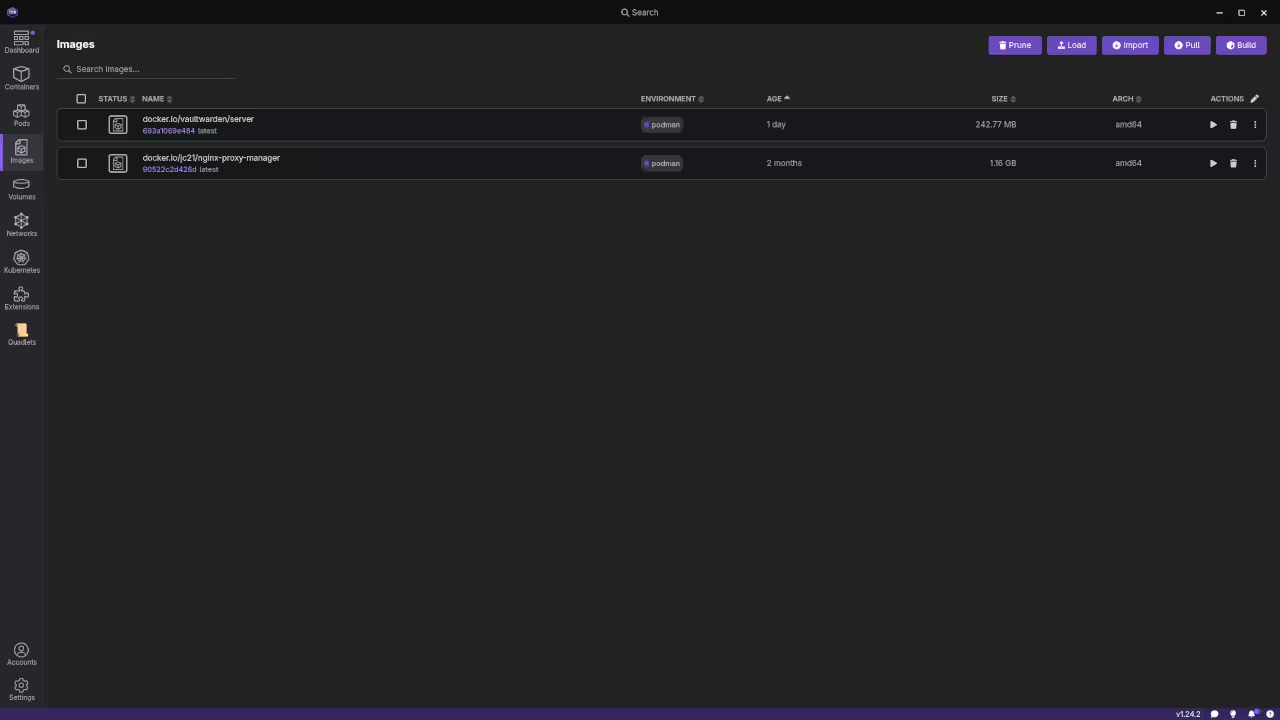
Open Podman Desktop and click on Images then Pull Image. Search for vaultwarden/server:latest and click pull.
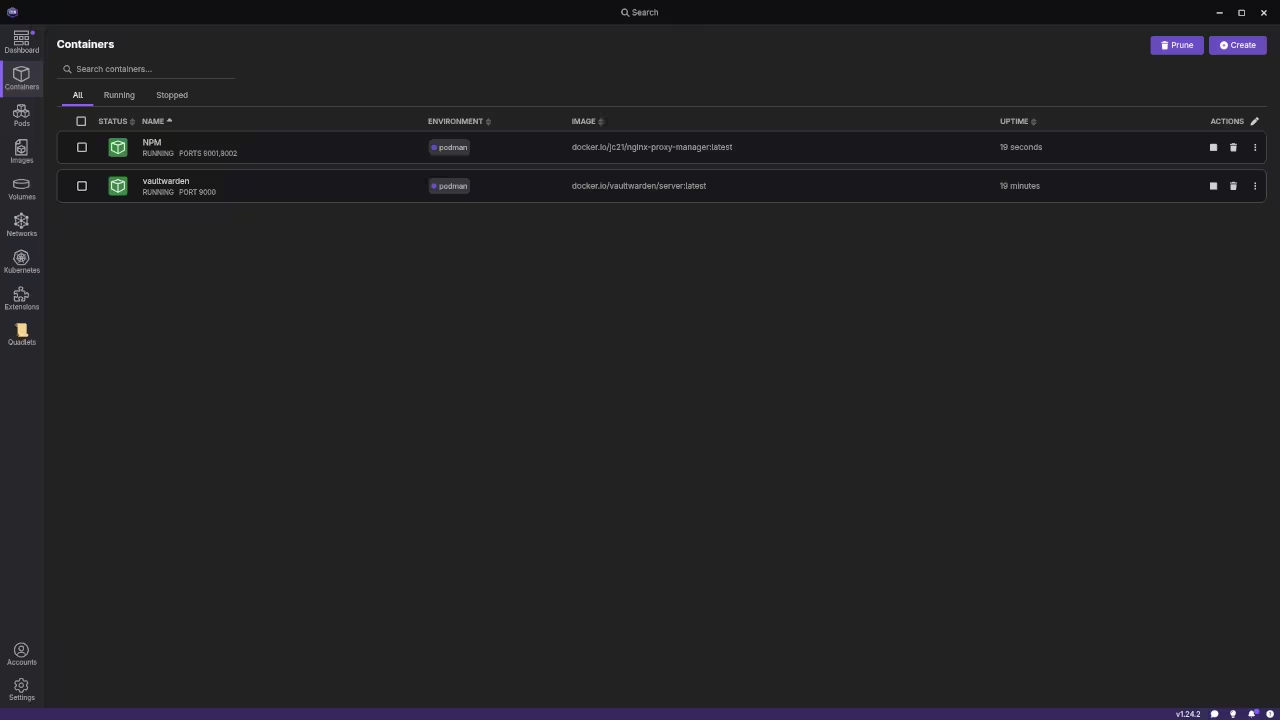
Navigate to the Containers section and click Create Container.
Under Basic Settings, name your container “vaultwarden”.
In Port Mapping, map host port 8080 to container port 80.
In Volumes, create a persistent mount for /data. This ensures your encrypted database remains safe even if the container is updated.
Configuring the Reverse Proxy
To secure the installation, you should run a second container for NGINX Proxy Manager (NPM).
Pull the jc21/nginx-proxy-manager image and run it on ports 80 and 443.
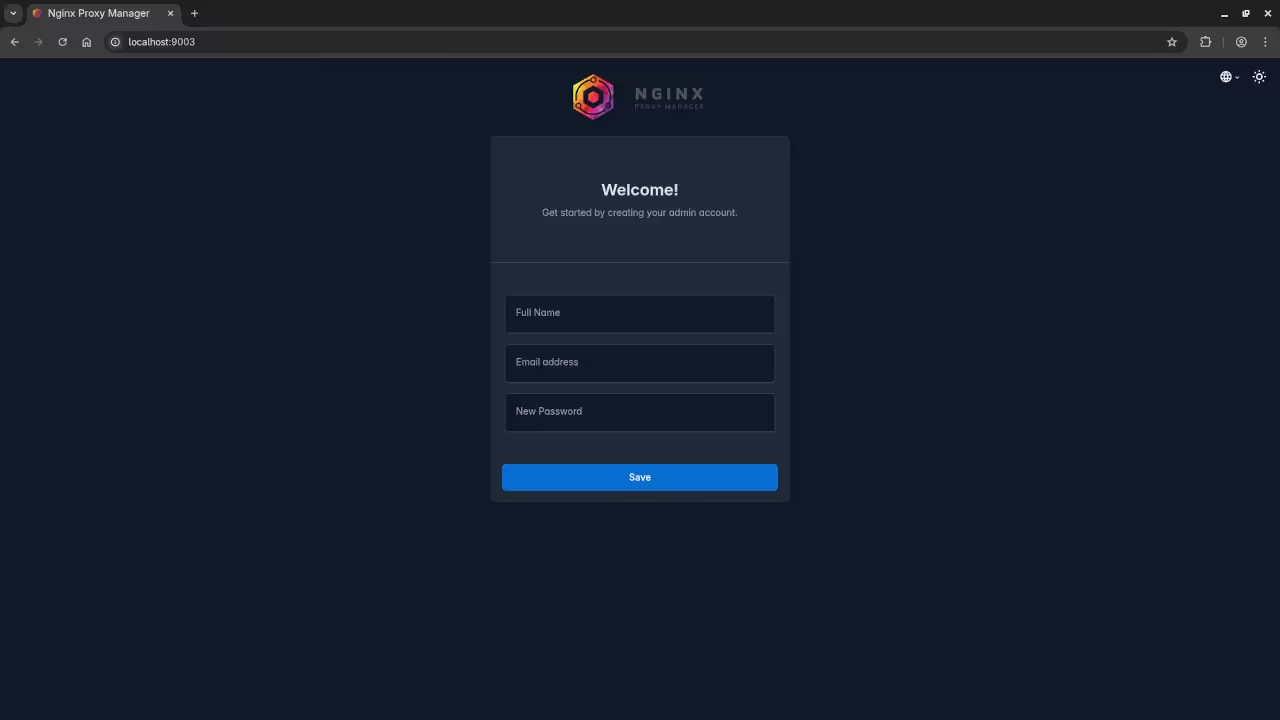
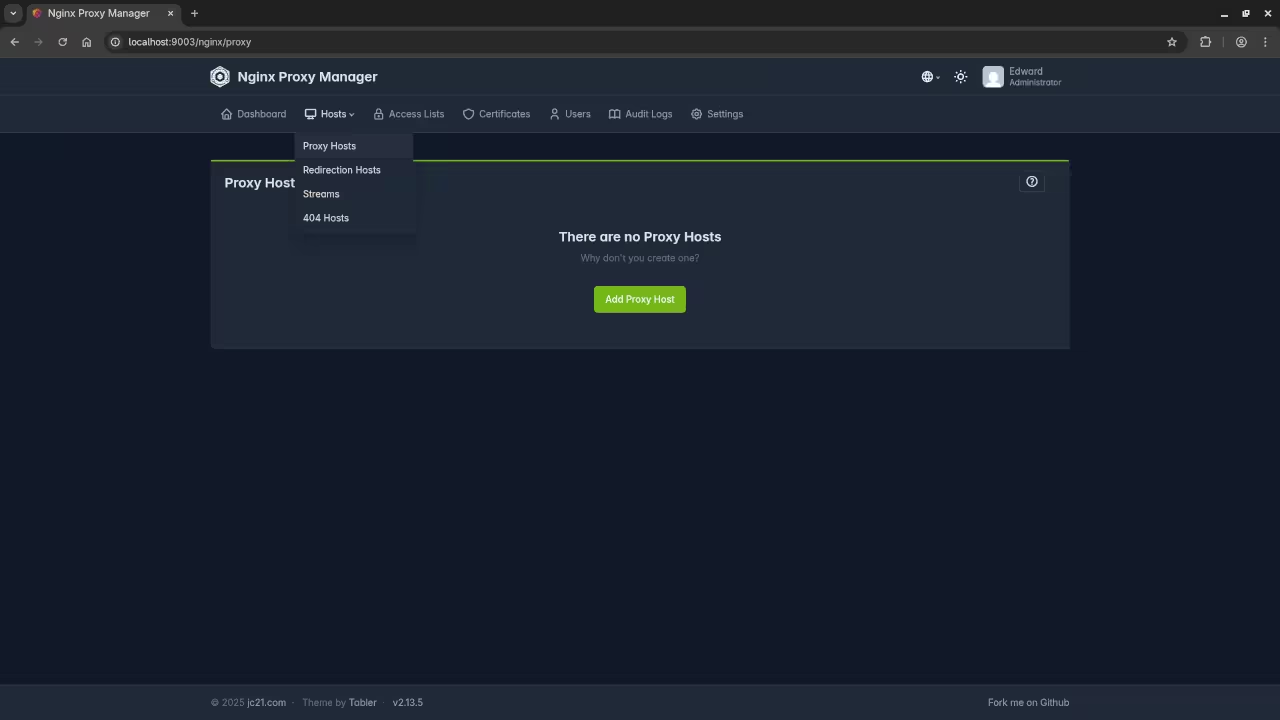
Log into the NPM web interface (usually port 81).
Click Add Proxy Host.
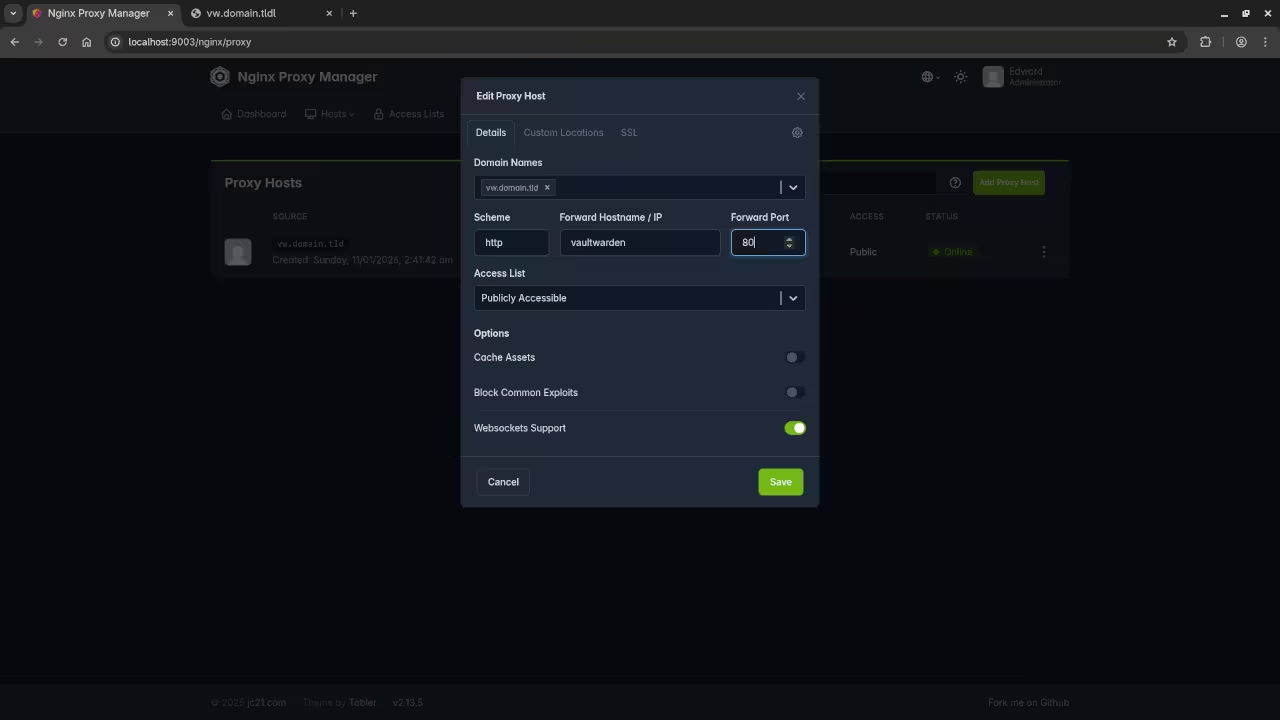
Enter your domain name (e.g., vault.yourdomain.com).
Set the Forward IP to your computer’s local IP address and the Forward Port to 8080.
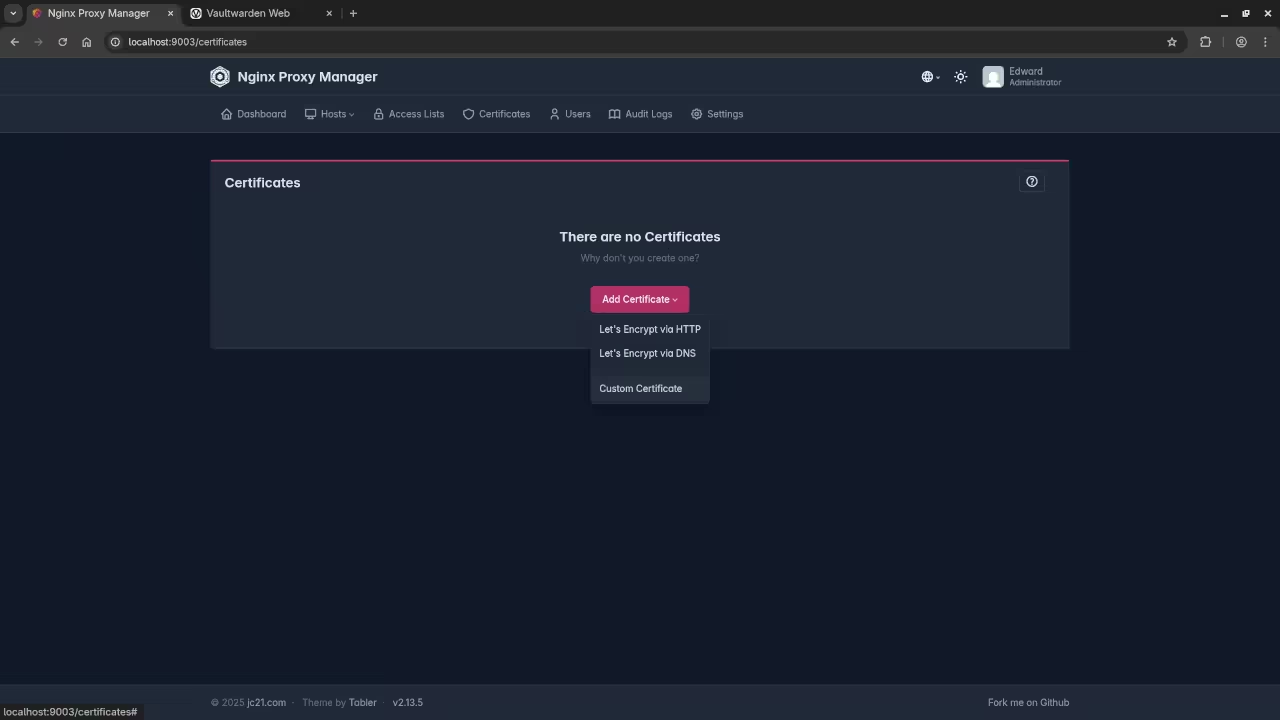
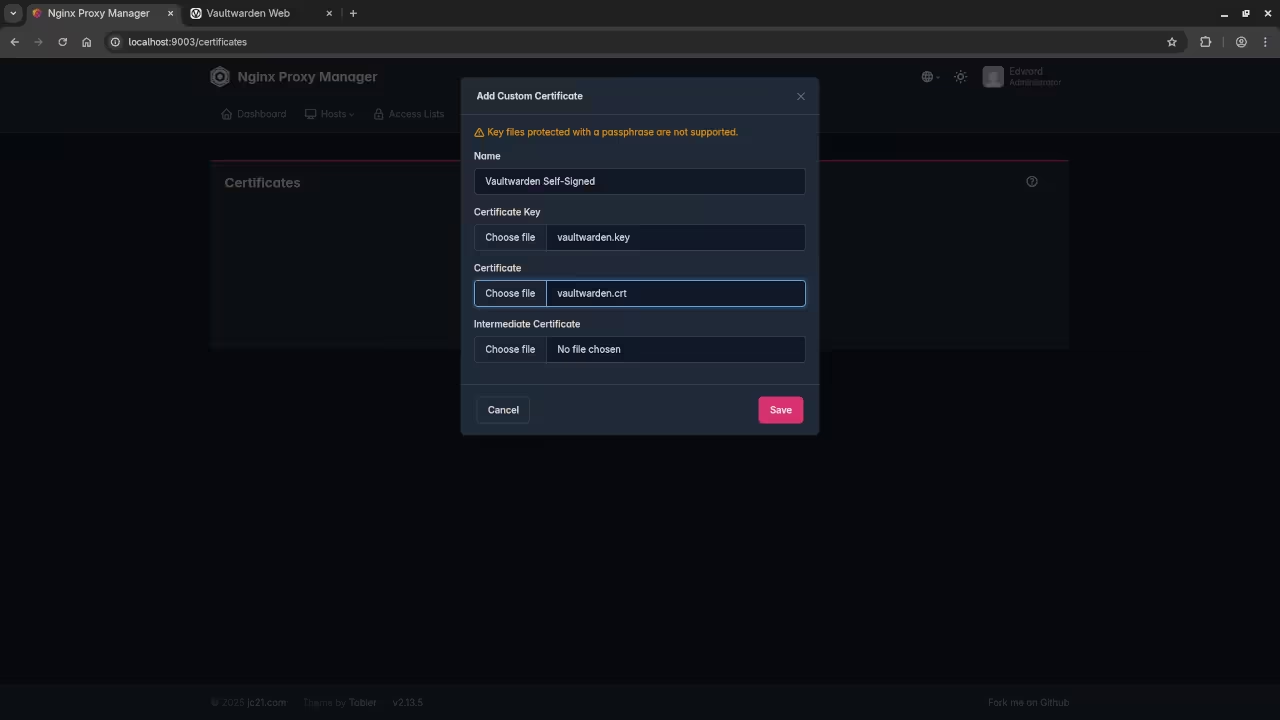
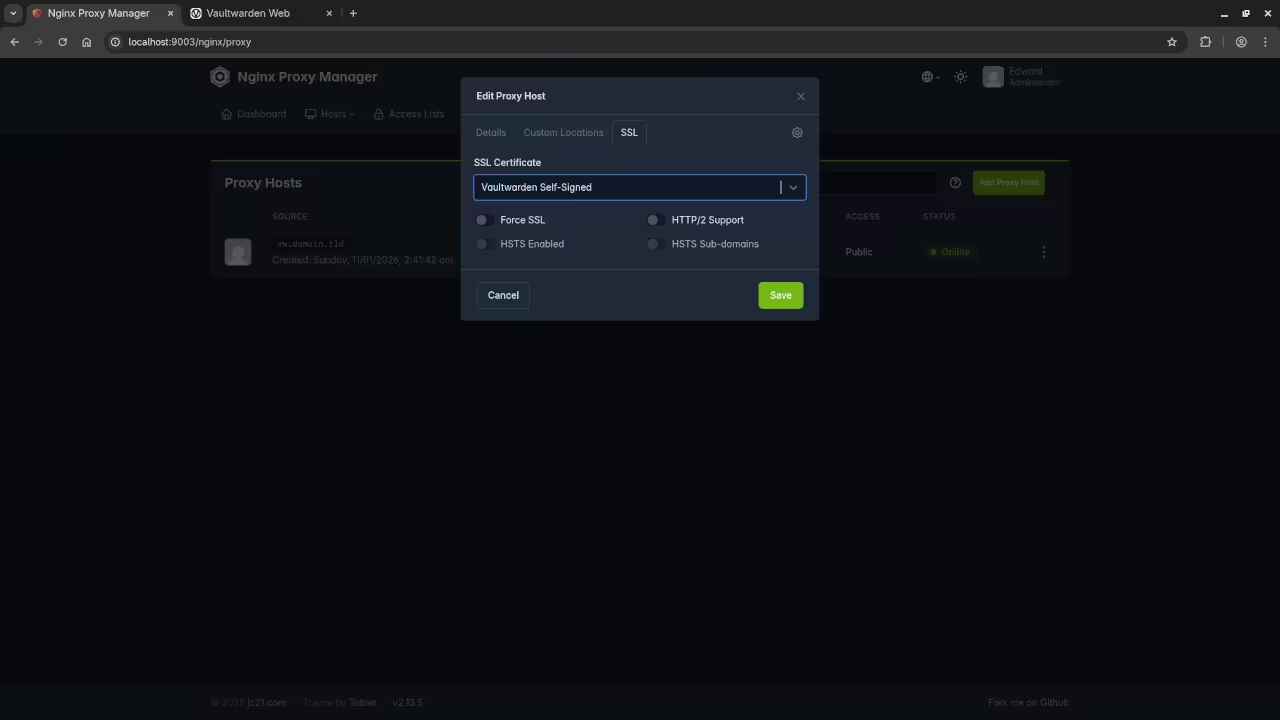
Under the SSL tab, select Request a new SSL Certificate to enable HTTPS.
The Wan 2.1 1.3B model uses the Apache 2.0 license. Both licenses allow for personal and commercial video projects.
High Performance GPU Tweaks
The --diffusion-conv-direct flag increases your GPU efficiency. It bypasses slow layers to process video frames faster.
Using --cache-preset ultra keeps weights ready in VRAM. This prevents reloading data during the sampling process today.
The --vae-tiling option is vital for 832×480 resolution. It breaks frames into small blocks to save memory.
Your 24GB of system RAM supports the UMT5-XXL encoder. Quantizing to Q4_K_M makes this large model fit easily.
Optimized Command Line Usage
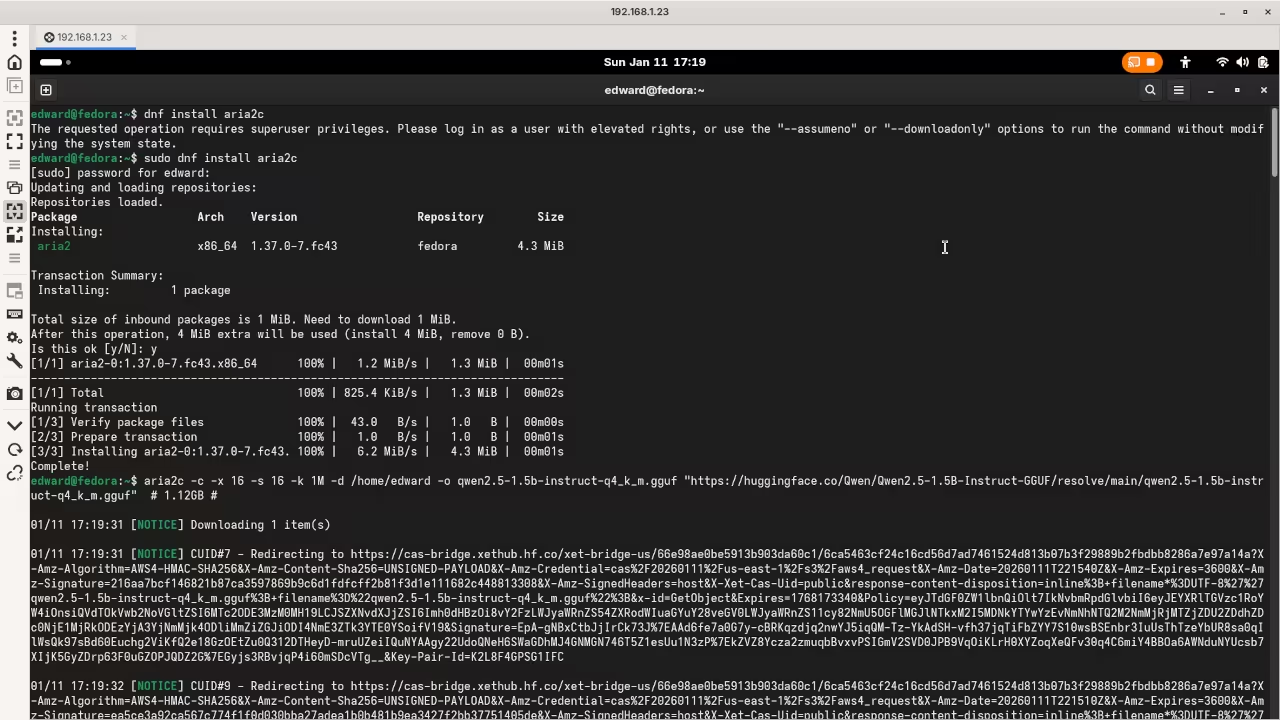
Use aria2c to download the large model files quickly. The multi-connection tool handles the GGUF files with ease.
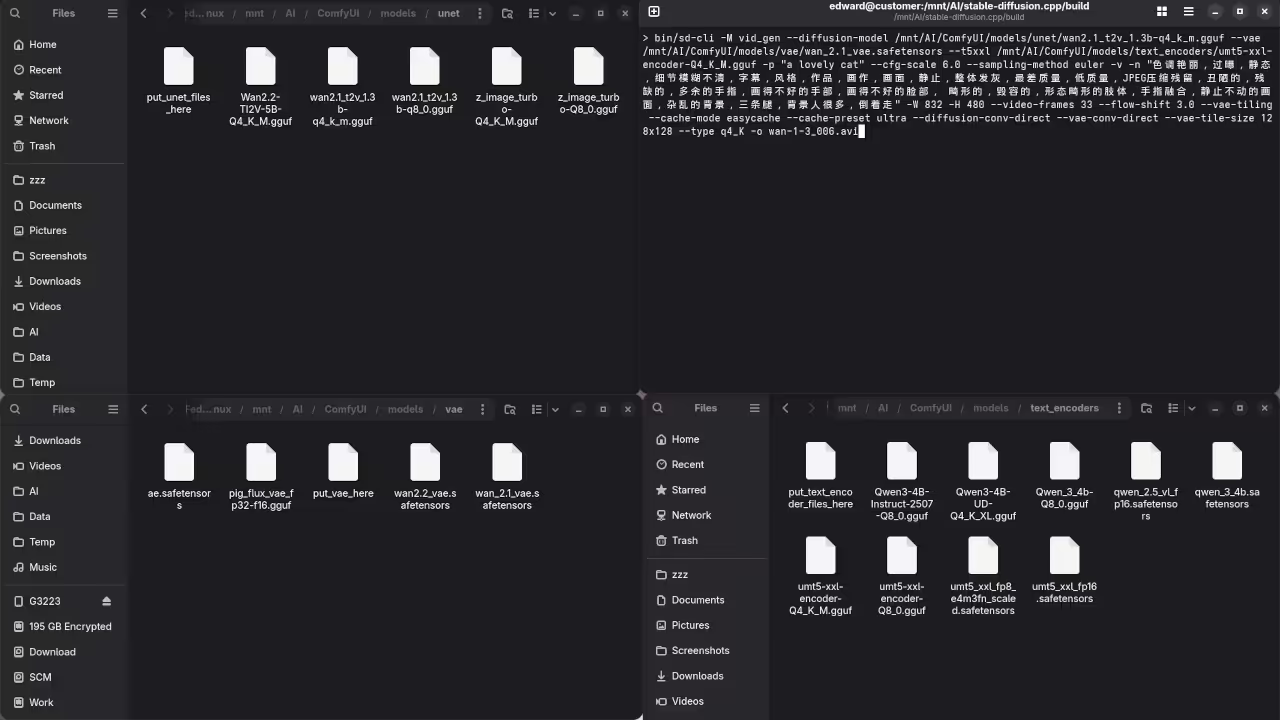
Run the sd-cli with the --type q4_K parameter. This quantization maintains quality while boosting the generation speed.
The --cache-mode easycache setting reduces redundant math calculations. It reuses previous results to finish the video sooner.
Set --flow-shift 3.0 to improve the motion consistency. This ensures your lovely cat video looks smooth and natural.
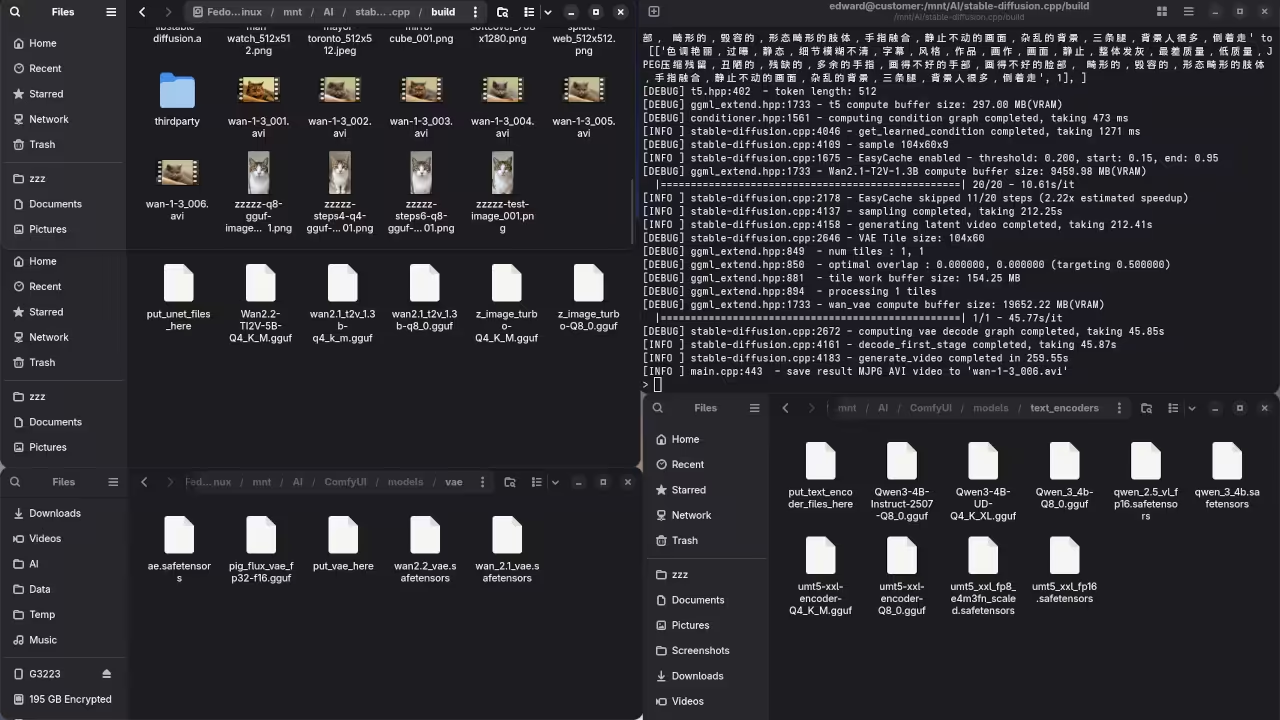
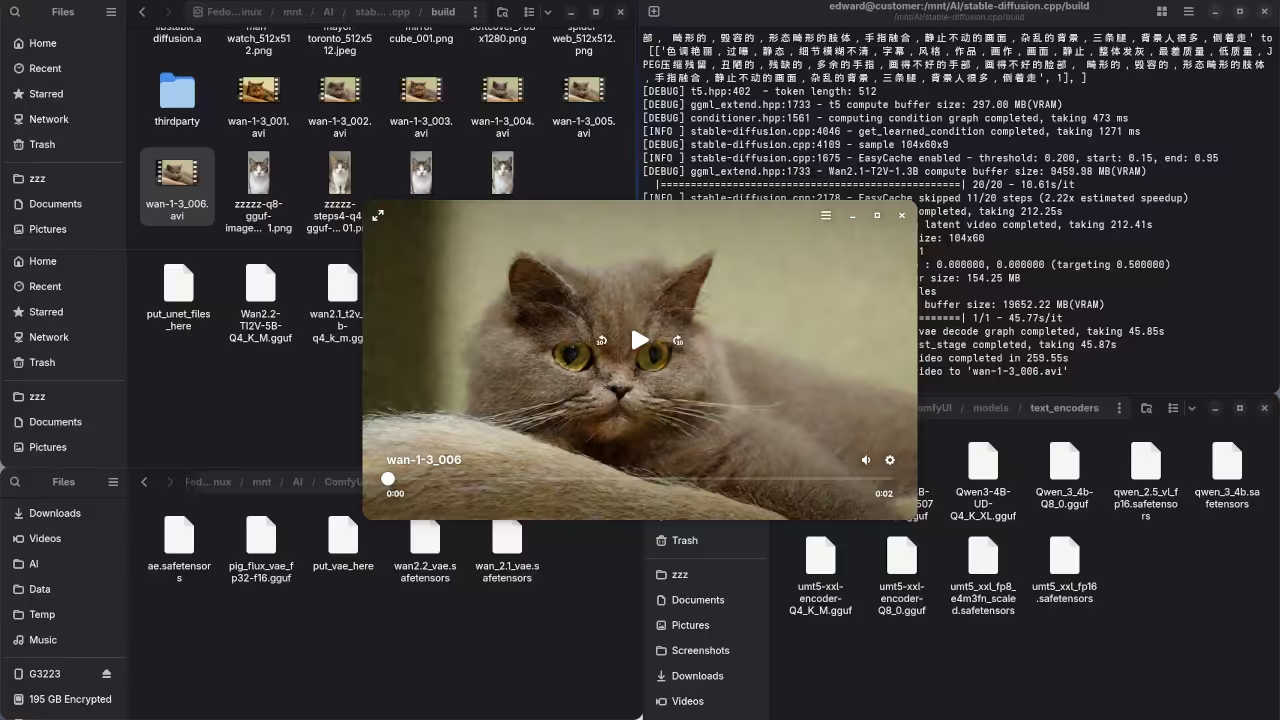
Screenshot
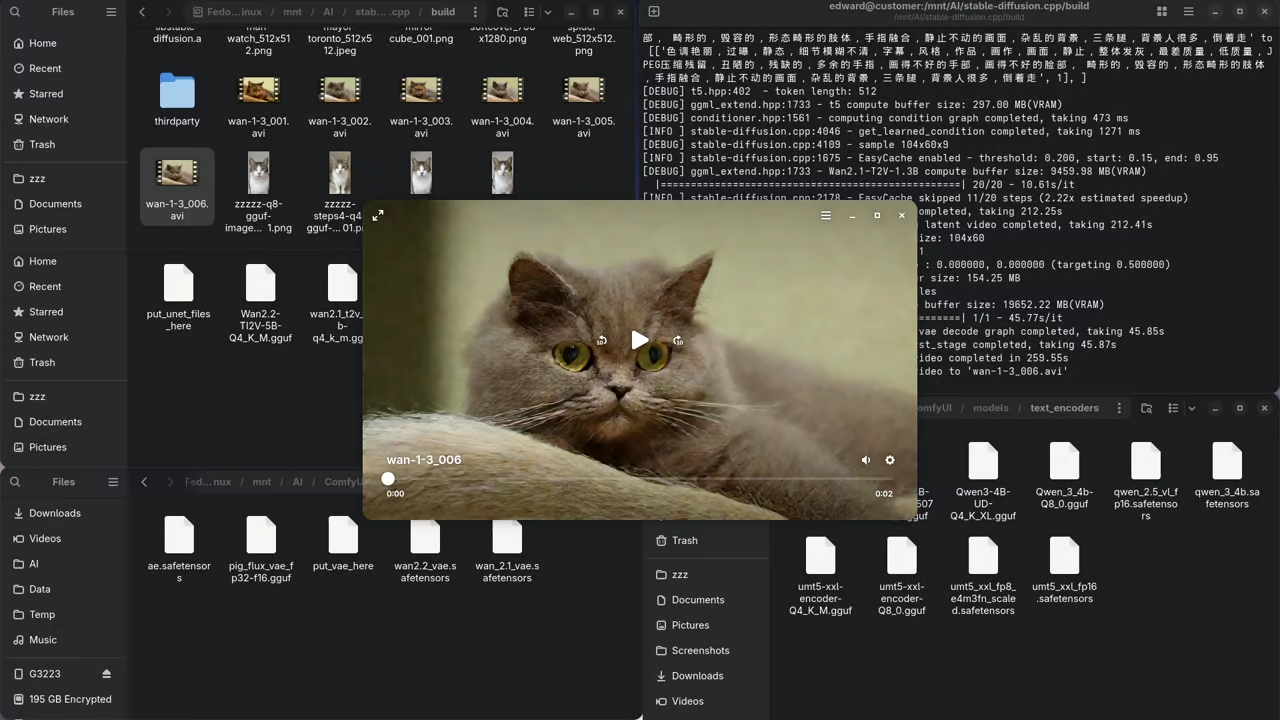
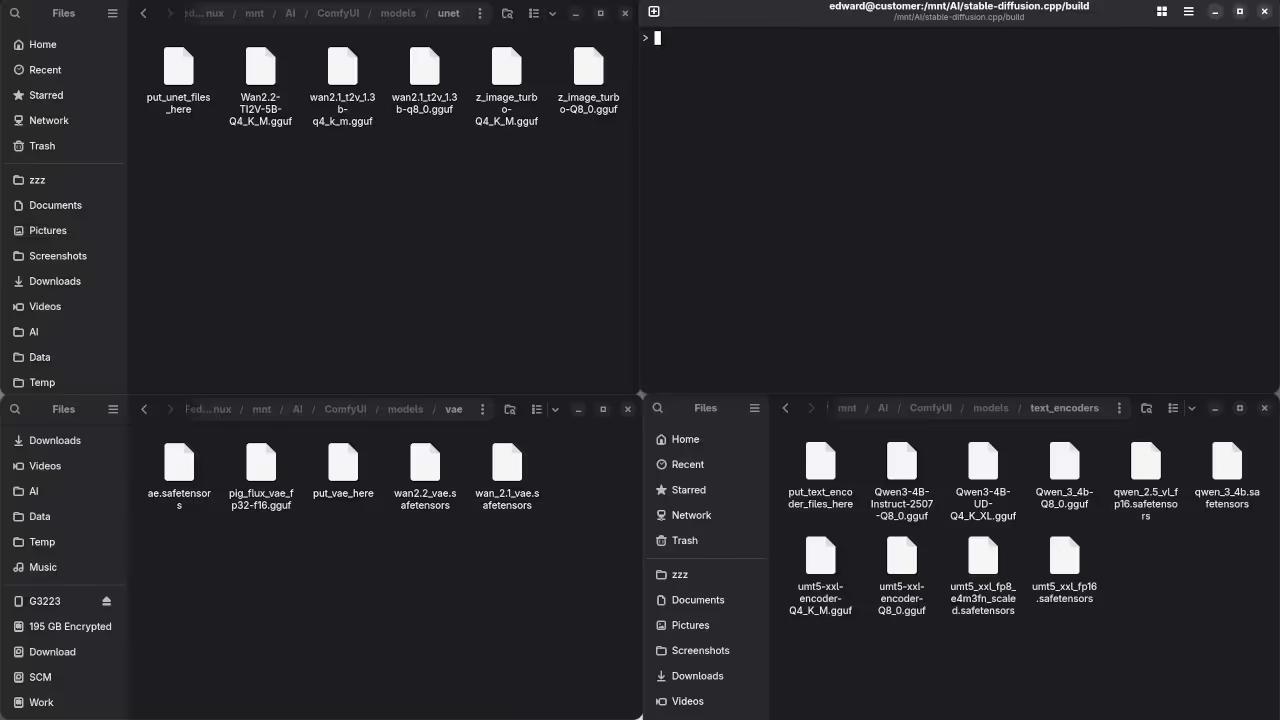
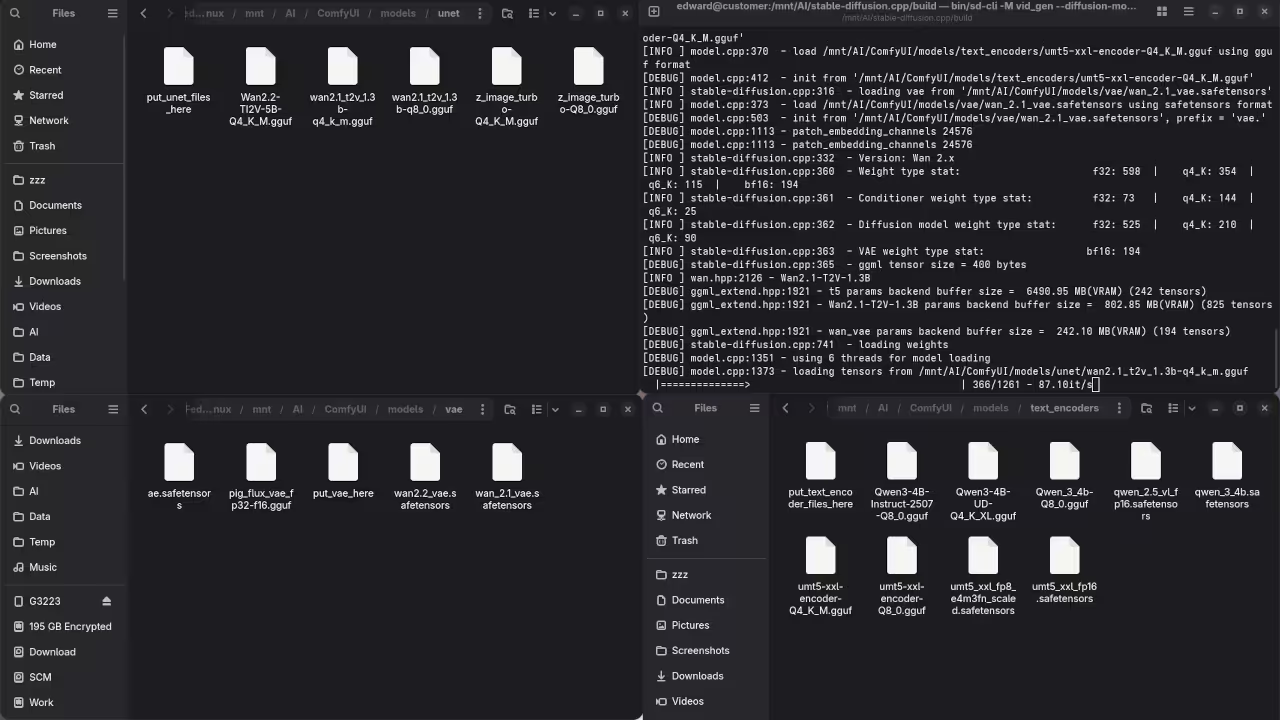
File Manager Displaying Wan 2.1 1.3B Model WeightsCommand Line Displaying stable-diffusion.cpp Options For Wan 2.1 1.3B T2VCommand Line stable-diffusion.cpp Running Wan 2.1 1.3B T2V Loading TensorsCommand Line stable-diffusion.cpp Running Wan 2.1 1.3B CompletedVideo Player Playing Wan 2.1 1.3B AI Generated Video
Live Screencast
Screencast Of AI Generated Video Using Wan 2.1 1.3B T2V And stable-diffusion.cppAddendum Wan 2.1 1.3B T2V And stable-diffusion.cpp
Paste the following script into your index html file. It handles the mirror logic and the 3D scene.
<script type="importmap">
{ "imports": { "three": "https://unpkg.com/three@0.160.0/build/three.module.js" } }
</script>
<script type="module">
import * as THREE from 'three';
const scene = new THREE.Scene();
const camera = new THREE.PerspectiveCamera(75, window.innerWidth / window.innerHeight, 0.1, 100);
const renderer = new THREE.WebGLRenderer({ antialias: true });
renderer.setSize(window.innerWidth, window.innerHeight);
document.body.appendChild(renderer.domElement);
const cubeRT = new THREE.WebGLCubeRenderTarget(512);
const cubeCamera = new THREE.CubeCamera(0.1, 100, cubeRT);
const mirrorCube = new THREE.Mesh(new THREE.BoxGeometry(2, 2, 2), new THREE.MeshStandardMaterial({ envMap: cubeRT.texture, metalness: 1, roughness: 0 }));
scene.add(mirrorCube);
const light = new THREE.PointLight(0xffffff, 50);
light.position.set(5, 5, 5);
scene.add(light, new THREE.AmbientLight(0xffffff, 0.5));
camera.position.z = 5;
function animate() {
mirrorCube.visible = false;
cubeCamera.update(renderer, scene);
mirrorCube.visible = true;
mirrorCube.rotation.x += 0.01;
renderer.render(scene, camera);
requestAnimationFrame(animate);
}
animate();
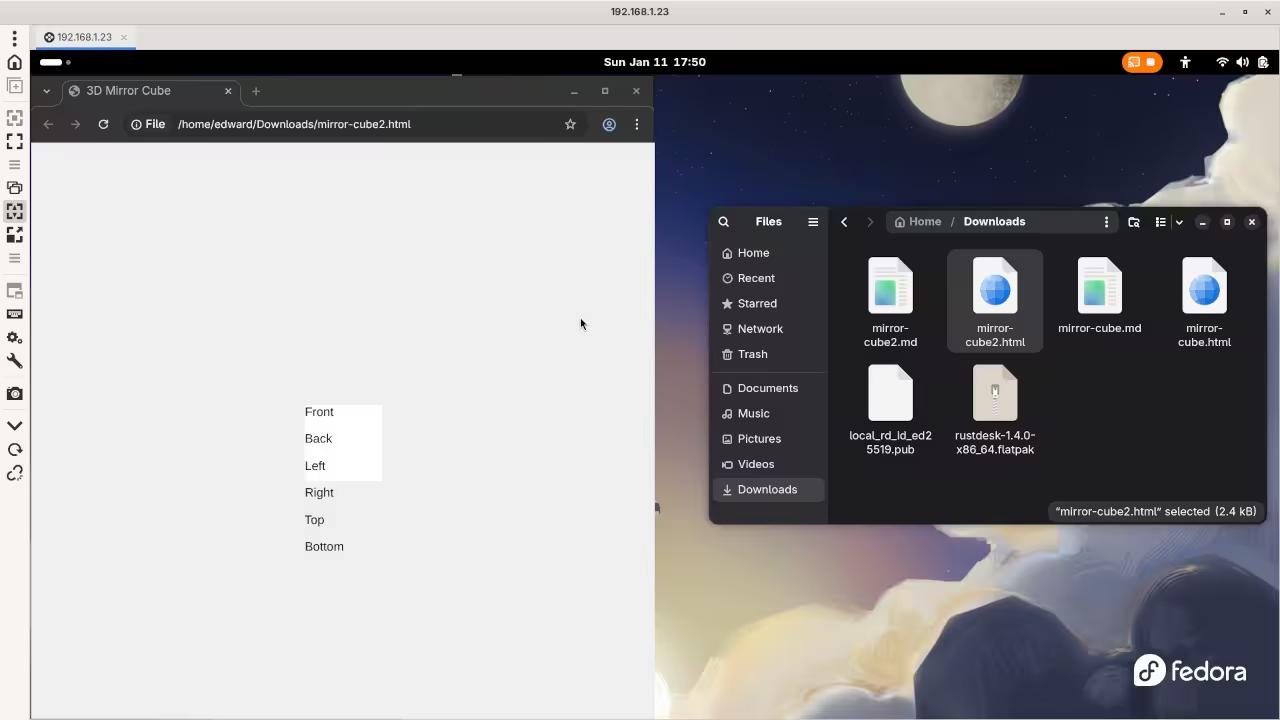
Why the CSS Cube Version Failed
The original code had three major technical errors that prevented the 3D effect from appearing correctly.
1. CSS Selector Mismatch
The stylesheet used a tag selector face { … } instead of a class selector .face { … }. This caused the browser to ignore all the styling for the cube sides because the face tag does not exist in standard HTML5.
2. Lack of Perspective
3D rotations require a perspective property on the parent container to create the illusion of depth. Without it, the cube faces rotate on a flat 2D plane and look like they are simply shrinking or stretching.
3. Missing Translation in 3D Space
Every face of the cube was sitting at the exact same center point. To form a box, each side must be pushed outward from the center using translateZ. Without this translation, the cube remains a flat stack of squares.
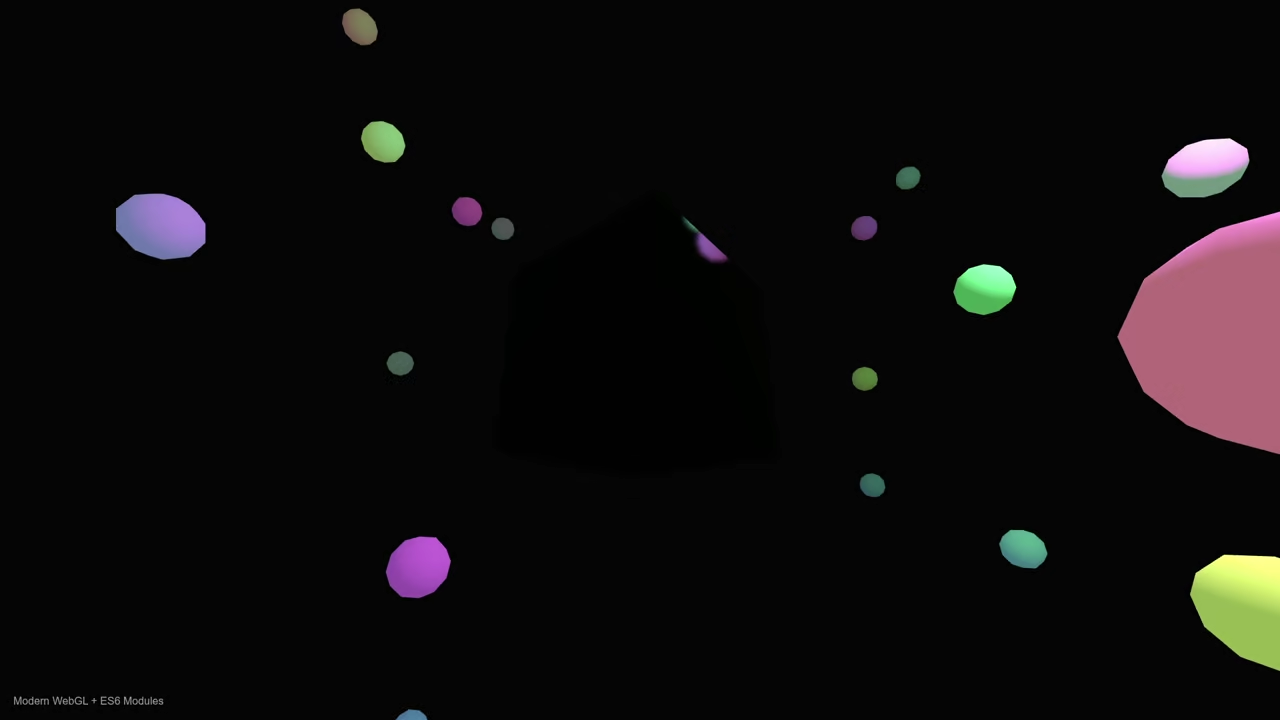
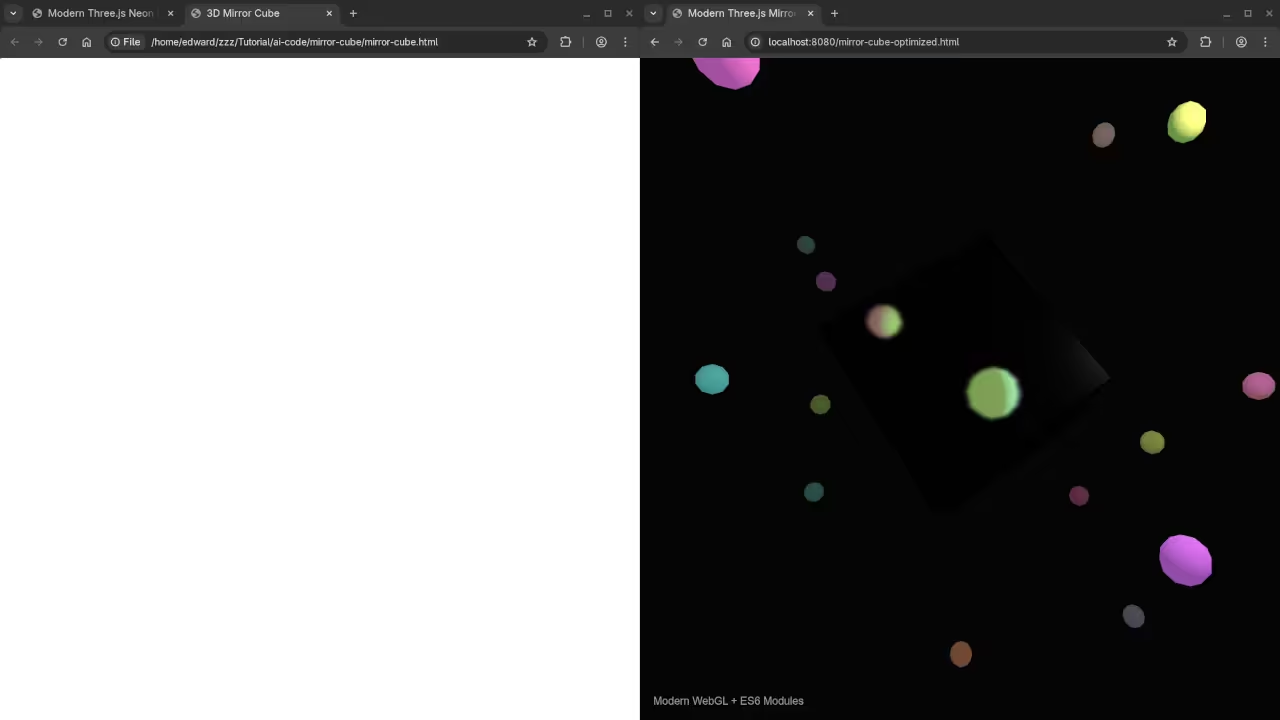
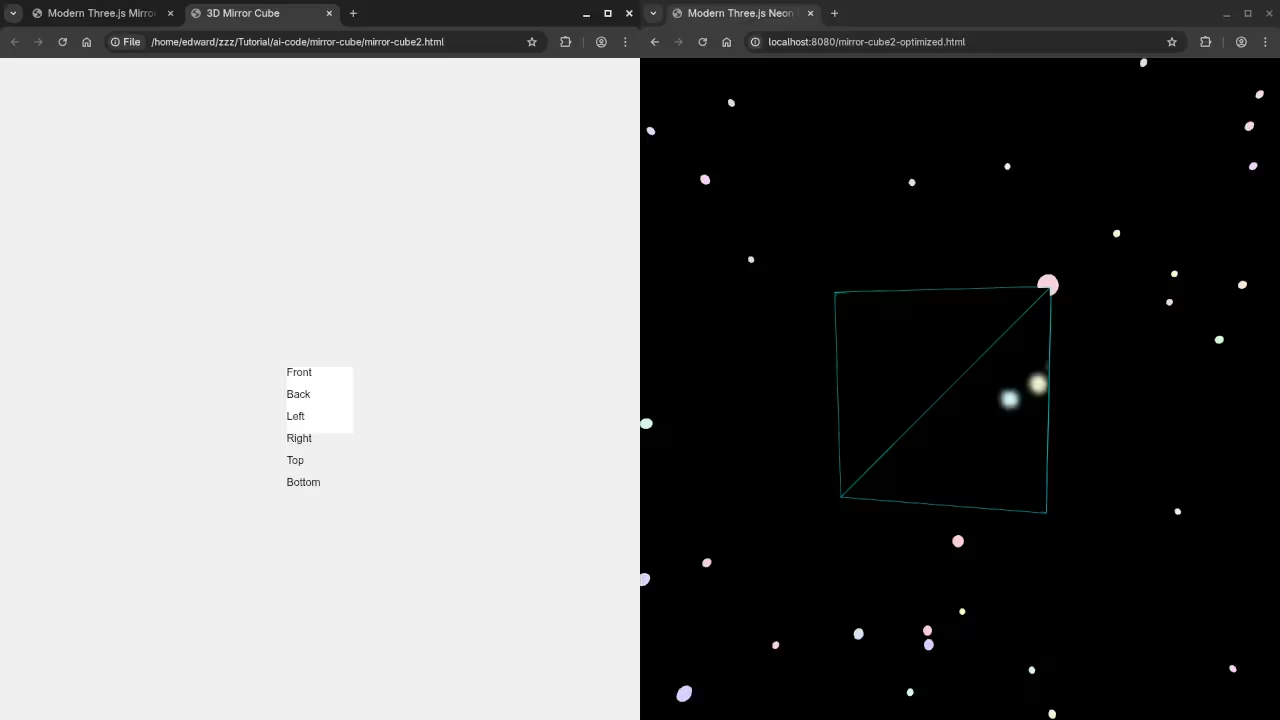
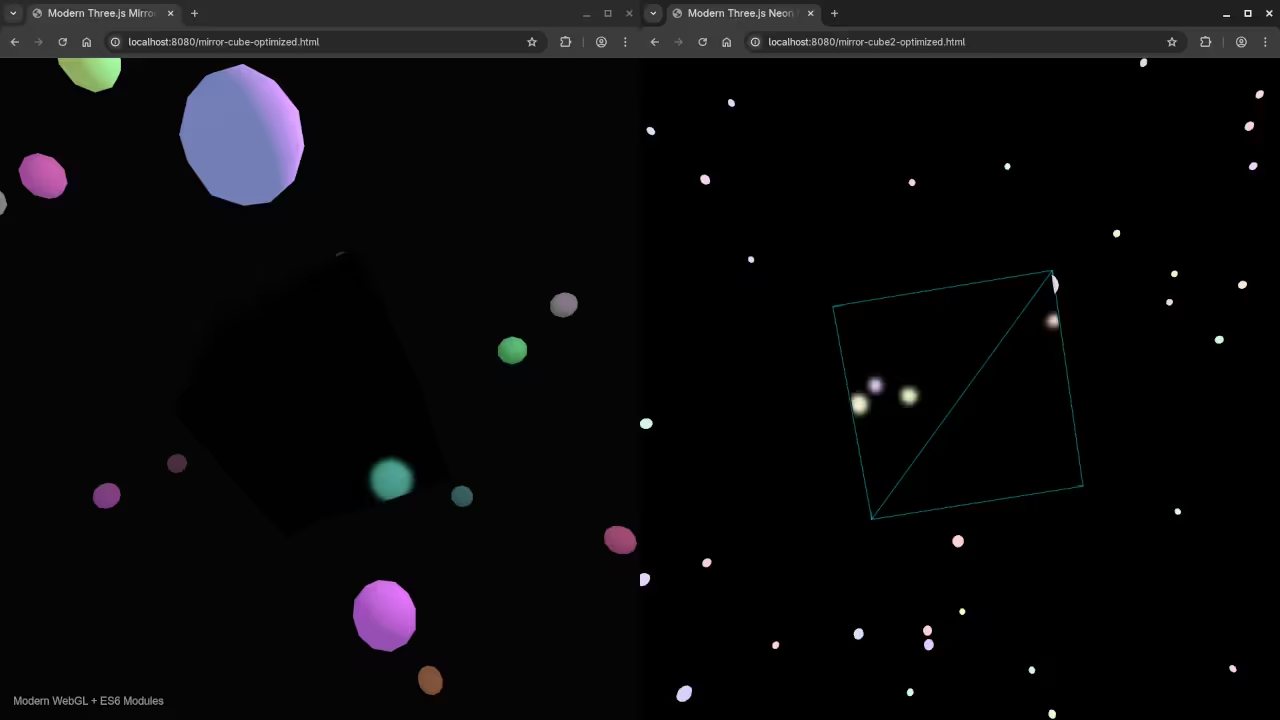
Web Browser Showing Original And Optimized Mirror Cube Version OneWeb Browser Showing Original And Optimized Mirror Cube Version TwoWeb Web Browser Showing Optimized Mirror Cube Results
Final Performance Results
The mirror now reflects light and surrounding objects dynamically. This creates a professional look for your web projects.
Modern AI runs well on Fedora Linux laptops. You can use your CPU for every task.
Remote Access with Gnome Connections
Connecting via Gnome Connections RDP works very smoothly. This allows remote access to your Fedora laptop.
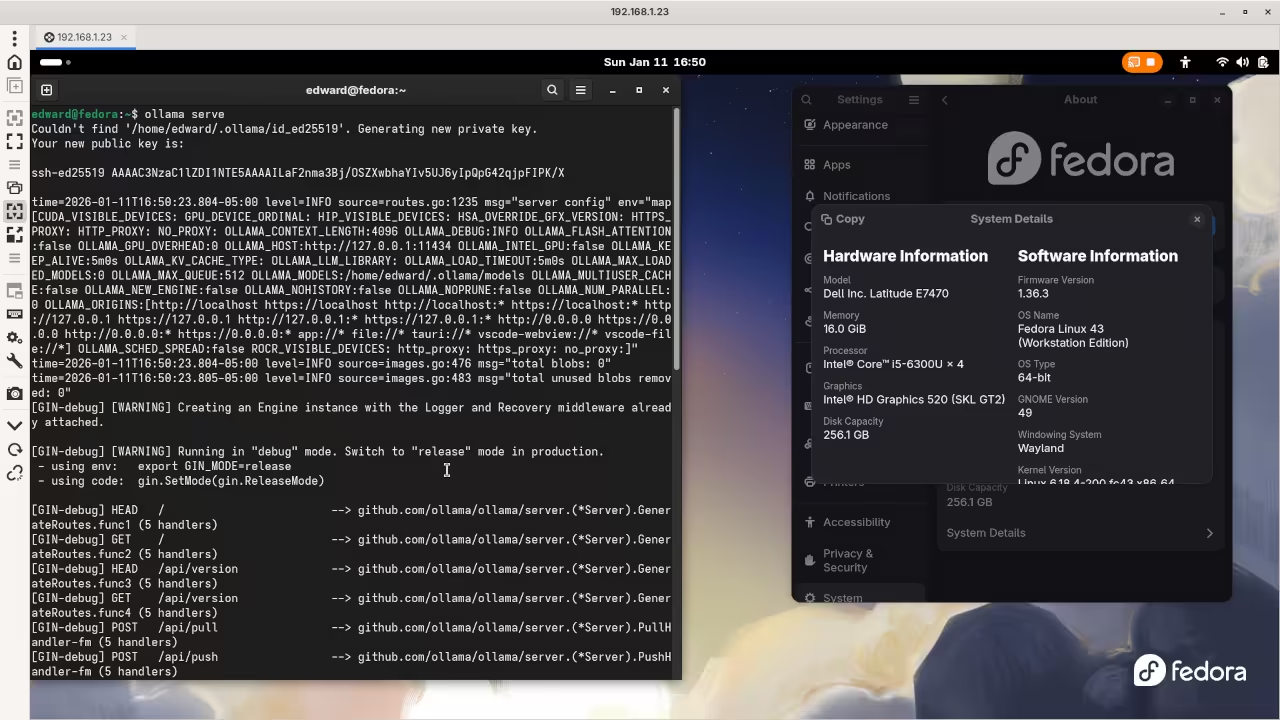
Installing Ollama on Fedora Linux
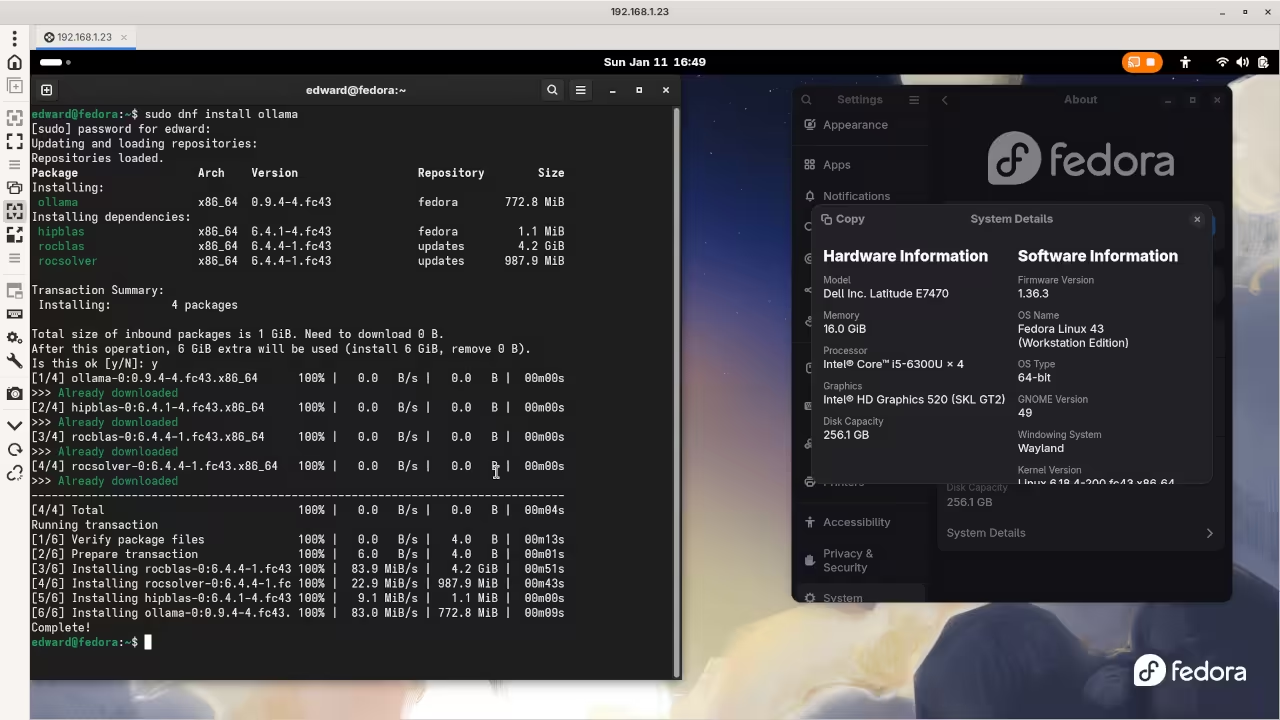
Open the terminal inside your RDP session now. You can install Ollama using one simple command.
Type sudo dnf install ollama in your Fedora terminal. This command downloads the official package from the repositories.
Screenshot
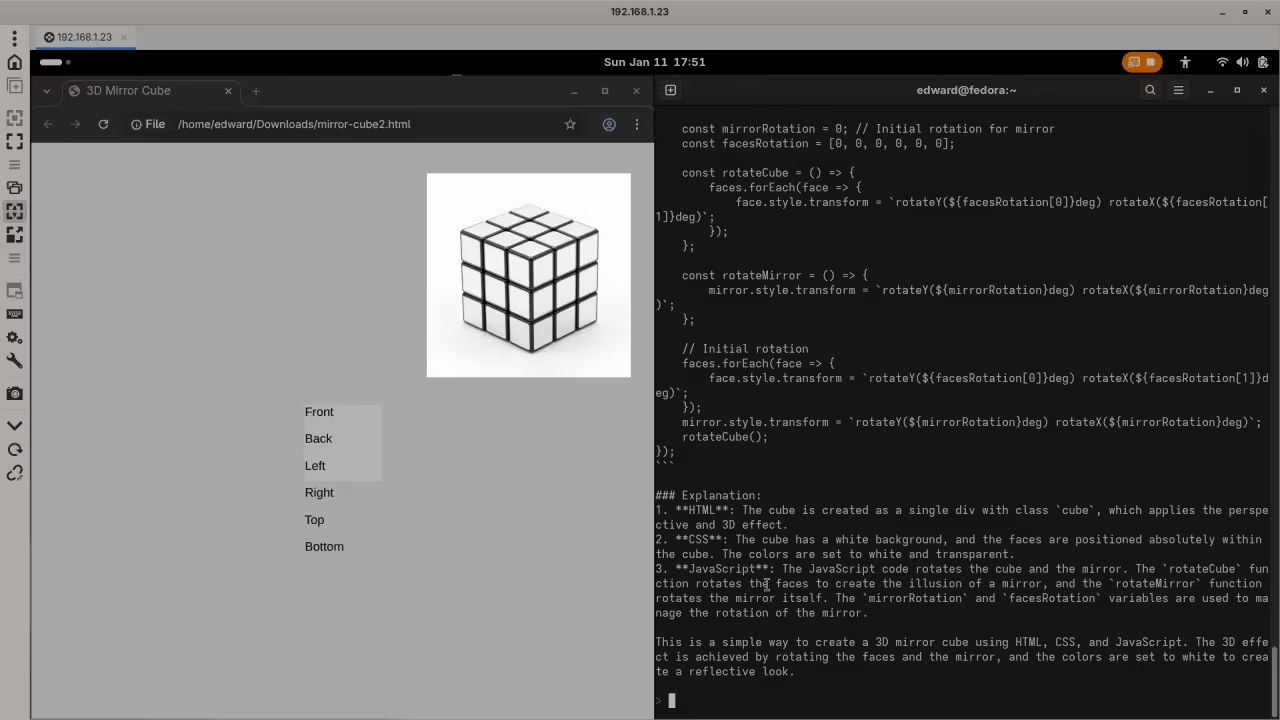
Command Line Installation Of OllamaCommand Line Starting Ollama ServerCommand Line Running LLM ModelCommand Line Ollama LLM Model ResultsWeb Browser Displaying Ollama AI Generated HTMLCommand Line llama.cpp InstallationCommand Line GGUF Model DownloadCommand Line llama.cpp resultsWeb Browser Displaying llama.cpp AI Generated HTML
Live Screencast
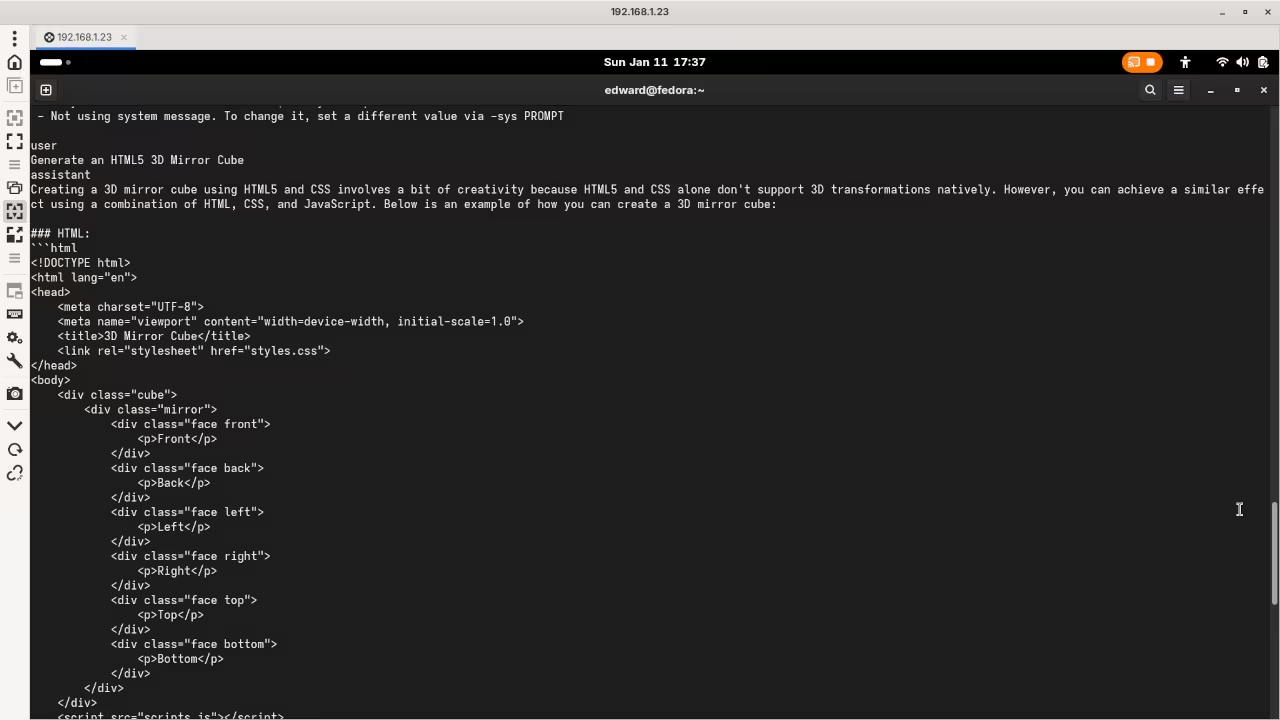
Screencast Of AI Generated Mirror Cube Code
Cross Platform Support
Users on Windows or Mac can download installers. Visit the official Ollama website to get those files.
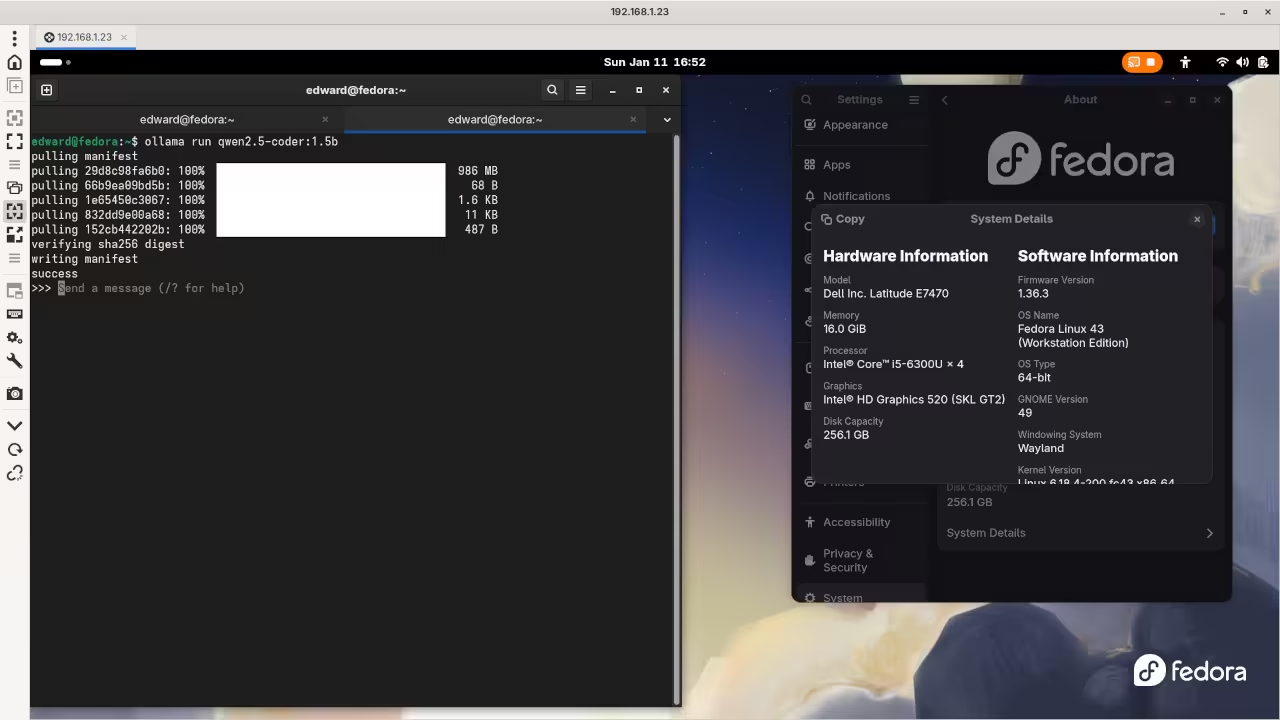
Loading Qwen2.5-Coder Model
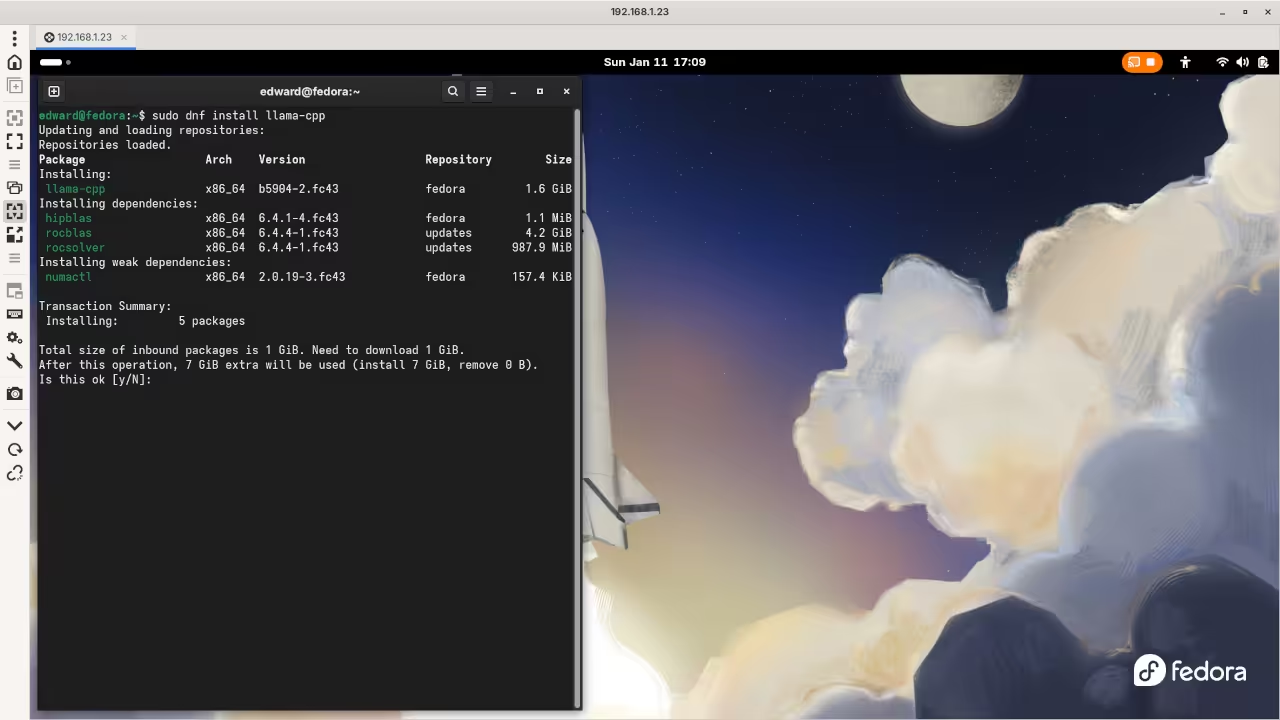
Now you must download the Qwen2.5-Coder model. Type ollama run qwen2.5-coder:1.5b in your terminal window.
The 1.5b version is perfect for basic laptop CPUs. It downloads quickly and starts the chat interface automatically.
Performance and Privacy Benefits
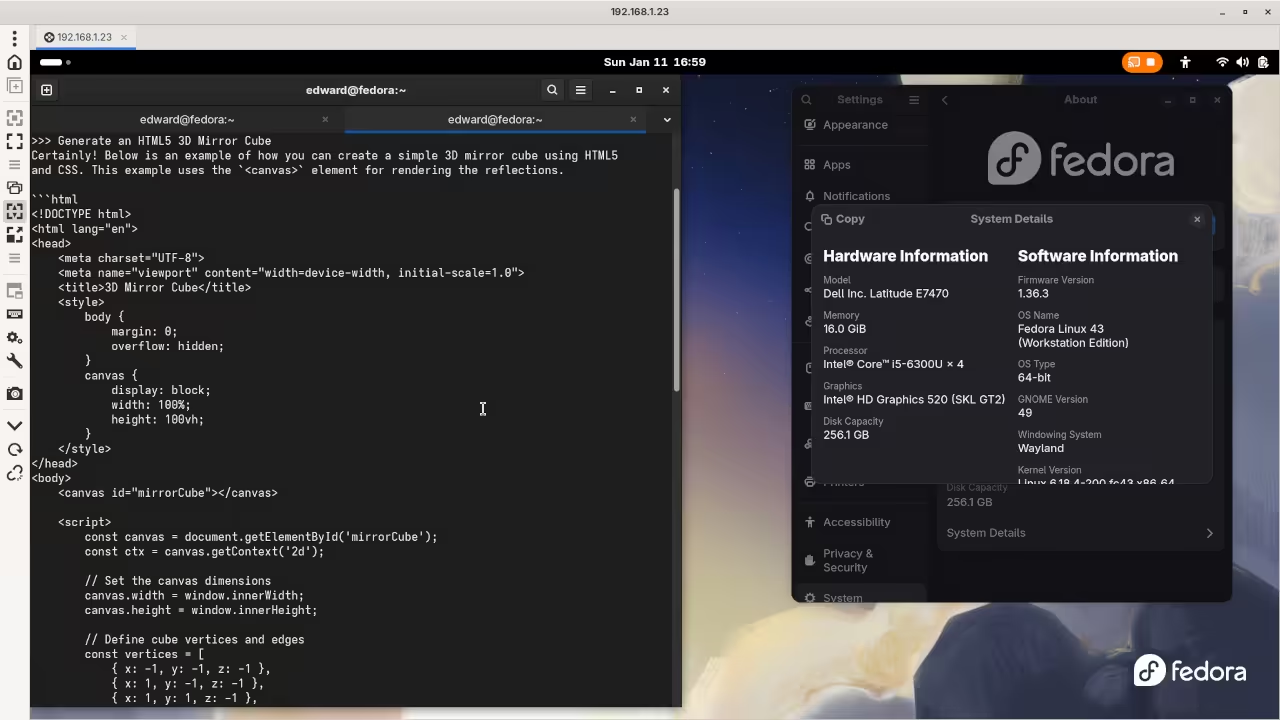
Ollama manages the Qwen2.5-Coder model with high efficiency. Your CPU handles the code generation tasks easily.
The RDP protocol keeps the interface very responsive. You can code remotely from any other device.
Conclusion for Beginners
Qwen2.5-Coder provides excellent logic for beginner programmers. It stays private on your own local hardware.
Coding Skeletons A Beginners Guide to Blender Python Armatures for the Web
Welcome to a guide on creating 3D animations that live inside a web browser. Today we are exploring the bones of 3D modeling. We are talking about Armatures and how to use the Blender Python API to automate them.
By the end of this post you will understand how the Blender coding backend helps prepare animations for the web using Three.js.
What are we building
In this project we use Python code to generate an Armature inside Blender. An armature is a digital skeleton. Instead of clicking and dragging every bone by hand we use a script. Using code allows for precision and repeatability. Once the skeleton moves in Blender we can export that data and use the Three.js JavaScript library to display the animation on a website.
How it Works From Blender to Browser
Think of this process as a relay race with three main steps.
The Architect: The Blender Python API is used to write a script that defines joints and movement.
The Delivery Truck: The GLTF or GLB export format saves the work into a file the web understands.
The Stage: Three.js picks up the file and displays the animation in the browser.
Key Concepts for Beginners
If you are new to the Blender Python API here are three things you need to know.
The Armature: This is the container for the skeleton. In Python we create this object first to hold bones.
Edit Bones vs Pose Bones: Edit Bones define the static resting shape of the skeleton. Pose Bones are what we animate.
The Data Context: We use bpy.context to tell Blender exactly which object we want to change.
Why Open Source and Blender 5.0
Using open source tools like Blender 5.0 means you own your tools and your art. The Python API in version 5.0 is robust and user friendly for developers and artists alike.
The Blender Python Script
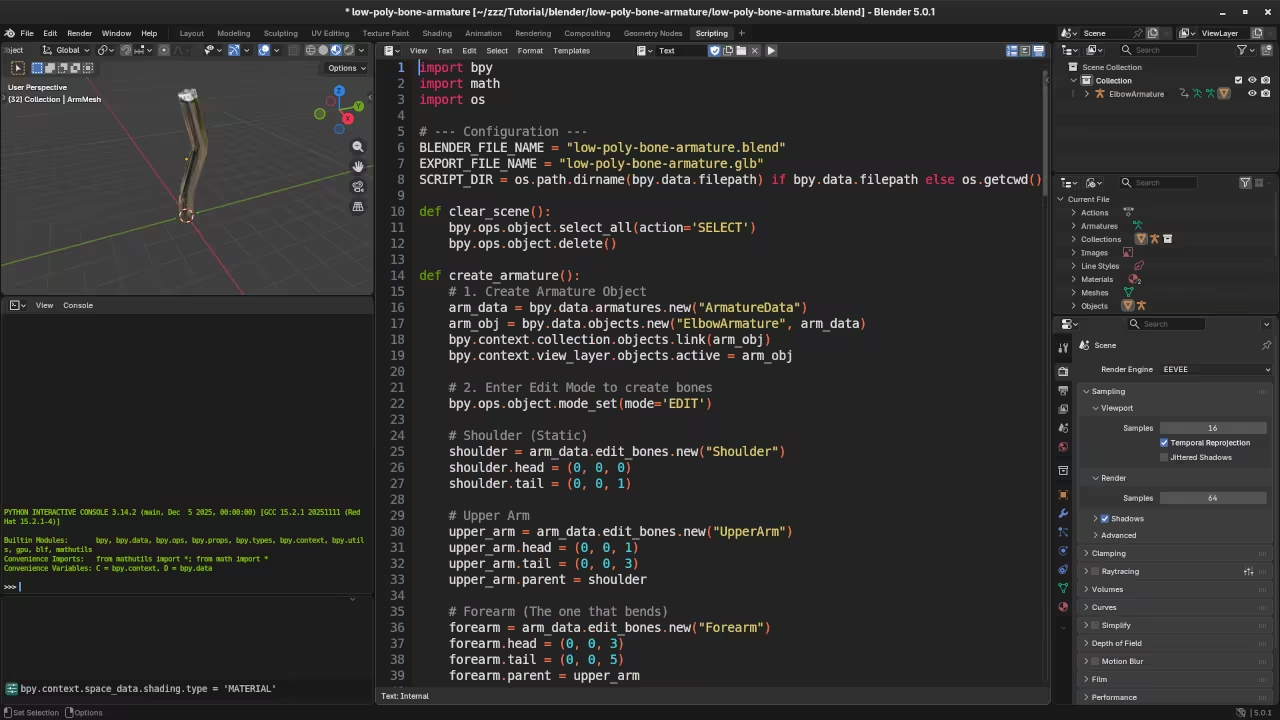
Open the Scripting tab in Blender 5.0 and click New to paste this code. It builds a vertical chain of three bones.
import bpy
# Setup Delete existing objects
bpy.ops.object.select_all(action="SELECT")
bpy.ops.object.delete()
# Create the Armature
arm_data = bpy.data.armatures.new("WebSkeletonData")
arm_obj = bpy.data.objects.new("WebArmature", arm_data)
bpy.context.collection.objects.link(arm_obj)
# Enter Edit Mode to define bone structure
bpy.context.view_layer.objects.active = arm_obj
bpy.ops.object.mode_set(mode="EDIT")
# Create a chain of 3 bones
positions = [(0,0,0), (0,0,1), (0,0,2), (0,0,3)]
bone_names = ["Base_Bone", "Middle_Bone", "Top_Bone"]
for i in range(3):
bone = arm_data.edit_bones.new(bone_names[i])
bone.head = positions[i]
bone.tail = positions[i+1]
```
if i &gt; 0:
bone.parent = arm_data.edit_bones[bone_names[i-1]]
```
# Finish up
bpy.ops.object.mode_set(mode="OBJECT")
print("Skeleton ready for export")
The HTML and Three.js Front End
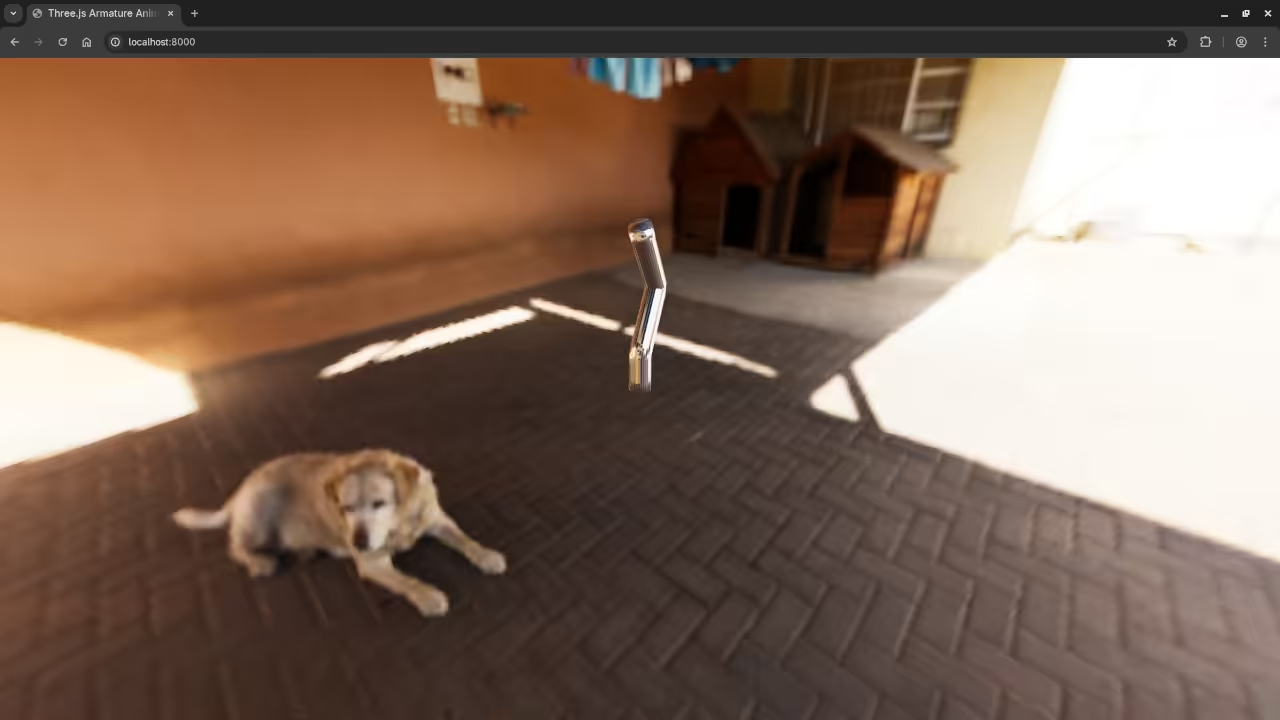
This HTML file sets up a 3D scene. It loads the model and uses JavaScript to animate the bones created in the Python script.
<div id="info">Blender Python Armature: Animating via Three.js</div>
<script type="importmap">
{
"imports": {
"three": "https://unpkg.com/three@0.160.0/build/three.module.js",
"three/addons/": "https://unpkg.com/three@0.160.0/examples/jsm/"
}
}
</script>
<script type="module">
import * as THREE from 'three';
import { GLTFLoader } from 'three/addons/loaders/GLTFLoader.js';
// 1. Scene Setup
const scene = new THREE.Scene();
const camera = new THREE.PerspectiveCamera(75, window.innerWidth / window.innerHeight, 0.1, 1000);
const renderer = new THREE.WebGLRenderer({ antialias: true });
renderer.setSize(window.innerWidth, window.innerHeight);
document.body.appendChild(renderer.domElement);
// 2. Add some light
const light = new THREE.DirectionalLight(0xffffff, 1);
light.position.set(5, 5, 5);
scene.add(light);
scene.add(new THREE.AmbientLight(0x404040));
camera.position.z = 5;
camera.position.y = 2;
// 3. Load the Blender Export
const loader = new GLTFLoader();
let middleBone;
// Note: Change 'my_model.glb' to your actual file name
loader.load('my_model.glb', (gltf) => {
const model = gltf.scene;
scene.add(model);
// Access the bone we named in our Python script!
middleBone = model.getObjectByName('Middle_Bone');
});
// 4. The Animation Loop
function animate() {
requestAnimationFrame(animate);
// If the bone has loaded, make it wiggle
if (middleBone) {
middleBone.rotation.x = Math.sin(Date.now() * 0.002) * 0.5;
}
renderer.render(scene, camera);
}
animate();
</script>
📸 Screenshots & Screencast
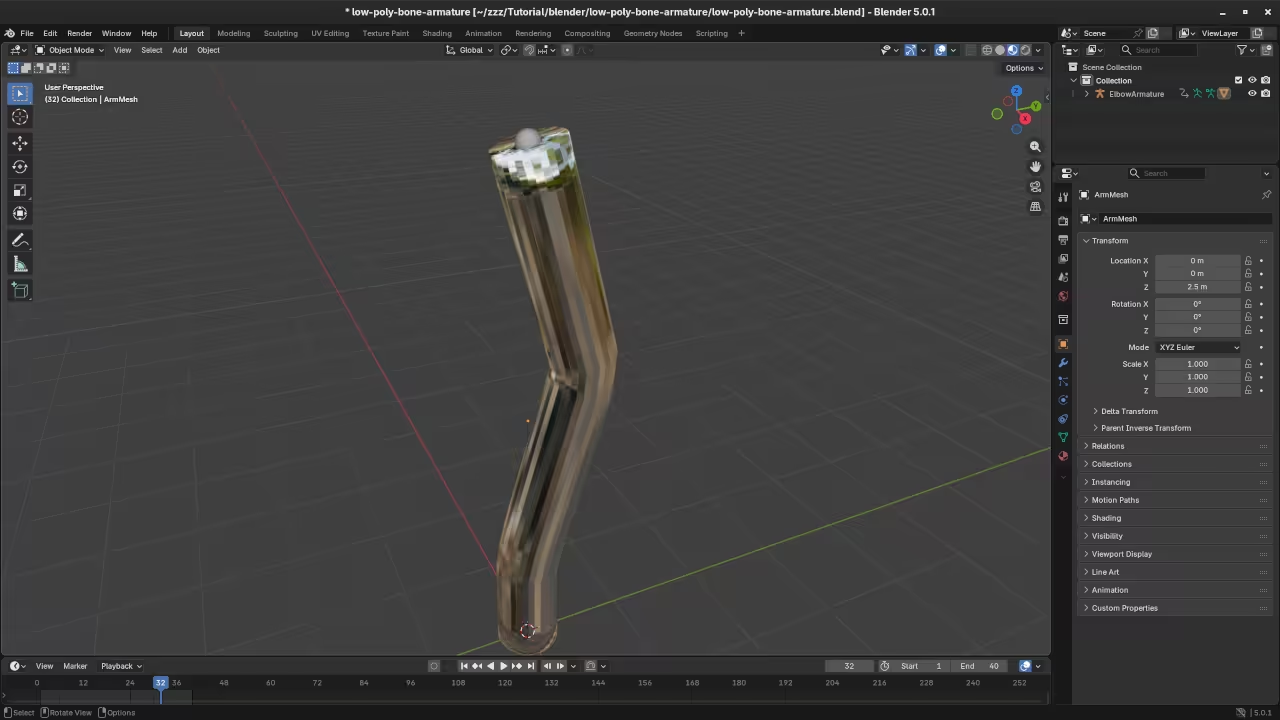
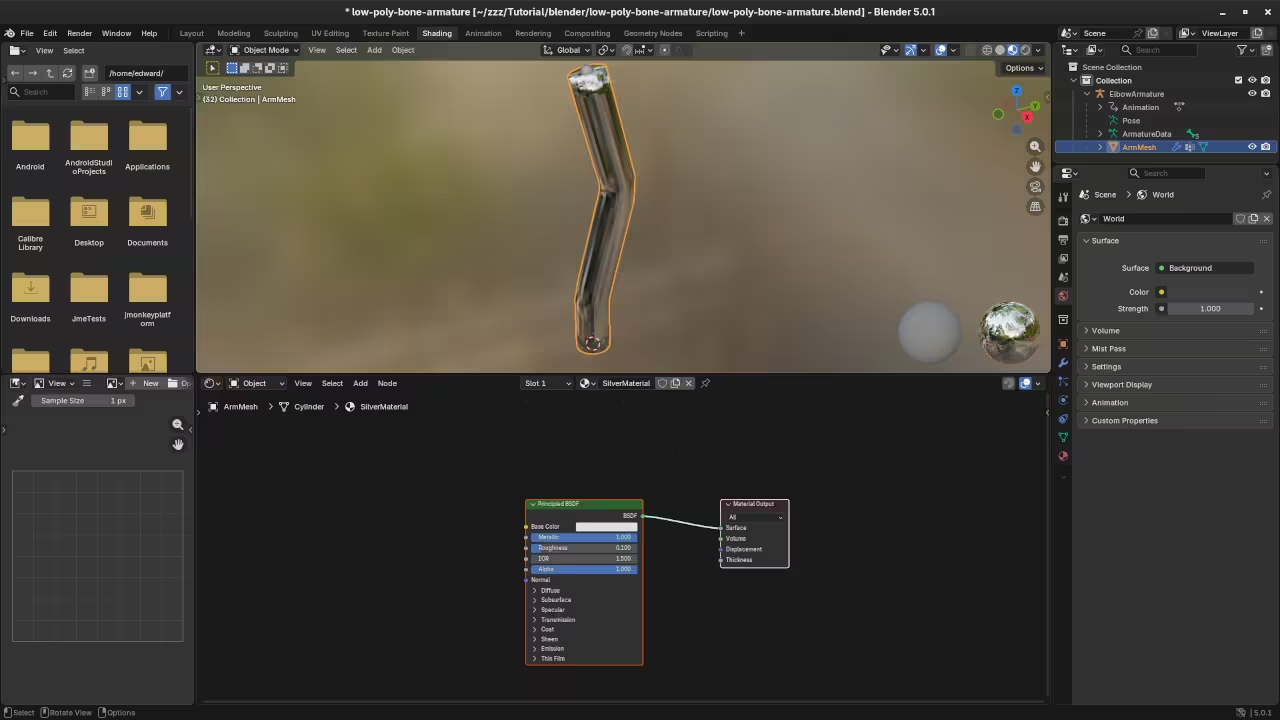
Blender Scripting Workspace Displaying Bone Armatures Python CodeBlender Layout Workspace Displaying Bone ArmaturesBlender Shading Workspace Displaying Bone ArmaturesWeb Browser Displaying Rendered Bone ArmaturesScreencast For Blender Python API Bone Armatures
Take Your Skills Further
If you enjoyed learning about the connection between 3D software and web code these resources can help you continue your journey.
Master the Basics: My book Learning Python is designed for absolute beginners.
In the world of professional note-taking, speed and portability are king. While many are used to clicking buttons in a toolbar, true efficiency comes from keeping your hands on the keyboard. This is where Joplin shines. By using Markdown as its core language, Joplin allows you to format your thoughts as fast as you can type them. Today, we are moving beyond the basic setup and looking at how to truly leverage the Joplin Markdown editor on Fedora Linux.
Why Markdown Matters
Markdown is not just a styling choice; it is a future-proof format. Because it is essentially plain text, your notes are never trapped in a proprietary database. If you ever decide to move your data, every other major open-source tool can read it. In Joplin, this “markup” approach lets you create complex structures—from mathematical formulas to architectural diagrams—without ever leaving the text editor.
Essential Markdown Syntax in Joplin
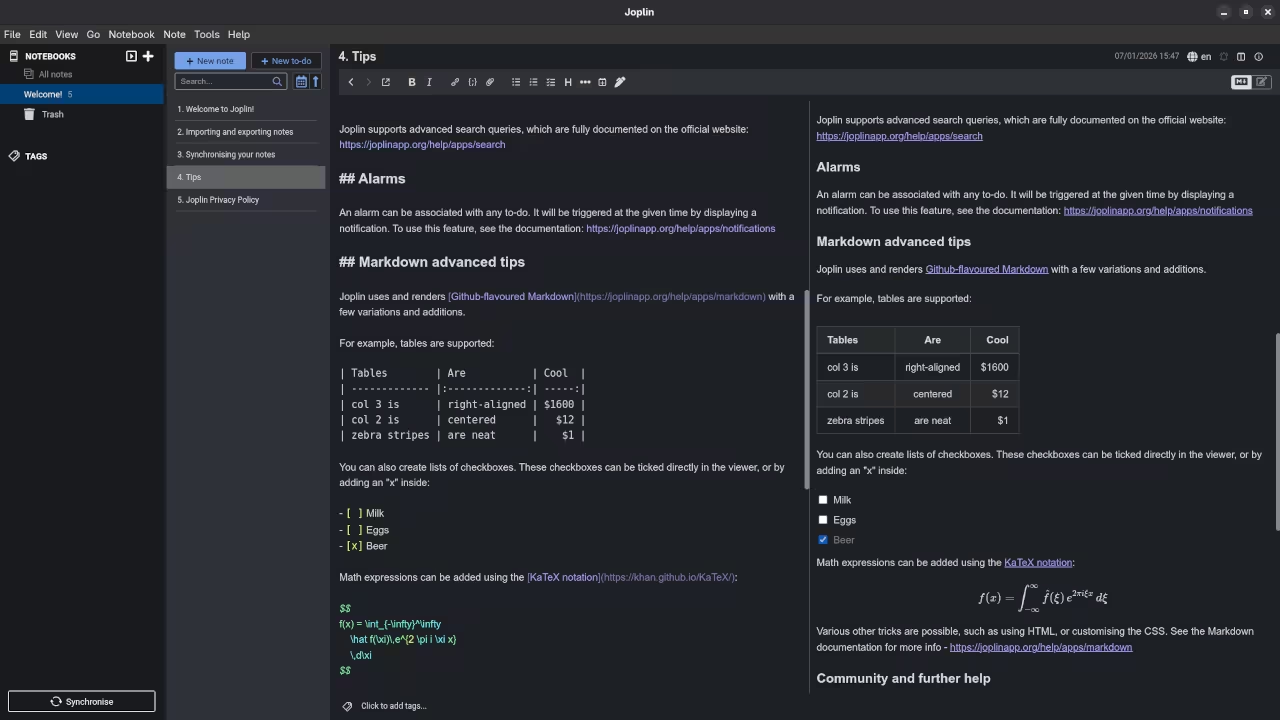
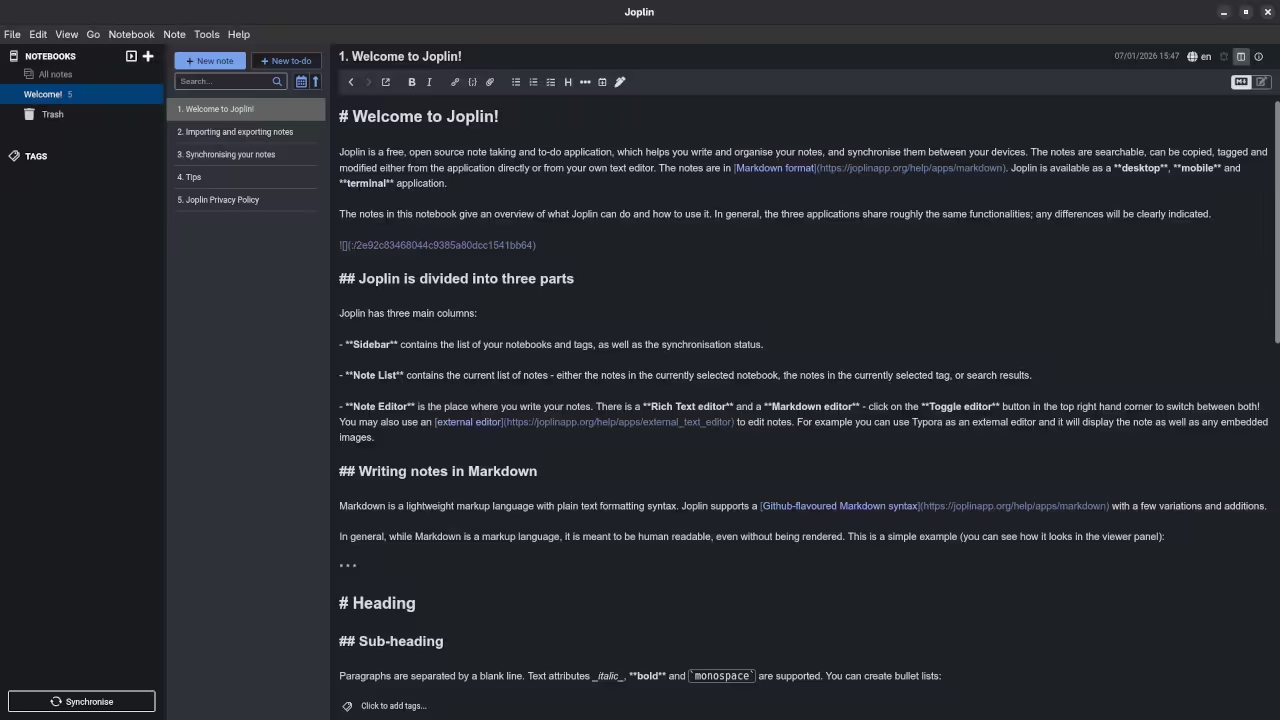
To get the most out of Joplin, you should familiarize yourself with the core syntax. The editor typically offers a split-view mode, where you can see your raw code on the left and the beautiful, rendered result on the right. Below are the essential components:
Headers: Use the hash symbol. A single # is a large H1, while ### creates a smaller H3.
Emphasis: Wrap text in asterisks. Use double asterisks for bold and single for italics.
Interactive Checklists: This is perfect for task management. Use - [ ] for an open task and - [x] for a completed one.
Code Blocks: For developers, wrap your code in triple backticks. You can even specify the language for syntax highlighting.
Advanced Formatting: Math and Diagrams
One of Joplin’s superpowers is its support for KaTeX and Mermaid. If you are a student or an engineer, you can render complex mathematical equations by wrapping them in dollar signs, such as $E = mc^2$.
For visual thinkers, the Mermaid plugin allows you to generate flowcharts and diagrams directly from text. A simple script can instantly render a professional-looking flowchart in your note, keeping your documentation visual without the need for external drawing tools.
Optimizing the Fedora Experience
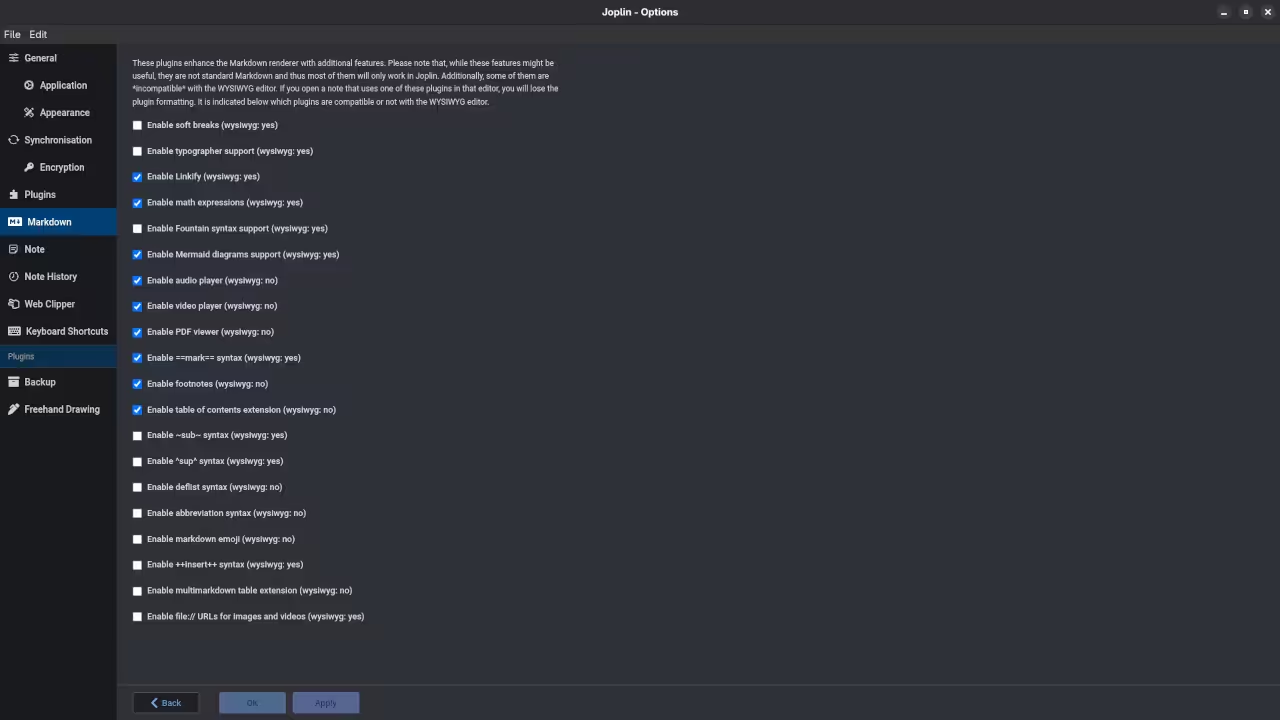
On Fedora 43, the experience is enhanced by the Rich Markdown plugin. This plugin allows you to render elements like images and bold text directly within the editor pane. To install it, navigate to Tools, then Options, and search the Plugins menu for “Rich Markdown.” It provides a much cleaner, more modern writing environment while maintaining the power of raw text.
📷 Screenshots
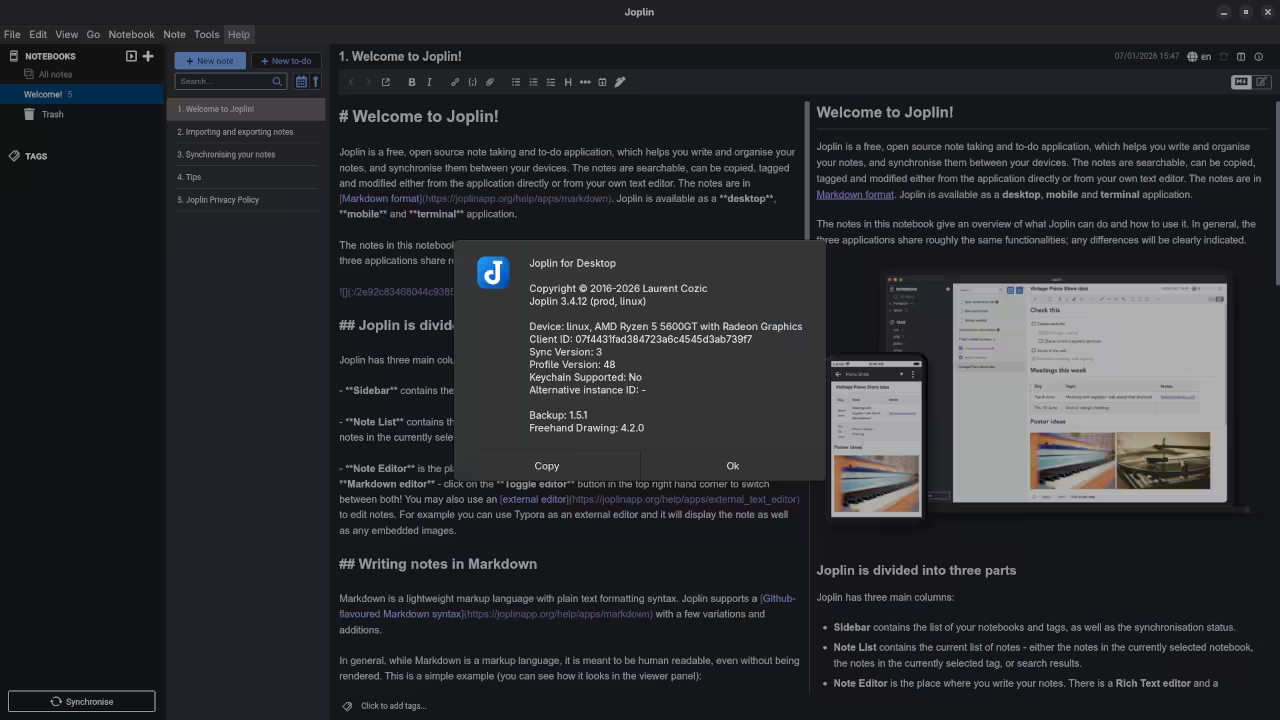
Joplin Default DashboardJoplin Displaying SettingsJoplin Displaying Live Preview Mode
🎬 Live YouTube Screencast
Video Displaying The Installation And Use Of Joplin
In the video above, I demonstrate a speed-run of creating a technical project plan in Joplin. We use Markdown to build tables, embed local Linux system diagrams, and set up a synchronized task list in real-time.
Take Your Documentation Further
Mastering Markdown is a fundamental skill for any modern developer or power user. If you want to deepen your understanding of these systems, my books provide a deep dive into the logic of structured data and open-source workflows. My online courses also offer comprehensive modules on technical writing and Linux system administration.
For those looking to build custom Joplin plugins or integrate it into a larger professional workflow, I am available for one-on-one tutorials and professional consultations to help you scale your productivity.