

Coding Skeletons A Beginners Guide to Blender Python Armatures for the Web
Welcome to a guide on creating 3D animations that live inside a web browser. Today we are exploring the bones of 3D modeling. We are talking about Armatures and how to use the Blender Python API to automate them.
By the end of this post you will understand how the Blender coding backend helps prepare animations for the web using Three.js.
What are we building
In this project we use Python code to generate an Armature inside Blender. An armature is a digital skeleton. Instead of clicking and dragging every bone by hand we use a script. Using code allows for precision and repeatability. Once the skeleton moves in Blender we can export that data and use the Three.js JavaScript library to display the animation on a website.
How it Works From Blender to Browser
Think of this process as a relay race with three main steps.
- The Architect: The Blender Python API is used to write a script that defines joints and movement.
- The Delivery Truck: The GLTF or GLB export format saves the work into a file the web understands.
- The Stage: Three.js picks up the file and displays the animation in the browser.
Key Concepts for Beginners
If you are new to the Blender Python API here are three things you need to know.
- The Armature: This is the container for the skeleton. In Python we create this object first to hold bones.
- Edit Bones vs Pose Bones: Edit Bones define the static resting shape of the skeleton. Pose Bones are what we animate.
- The Data Context: We use bpy.context to tell Blender exactly which object we want to change.
Why Open Source and Blender 5.0
Using open source tools like Blender 5.0 means you own your tools and your art. The Python API in version 5.0 is robust and user friendly for developers and artists alike.
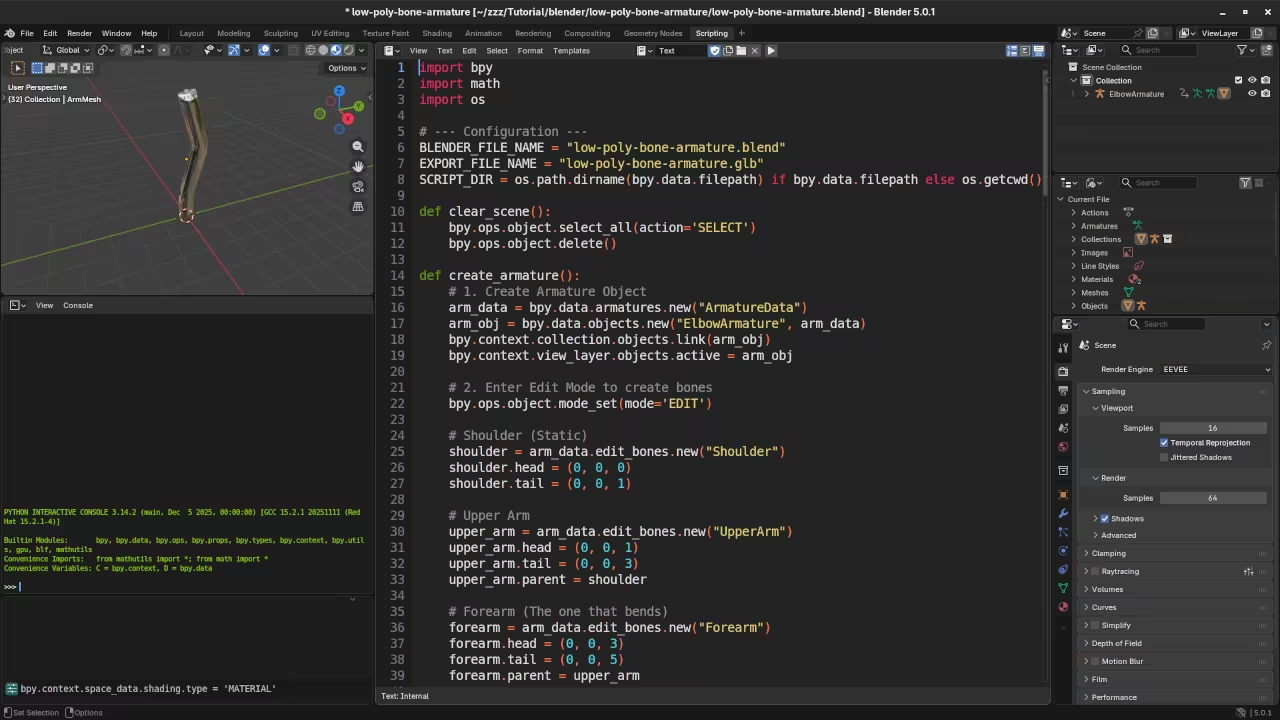
The Blender Python Script
Open the Scripting tab in Blender 5.0 and click New to paste this code. It builds a vertical chain of three bones.
import bpy
# Setup Delete existing objects
bpy.ops.object.select_all(action="SELECT")
bpy.ops.object.delete()
# Create the Armature
arm_data = bpy.data.armatures.new("WebSkeletonData")
arm_obj = bpy.data.objects.new("WebArmature", arm_data)
bpy.context.collection.objects.link(arm_obj)
# Enter Edit Mode to define bone structure
bpy.context.view_layer.objects.active = arm_obj
bpy.ops.object.mode_set(mode="EDIT")
# Create a chain of 3 bones
positions = [(0,0,0), (0,0,1), (0,0,2), (0,0,3)]
bone_names = ["Base_Bone", "Middle_Bone", "Top_Bone"]
for i in range(3):
bone = arm_data.edit_bones.new(bone_names[i])
bone.head = positions[i]
bone.tail = positions[i+1]
```
if i > 0:
bone.parent = arm_data.edit_bones[bone_names[i-1]]
```
# Finish up
bpy.ops.object.mode_set(mode="OBJECT")
print("Skeleton ready for export")
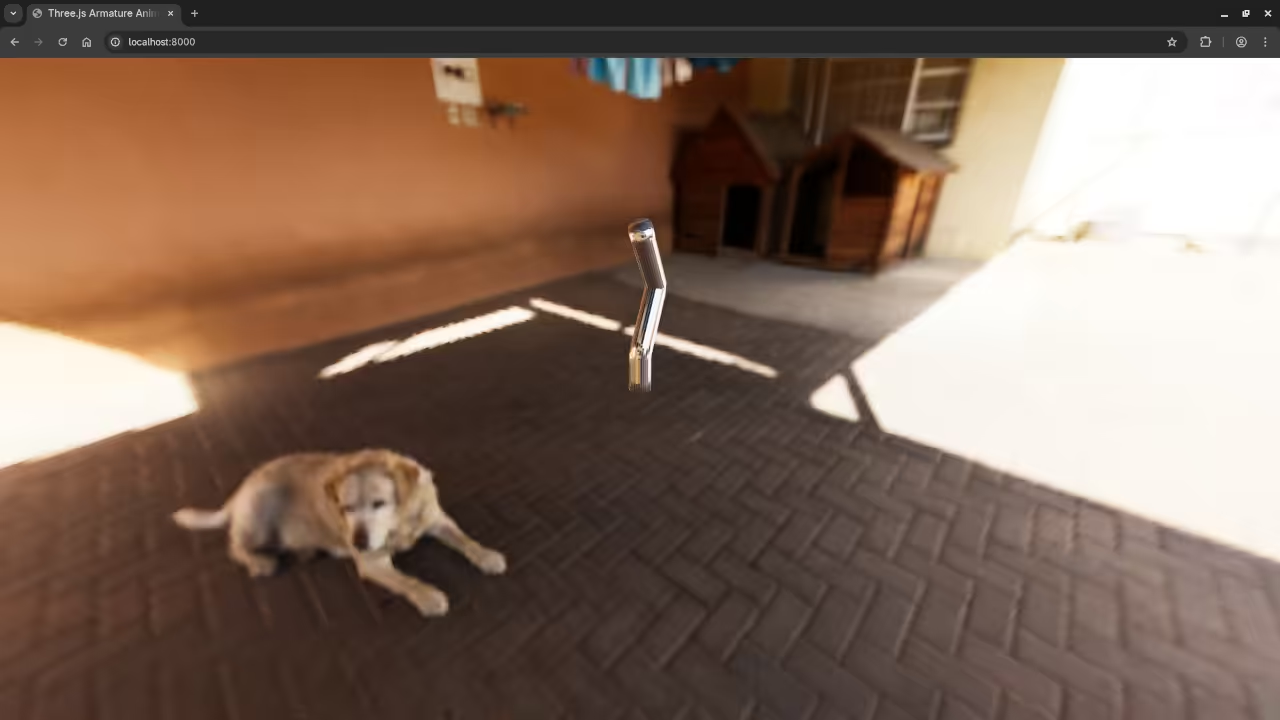
The HTML and Three.js Front End
This HTML file sets up a 3D scene. It loads the model and uses JavaScript to animate the bones created in the Python script.
<div id="info">Blender Python Armature: Animating via Three.js</div>
<script type="importmap">
{
"imports": {
"three": "https://unpkg.com/three@0.160.0/build/three.module.js",
"three/addons/": "https://unpkg.com/three@0.160.0/examples/jsm/"
}
}
</script>
<script type="module">
import * as THREE from 'three';
import { GLTFLoader } from 'three/addons/loaders/GLTFLoader.js';
// 1. Scene Setup
const scene = new THREE.Scene();
const camera = new THREE.PerspectiveCamera(75, window.innerWidth / window.innerHeight, 0.1, 1000);
const renderer = new THREE.WebGLRenderer({ antialias: true });
renderer.setSize(window.innerWidth, window.innerHeight);
document.body.appendChild(renderer.domElement);
// 2. Add some light
const light = new THREE.DirectionalLight(0xffffff, 1);
light.position.set(5, 5, 5);
scene.add(light);
scene.add(new THREE.AmbientLight(0x404040));
camera.position.z = 5;
camera.position.y = 2;
// 3. Load the Blender Export
const loader = new GLTFLoader();
let middleBone;
// Note: Change 'my_model.glb' to your actual file name
loader.load('my_model.glb', (gltf) => {
const model = gltf.scene;
scene.add(model);
// Access the bone we named in our Python script!
middleBone = model.getObjectByName('Middle_Bone');
});
// 4. The Animation Loop
function animate() {
requestAnimationFrame(animate);
// If the bone has loaded, make it wiggle
if (middleBone) {
middleBone.rotation.x = Math.sin(Date.now() * 0.002) * 0.5;
}
renderer.render(scene, camera);
}
animate();
</script>
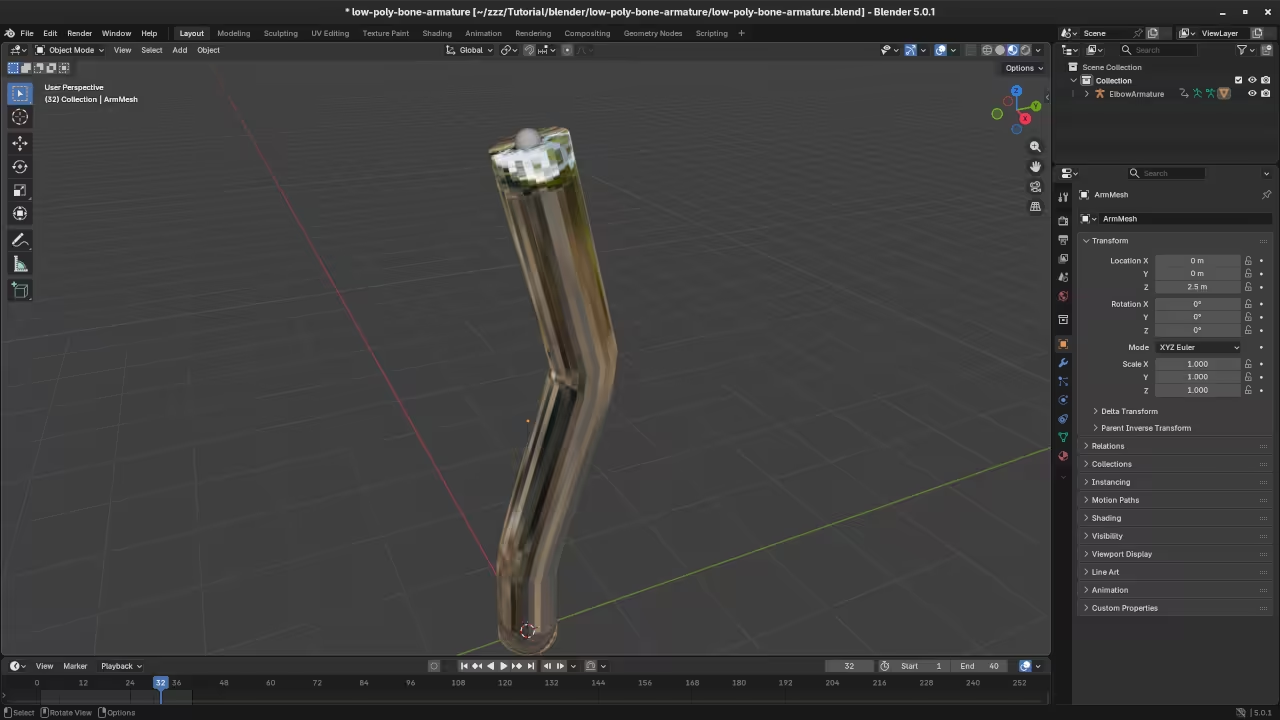
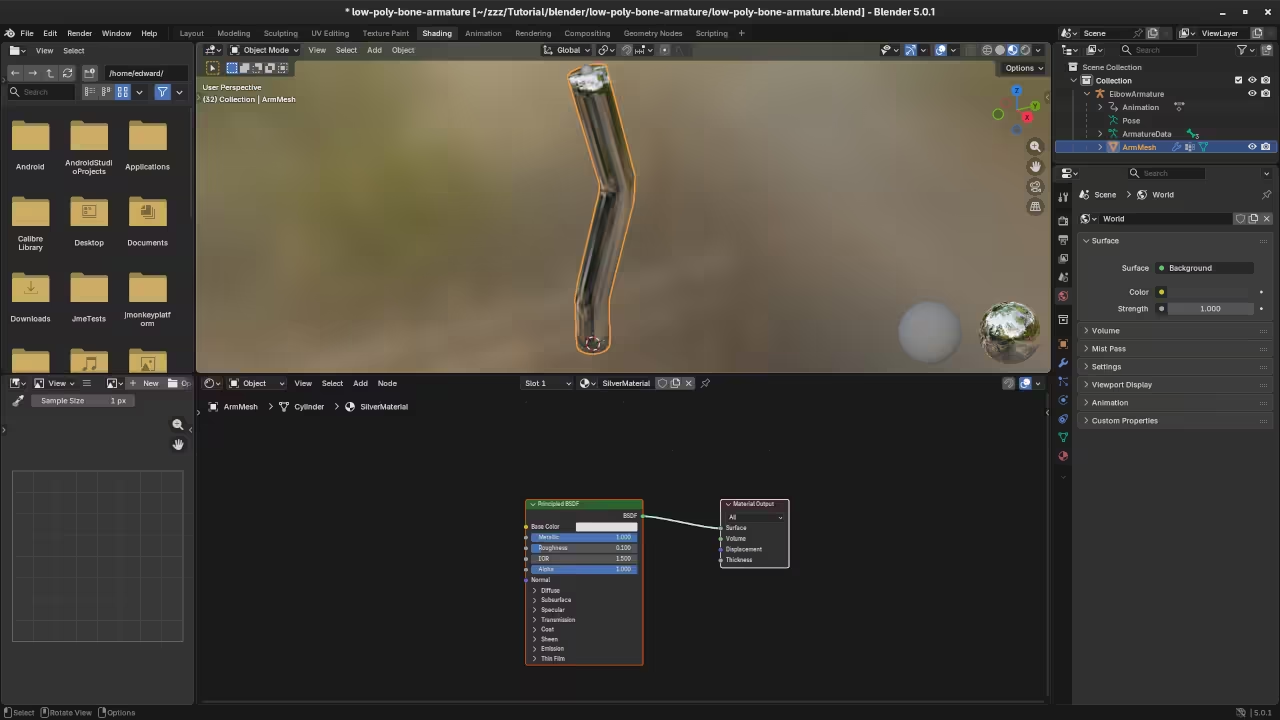
📸 Screenshots & Screencast
Take Your Skills Further
If you enjoyed learning about the connection between 3D software and web code these resources can help you continue your journey.
- Master the Basics: My book Learning Python is designed for absolute beginners.
- Go Pro with Blender: Learn to automate 3D workflows with Mastering Blender Python API.
- Step by Step Learning: View my library of Online Courses for visual learners.
- Personal Mentorship: I offer One on One Programming Tutorials for your specific projects.
- Professional Help: Contact me for Consultation Services regarding 3D web configurators or pipelines.
🚀 Recommended Resources
Disclosure: Some of the links above are referral links. I may earn a commission if you make a purchase at no extra cost to you.