
Introduction
Managing your passwords securely is essential for digital privacy. You can self-host Vaultwarden, an open-source Bitwarden-compatible server, using Podman Desktop. This approach provides a graphical interface for users who prefer to avoid the command line.
Understanding the NGINX Reverse Proxy
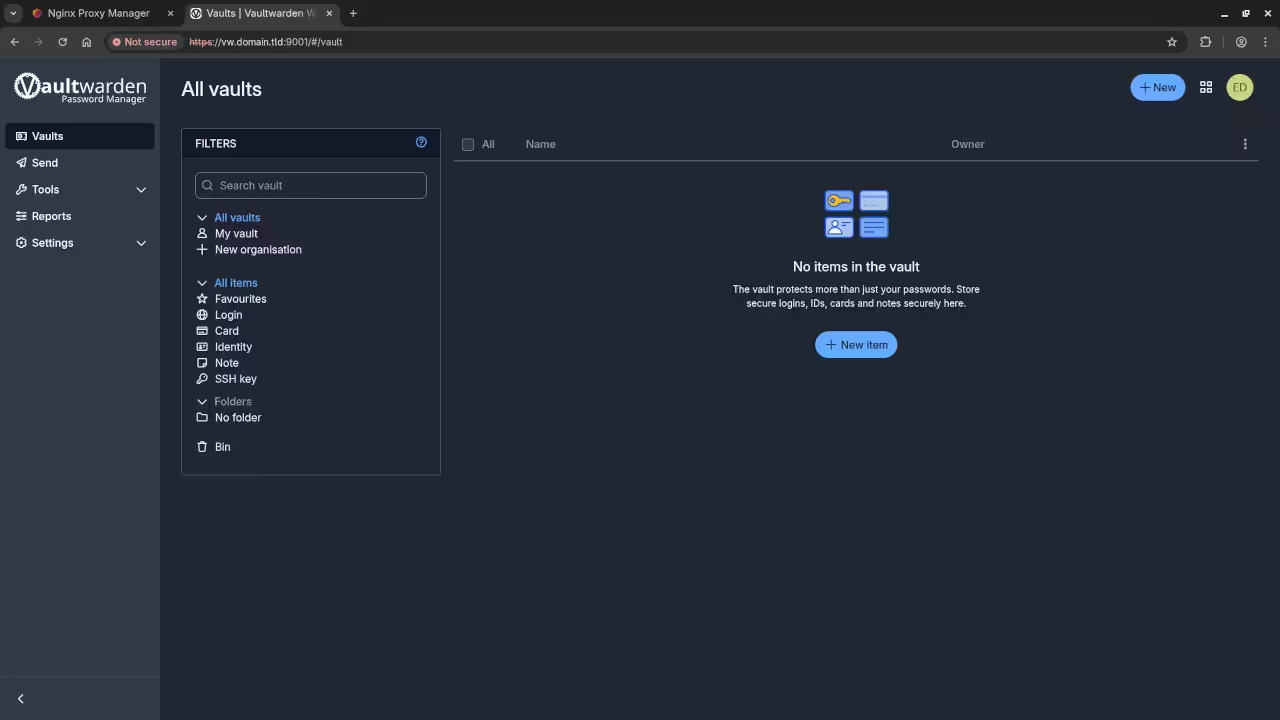
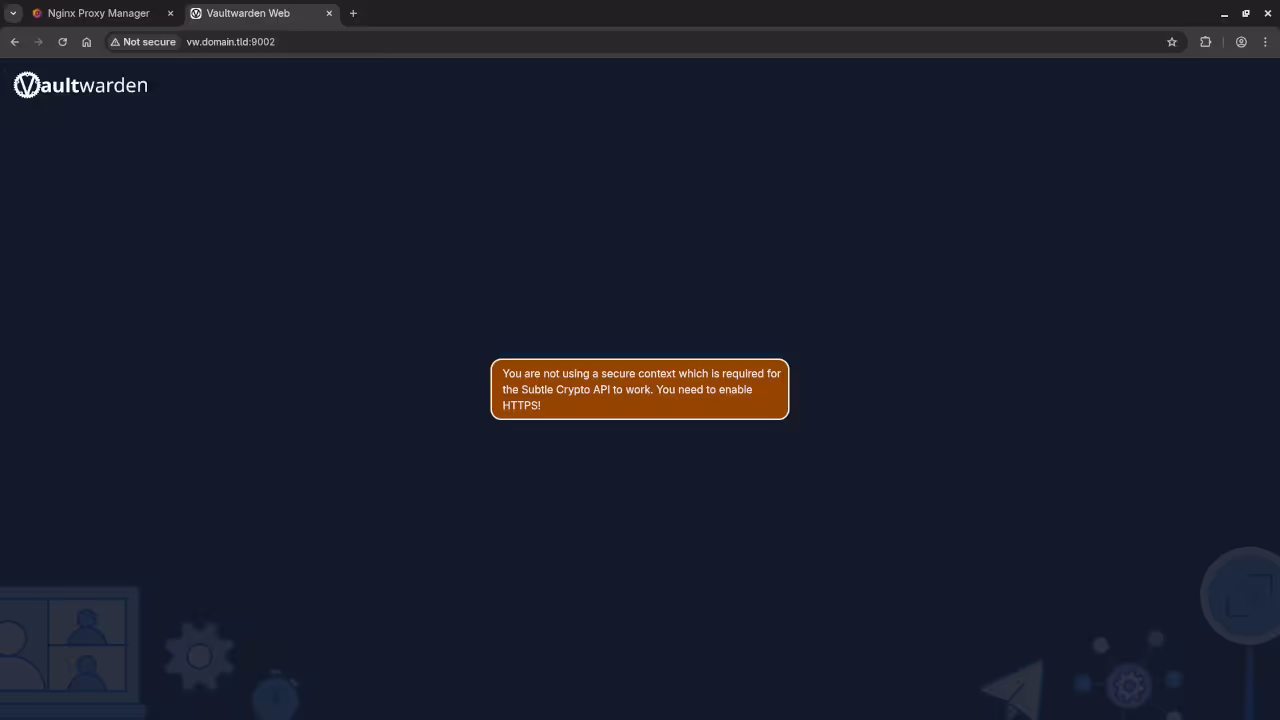
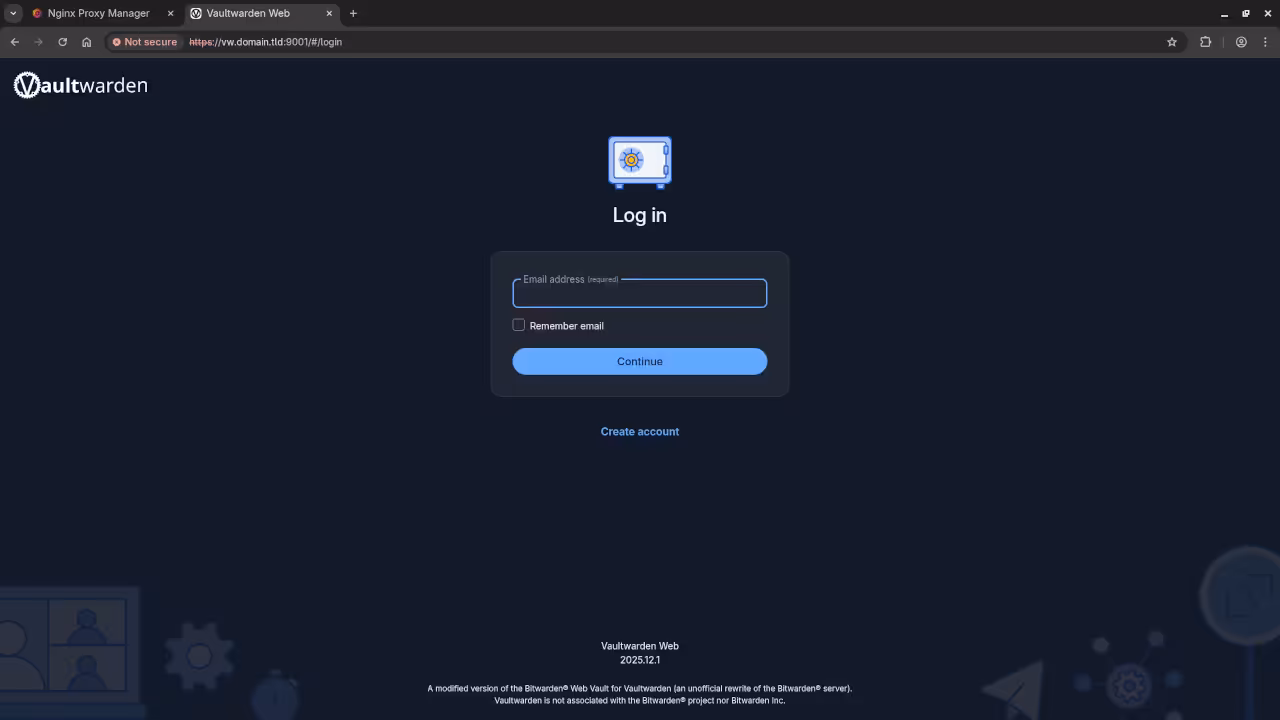
A Reverse Proxy like NGINX acts as a secure gateway between the internet and your home server. Instead of exposing Vaultwarden directly, the proxy receives all incoming requests first. It then handles SSL encryption (HTTPS) and forwards the traffic to your container. This setup is crucial because Vaultwarden requires a secure HTTPS connection for many features to work properly in modern browsers.
Getting Started with Podman Desktop
Podman Desktop is a user-friendly interface for managing containers. It works natively on Linux, Windows, and macOS without requiring a background daemon.
- Windows/macOS: Download the installer from the official Podman Desktop website. Run the .exe or .dmg file and follow the setup wizard to initialize the Podman machine.
- Linux (Fedora): Use the command
sudo dnf install podman-desktop.
Once installed, open the application. It will automatically detect your Podman engine and guide you through the initial configuration.
Setting Up Vaultwarden via the UI
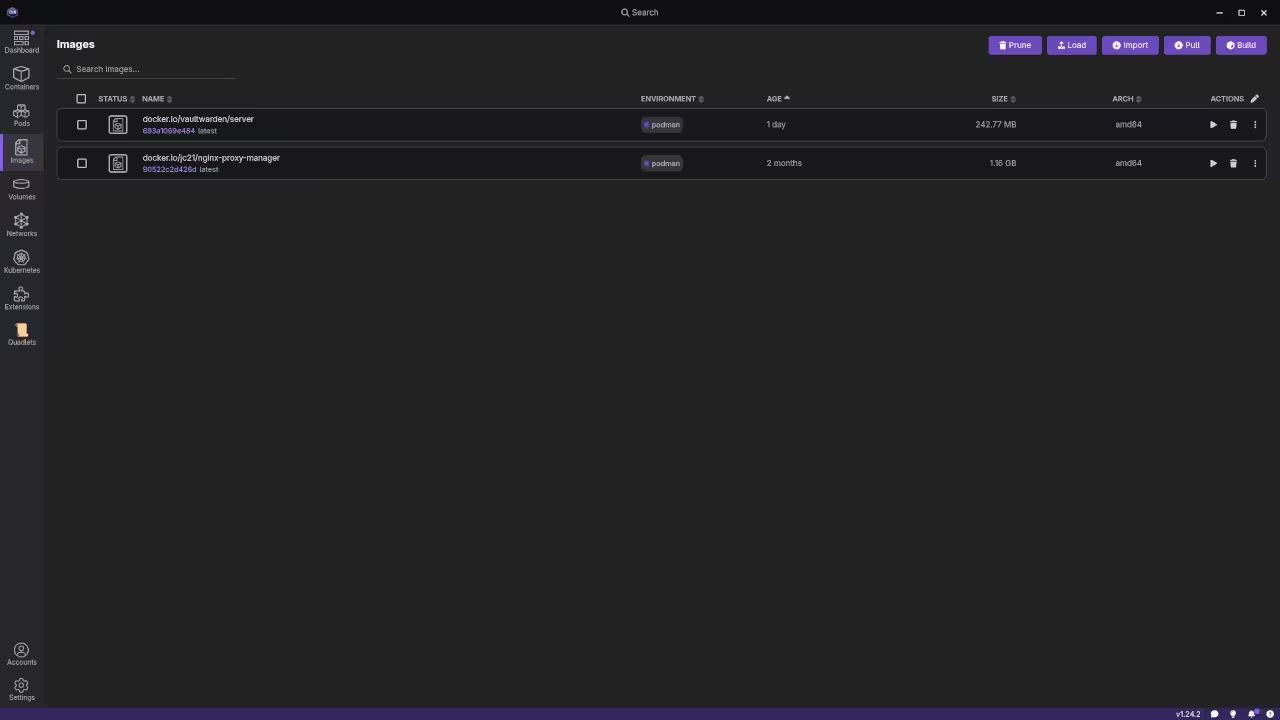
Open Podman Desktop and click on Images then Pull Image. Search for vaultwarden/server:latest and click pull.
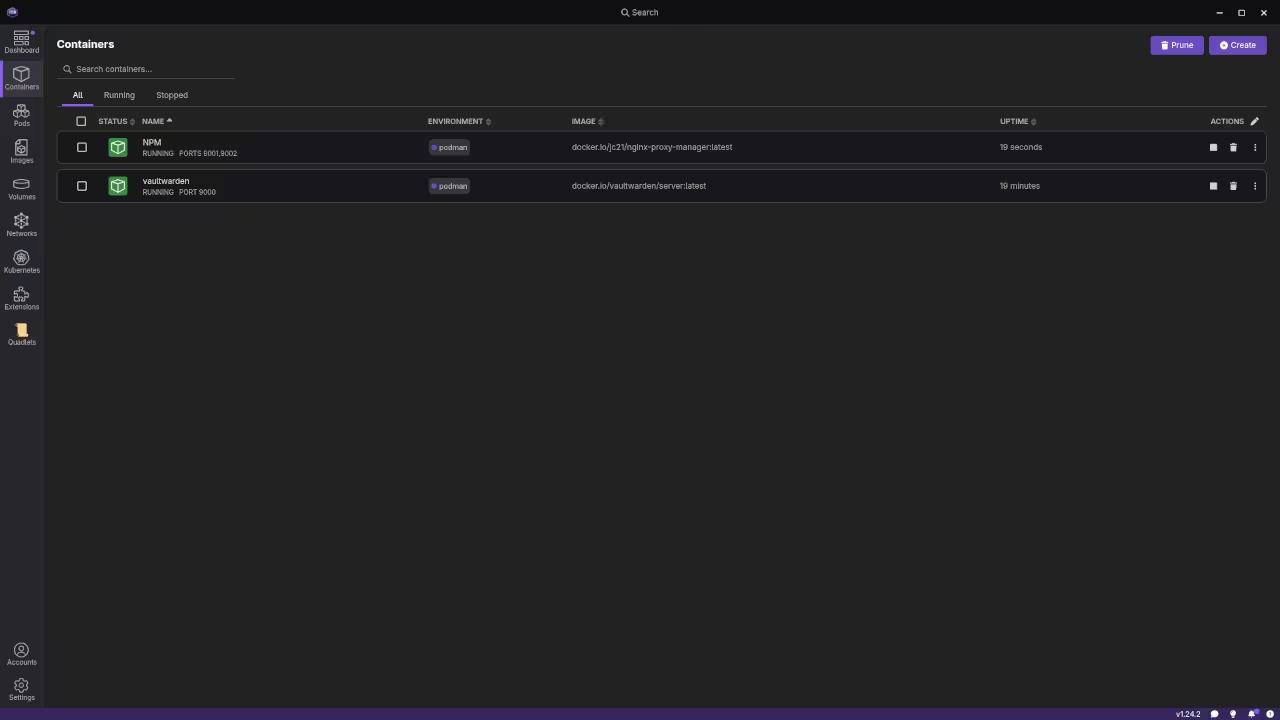
- Navigate to the Containers section and click Create Container.
- Under Basic Settings, name your container “vaultwarden”.
- In Port Mapping, map host port
8080to container port80. - In Volumes, create a persistent mount for
/data. This ensures your encrypted database remains safe even if the container is updated.
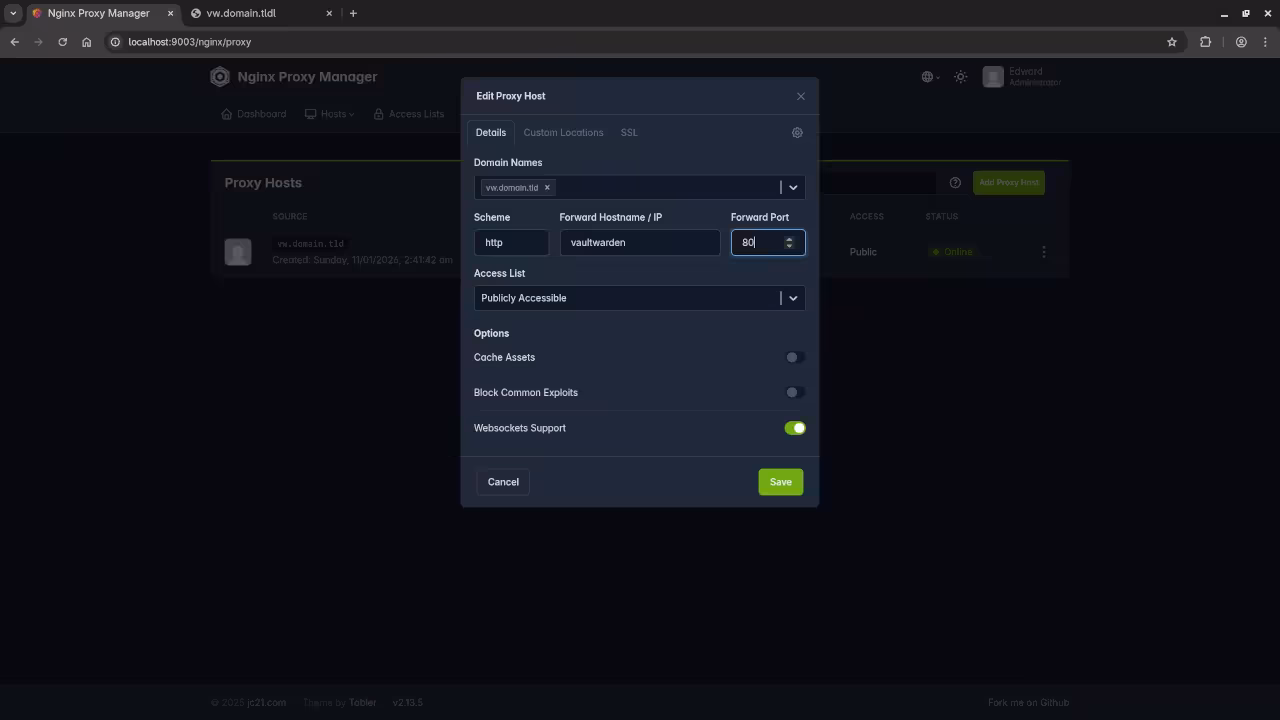
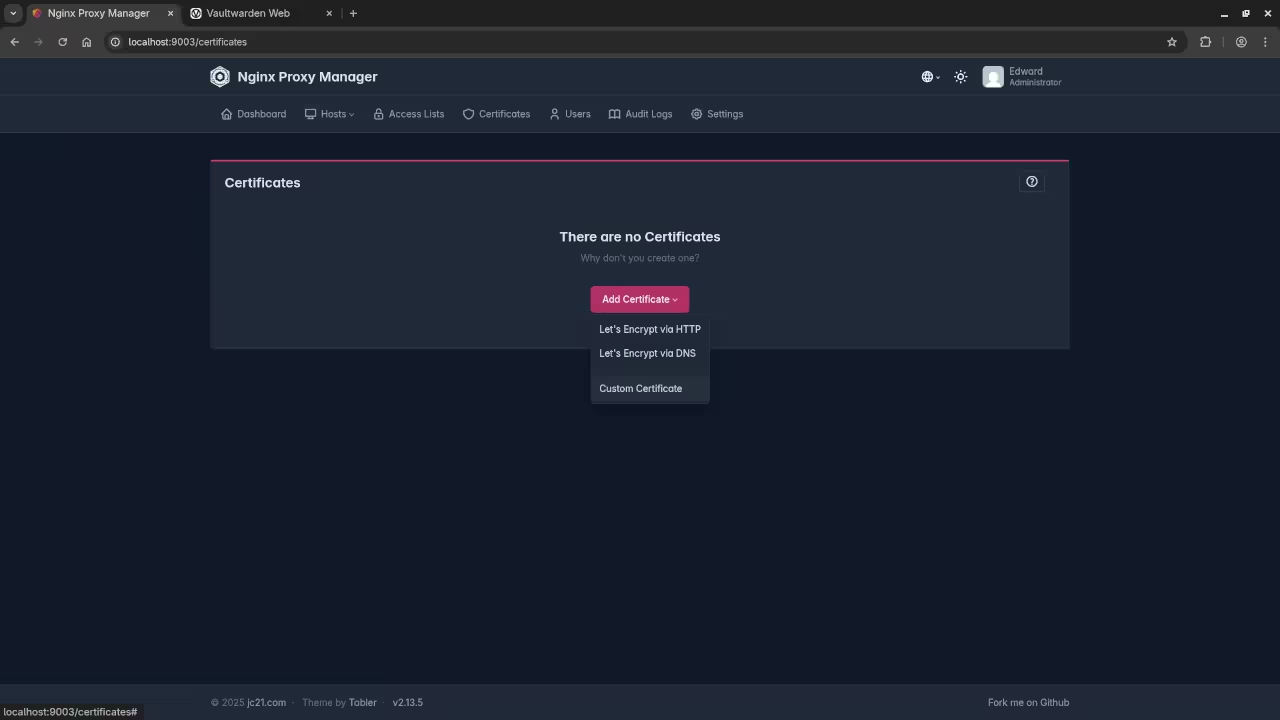
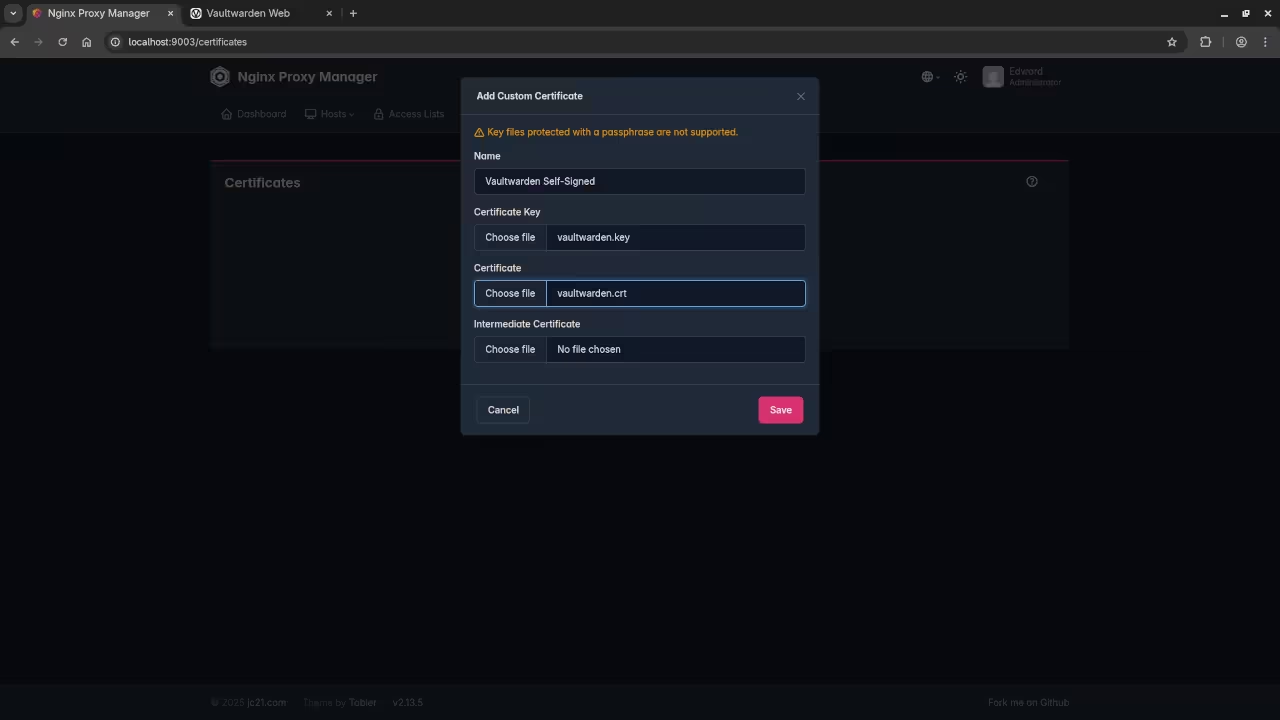
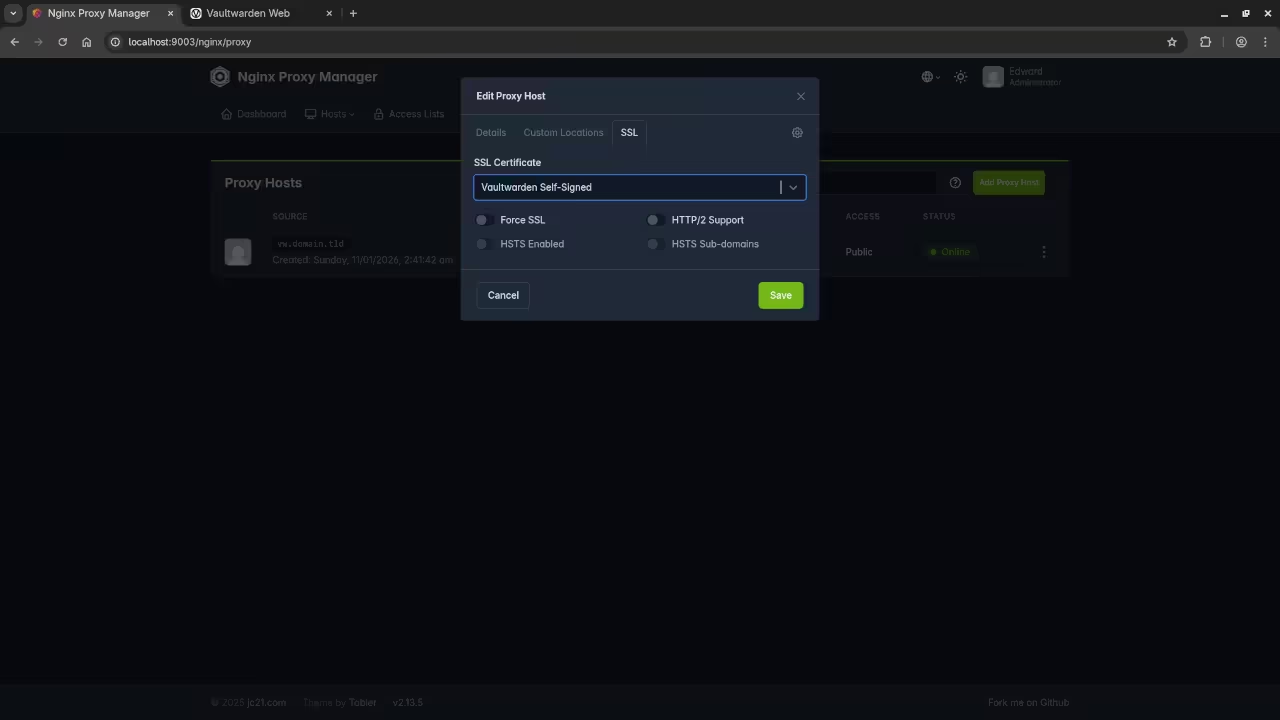
Configuring the Reverse Proxy
To secure the installation, you should run a second container for NGINX Proxy Manager (NPM).
- Pull the
jc21/nginx-proxy-managerimage and run it on ports80and443. - Log into the NPM web interface (usually port
81). - Click Add Proxy Host.
- Enter your domain name (e.g.,
vault.yourdomain.com). - Set the Forward IP to your computer’s local IP address and the Forward Port to
8080. - Under the SSL tab, select Request a new SSL Certificate to enable HTTPS.
This setup mirrors the security of command-line installations. You can find my previous command-line guide here: https://www.ojambo.com/how-to-install-vaultwarden-with-podman.
📷 Screenshots

Now that you have the management tools installed you are ready to view the screencast and begin your deployment.
🎬 Live YouTube Screencast
Take Your Skills Further
- Books: https://www.amazon.com/stores/Edward-Ojambo/author/B0D94QM76N
- Courses: https://ojamboshop.com/product-category/course
- Tutorials: https://ojambo.com/contact
- Consultations: https://ojamboservices.com/contact
🚀 Recommended Resources
Disclosure: Some of the links above are referral links. I may earn a commission if you make a purchase at no extra cost to you.