Getting Started with JMonkeyEngine on Fedora Linux
JMonkeyEngine (JME) is a free open source 3D game engine written in Java. It is licensed under the BSD 3-Clause License which allows you to use modify and distribute the engine with minimal restrictions.
License
License
Type
Key Permissions
BSD 3-Clause
Permissive open source
Commercial use modification distribution private use
Installing JMonkeyEngine
Fedora Linux
# Enable the RPM Fusion free repository (if not already enabled)
sudo dnf install https://download1.rpmfusion.org/free/fedora/rpmfusion-free-release-$(rpm -E %fedora).noarch.rpm
# Install Java (OpenJDK 11 or newer)
sudo dnf install java-11-openjdk-devel
# Download the latest JME SDK zip from https://github.com/jMonkeyEngine/sdk/releases
wget https://github.com/jMonkeyEngine/sdk/releases/download/v3.8.0/jmonkeyplatform-3.8.0.zip
# Unzip to your home directory
unzip jmonkeyplatform-3.8.0.zip -d ~/jmonkeyengine
# Make the launcher executable
chmod +x ~/jmonkeyengine/jmonkeyplatform
# Run the SDK
~/jmonkeyengine/jmonkeyplatform
Maven Gradle (custom projects)
# Example Maven dependency (add to pom.xml)
<dependency>
<groupId>org.jmonkeyengine</groupId>
<artifactId>jme3-core</artifactId>
<version>3.8.0-stable</version>
</dependency>
Other Platforms
Platform
Steps
Windows
Install Java download the SDK zip unzip run jmonkeyplatform.exe
macOS
Install Homebrew brew install openjdk@11 download SDK unzip run jmonkeyplatform.app
Ubuntu Debian
sudo apt install openjdk-11-jdk download SDK unzip run the launcher script
First Project Walkthrough (Fedora)
Open the JME SDK.
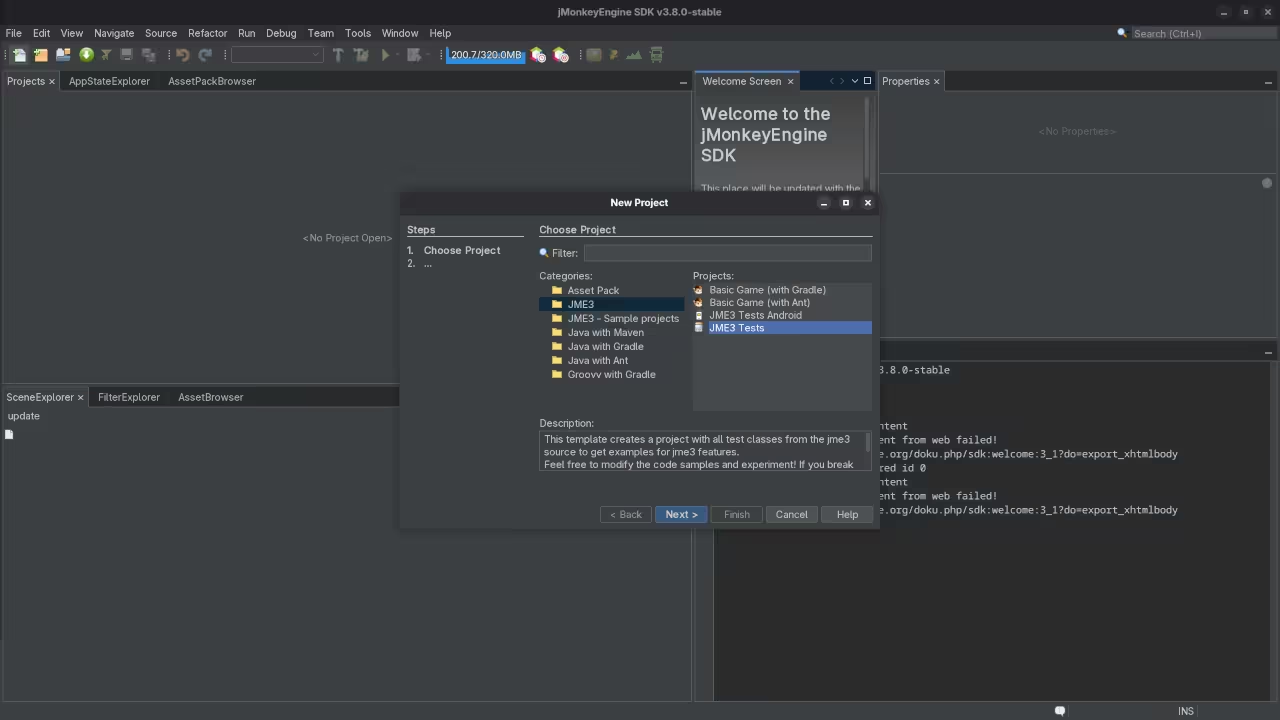
Choose File > New Project > Basic Game.
Name the project MyFirstJMEGame and click Finish.
Press Run (green triangle) to launch the default demo.
📷 Screenshots
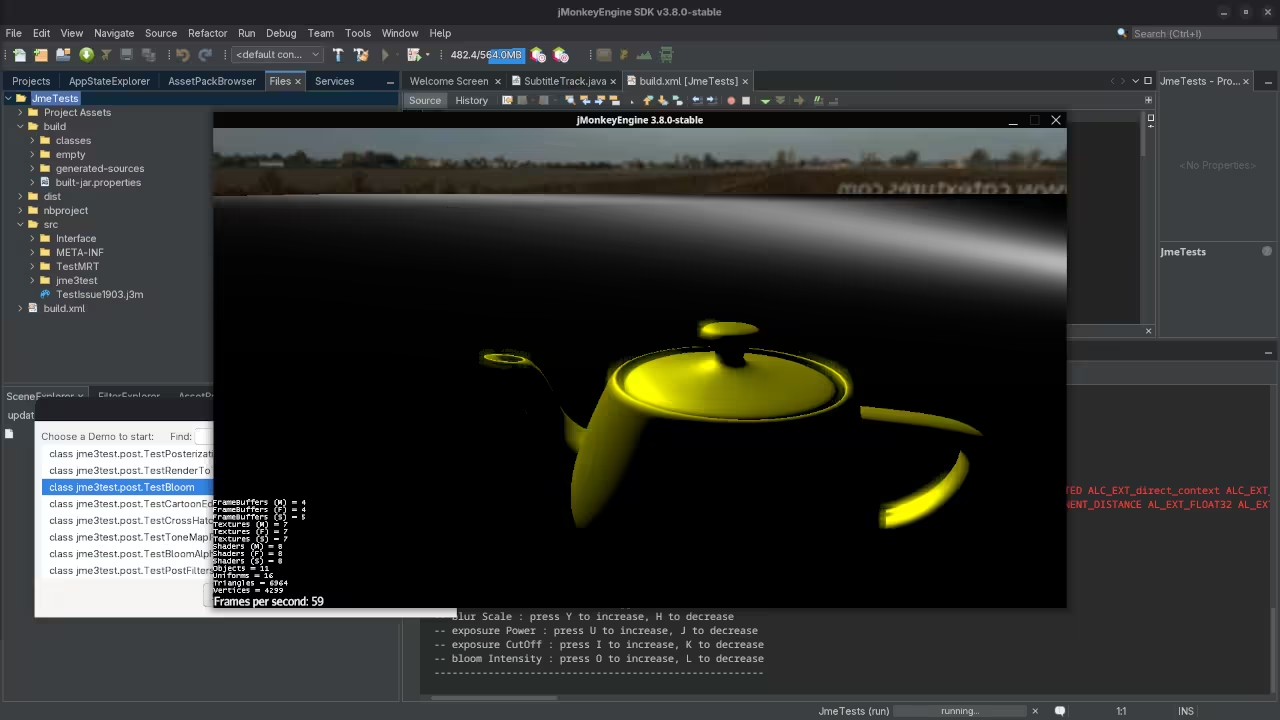
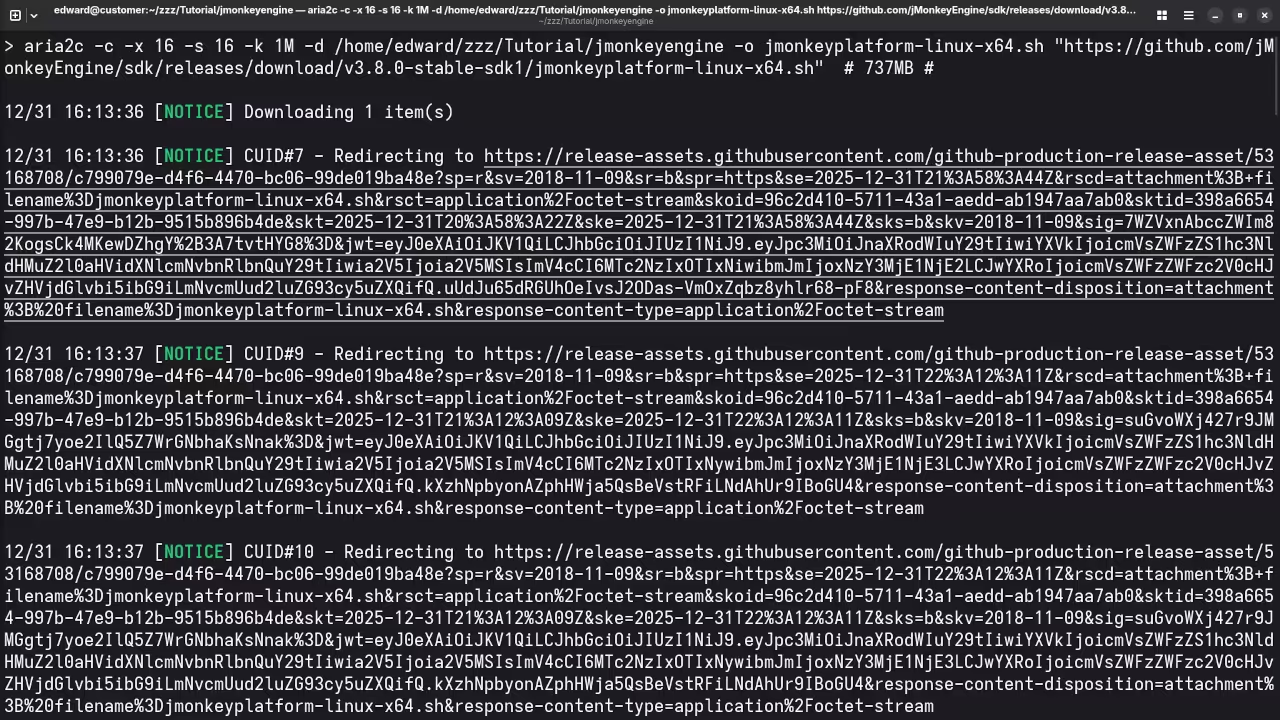
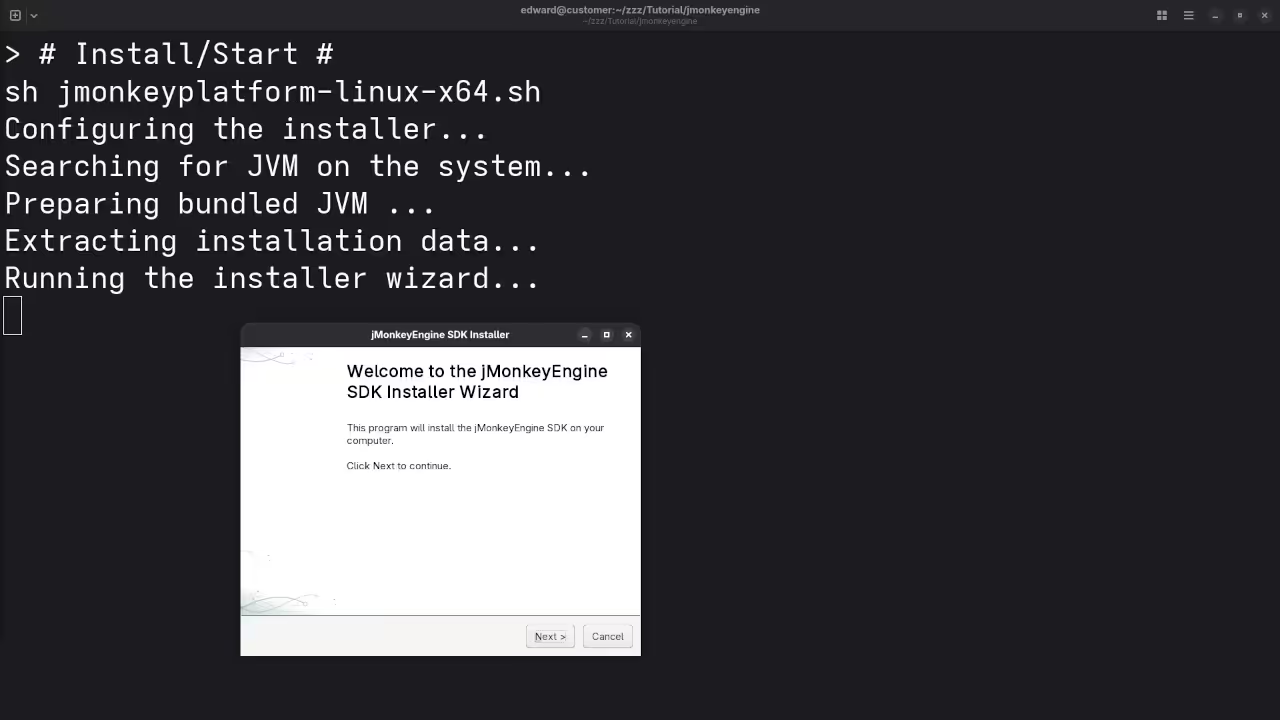
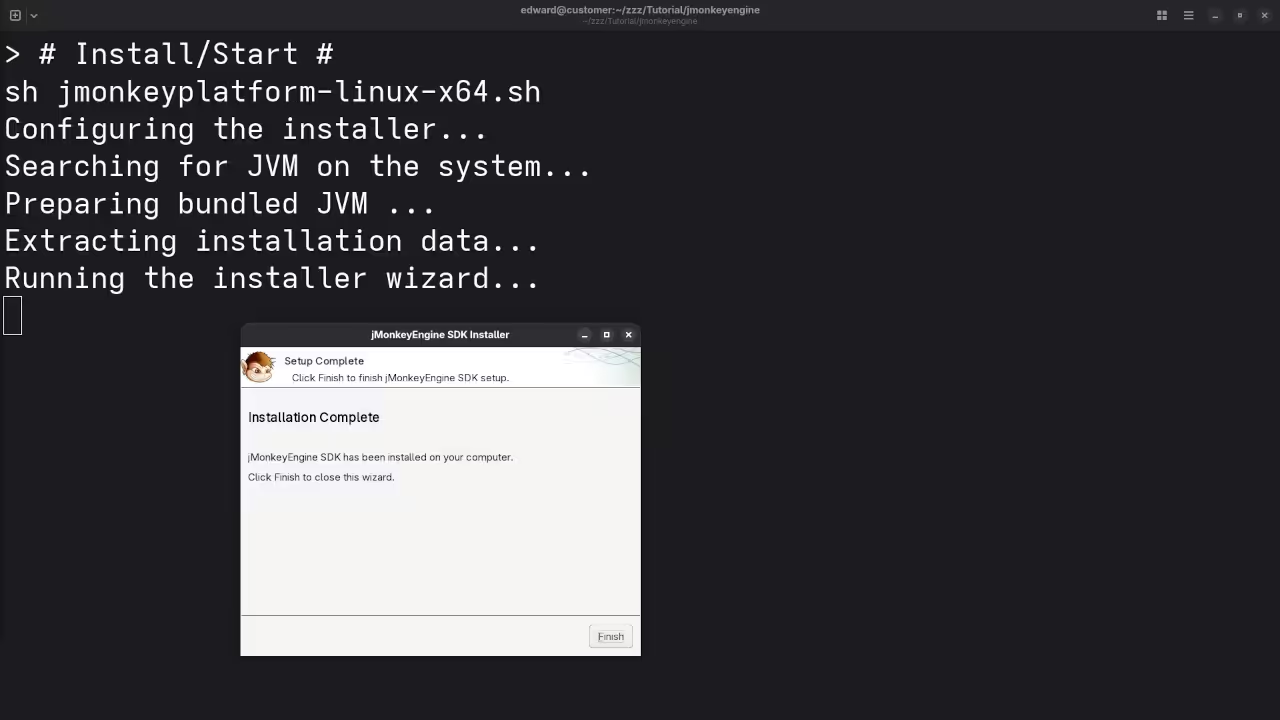
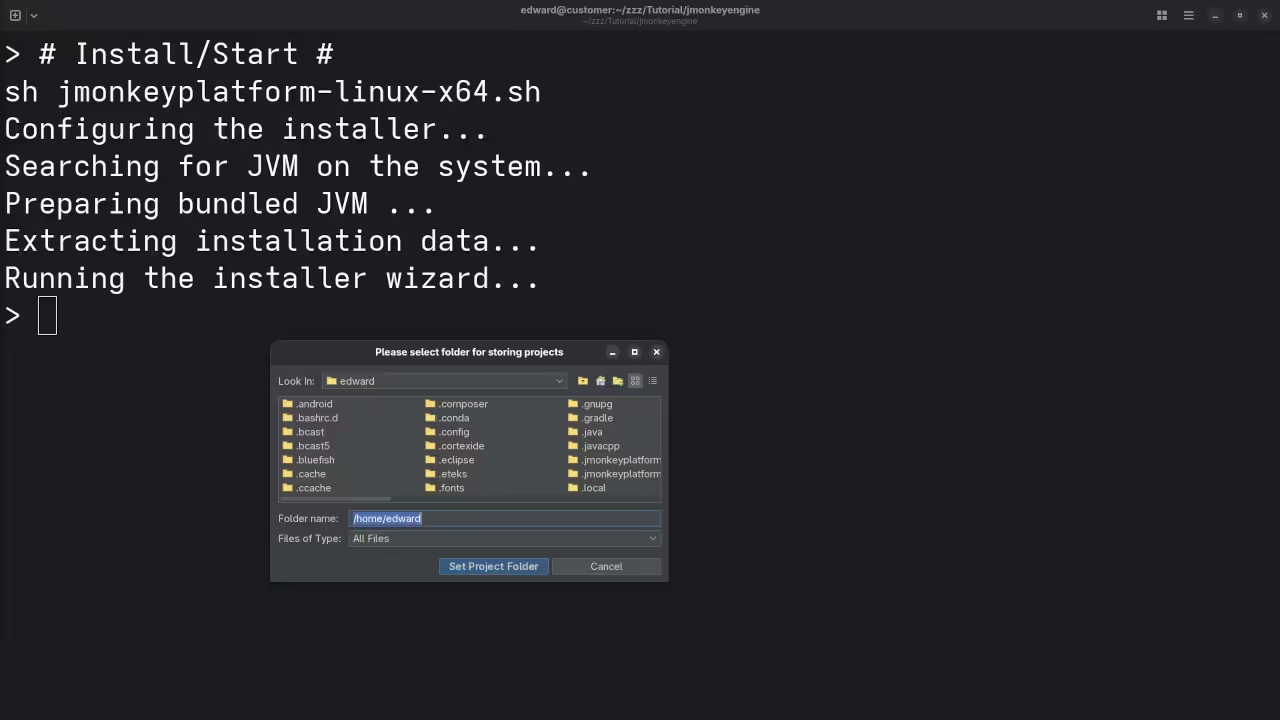
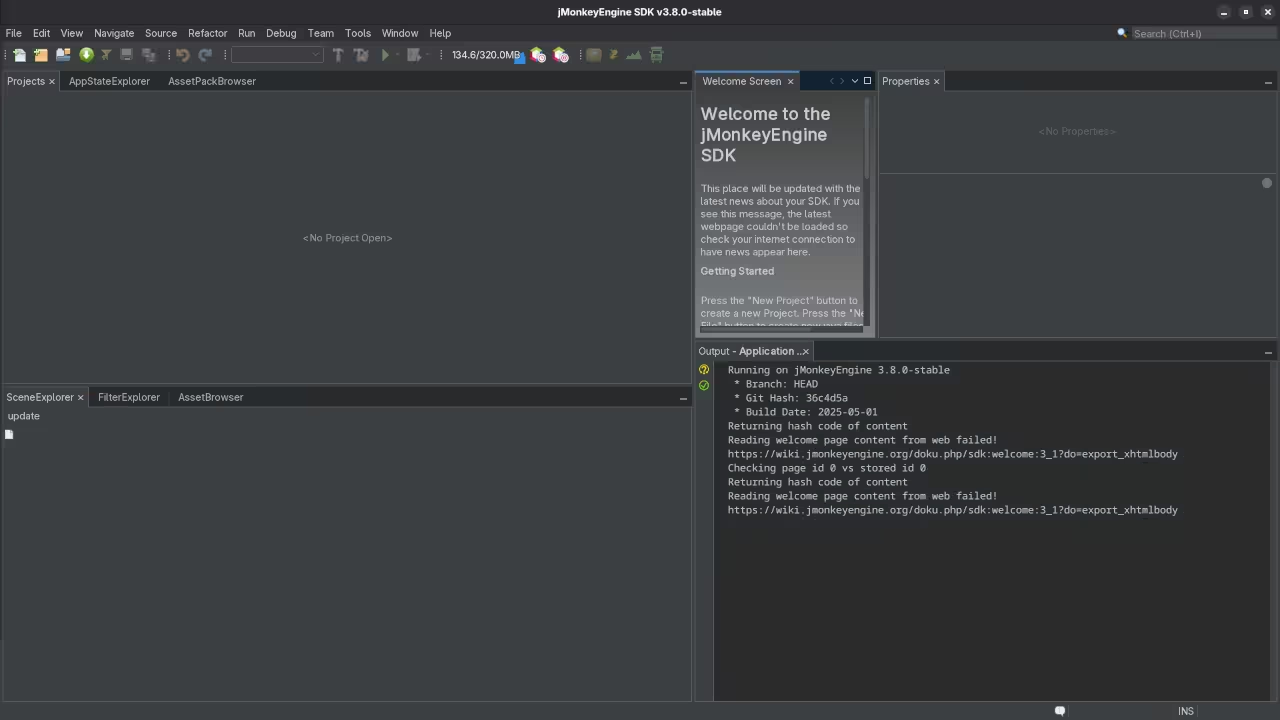
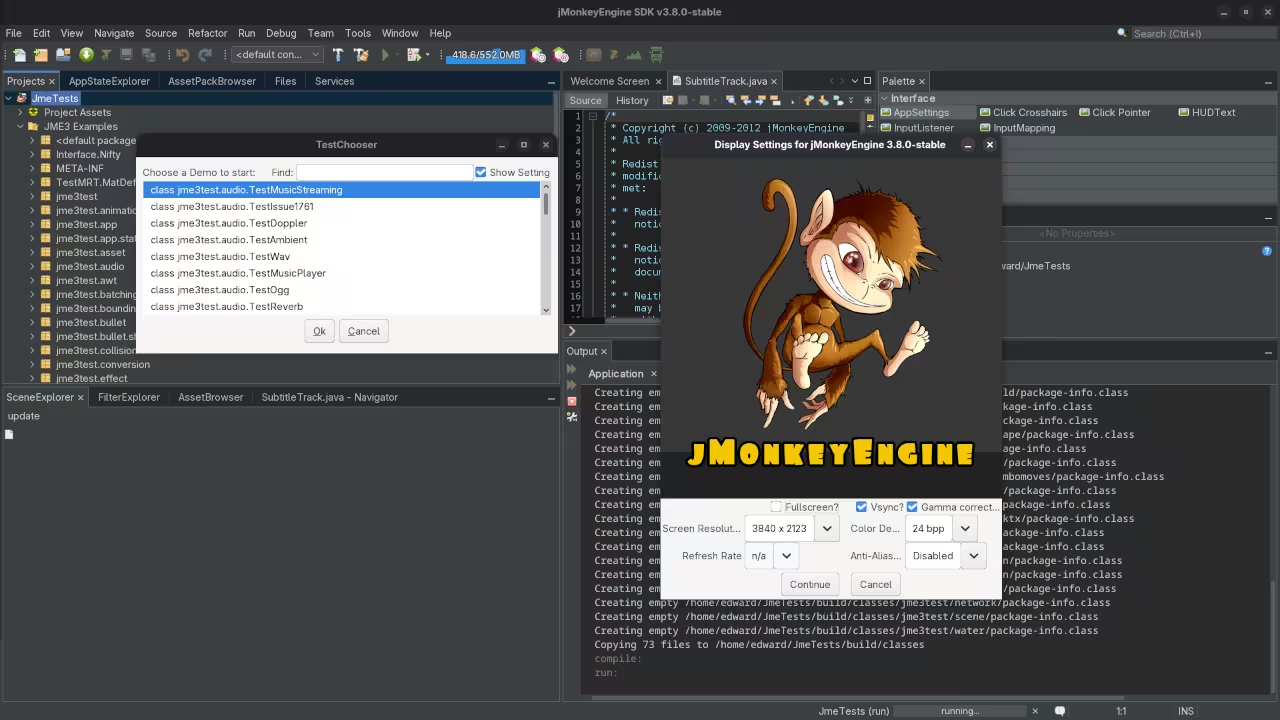
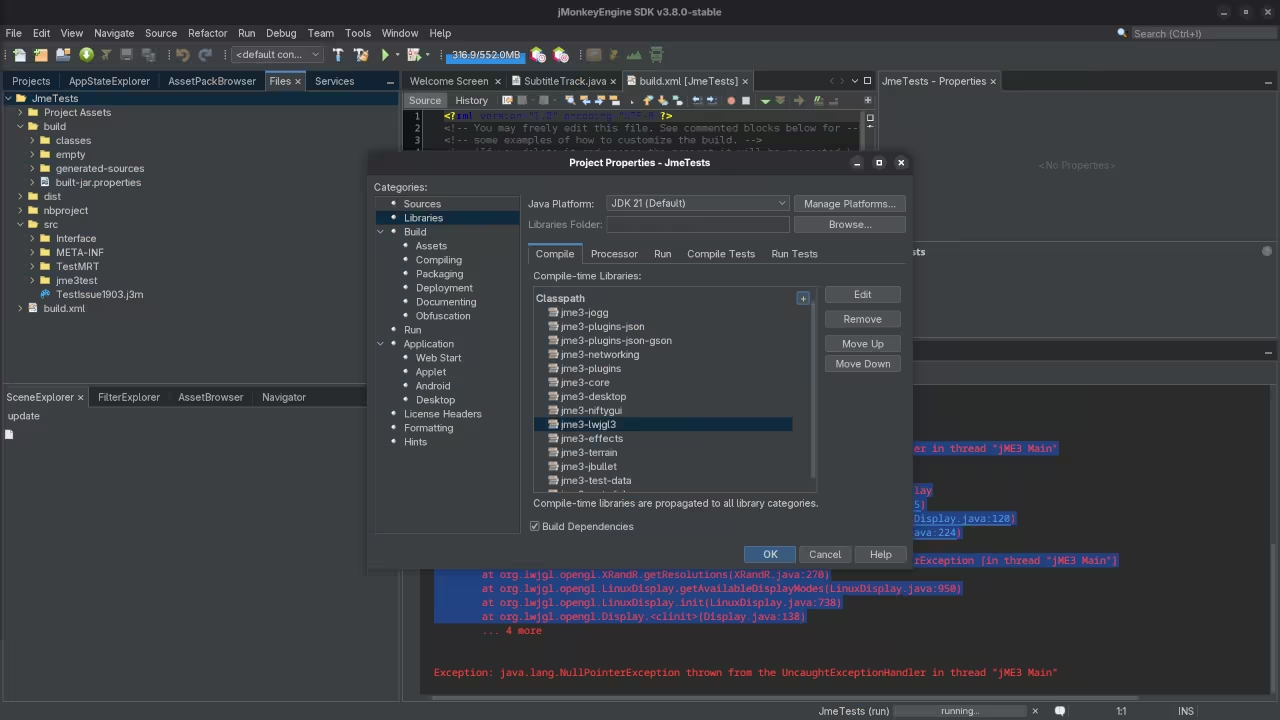
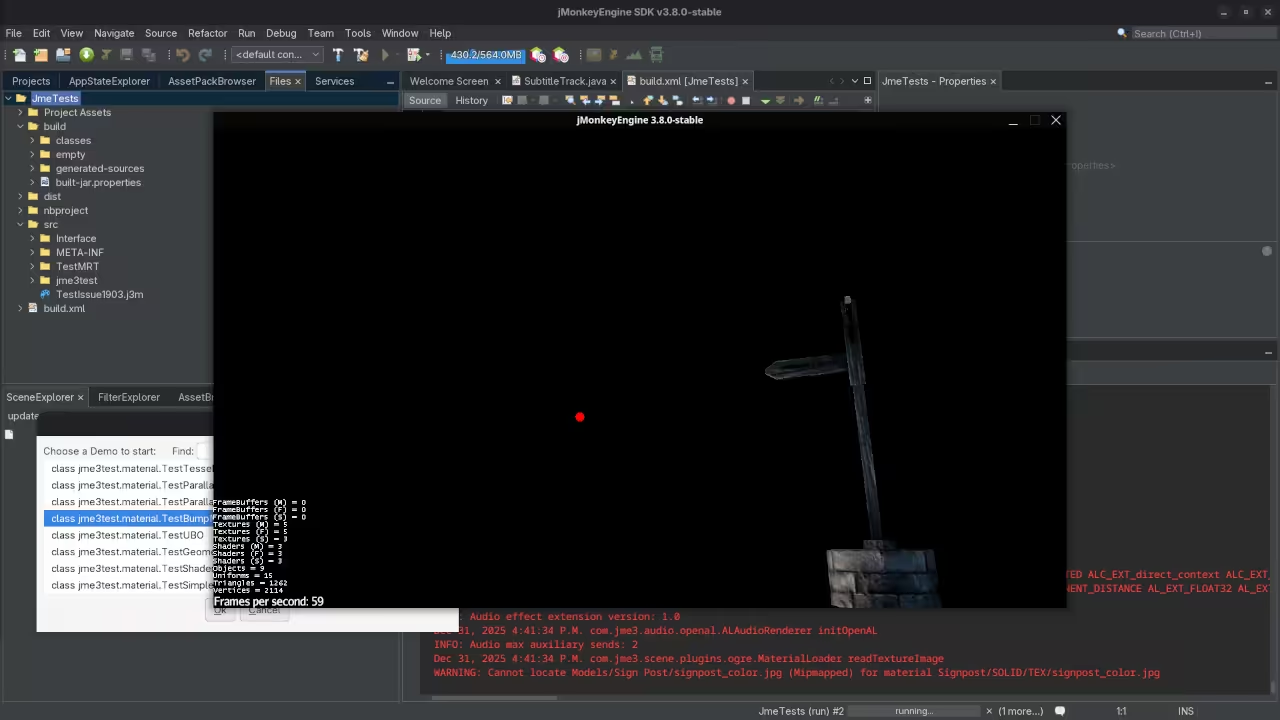
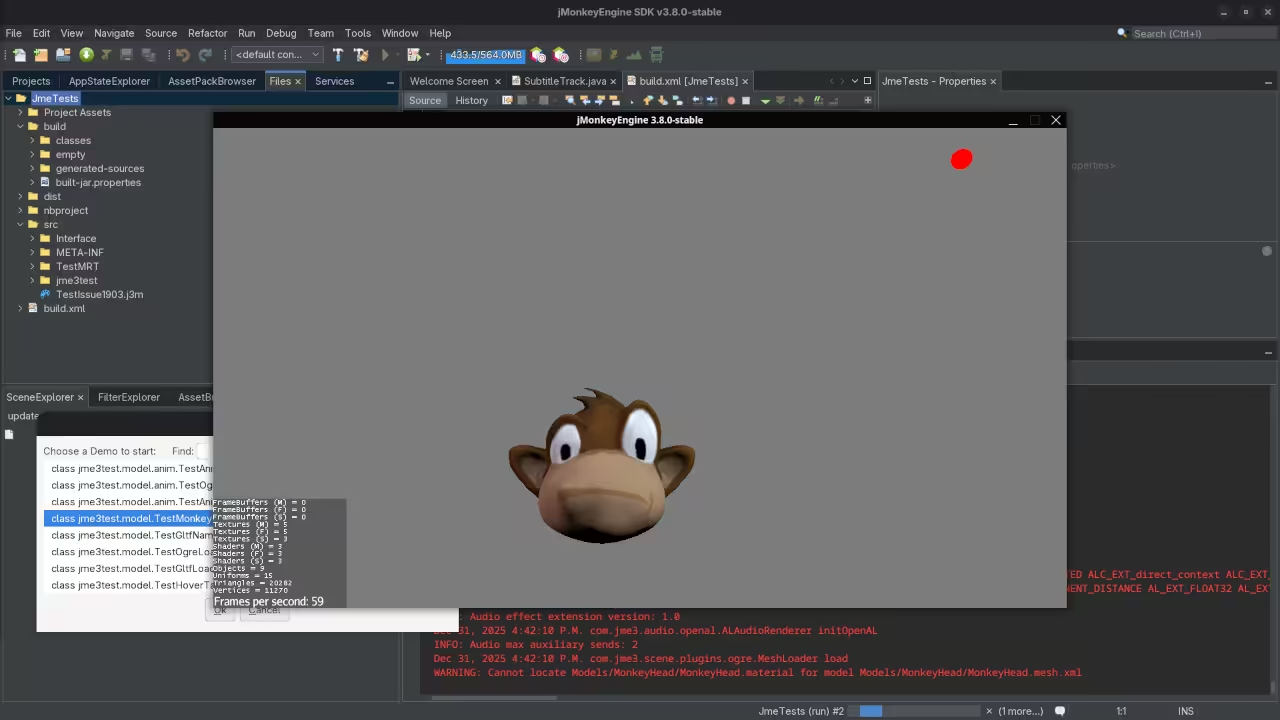
Command Line Displaying Download Of jMonkeyEngine SDKCommand Line Displaying Installation Wizard For jMonkeyEngine SDKCommand Line Displaying Installation Complete For jMonkeyEngine SDKSetup Dialog For jMonkeyEngine SDKDashboard For jMonkeyEngine SDKNew Project For jMonkeyEngine SDKTestChooser JmeTests Project For jMonkeyEngine SDKTestChooser JmeTests Project Properties For jMonkeyEngine SDKJmeTests Project TestBumpJmeTests Project TestMonkey
📺 Live Walkthrough (Screencast)
Video Displaying The Installation And Use Of jMonkeyEngine Game Engine
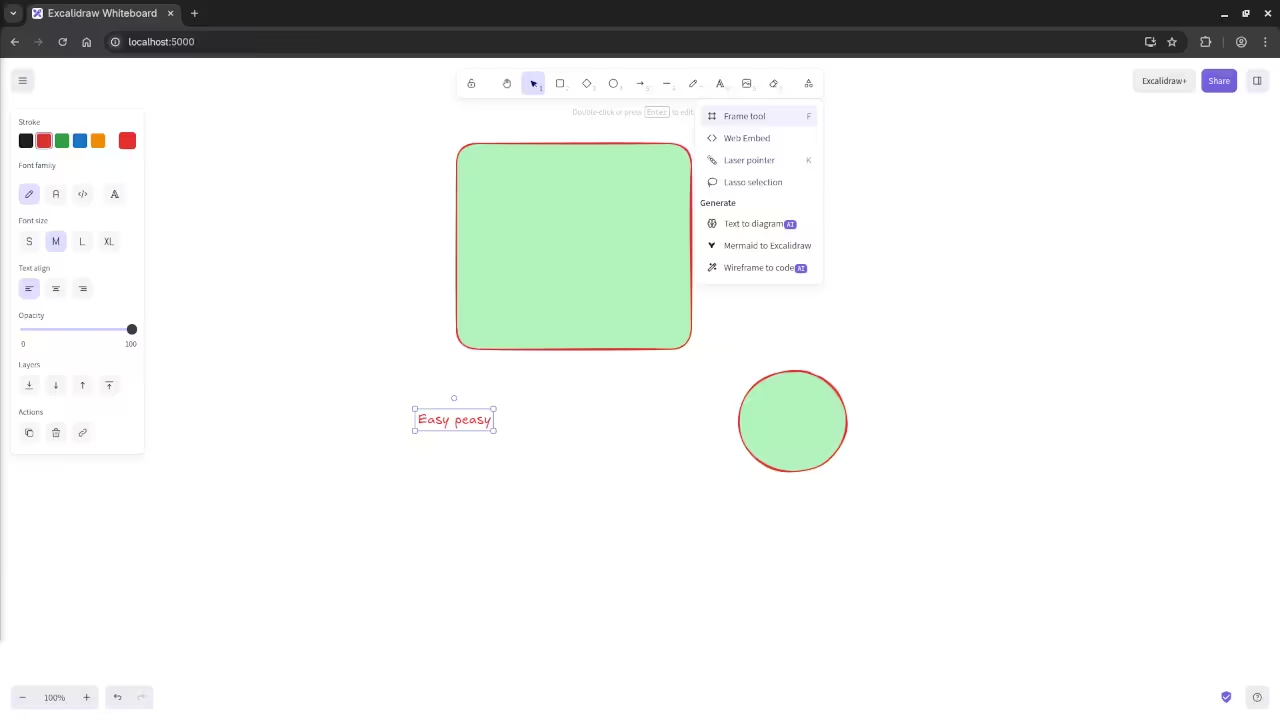
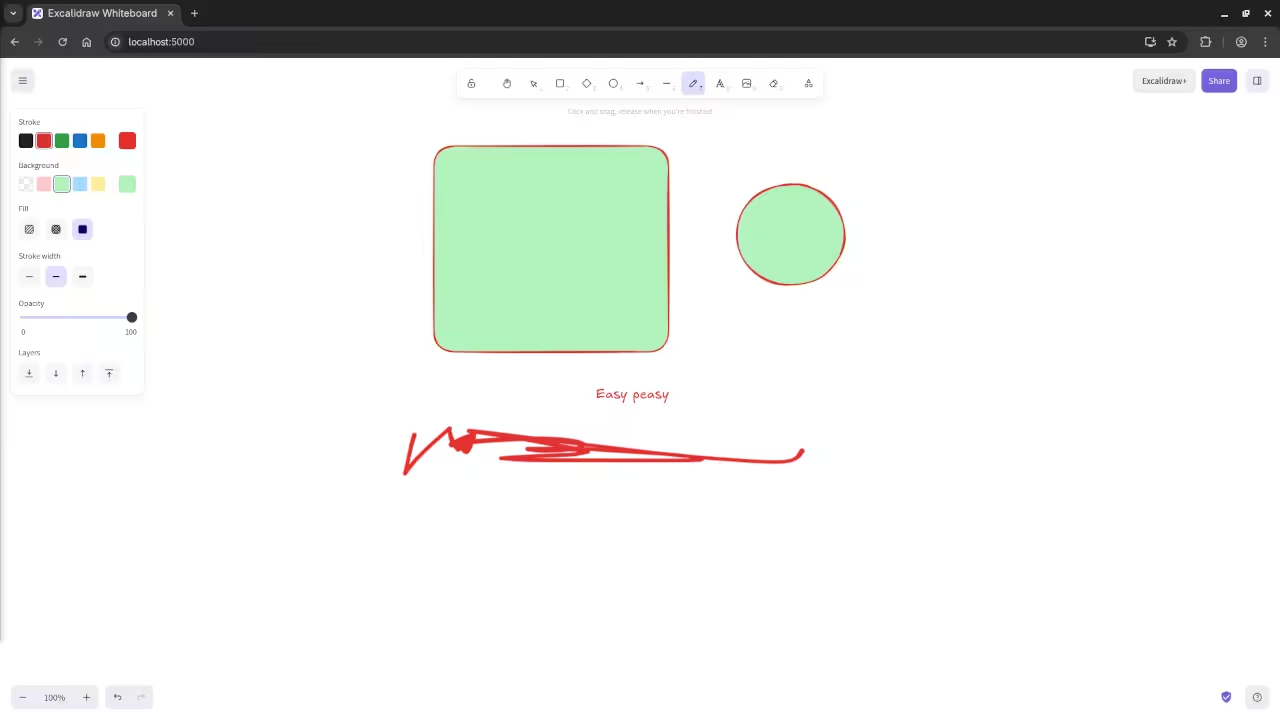
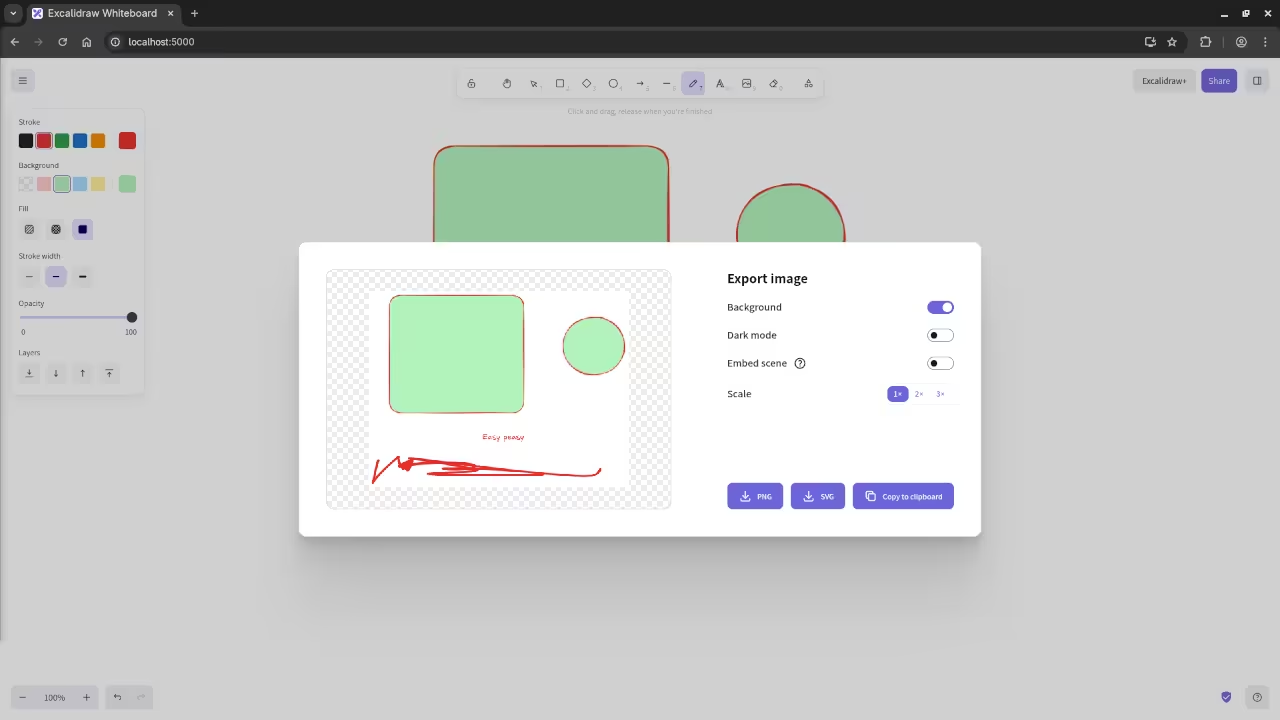
Getting Started with Excalidraw A Free Open Source Diagramming Tool
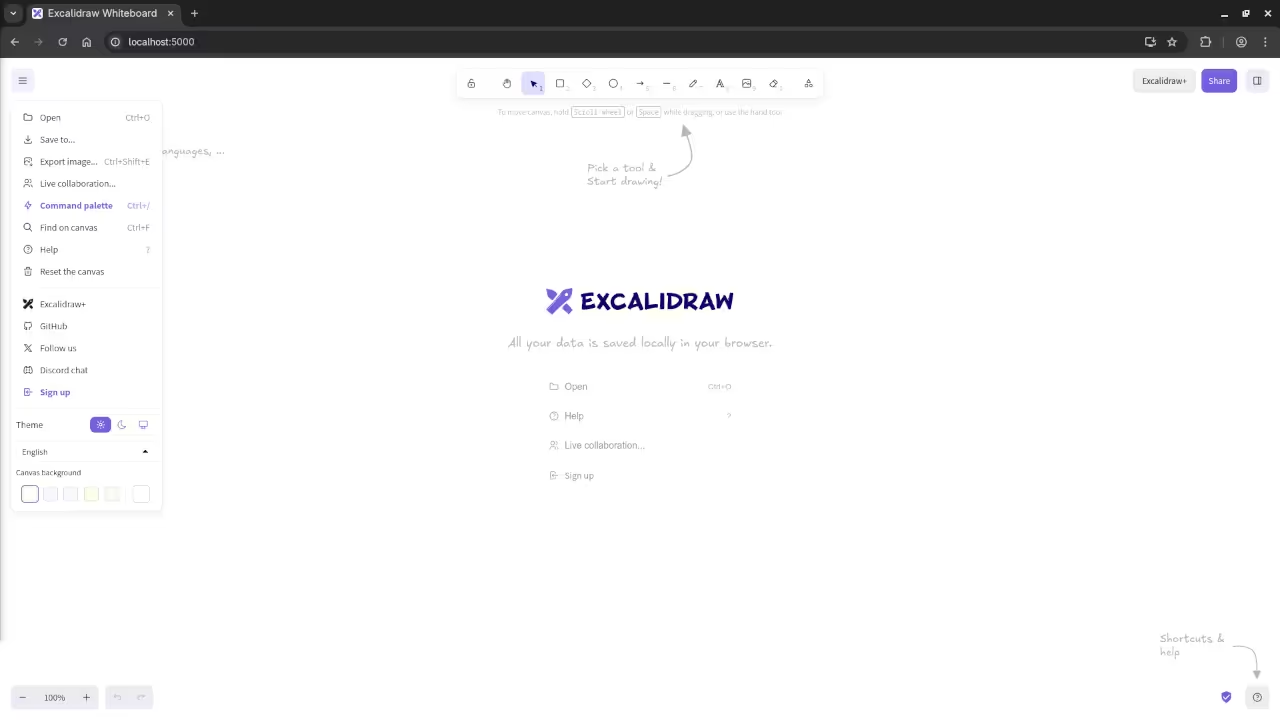
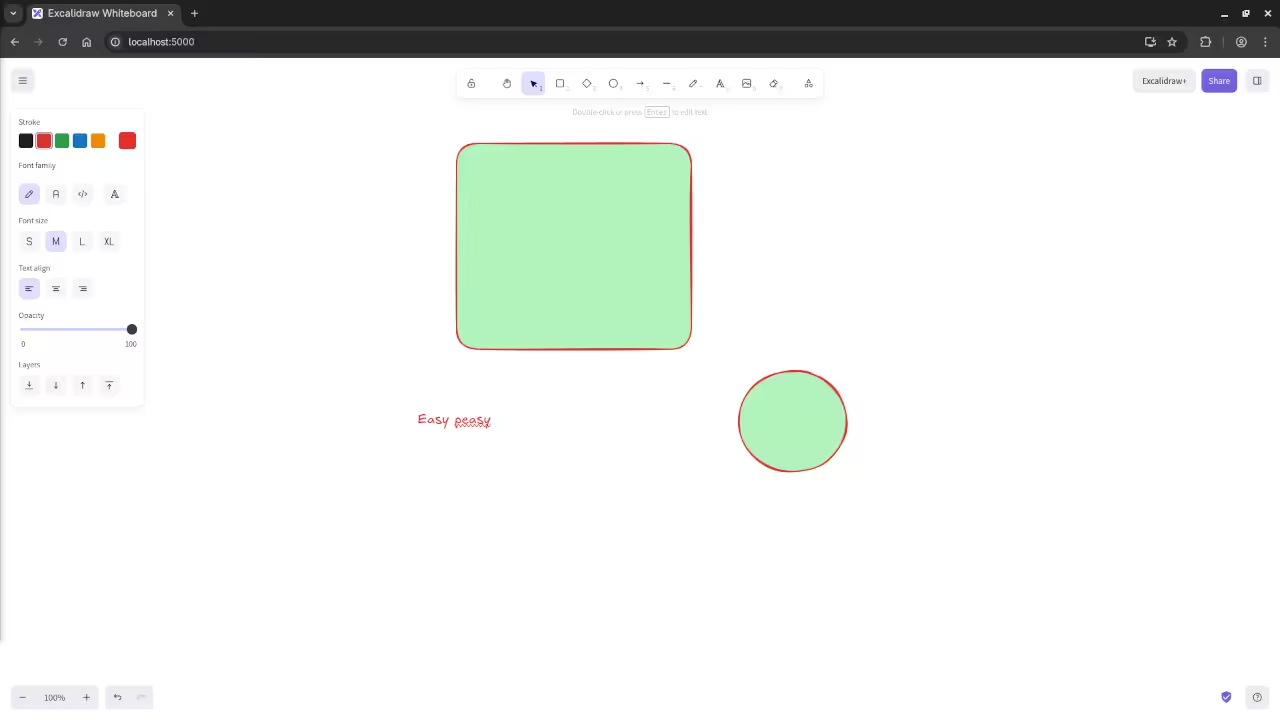
Excalidraw is a free open source web based diagramming tool that allows users to create a wide range of diagrams from simple flowcharts to complex technical illustrations. Its simplicity ease of use and collaborative features make it an excellent choice for individuals and teams looking to visualize ideas and communicate more effectively.
What is Excalidraw
Excalidraw is built using JavaScript and is designed to be highly customizable. As an open source project it is actively maintained and developed by a community of contributors.
Installing Excalidraw
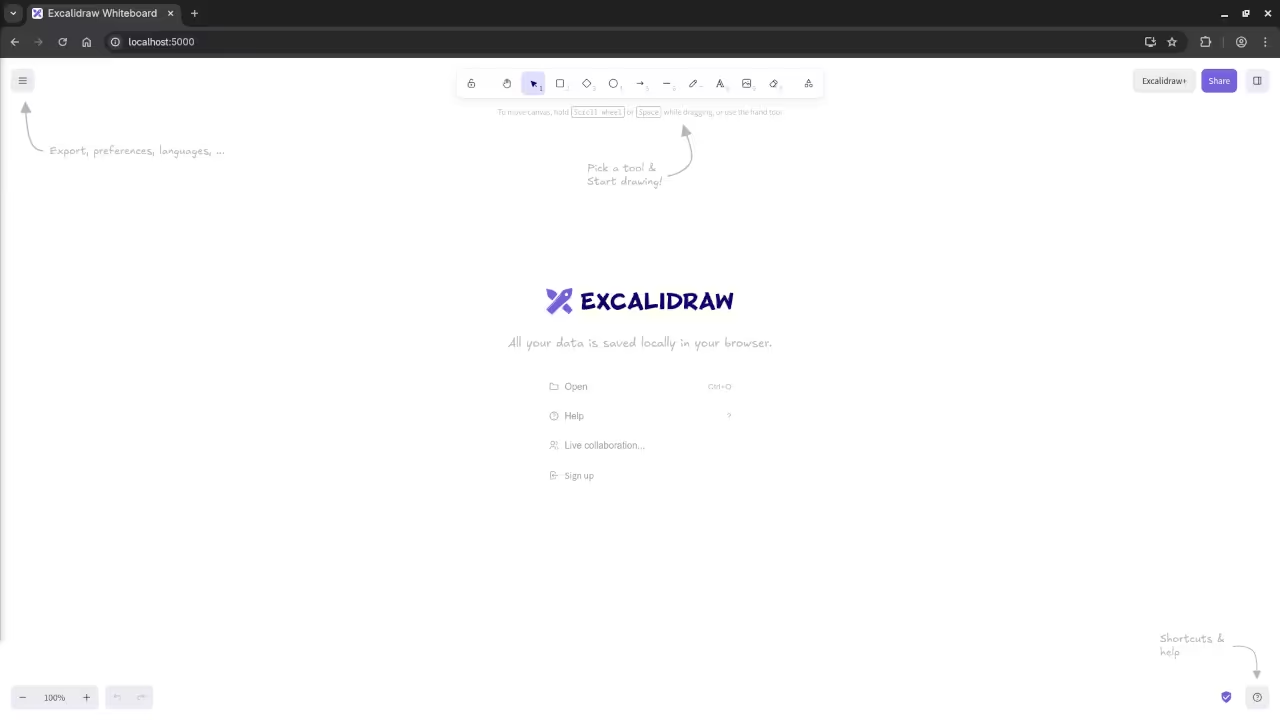
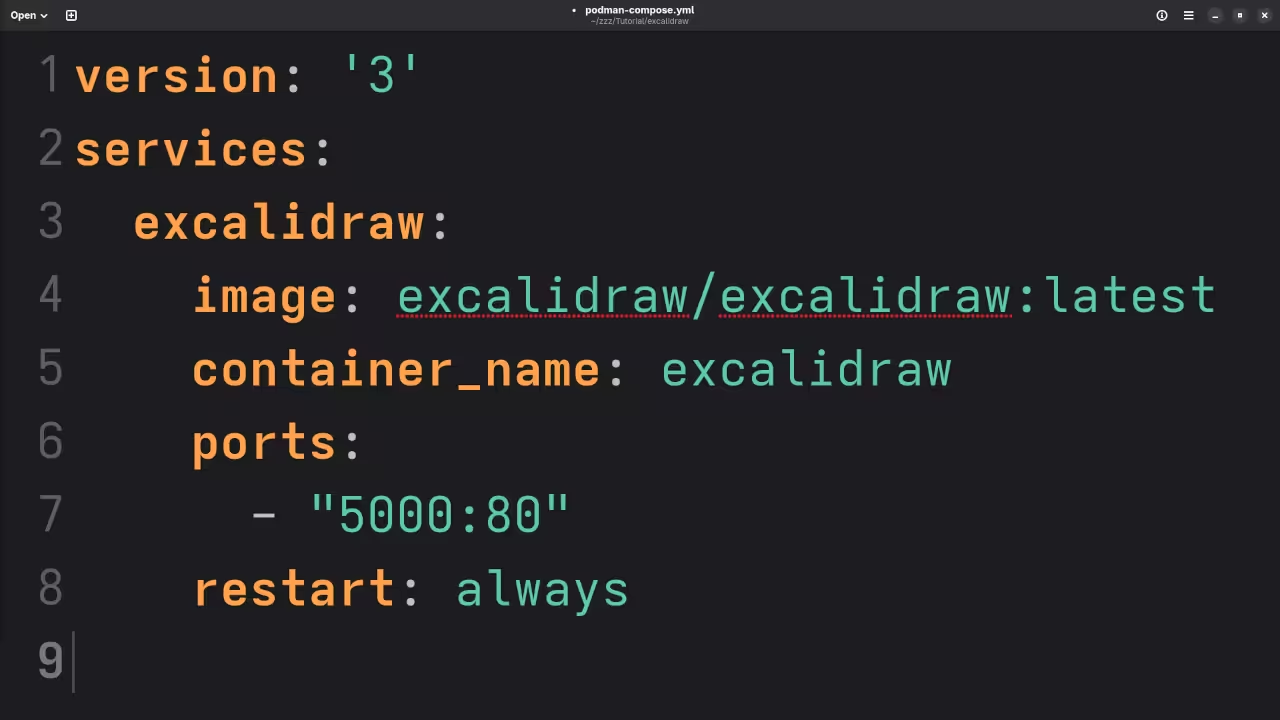
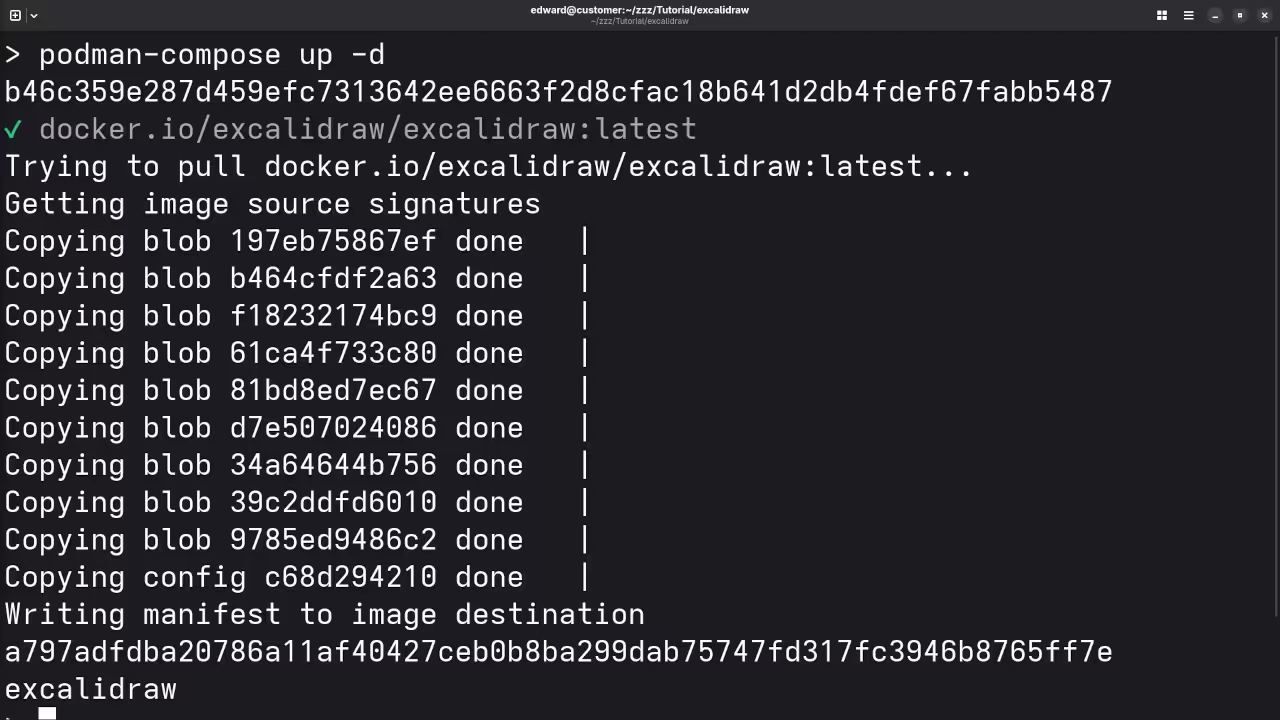
Excalidraw can be installed and run using various methods including Podman or Podman Compose. Here is an example of how to install Excalidraw using Podman Compose:
Getting Started with Qwen2.5-Coder 7B: Running an Open WebUI Chatbot Using the Ollama Backend
Introduction
Hello everyone! Welcome to my beginner-level blog post on setting up Qwen2.5-Coder 7B, an advanced language model running in the Open WebUI using the Ollama backend. This setup is perfect for developers looking to experiment with AI models without the heavy lifting of building them from scratch.
What is Qwen2.5-Coder 7B?
Qwen2.5-Coder 7B is a powerful language model designed specifically for developers and coders. It’s an open-source project, which means that its source code is freely available for anyone to review, modify, or use in their projects.
How Does it Work?
Qwen2.5-Coder 7B runs in the Open WebUI, a user-friendly interface that allows you to interact with your AI model directly from your web browser. The Ollama backend provides the computational power needed to run such an advanced model efficiently.
Apache License 2.0 – Key Features
The Apache License 2.0 is one of the most permissive open-source licenses. It allows anyone to use, modify, and distribute the software without paying licensing fees. Here are some key features of this license:
Free Use: You can use Qwen2.5-Coder 7B for any purpose, including commercial applications.
Modifications: You can modify the source code as much as you need.
Distribution: You can distribute the software and modified versions to others.
Attribution: While not mandatory, it’s recommended that you include the original copyright notice and license in any copies or distributions.
Setting Up Qwen2.5-Coder 7B
Setting up Qwen2.5-Coder 7B is straightforward with Open WebUI. Here’s a quick guide:
Install Open WebUI: Follow the installation instructions provided on the Open WebUI GitHub page.
Add Qwen2.5-Coder 7B: Download and configure Qwen2.5-Coder 7B following the Ollama backend documentation.
Run Qwen2.5-Coder 7B in Open WebUI: Start the Open WebUI interface and connect to your Qwen2.5-Coder 7B model.
Screenshots and Screencast
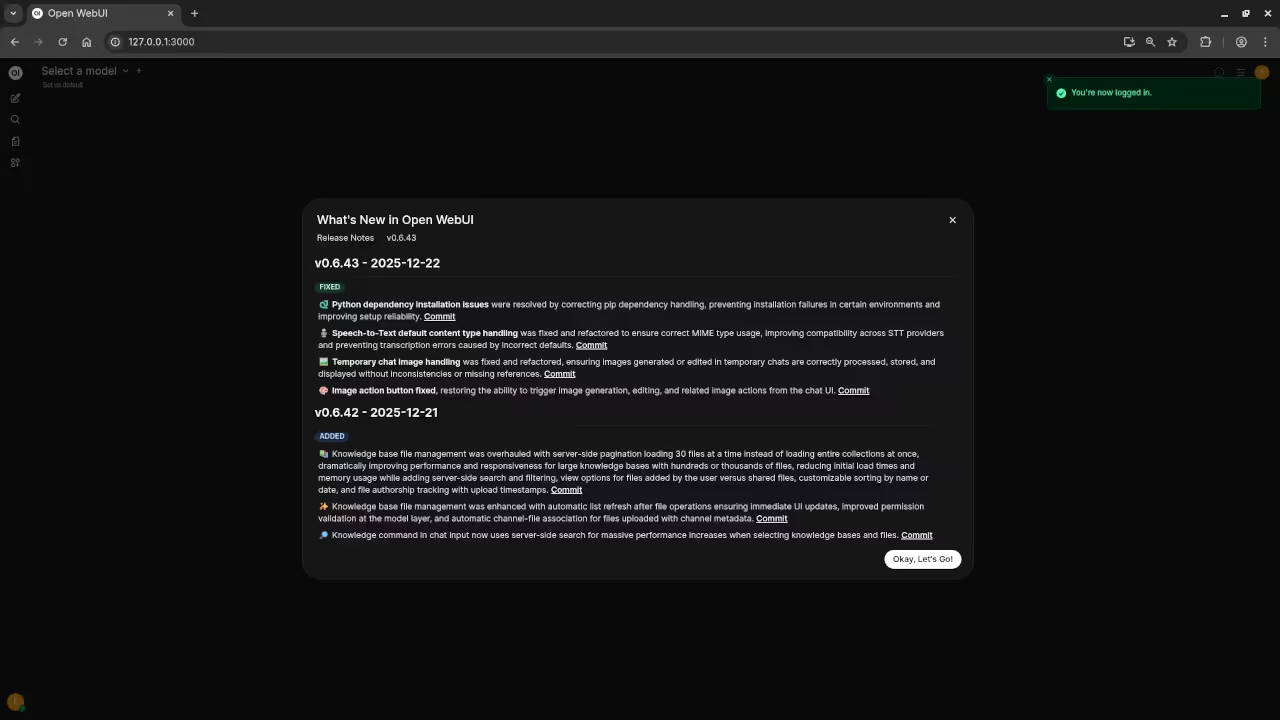
Here’s where you’ll find a visual walkthrough of setting up Qwen2.5-Coder 7B using Open WebUI And Ollama on your local system:
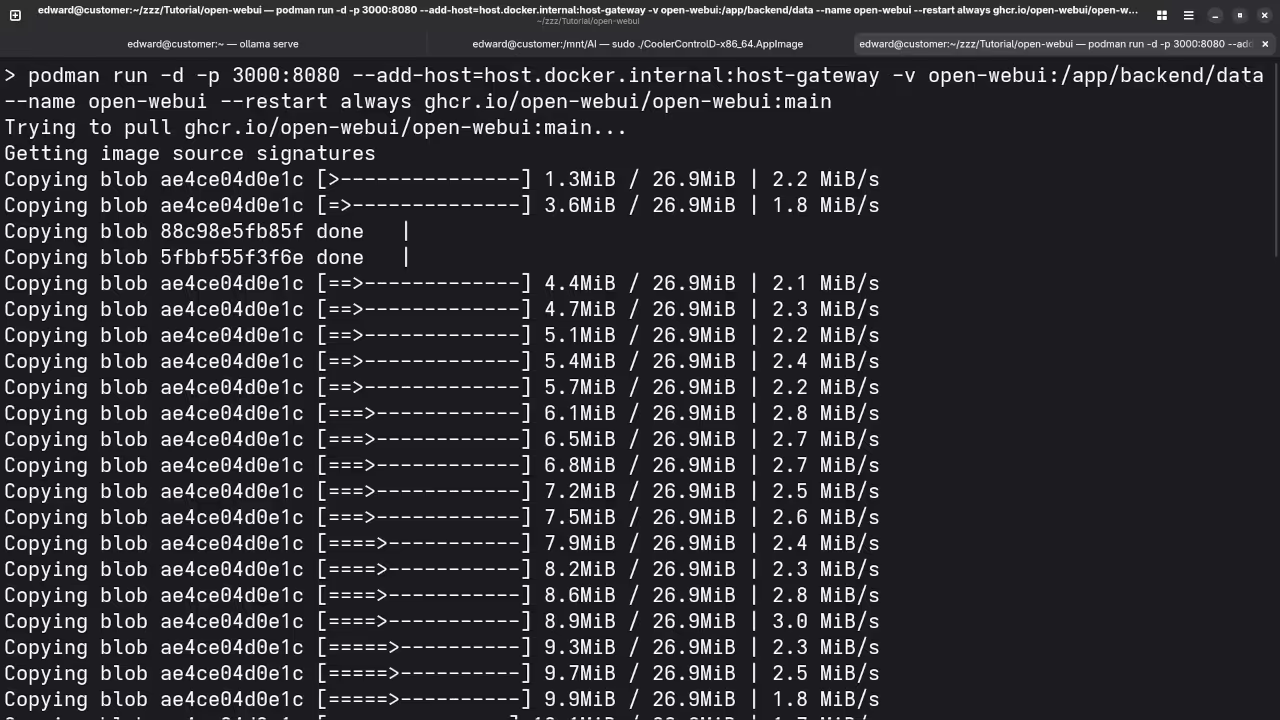
Command Line Starting Open WebUI Podman Container.
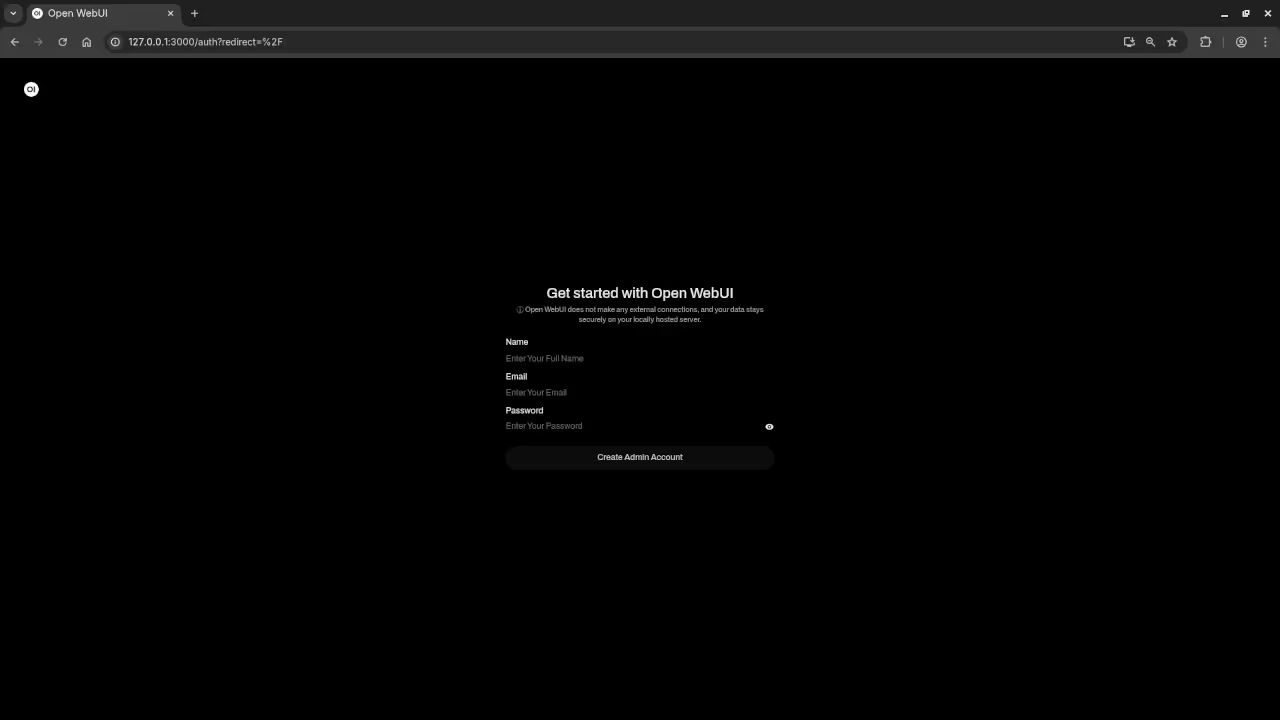
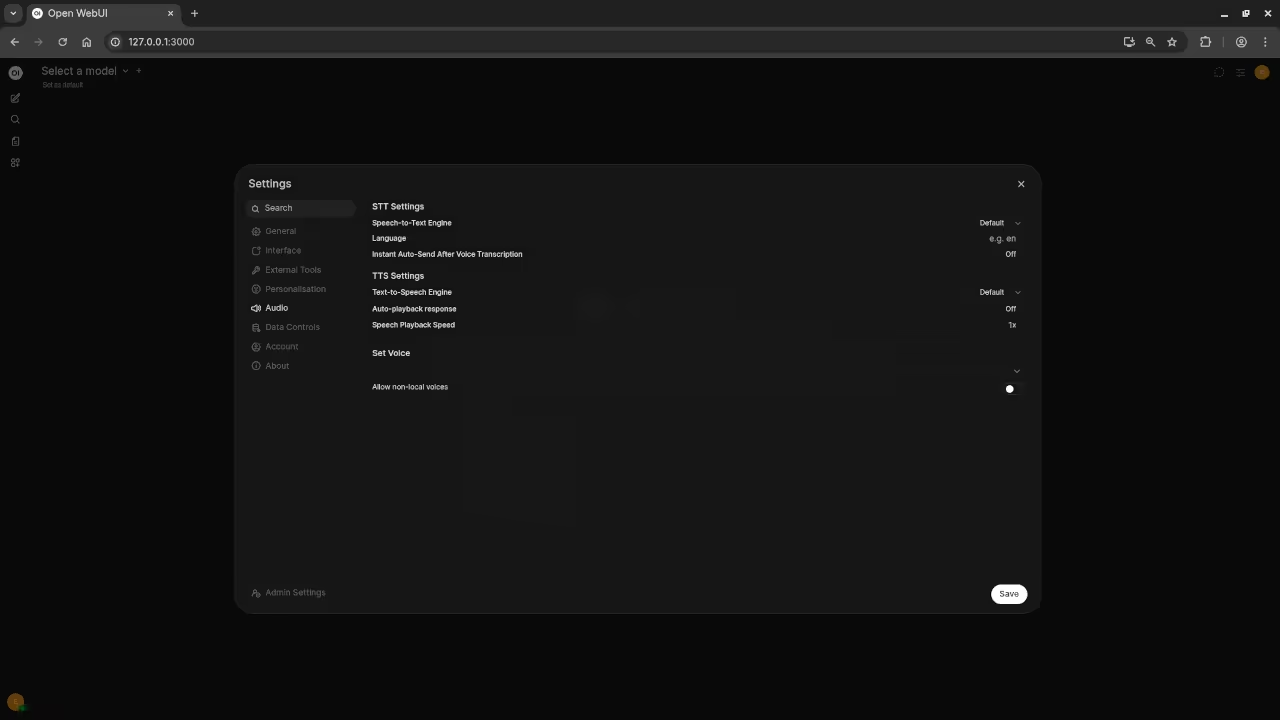
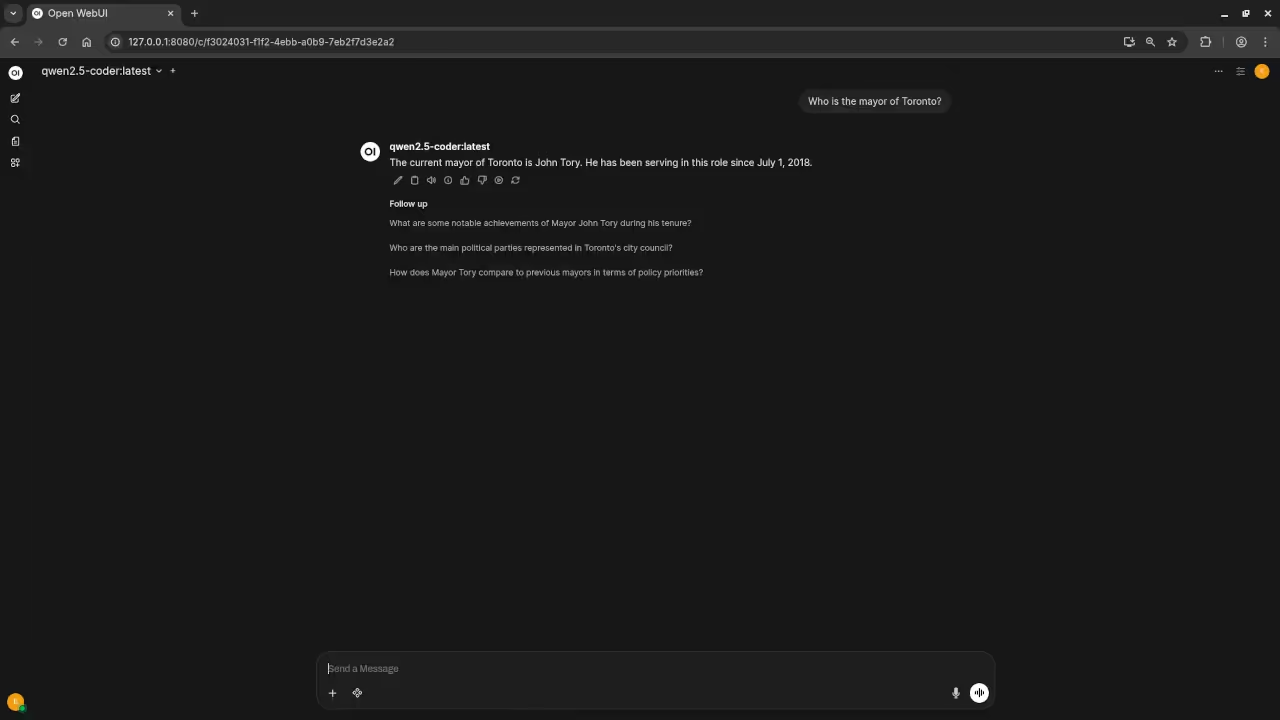
Web Browser Running Open WebUI Admin Setup.Web Browser Running Open WebUI Settings Panel.Command Line Qwen2.5-Coder 7B Answered Mayor Of Toronto Request.Command Line Qwen2.5-Coder 7B Answered PHP Code Request.Command Line Qwen2.5-Coder 7B Answered Gnome Desktop Screenshot Request.Qwen2.5-Coder 7B Answered Kotlin Code Request.Qwen2.5-Coder 7B Answered Blender Blend File Request.Qwen2.5-Coder 7B Answered Blender Blend Python Code.Video Displaying Using Qwen2.5-Coder 7B In Open WebUI For Ollama Client
Results:
Who is the mayor of Toronto?
Produced inaccurate current answer to Olivia Chow as the mayor of Toronto.
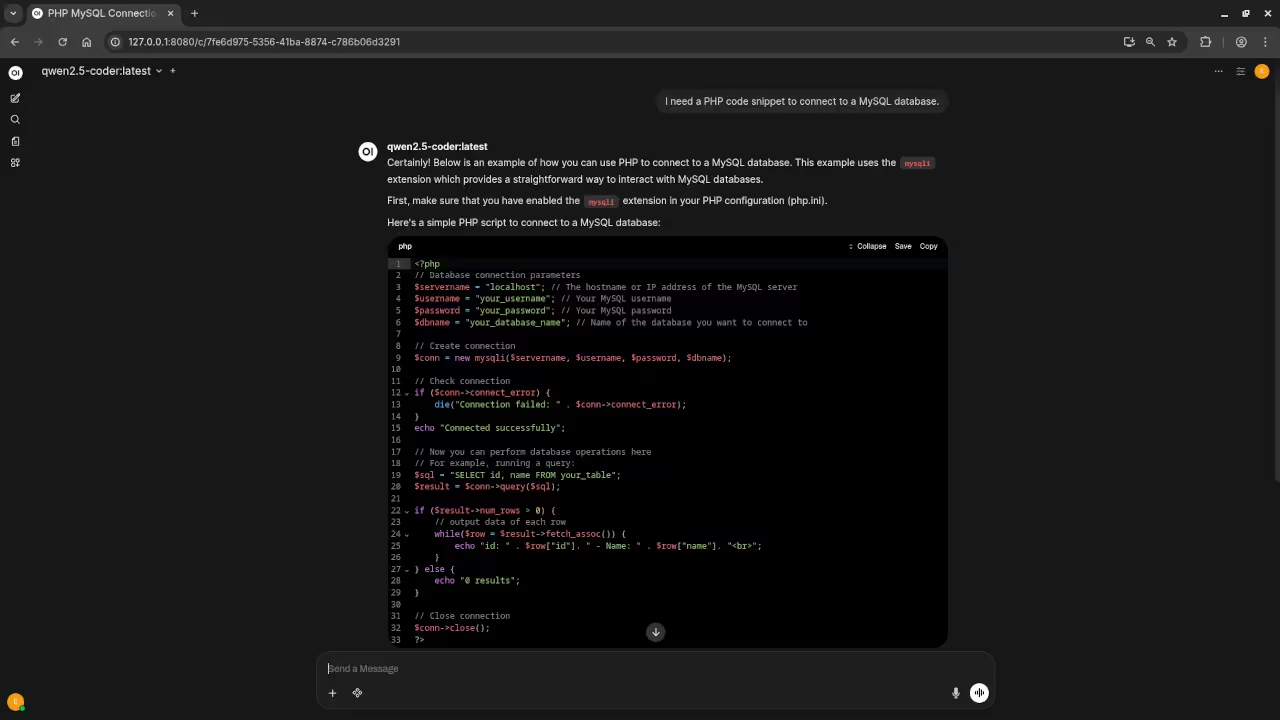
I need a PHP code snippet to connect to a MySQL database.
Produced accurate PHP code snippet to connect to a MySQL database.
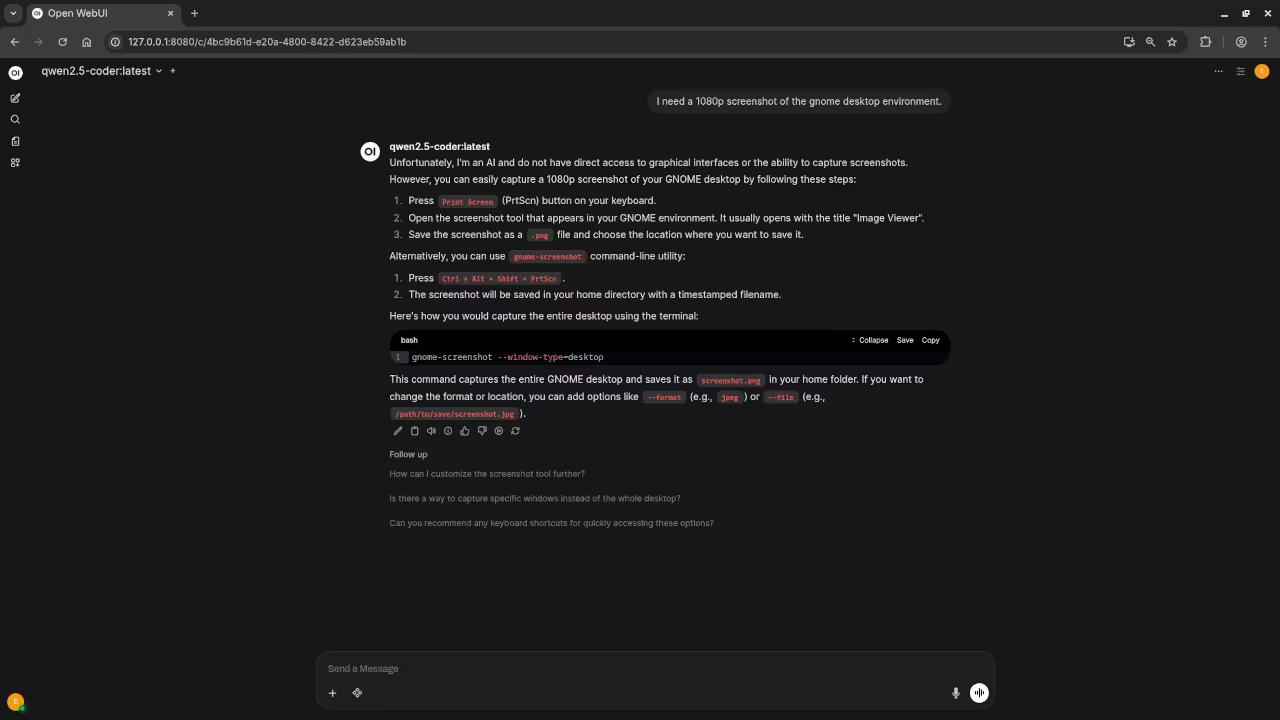
I need a 1080p screenshot of the gnome desktop environment.
Accurately provided instructions to generate a 1080p screenshot of Gnome desktop environment because it is a text-based AI lacking ability.
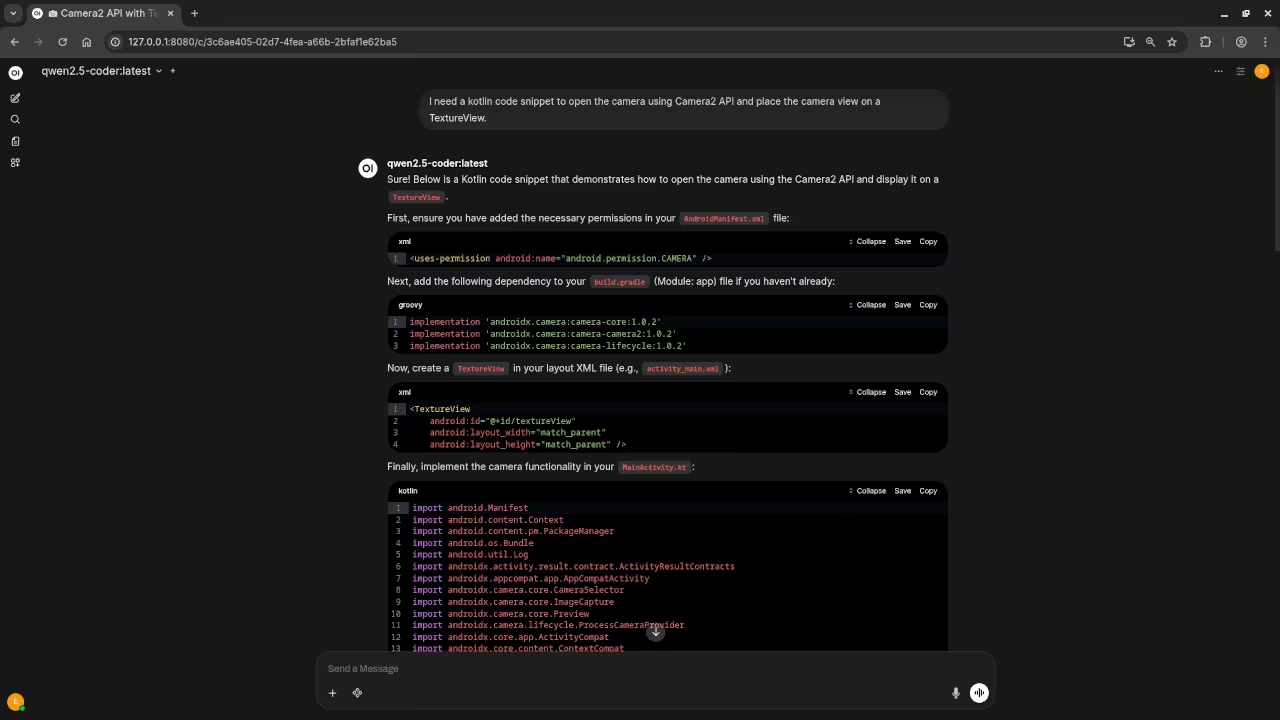
I need a kotlin code snippet to open the camera using Camera2 API and place the camera view on a TextureView.
Produced untested Kotlin code snippet.
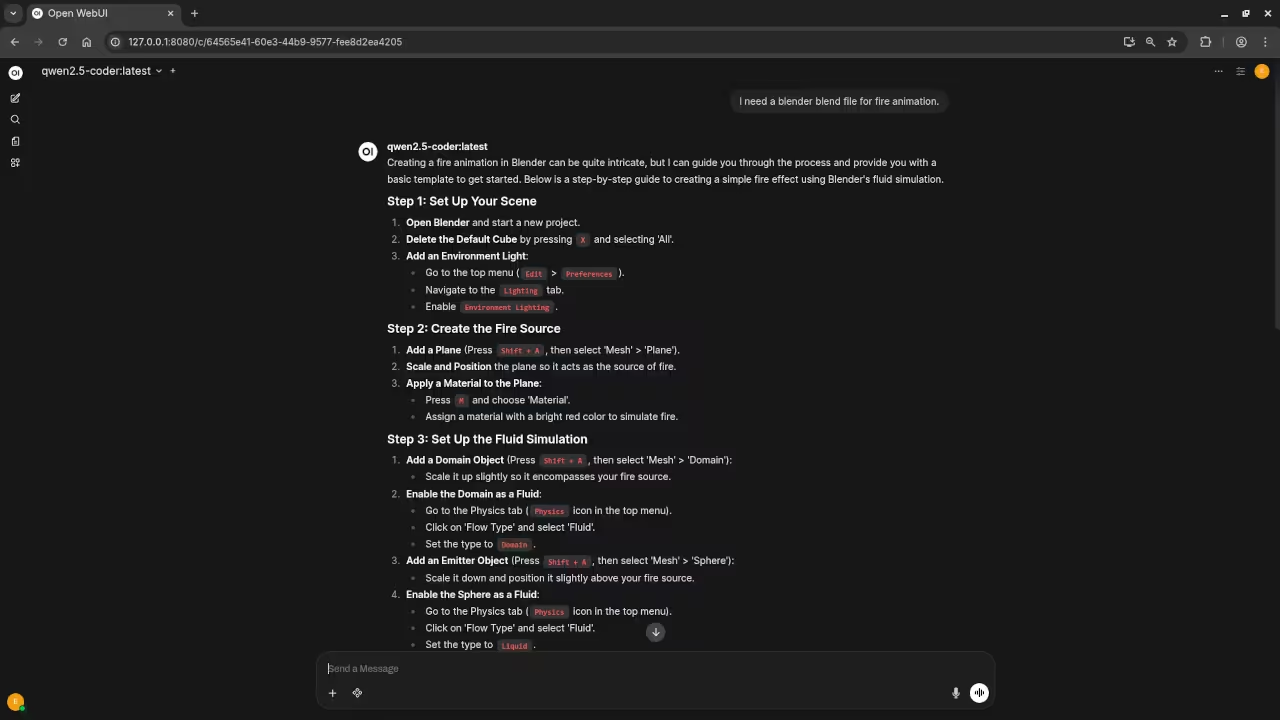
I need a blender blend file for fire animation.
Produced outdated instructions for generating a fire animation.
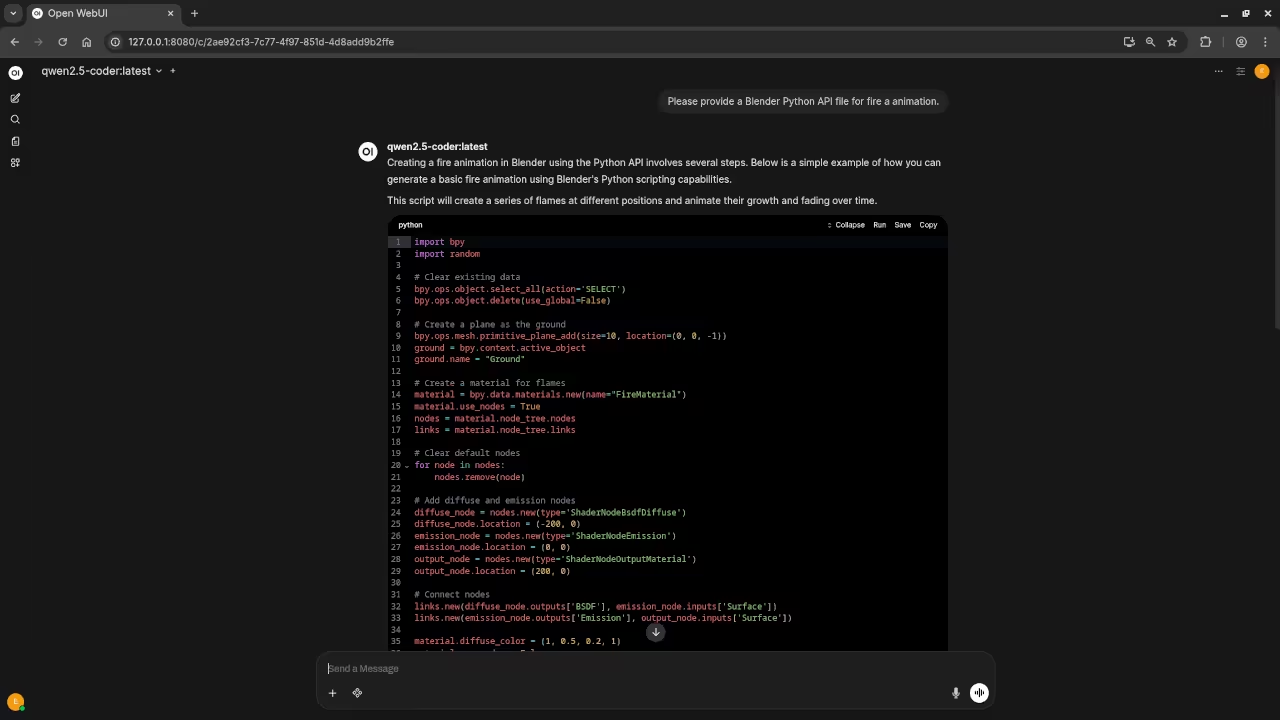
Please provide a Blender Python API file for fire a animation.
Produced untested Blender Python API code snippet.
Additional Resources
If you’re interested in learning more about Python programming, here are some resources to help you get started:
Getting Started with PHPUnit: A Complete Guide with MariaDB Database Integration
Introduction
PHPUnit is an essential tool for testing PHP code to ensure it behaves as expected. In this beginner-level guide, we’ll walk you through setting up a basic application that connects to an existing MariaDB database table named “people”. This tutorial will cover connecting to the database, retrieving data, updating records, inserting new records, and deleting records.
Prerequisites
Basic understanding of PHP.
A PHP installation.
MariaDB server with the “people” table set up.
Step 1: Setting Up PHPUnit in PHP
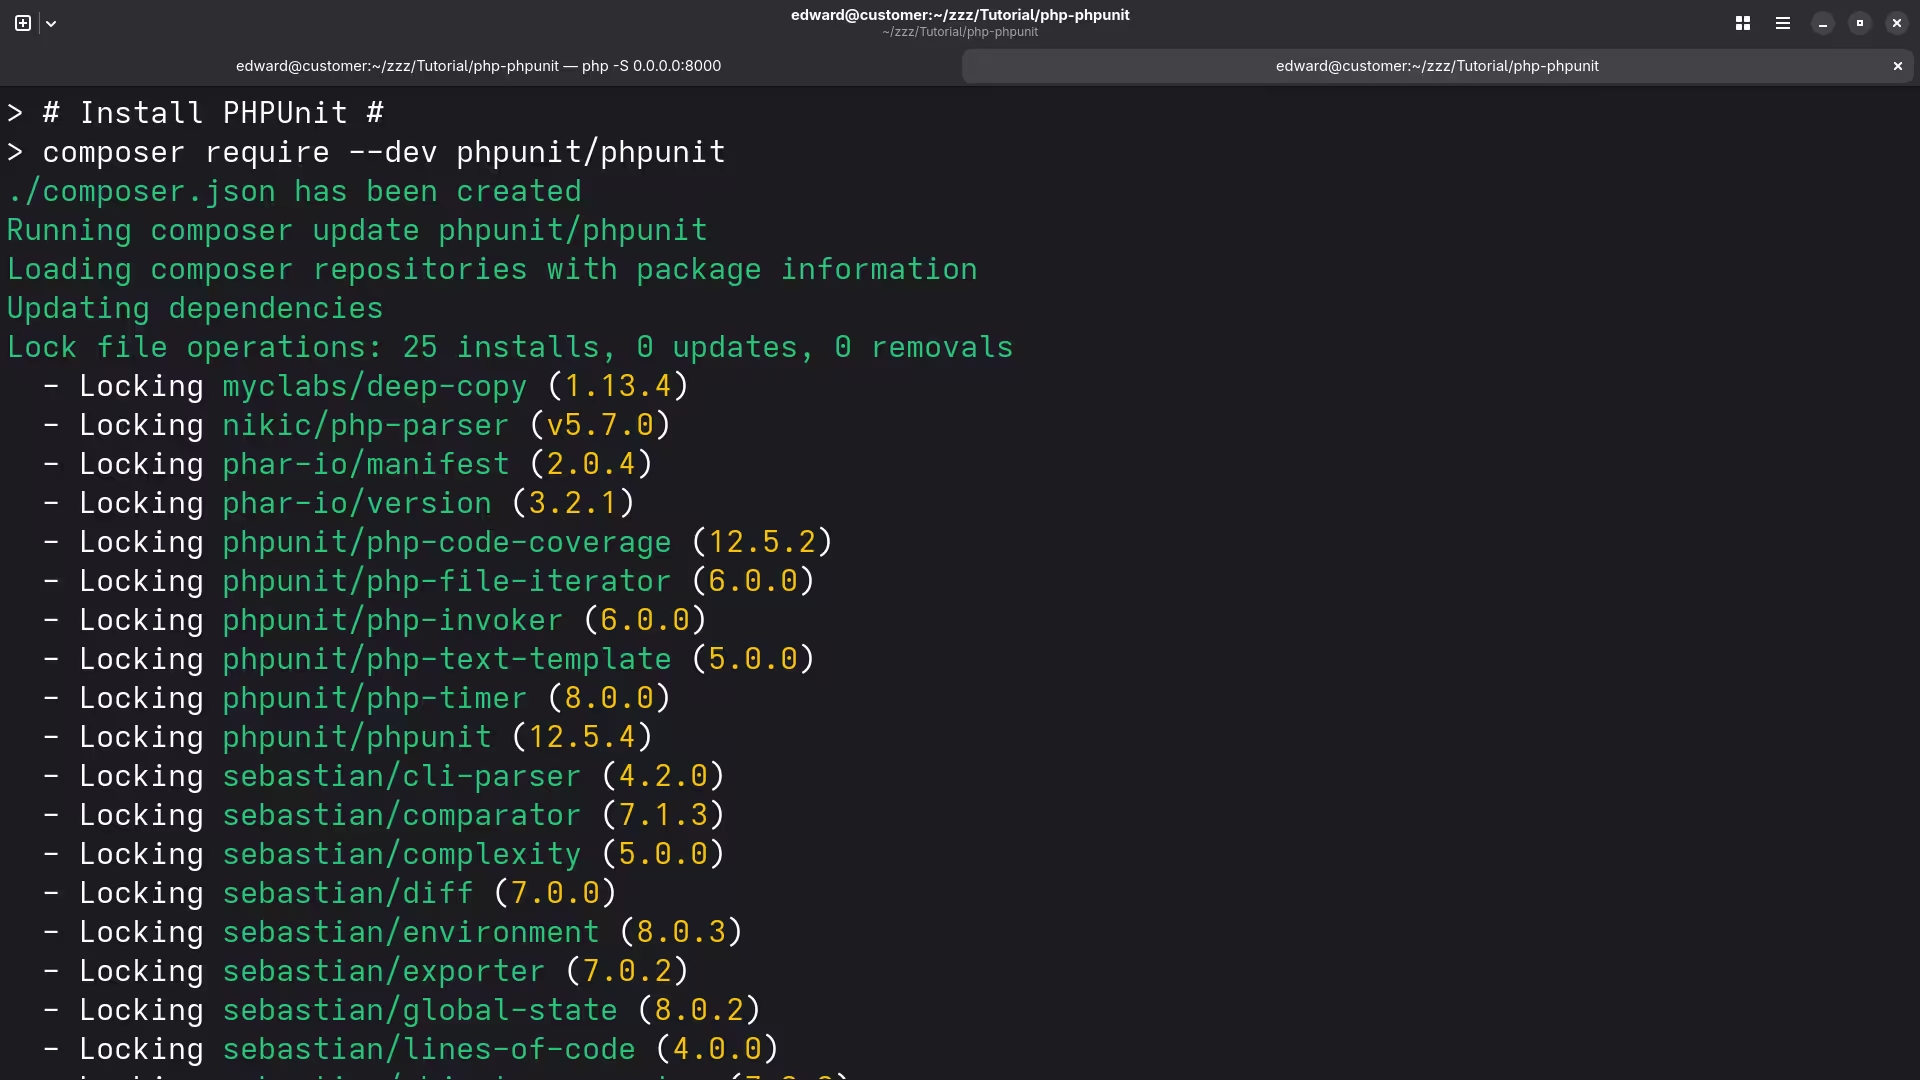
First, you need to install PHPUnit in your PHP environment. You can use Composer for this:
composer require --dev phpunit/phpunit ^9
Step 2: Creating a Basic Plugin Structure
Create a new folder named people-manager in the wp-content/plugins/ directory of your PHP application installation. Inside this folder, create the following files:
plugin.php
db.php
views/list-people.php
tests/TestPeopleManager.php
Step 3: Connecting to MariaDB
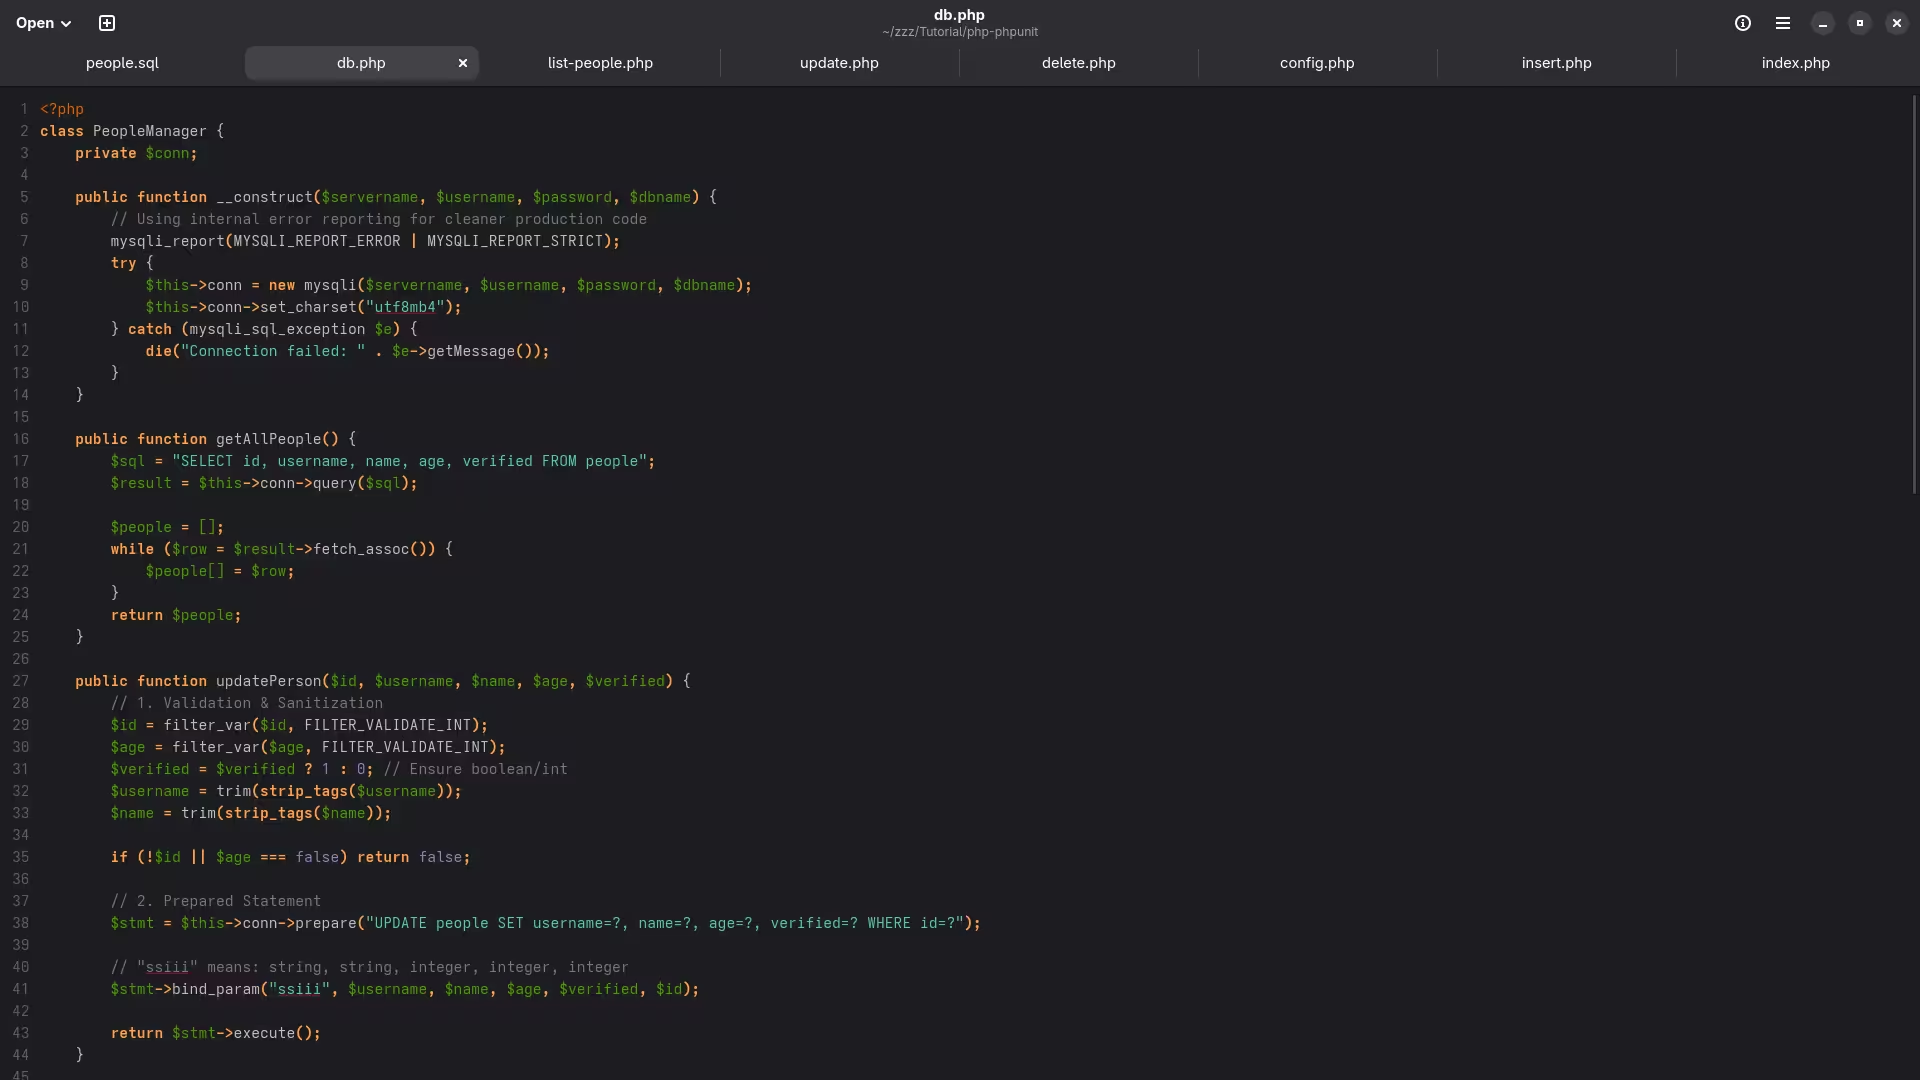
Create a file named db.php in the people-manager/ directory and add the following code:
<?php
class PeopleManager {
private $conn;
public function __construct($servername, $username, $password, $dbname) {
$this->conn = new mysqli($servername, $username, $password, $dbname);
if ($this->conn->connect_error) {
die("Connection failed: " . $this->conn->connect_error);
}
}
public function getAllPeople() {
$sql = "SELECT * FROM people";
$result = $this->conn->query($sql);
$people = [];
if ($result->num_rows > 0) {
while ($row = $result->fetch_assoc()) {
$people[] = $row;
}
}
return $people;
}
public function updatePerson($id, $username, $name, $age, $verified) {
$sql = "UPDATE people SET username='$username', name='$name', age=$age, verified=$verified WHERE id=$id";
if ($this->conn->query($sql) === TRUE) {
return true;
} else {
return false;
}
}
public function insertPerson($username, $name, $age, $verified) {
$sql = "INSERT INTO people (username, name, age, verified) VALUES ('$username', '$name', $age, $verified)";
if ($this->conn->query($sql) === TRUE) {
return true;
} else {
return false;
}
}
public function deletePerson($id) {
$sql = "DELETE FROM people WHERE id=$id";
if ($this->conn->query($sql) === TRUE) {
return true;
} else {
return false;
}
}
public function closeConnection() {
$this->conn->close();
}
}
?>
Step 4: Displaying People Data
Create a file named list-people.php in the people-manager/views/ directory and add the following code:
Create a file named TestPeopleManager.php in the people-manager/tests/ directory and add the following code:
<?php
use PHPUnit\Framework\TestCase;
class TestPeopleManager extends TestCase {
public function testGetAllPeople() {
$servername = 'your_servername';
$username = 'your_username';
$password = 'your_password';
$dbname = 'your_database';
$peopleManager = new PeopleManager($servername, $username, $password, $dbname);
$people = $peopleManager->getAllPeople();
$this->assertNotEmpty($people);
}
}
?>
Step 6: Running the Tests
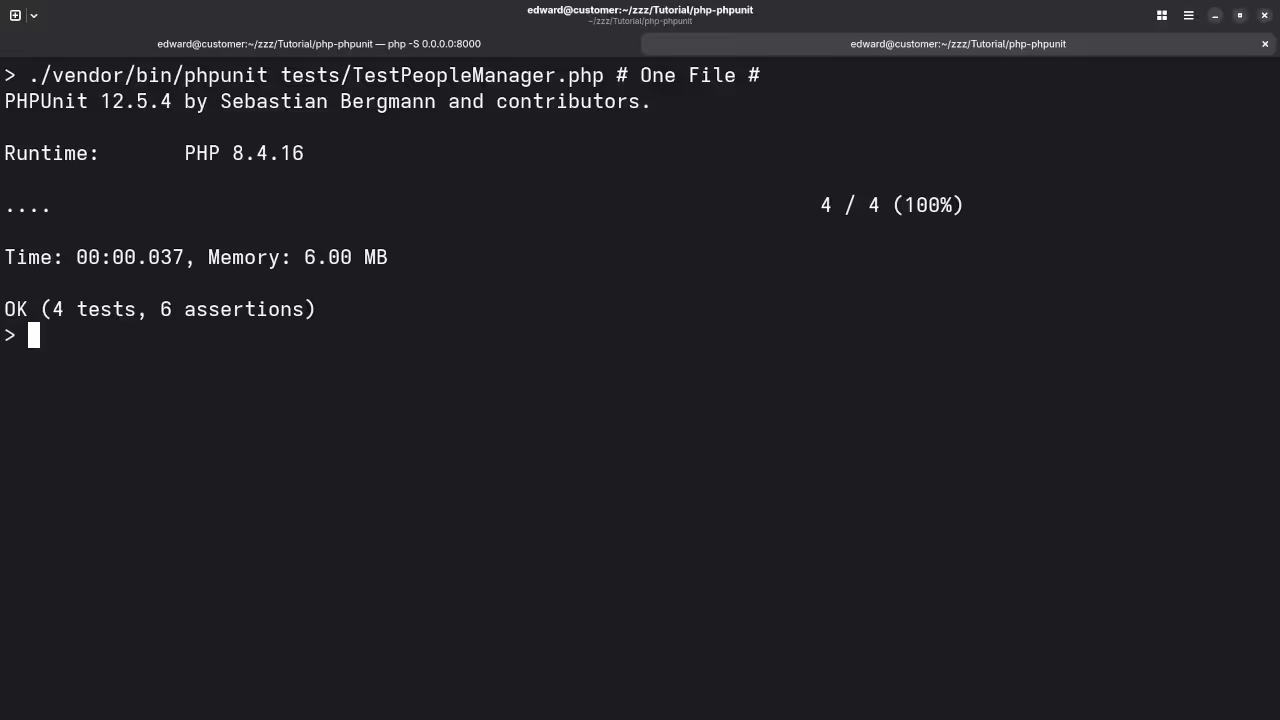
Navigate to your PHP application area and use the PHPUnit plugin or run tests from the command line:
./vendor/bin/phpunit people-manager/tests/
Screenshots and Screencast Tutorial
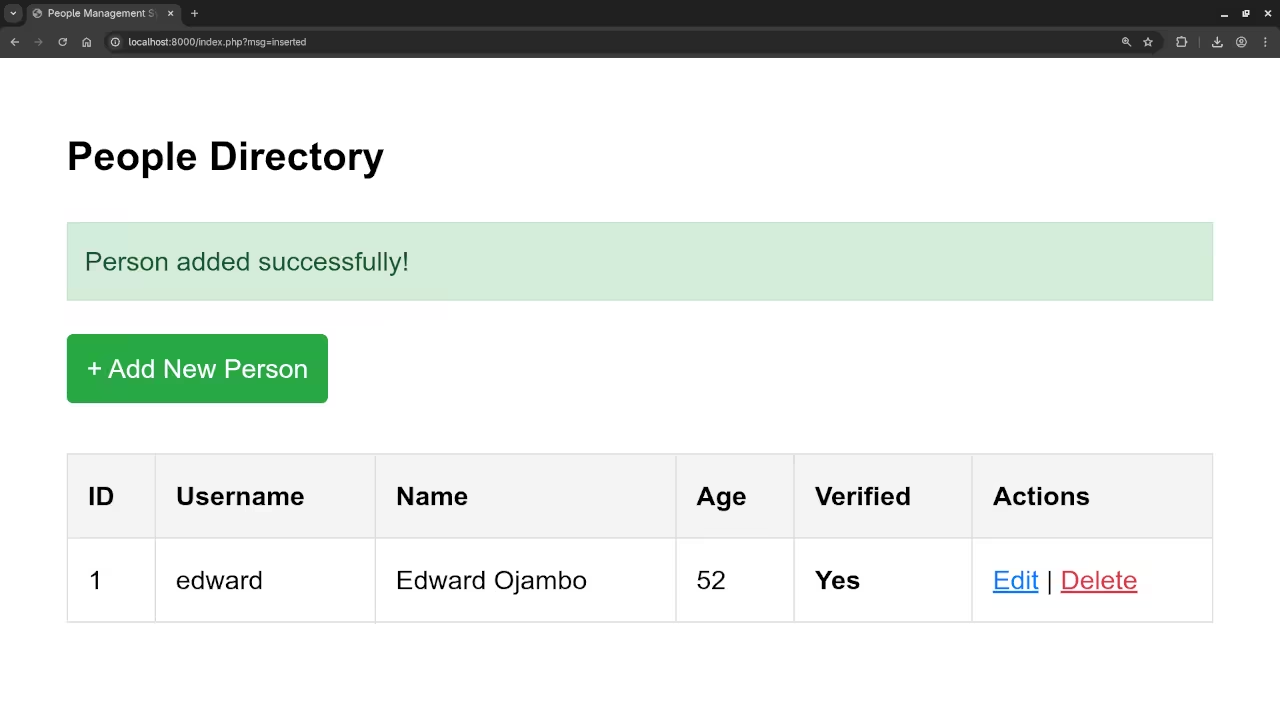
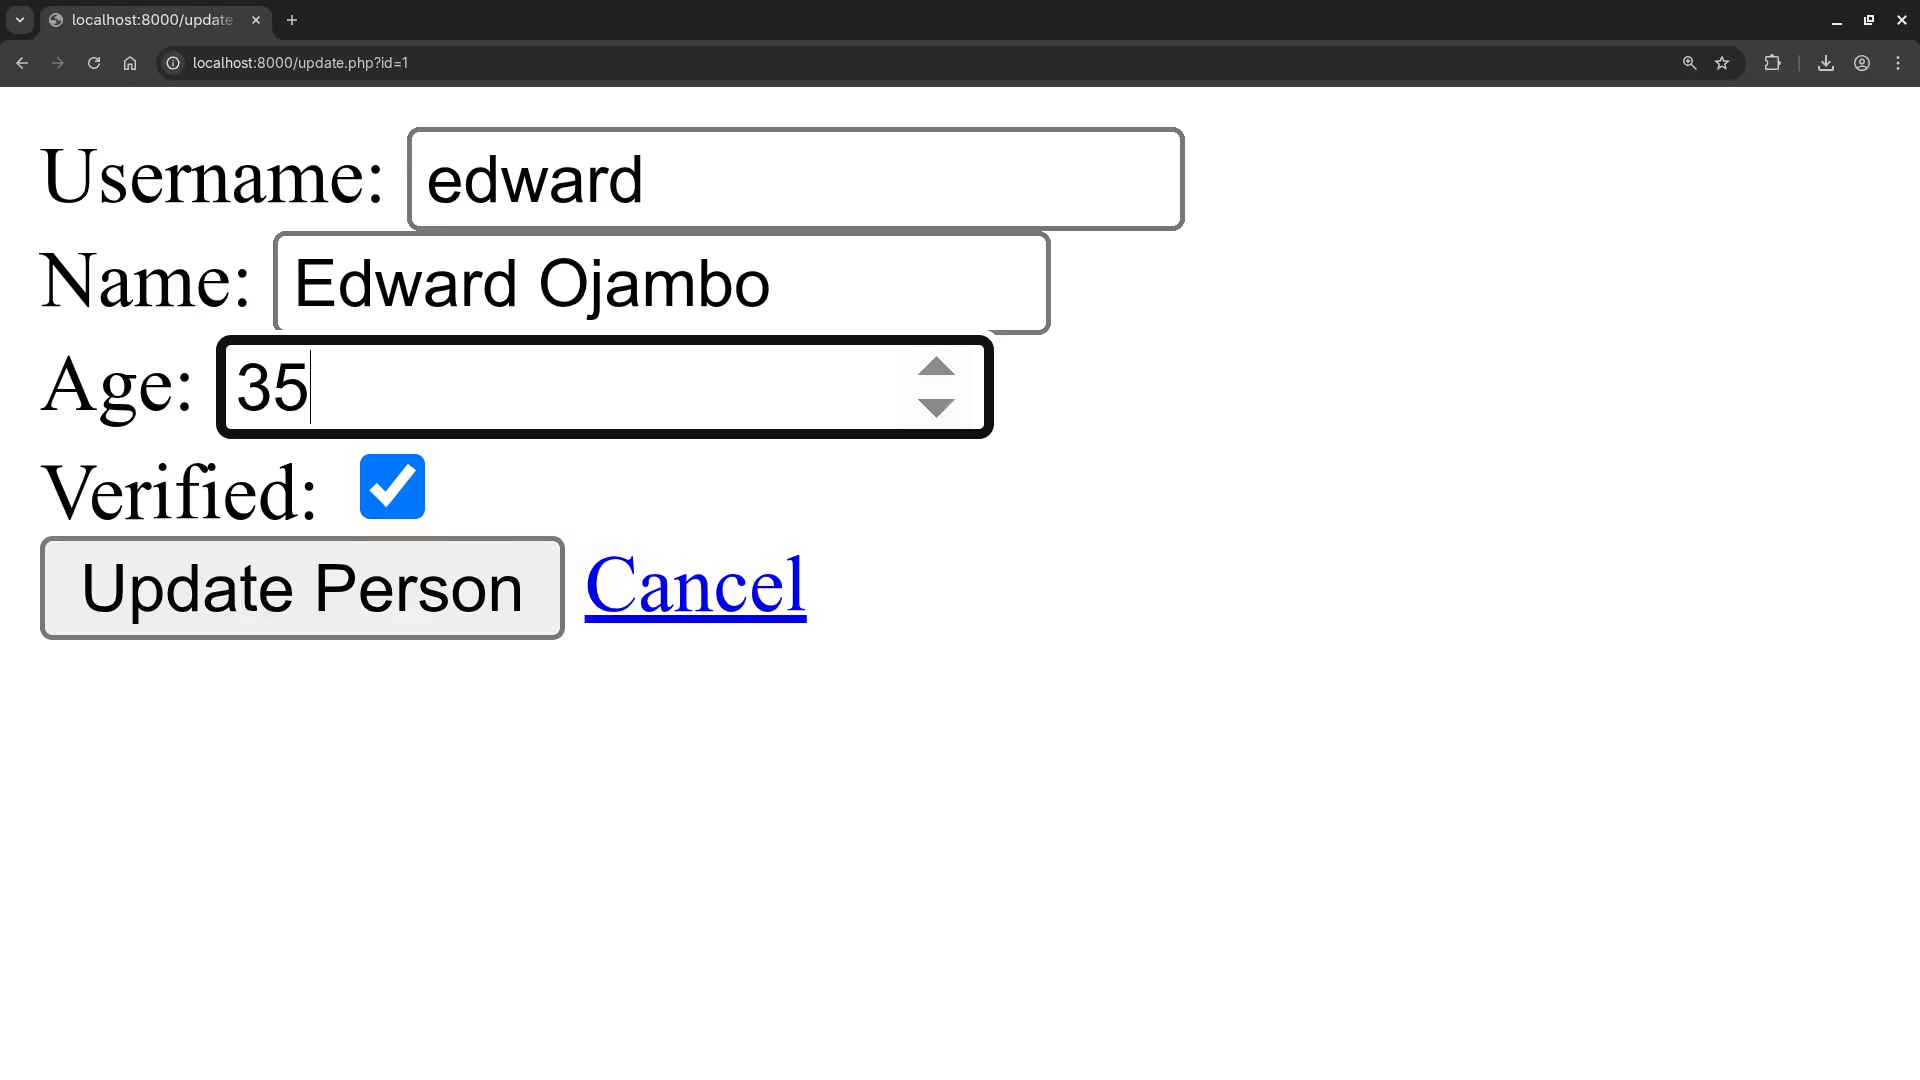
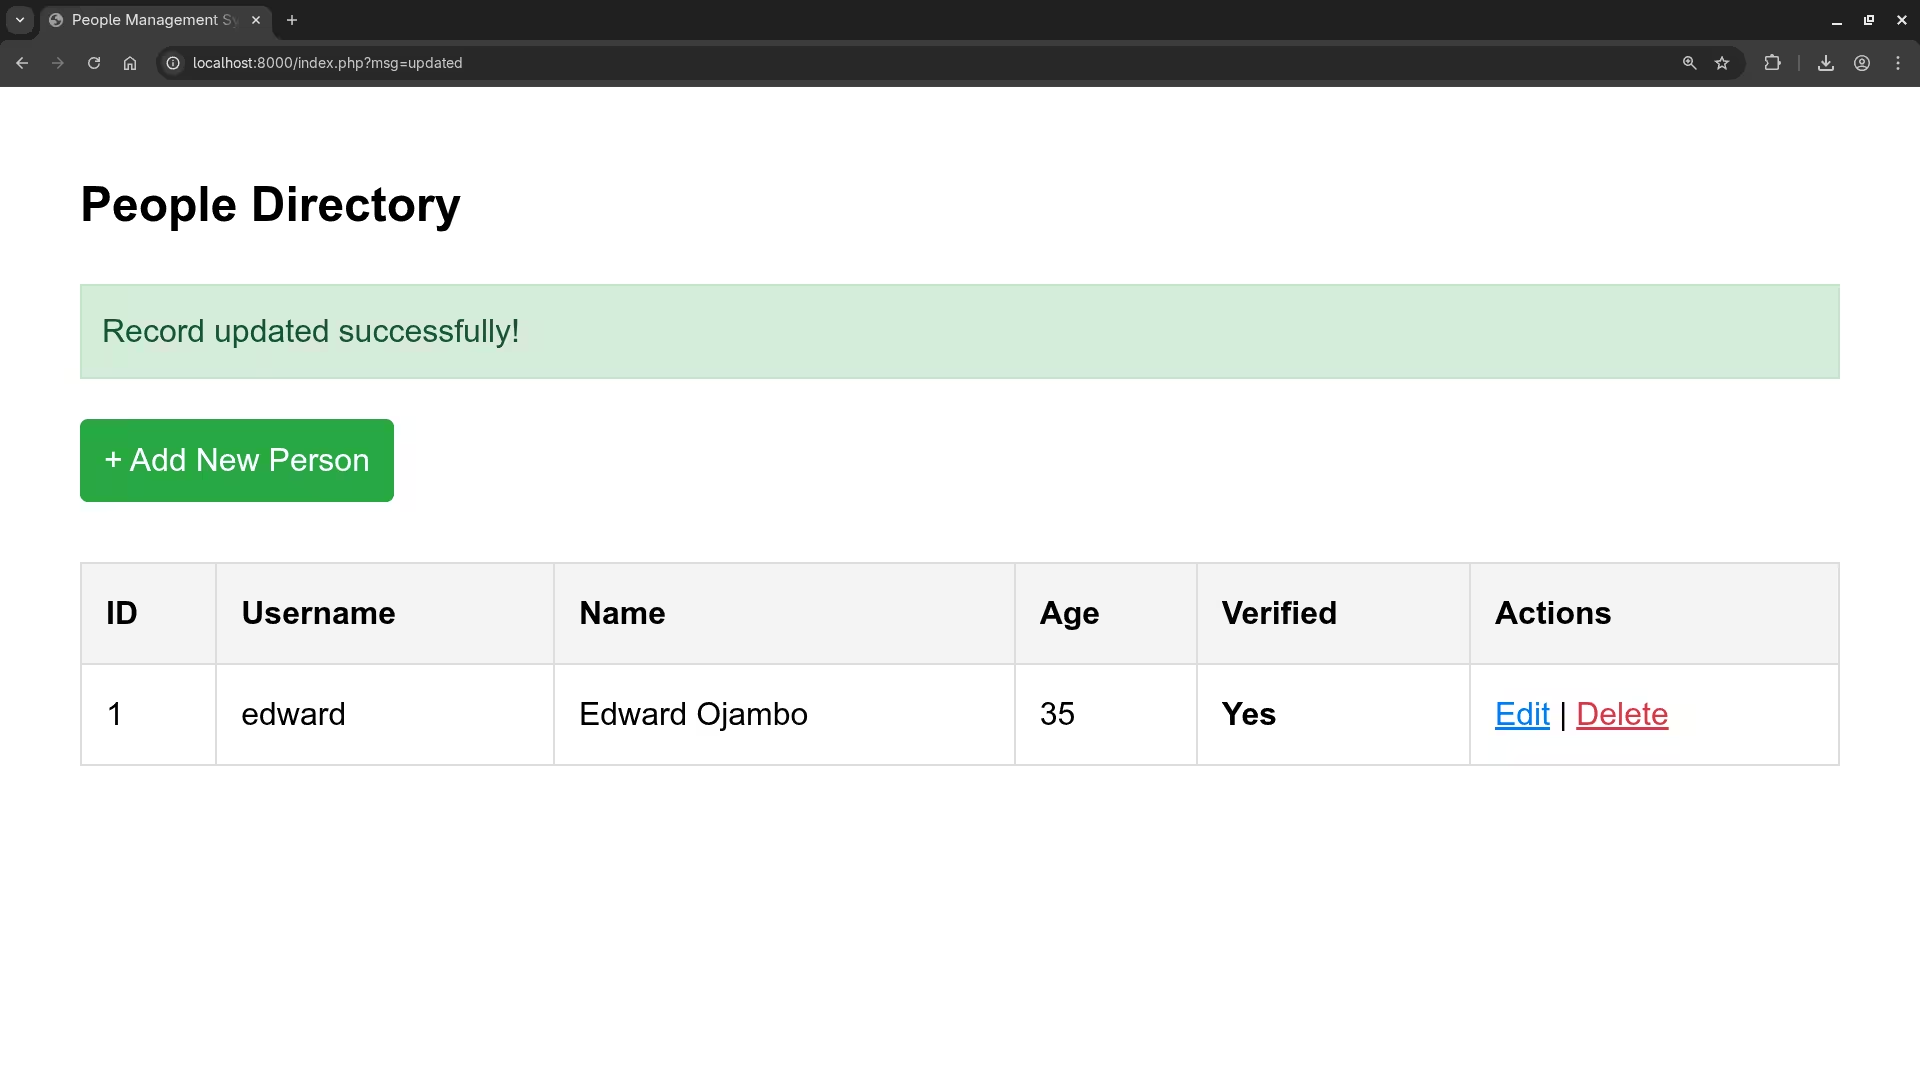
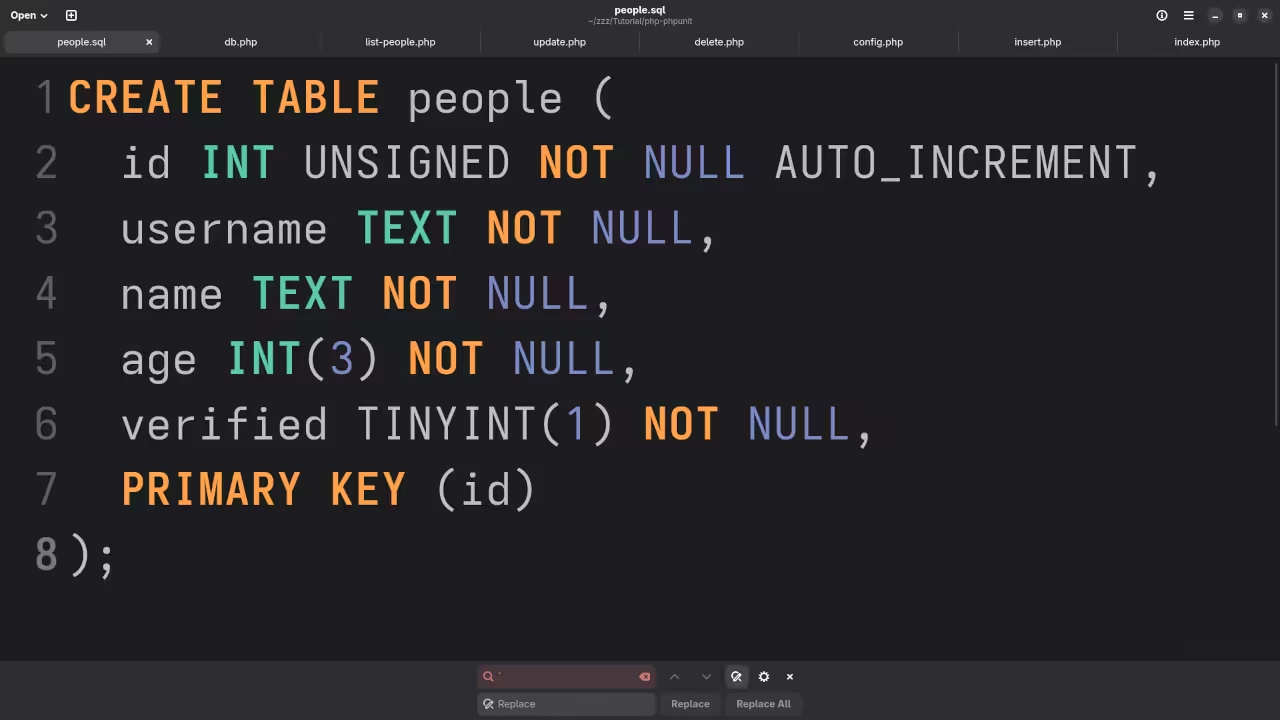
Web Browser Displaying People Directory Entry ResultsWeb Browser Displaying People Directory Update FormWeb Browser Displaying People Directory Updated ResultsGnome Text Editor Displaying People Directory SQL CodeGnome Text Editor Displaying People Directory Database CodeCommand Line PHP Compose Installing PHPUnitCommand Line PHP PHPUnit Test ResultsScreencast Of PHPUnit Test
Conclusion
This tutorial provides a basic introduction to integrating PHPUnit with a MariaDB database in a PHP application. You can expand this application by adding more features, such as user authentication, form validation, and more sophisticated error handling.
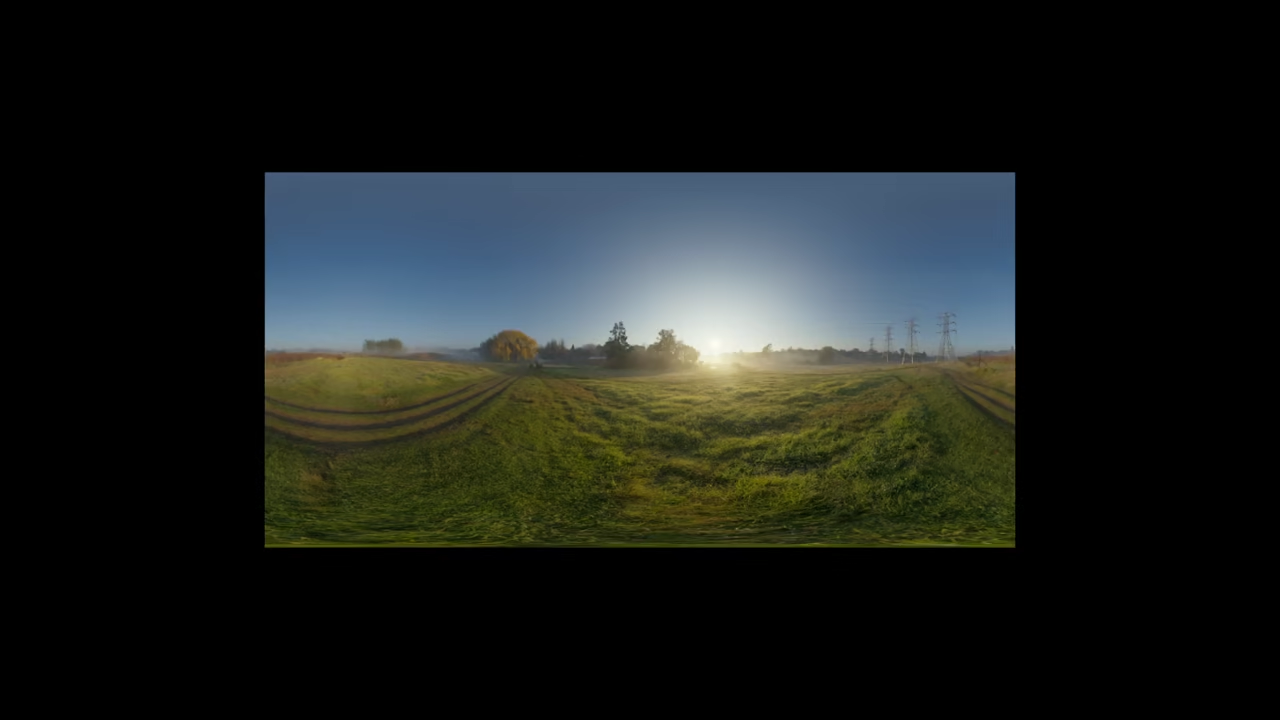
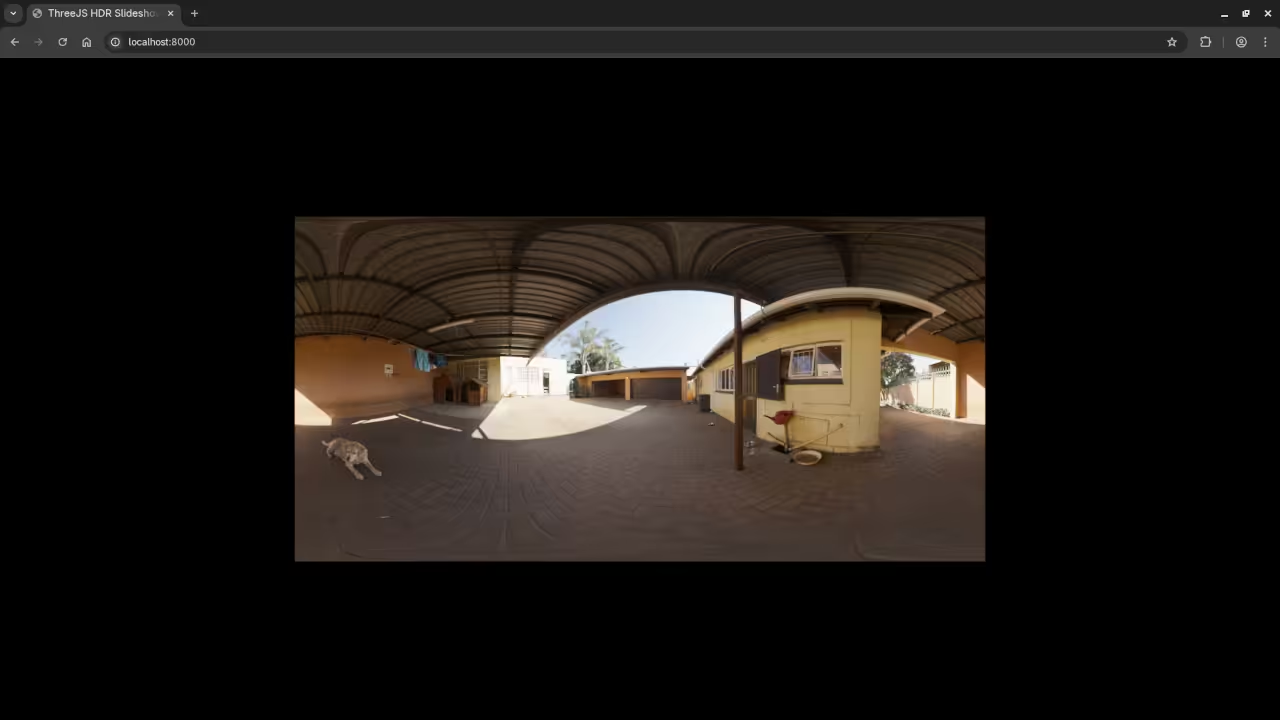
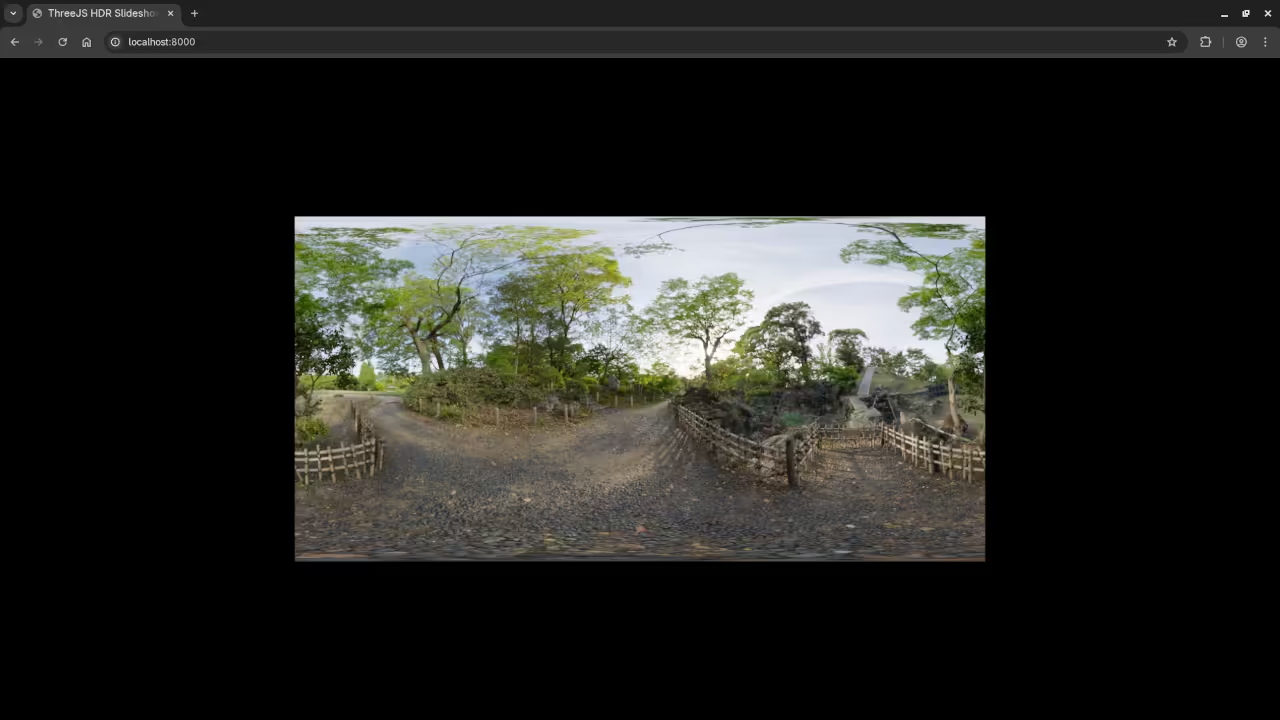
Beginner Guide to HTML5 3D HDR Image Slideshows Using Three.js
Creating immersive 3D experiences on the web is now easier than ever thanks to HTML5 and Three.js. In this beginner level tutorial we will explore how you can build a simple 3D HDR image slideshow that runs directly in the browser. This post is designed for developers who are new to 3D graphics but already have basic knowledge of HTML and JavaScript.
What Is an HTML5 3D HDR Image Slideshow
An HDR image slideshow uses high quality images with realistic lighting and reflections. When combined with Three.js you can
Display images inside a 3D environment
Add smooth camera movement and transitions
Create depth lighting and realism using WebGL
Run everything directly in modern browsers
This makes it perfect for portfolios product showcases virtual galleries and interactive storytelling.
Why Use Three.js
Three.js is a popular JavaScript library that simplifies working with WebGL. Instead of writing complex shader code Three.js gives you easy to use objects like
Scenes
Cameras
Lights
Textures
Meshes
License: Three.js is open source and released under the MIT License which means you can freely use it in personal and commercial projects.
Basic Concept Behind the Slideshow
At a high level a 3D HDR slideshow using Three.js follows these steps
Create a scene and camera
Load HDR or high quality images as textures
Apply images to planes or 3D objects
Animate transitions between images
Render everything in real time
Even with minimal code you can achieve impressive visual results.
Beginner Level Three.js HDR Image Slideshow Code
<!-- Include Three.js from CDN -->
<script src="https://cdnjs.cloudflare.com/ajax/libs/three.js/r152/three.min.js"></script>
<script src="https://cdn.jsdelivr.net/npm/three@0.152.0/examples/js/loaders/RGBELoader.js"></script>
<div id="slideshow" style="width:100%; height:500px;"></div>
<script>
// Step 1: Setup scene, camera, and renderer
const scene = new THREE.Scene();
const camera = new THREE.PerspectiveCamera(
75,
window.innerWidth / 500,
0.1,
1000
);
camera.position.z = 5;
const renderer = new THREE.WebGLRenderer({ antialias: true });
renderer.setSize(window.innerWidth, 500);
document.getElementById("slideshow").appendChild(renderer.domElement);
// Step 2: Load HDR image textures
const hdrLoader = new THREE.RGBELoader();
const images = [
'path/to/your-image1.hdr',
'path/to/your-image2.hdr',
'path/to/your-image3.hdr'
];
let currentImageIndex = 0;
let material, mesh;
function loadImage(index) {
hdrLoader.load(images[index], function(texture) {
texture.mapping = THREE.EquirectangularReflectionMapping;
// Remove previous mesh if exists
if (mesh) scene.remove(mesh);
material = new THREE.MeshBasicMaterial({ map: texture });
const geometry = new THREE.PlaneGeometry(5, 3);
mesh = new THREE.Mesh(geometry, material);
scene.add(mesh);
});
}
loadImage(currentImageIndex);
// Step 3: Animate slideshow
function animate() {
requestAnimationFrame(animate);
renderer.render(scene, camera);
}
animate();
// Step 4: Change image every 5 seconds
setInterval(() => {
currentImageIndex = (currentImageIndex + 1) % images.length;
loadImage(currentImageIndex);
}, 5000);
// Step 5: Handle window resize
window.addEventListener('resize', () => {
camera.aspect = window.innerWidth / 500;
camera.updateProjectionMatrix();
renderer.setSize(window.innerWidth, 500);
});
</script>
Creating an Image Textured Cube with Blender Python and Viewing It on the Web
This beginner level tutorial explains how to create a simple three dimensional cube using the Blender Python API and place a different image on each side of the cube. The finished model is then displayed in a web browser using the model viewer web component. The scene is lit using an HDR environment image which is the Courtyard EXR included with Blender 4.5 LTS.
This workflow is ideal for learning the basics of Python scripting in Blender and understanding how three dimensional content can be shared on the web.
Why Use Blender Python
Blender includes a powerful Python API that allows automation of modeling materials lighting and exporting. Instead of clicking through menus each step can be described in code which makes it repeatable and easier to learn over time.
Creating a Cube with Images on All Sides
To place different images on each side of a cube we follow these simple steps
Create a cube
Unwrap the UVs so images know where to appear
Create one material per face
Load one image per material
Assign each material to a different face
Blender Python Script
import bpy
# Clear the scene
bpy.ops.object.select_all(action='SELECT')
bpy.ops.object.delete()
# Create a cube
bpy.ops.mesh.primitive_cube_add(size=2, location=(0, 0, 0))
cube = bpy.context.active_object
# UV unwrap
bpy.ops.object.mode_set(mode='EDIT')
bpy.ops.mesh.select_all(action='SELECT')
bpy.ops.uv.unwrap(method='ANGLE_BASED')
bpy.ops.object.mode_set(mode='OBJECT')
def create_image_material(name, image_path):
mat = bpy.data.materials.new(name=name)
mat.use_nodes = True
nodes = mat.node_tree.nodes
links = mat.node_tree.links
nodes.clear()
tex_node = nodes.new(type='ShaderNodeTexImage')
bsdf_node = nodes.new(type='ShaderNodeBsdfPrincipled')
output_node = nodes.new(type='ShaderNodeOutputMaterial')
tex_node.image = bpy.data.images.load(image_path)
links.new(tex_node.outputs['Color'], bsdf_node.inputs['Base Color'])
links.new(bsdf_node.outputs['BSDF'], output_node.inputs['Surface'])
return mat
image_paths = [
"/path/to/image1.png",
"/path/to/image2.png",
"/path/to/image3.png",
"/path/to/image4.png",
"/path/to/image5.png",
"/path/to/image6.png",
]
for i, path in enumerate(image_paths):
mat = create_image_material(f"FaceMat{i}", path)
cube.data.materials.append(mat)
for i, poly in enumerate(cube.data.polygons):
poly.material_index = i
Each face of the cube receives its own material and each material contains a different image. This is the key step that places unique images on all sides of the cube.
Lighting with an HDR Image
The scene is lit using an HDR environment texture. Blender 4.5 LTS includes a Courtyard EXR file which can be assigned to the World shader. HDR lighting provides soft realistic light and reflections without adding traditional lamps.
Exporting the Model for the Web
After the cube is complete it can be exported as a GLB file. This format includes geometry materials and textures in a single file which makes it ideal for web use.
Blender is open source software released under the GNU General Public License. This license ensures Blender remains free and community driven.
Model viewer is also open source and is released under the Apache License version 2.0. This permissive license allows use in both personal and commercial projects.
📸 Screenshots & Screencast
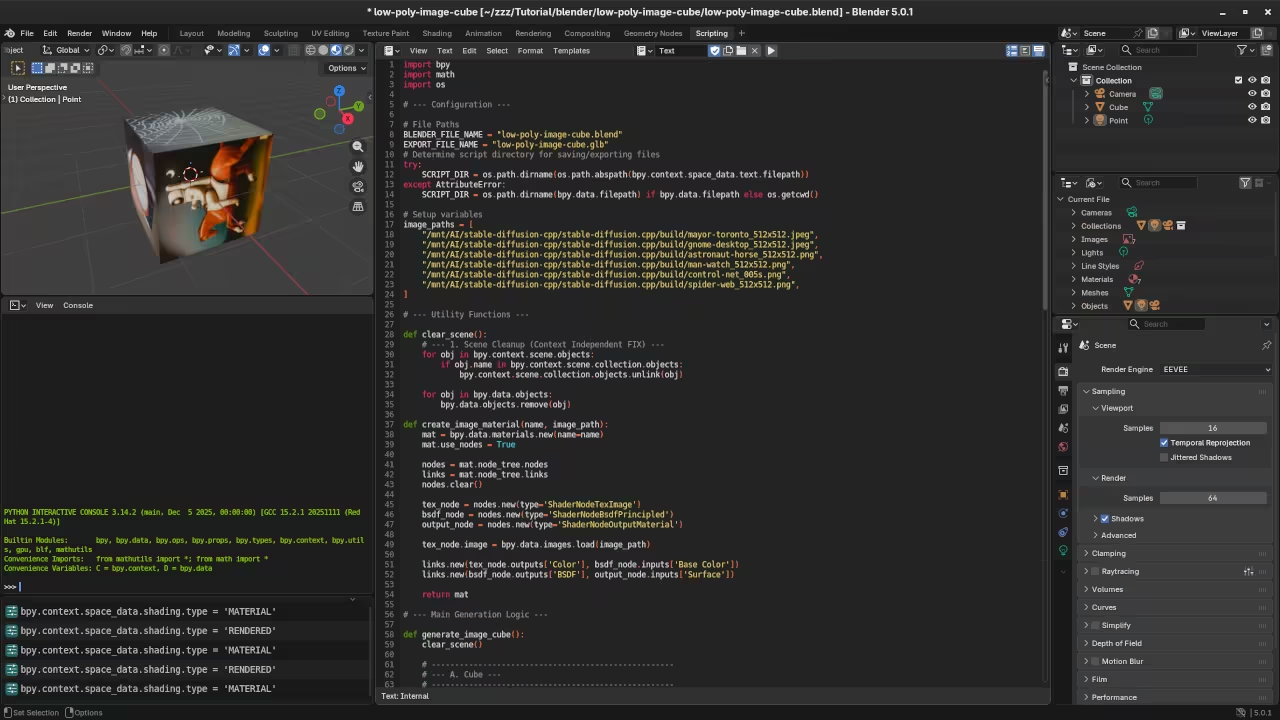
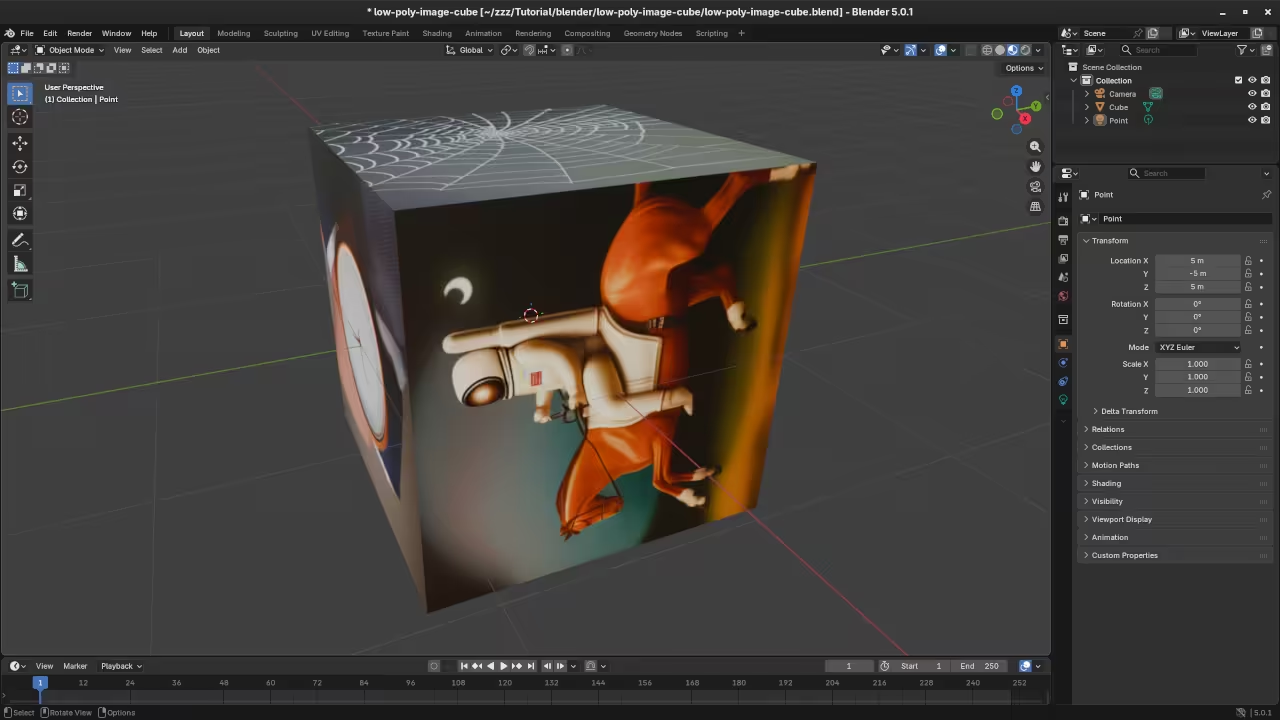
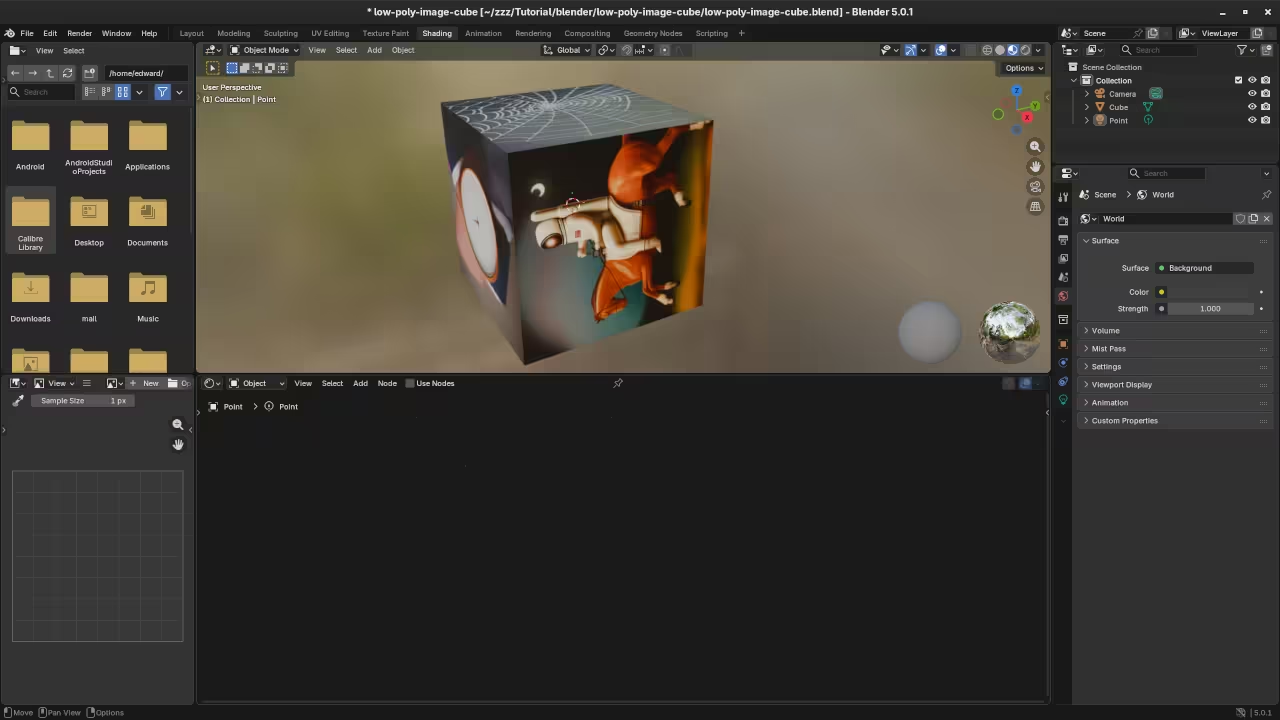
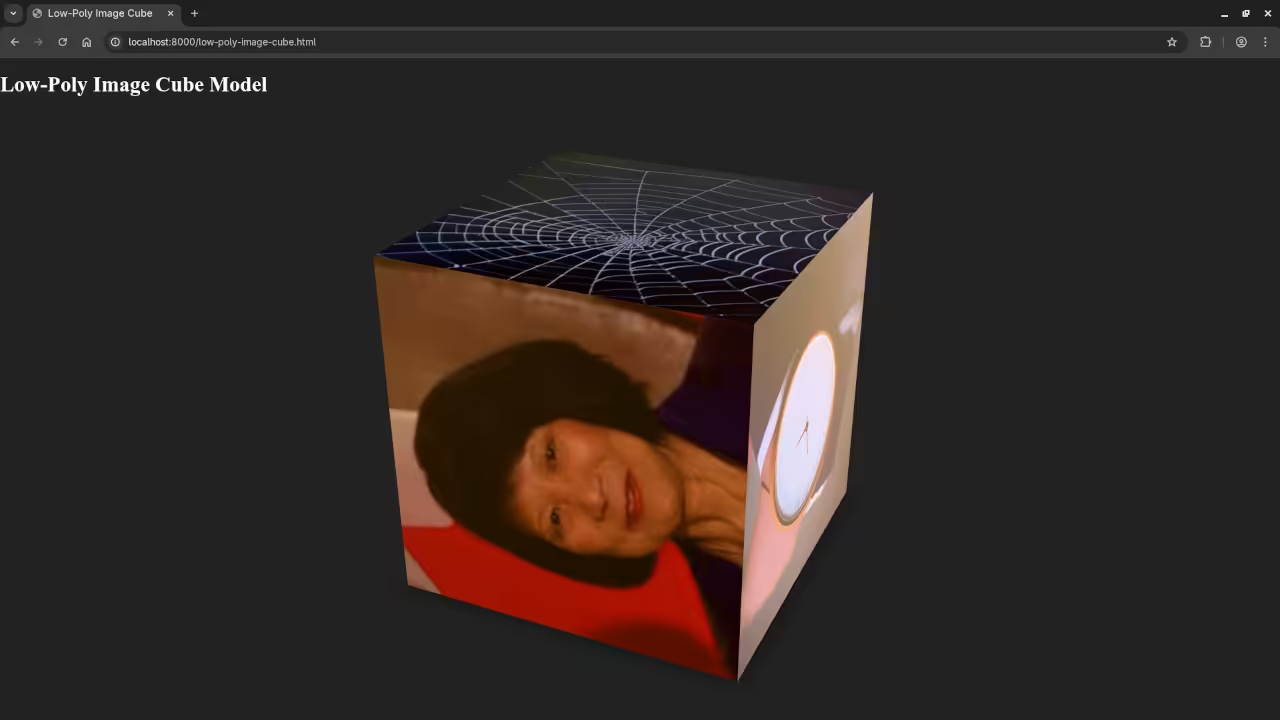
Blender Scripting Workspace Displaying Low Poly Animated Spring Python CodeBlender Layout Workspace Displaying Low Poly Animated SpringBlender Shading Workspace Displaying Low Poly Animated SpringWeb Browser Displaying Rendered Low Poly Animated SpringScreencast For Blender Python API Low Poly Animated Spring
Books and Learning Resources
If you want to learn more about Python and Blender scripting you may find these resources helpful.
This beginner friendly workflow shows how Blender Python scripting HDR lighting and web based three dimensional viewing can work together. It is a strong foundation for anyone interested in automation three dimensional graphics and sharing interactive models on the web.
Boost LibreOffice Writer with AI LocalWriter Extension Review
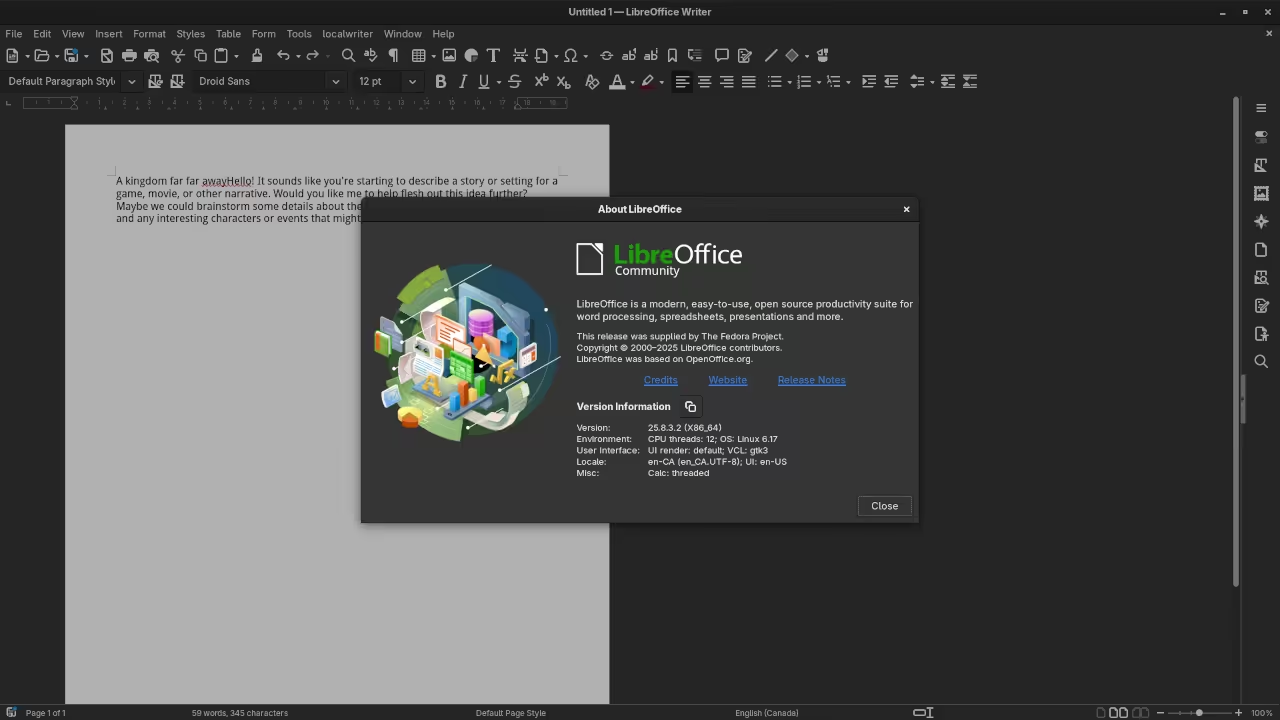
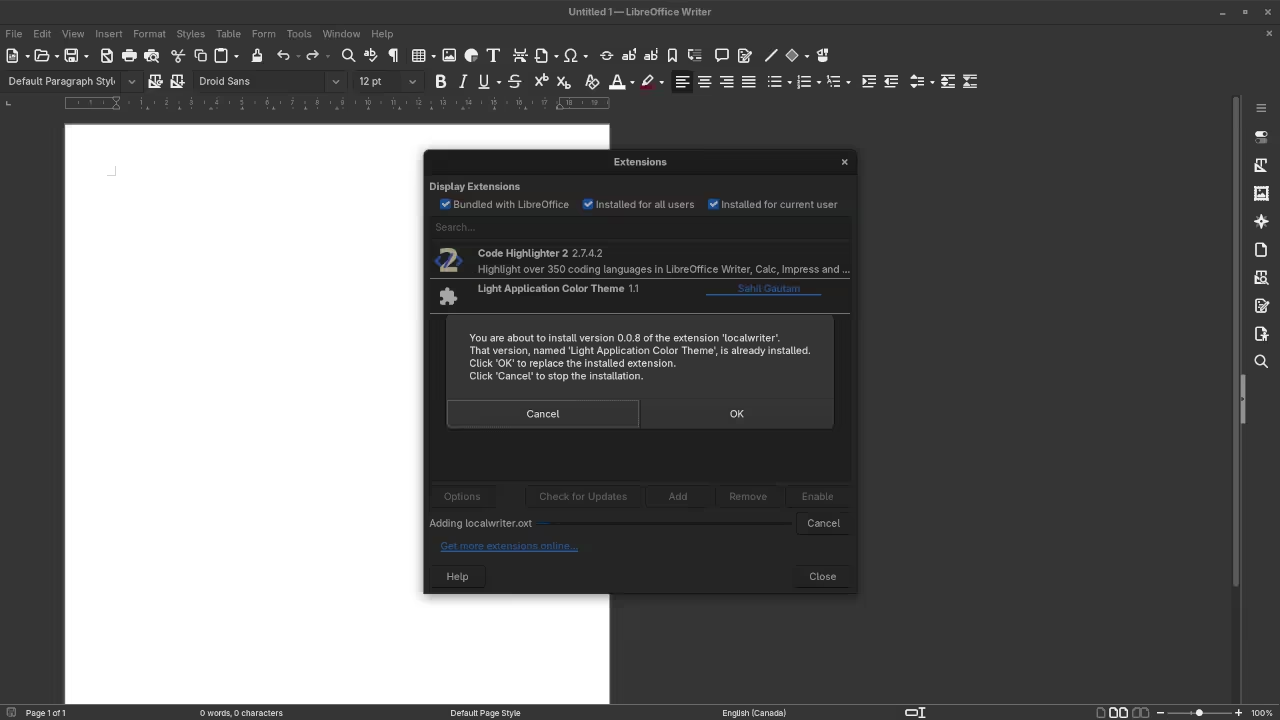
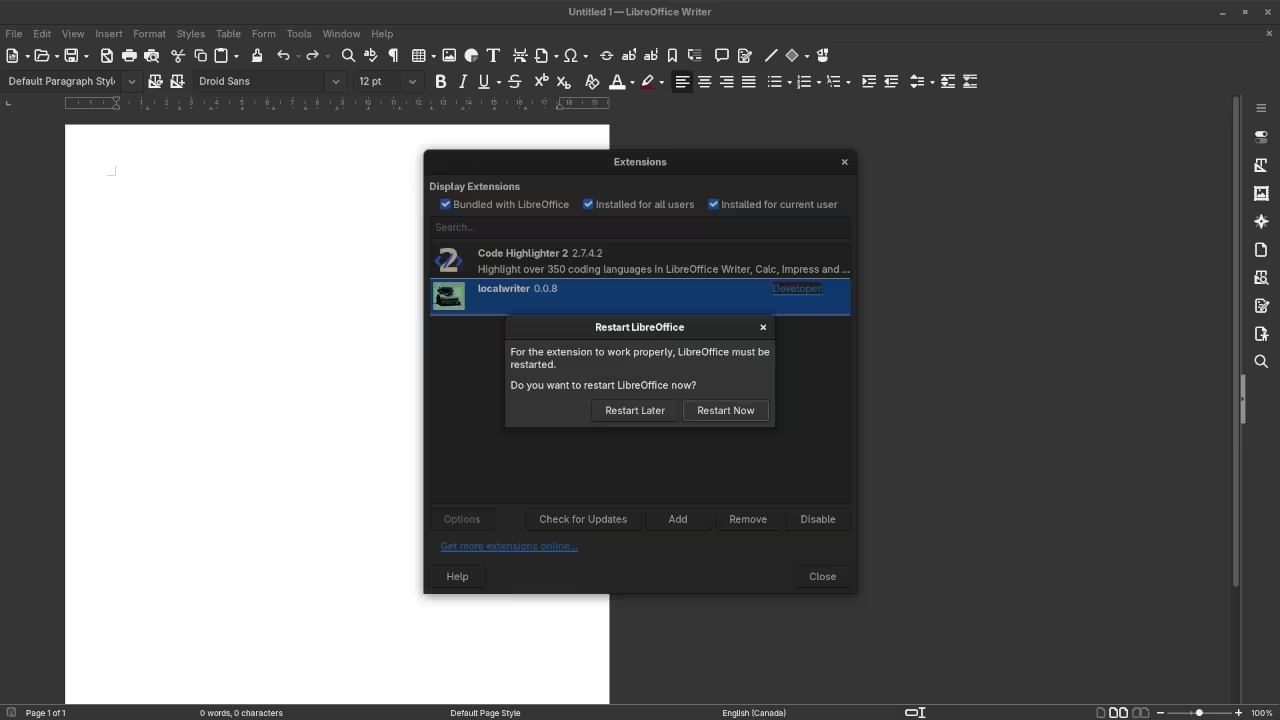
LibreOffice Writer is one of the most popular open source office suites available today. With the rise of AI powered writing assistants the LocalWriter extension adds intelligent capabilities directly inside LibreOffice without sending your data to the cloud.
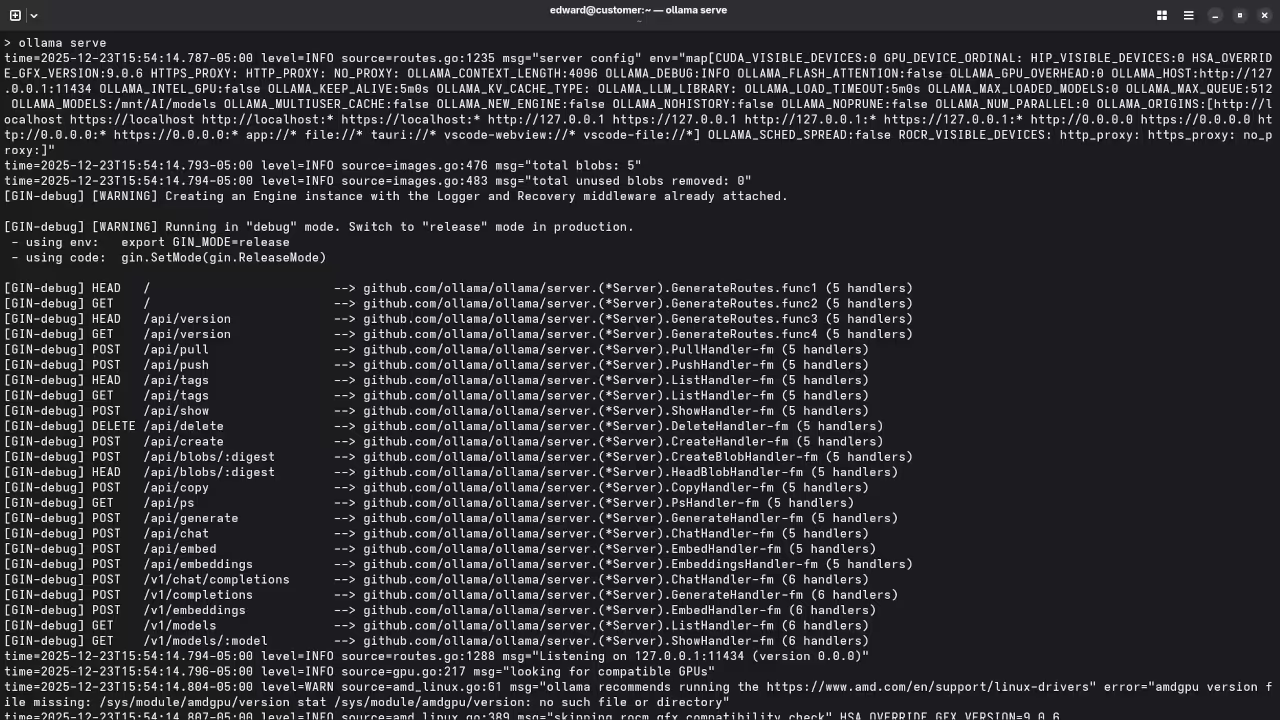
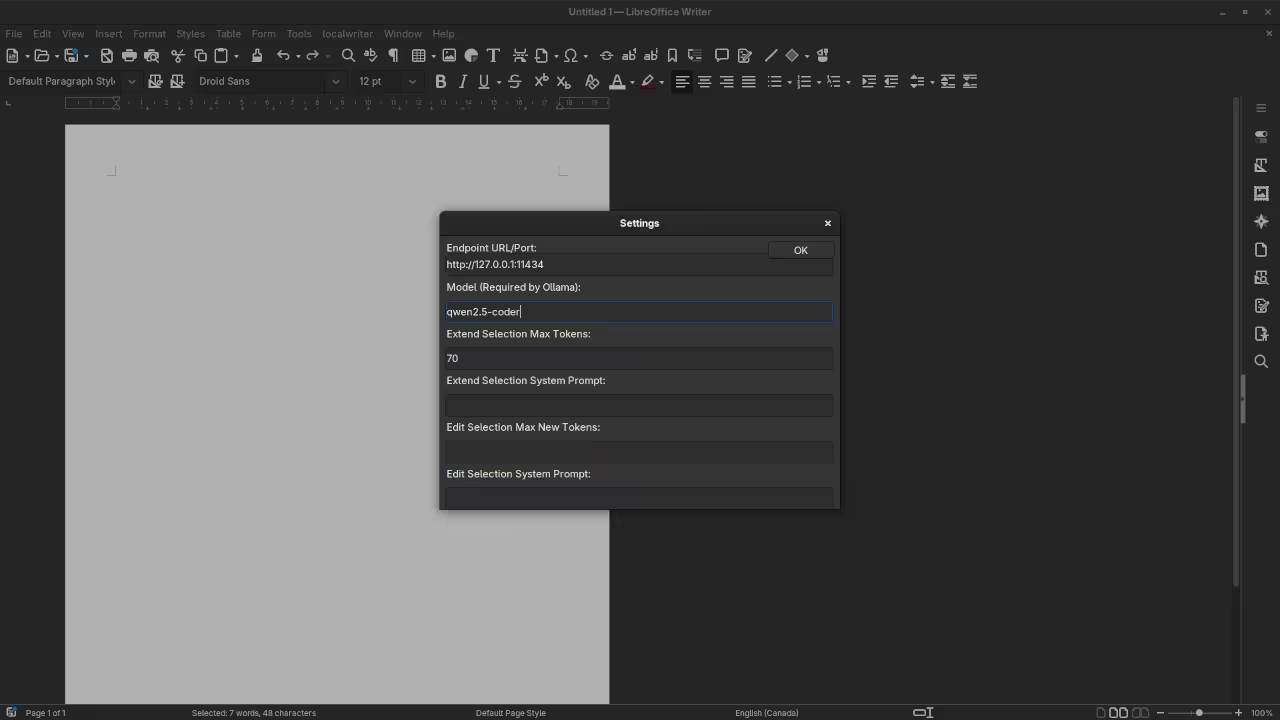
LocalWriter is open source and can integrate with a server running Ollama with Qwen2.5-Coder for AI assisted writing making it ideal for privacy conscious users and developers.
What is LocalWriter
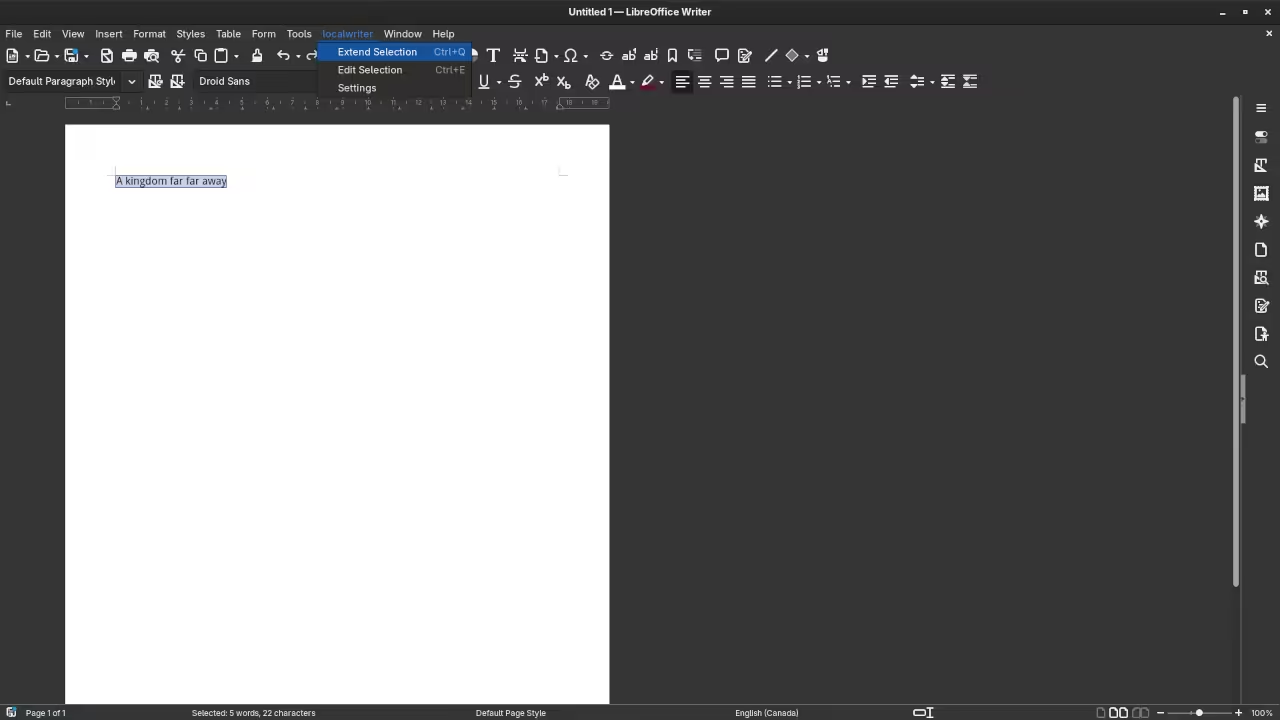
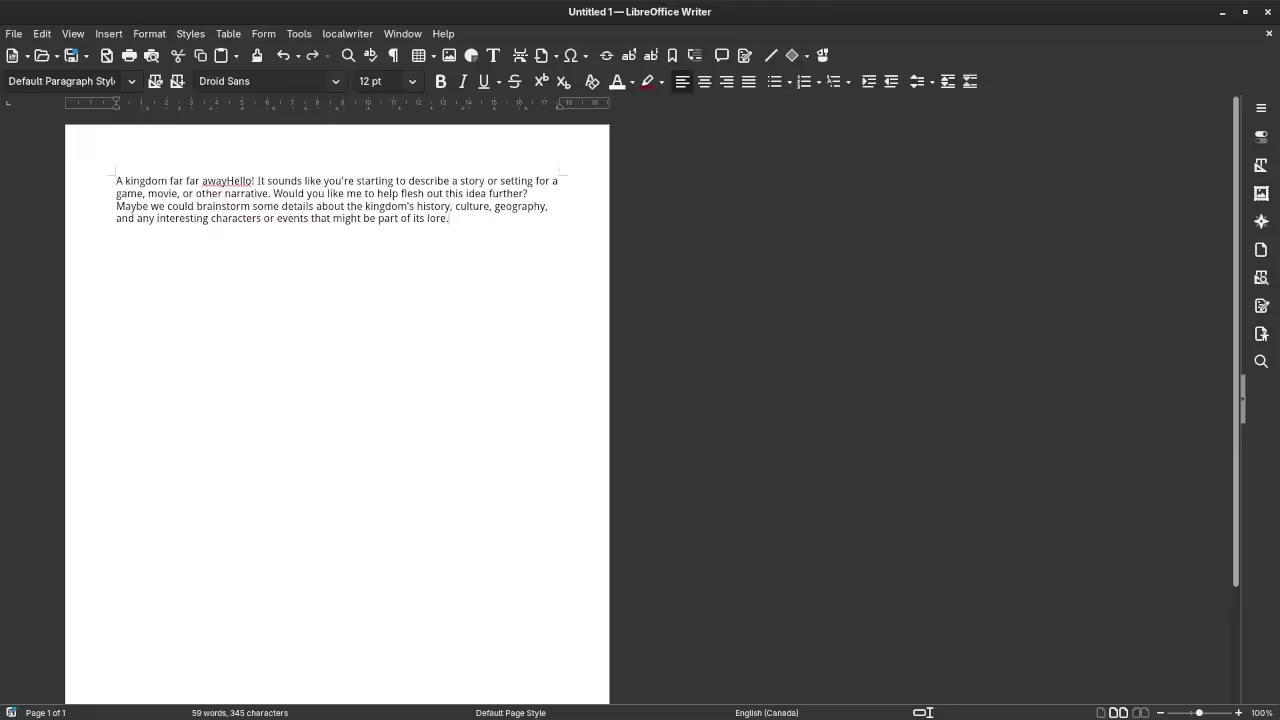
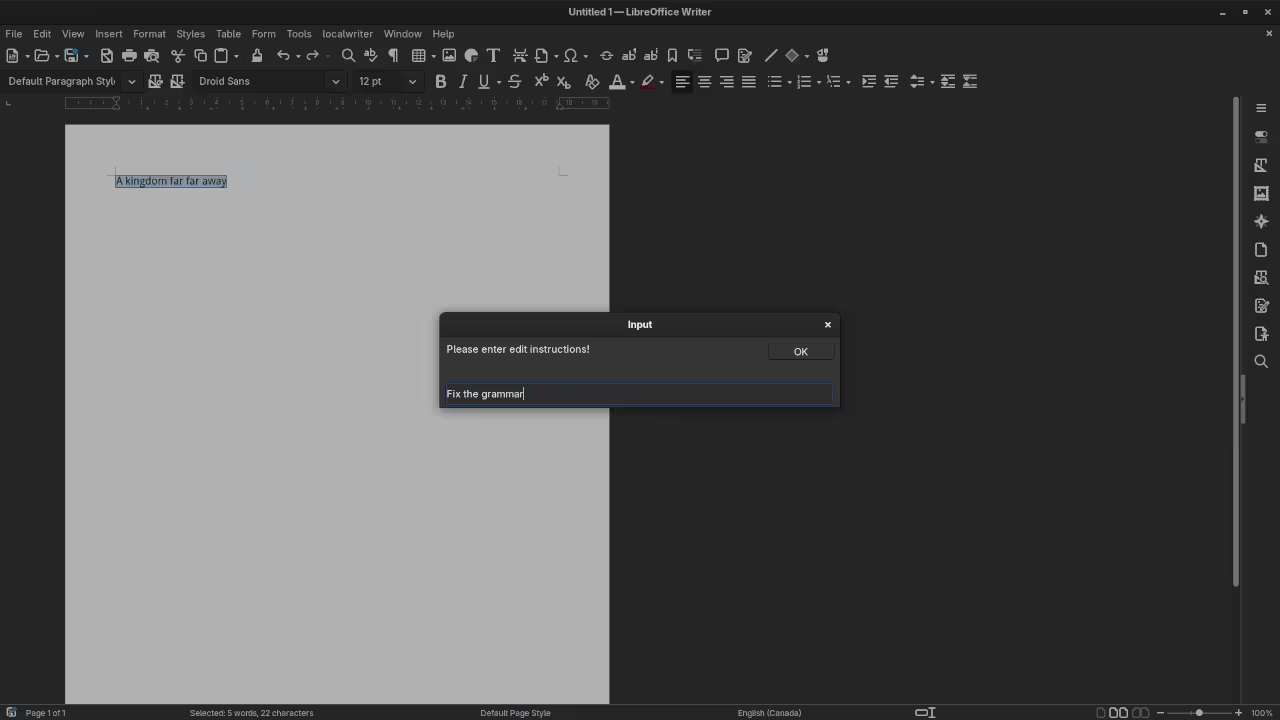
LocalWriter is an AI extension for LibreOffice Writer that allows users to generate edit and improve text using a local or server based LLM. Unlike cloud based AI assistants LocalWriter keeps all data on your machine or server ensuring full privacy and control.
Key Features
AI assisted text generation and completion
Server LLM integration with Ollama and Qwen2.5-Coder
Fully open source and privacy focused
Works offline or via server without sending data to external servers
Easy integration into existing LibreOffice Writer setup
Prerequisites
Fedora Linux system
LibreOffice installed
Ollama server with Qwen2.5-Coder model running
Installing LocalWriter on Fedora
Option 1 Using Flathub
flatpak install flathub org.libreoffice.LibreOffice
flatpak run org.libreoffice.LibreOffice
LocalWriter brings AI assisted writing to LibreOffice while keeping everything local or on your server. With integration to Ollama Qwen2.5-Coder it offers a powerful open source solution for writers developers and anyone looking to boost productivity in a secure environment.