Blog

  • Improving Killer Sudoku Performance With Event Delegation and Flat Arrays

    Improving Killer Sudoku Performance With Event Delegation and Flat Arrays


    Introduction

    Introduction to Optimized Puzzle Logic

    Sudoku enthusiasts often look for ways to make digital puzzles more responsive.
    Killer Sudoku variants require complex logic to handle mathematical cage sum constraints.

    Beginner programmers can learn professional optimization techniques by building this engine.
    This guide demonstrates how to refactor basic code into high performance logic.

    We focus on improving the memory footprint of the web application.
    Local testing on your own machine ensures privacy and zero costs.

    Optimization Performance Parameters

    Server Performance Parameters
    Parameter Description Value
    Grid Storage Memory layout for cell data Flat Array
    Event Management Centralized input handling logic Delegation
    Puzzle Creation Logic for solvable cages Deterministic
    DOM Interface Surgical text node updates Targeted
    System Environment Operating system for development Fedora Linux
    Parameter Description Value

    Setting Up Your Development Environment

    Fedora Linux provides the ideal ecosystem for developing and profiling JavaScript code.
    Open your terminal and check that your development tools are ready.

    Standard puzzle logic depends on checking rows and columns for unique values.
    The Killer variant adds cage sums which increase the computational load significantly.

    Implementing Flat Array Structures

    We optimized the grid by switching from nested arrays to flat arrays.
    A flat array of 81 cells allows for direct memory addressing today.

    This change reduces the work required by the CPU to find values.
    Optimized data structures prevent lag during high speed user input now.

    Leveraging Event Delegation for Interactivity

    Event delegation is used to manage user interactions with the game board.
    We place a single listener on the grid container for efficiency.

    Attaching 81 listeners would waste memory and slow down the browser.
    One central listener makes the application run smoothly on mobile devices now.

    Deterministic Puzzle Generation

    The logic engine uses a deterministic approach to generate every new puzzle.
    We solve the entire board before the cage sums are ever calculated.

    This optimization ensures that every puzzle is mathematically possible to solve.
    Calculated sums prevent broken games that frustrate players during their sessions today.

    Optimized DOM Rendering Techniques

    The rendering logic was optimized to avoid unnecessary browser layout shifts now.
    Only the specific value spans are updated when a player enters numbers.

    This targeted update method is much faster than rebuilding the whole board.
    Keeping the DOM structure static makes the interface feel very professional today.

    Validation and Player Feedback

    The validation system checks standard rules alongside mathematical cage totals simultaneously.
    A simple loop iterates through the flat array to find duplicates.

    The engine highlights errors instantly to give players immediate visual feedback today.
    These performance gains allow the logic to run on very low hardware.

    Cross Platform Development Instructions

    Windows users can follow these steps using the WSL developer environment today.
    MacOS users can run these optimizations directly in the native terminal app.

    Fedora Linux users serve the project using a built in Python module now.
    Run python3 -m http.server to start the project.

    Access your local host address in any modern browser to play now.
    This workflow teaches the standard practices used in professional software engineering.

    Conclusion and Best Practices

    Clean and optimized code is easier for other developers to read.
    Building small tools helps you master memory management and algorithmic efficiency.

    Mastering the DOM is a fundamental skill for every web developer today.
    Apply these logic patterns to your future high performance software projects now.

    Consolidated Demo

    HTML5 Optimized Killer Sudoku Cube

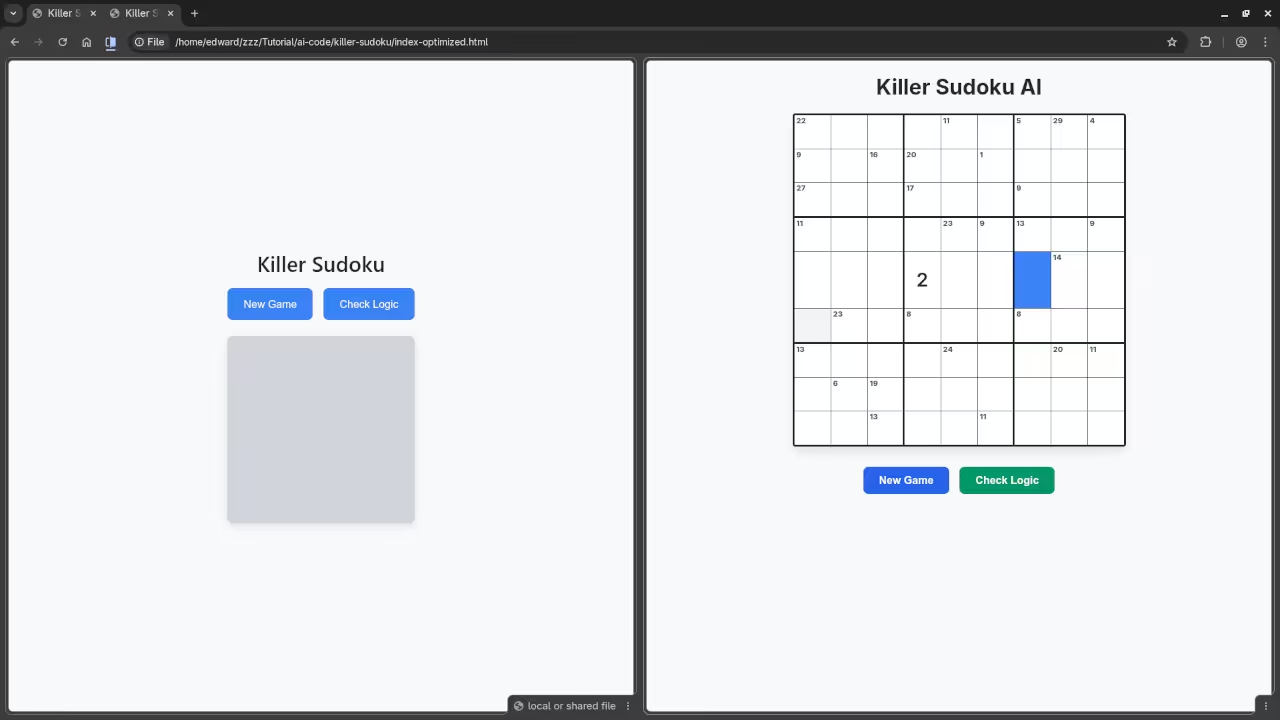
    Screenshot

    Original vs Optimized
    Web Browser Showing Original And Optimized Killer Sudoku Cube

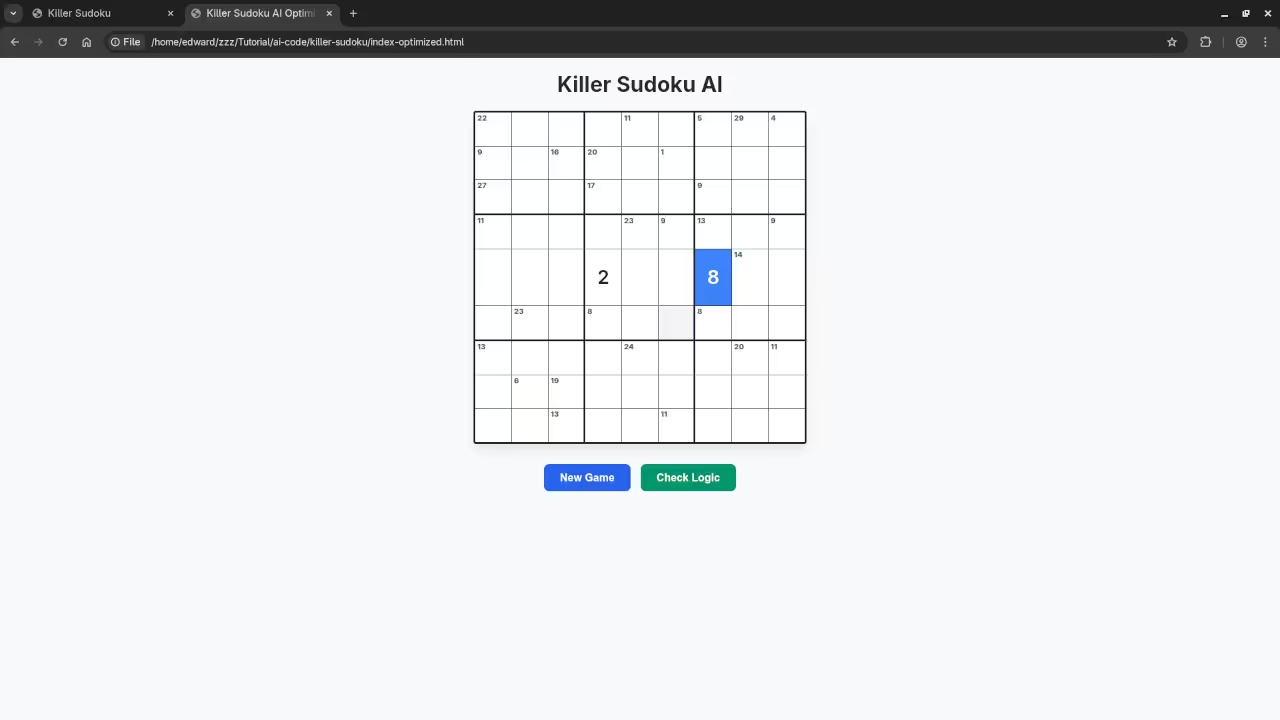
    Optimized Killer Sudoku Cube
    Web Browser Showing Optimized Killer Sudoku Cube Results

    Live Screencast

    Screencast Of Optimized Killer Sudoku Cube Code

    Take Your Skills Further

  • Building Killer Sudoku Solvers Beyond Standard Rules With AI

    Building Killer Sudoku Solvers Beyond Standard Rules With AI

    Introduction

    Sudoku variants offer many exciting and fresh challenges for all puzzle players. These mathematical puzzles require advanced logic and very sharp mental math skills.

    Standard Sudoku uses the basic nine by nine grid and box rules. Killer Sudoku introduces special cages with very specific numerical sum totals.

    Numbers within these cages must reach exact values when added together today. Digits cannot repeat within any single colored cage in the puzzle grid.

    Beginner programmers can build powerful solvers using local artificial intelligence models now. Logical thinking skills improve greatly through this detailed technical coding exercise.

    Setting Up the AI Environment

    The llama-server tool runs the powerful and efficient Qwen3 model locally. Your chosen operating system provides a stable and modern environment for developers.

    Open your terminal window on your computer desktop to begin the setup. Install all required system dependencies for the server using the package manager.

    Standard Rules and Cage Constraints

    Standard Sudoku logic requires unique digits in every single row and column. Every small three by three box also needs unique numerical digits throughout.

    Killer Sudoku adds the complexity of mathematical sums to the standard logic. The sum rule creates a much deeper layer of difficulty for players.

    Configuring the Model Server

    Download the Qwen3 GGUF model file for local use on your hardware. Place this specific file into your dedicated models directory for safe storage.

    Use the specific llama-server command for your hardware and memory settings now. Set the communication port to exactly eight zero eighty-one for easy access.

    Server Performance Parameters
    Parameter Description Value
    Model Path Location of GGUF file /mnt/AI/models
    Context Size Total tokens available 24576
    Server Port Local network access 8081
    GPU Layers Offloading to hardware 999
    Chat Template Template engine enabled jinja
    Parameter Description Value

    Ensure GPU offloading is active for much faster processing during puzzle inference. The ngl flag controls how many layers use your graphics hardware today.

    Specify a very large context window for solving complex puzzle grids correctly. The value twenty-four thousand five hundred seventy-six is perfectly ideal for this.

    Running the Solver on Localhost

    Check your local firewall settings before running the code on the port. Allow incoming traffic on port eight zero eighty-one inside your terminal window.

    Open your favorite web browser on your machine right away to continue. Navigate directly to your local host address to find the server interface.

    Input the Killer Sudoku prompt into the text area very carefully now. Define every cage using specific grid coordinate pairs and exact sum values.

    The AI model calculates every valid numerical sum combination quite accurately today. Qwen3 solves the entire puzzle in just a few short seconds now.

    Cross Platform Programming Instructions

    Windows users can install WSL to follow these steps with great ease. MacOS users should use Homebrew to manage their software packages very effectively.

    Simple Python scripts interact with the local server API through web requests. The requests library sends puzzle data to the model for quick processing.

    Handle the JSON response from the server very carefully during software development. Extract the final solved grid values for the user to see clearly.

    Validation and Testing

    Check for any logic errors within the cage sums very thoroughly now. The final sum must match the cage labels exactly every single time.

    Test your code with simple four-cell grids at the very beginning today. Move to full nine-cell grids after passing all initial logic tests successfully.

    Code complexity increases as the grid size grows much larger and harder. Proper optimization keeps the solver running very fast for all your users.

    Benefits of Local AI Development

    Local AI models keep all your personal puzzle data completely private now. Offline processing saves money on expensive cloud bandwidth costs every single day.

    Linux remains a top choice for modern and professional software developers globally. Engineers love having access to the latest software packages and coding tools.

    Learning Sudoku logic helps improve your overall math skills and memory today. Developing coding logic helps your professional career grow very fast right now.

    Consistent practice always makes your programming code much better over time today. Explore more variants like KenKen or even the difficult Sudoku X puzzles.

    Killer Sudoku Logic Reference Table

    Killer Sudoku Cage Sum Reference
    Cage Size Description Value Range
    2 Cells Minimum and Maximum sums 3 to 17
    3 Cells Minimum and Maximum sums 6 to 24
    4 Cells Minimum and Maximum sums 10 to 30
    Cage Size Description Value Range

    Mathematical Combinations for AI Solvers

    Mathematical combinations define how the AI thinks about different cage sizes today. Specific sums have only one possible set of numbers to use now.

    A sum of three in two cells always uses the number one. The other cell in that cage must be the number two today.

    A sum of seventeen in two cells always uses the number eight. The other cell in that cage must be the number nine now.

    These fixed combinations provide the AI with excellent starting logic points today. Qwen3 uses these unique combinations to eliminate digits from the grid now.

    Beginners should write functions to identify these unique sums in code today. This logic mirrors the way humans solve very difficult puzzles manually now.

    Monitoring and Debugging

    Use the system terminal to monitor your server logs in real-time today. Real-time logging shows how the model processes each request very clearly now.

    The Qwen3 model handles 30B parameters for high accuracy and intelligence today. Larger models understand complex spatial relationships in the puzzle grid very well.

    A3B-Instruct refers to the specific attention architecture used for this model. This ensures the model follows your cage constraints precisely every single time.

    Quantization level Q5_K_XL balances speed and high intelligence for home users. This allows the model to run on standard consumer hardware very easily.

    You must provide clear instructions in your system prompt for accuracy today. Explain that Sudoku rules always apply to the cage sum constraints now.

    The model should output a structured grid of numbers for reading today. Users can then verify the solution against the original puzzle easily now.

    Debugging the AI output requires a patient and focused coding mindset today. Check if the model hallucinated any repeated digits in the grid now.

    Professional Development Environment

    A modern workstation provides an excellent Python development environment for all users. The package manager makes installing libraries very easy for all beginners today.

    Create a virtual environment for your Python solver project right now today. This keeps your global system clean and very organized for your work.

    Use the subprocess module to launch the llama-server via Python script today. Your script can then manage the server lifecycle automatically for you now.

    Logging errors to a text file helps solve bugs very quickly today. Beginners should always read the error messages very carefully and slowly now.

    The llama-server API uses standard HTTP POST requests for all communication today. This makes it compatible with almost any modern programming language used today.

    JSON objects transfer the puzzle data between the separate code parts today. Ensure your JSON formatting is valid before sending it to the server.

    Conclusion and Community Sharing

    Logic puzzles like this help prevent cognitive decline in later years today. Programming these solvers builds strong algorithmic thinking patterns for all students.

    You can share your solver with the coding community online right now. Open source software grows through helpful collaboration and sharing among your peers.

    Consolidated Demo

    HTML5 AI-Generated Skewb Puzzle

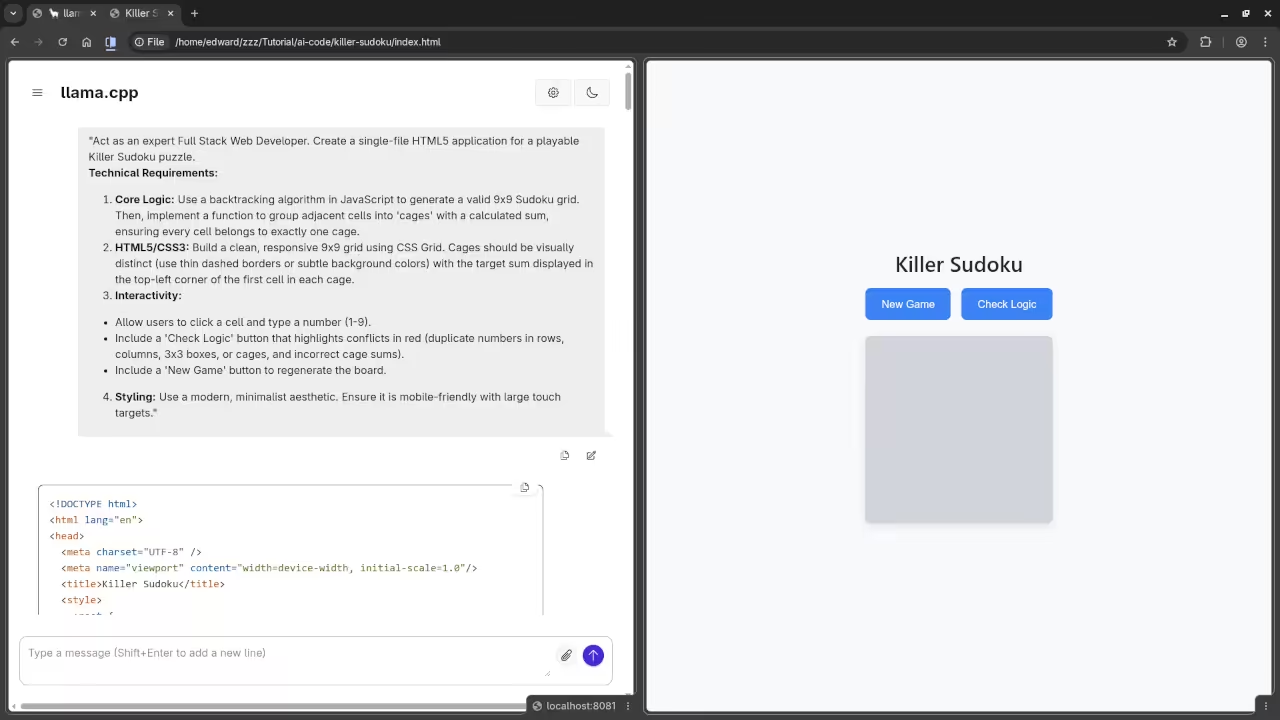
    Screenshot

    AI HTML5 Code
    Web Browser Showing AI Code And Generated Killer Sudoku

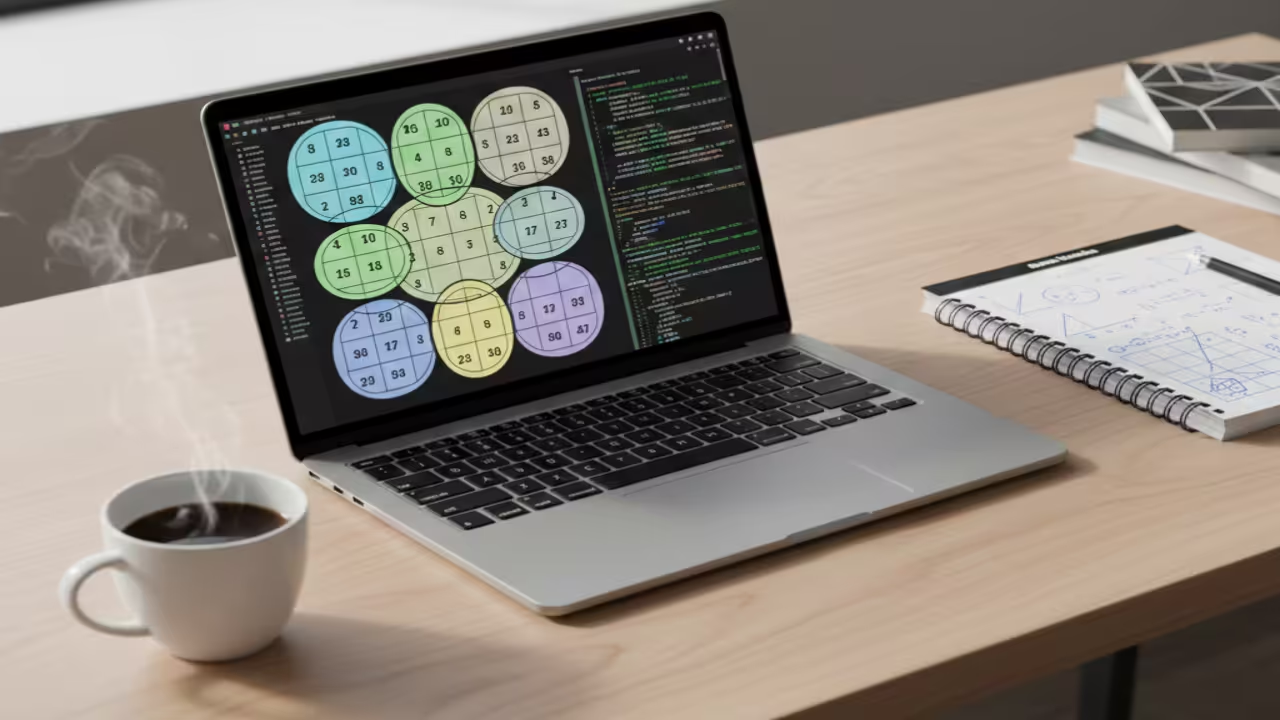
    3D Sudoku Grid
    3D Killer Sudoku

    Live Screencast

    Screencast Of AI Generated Killer Sudoku Code

    Take Your Skills Further

  • The Absolute Beginner Guide to AMD Local AI

    The Absolute Beginner Guide to AMD Local AI


    Introduction

    Local AI runs directly on your computer hardware. This guide helps you set up AMD GPUs.

    Modern computers can process AI tasks very fast. You do not need expensive cloud subscriptions anymore.

    AMD cards are powerful tools for this work. They offer great value for beginner programmers today.

    Understanding AMD ROCm Software

    You must use the right software for your hardware. AMD uses a specific platform called ROCm.

    ROCm stands for Radeon Open Compute platform. It bridges the gap between hardware and code.

    Choosing the Operating System

    Fedora Linux is a great choice for this setup. It provides the newest kernels for your GPU drivers.

    Start with a clean installation of Fedora Workstation. Ensure your internet connection is stable and fast.

    Preparing the Linux Environment

    Open your terminal to begin the configuration process. Type the command to update all system packages.

    The sudo dnf upgrade --refresh command works well. Restart your system after the updates finish completely.

    Removing Driver Conflicts

    You must remove old NVIDIA drivers from your system. These files often cause major software conflicts.

    Search for xorg x11 drv nvidia packages specifically. Remove them to ensure a clean AMD environment.

    Installing the ROCm Stack

    Now you can install the core ROCm software. Use the dnf package manager for this task.

    Install rocm-hip and rocm-opencl packages right now. These libraries handle the heavy math for AI.

    Configuring User Permissions

    You must grant your user account special permissions. Add yourself to the video and render groups.

    This step allows Python to access your GPU. Log out and log back in for changes.

    Check your GPU status with the rocminfo tool. It should display your card name and version.

    Advanced GPU Configuration

    Some consumer cards require a small manual tweak. You might need to set an environment variable.

    Use the HSA override gfx version command now. This makes your card compatible with professional software.

    Setting Up Python Virtual Environments

    Create a new directory for your AI projects. Use a Python virtual environment to stay organized.

    Python environments prevent breaking your main system files. Activate the environment before installing any new libraries.

    Installing AI Frameworks

    You need a special version of the PyTorch library. Do not use the standard installation command here.

    Point your installer to the ROCm software index. This ensures the library uses your AMD hardware.

    Verify the installation with a short Python script. Check if torch cuda is available returns true.

    Running ComfyUI and Stable Diffusion

    Now you are ready to install ComfyUI software. Clone the repository from GitHub to your folder.

    Install the requirements listed in the text file. This process may take a few minutes to finish.

    Download a base model like Stable Diffusion XL. Place the file inside the models checkpoints folder.

    Launch the application using the main Python file. Open your web browser to the local address.

    Generating Content Locally

    You can now generate high quality images locally. The speed depends on your specific GPU model.

    Monitor your system resources during the generation process. Watch the memory usage in your system monitor.

    Local AI keeps your data private and secure. No images are ever sent to external servers.

    Screenshot

    The Hardware Power
    Digital Circuit World

    Live Screencast

    Screencast Of The Absolute Beginner’s Guide to AMD Local AI

    Conclusion and Next Steps

    You have successfully configured a complex technical stack. Practice by changing different settings in the interface.

    Learning these steps builds a strong technical foundation. You are now part of the open AI community.

    Take Your Skills Further

  • Mastering Blender Automation with Python Rigging Scripts

    Mastering Blender Automation with Python Rigging Scripts


    Introduction

    Blender is a world class tool for 3D modeling and animation. You can automate complex tasks using the built in Python API.

    Character rigging is often a repetitive process for artists. You can write scripts to create skeletons and constraints automatically.

    Your Fedora Linux workstation provides a stable environment for this work. Blender runs natively and supports high performance Python scripting today.

    Importance Of The GNU GPL License

    The software is released under the GNU General Public License. This license is a critical part of the developer community.

    The GPL ensures that Blender remains free software forever. You have the right to study and change the source code.

    This protection fosters a collaborative environment for all developers. You can share your scripts with others without any legal fear.

    Building Armatures With Python

    Automating rigs starts with the bpy data module in Python. You use this to create a new armature object first.

    An armature acts as a container for all your bones. In Python you must switch to Edit Mode to add bones.

    The following Python snippet demonstrates how to generate a basic three bone chain. It creates the data block and positions the joints in space.


    import bpy
    
    # Create the armature data and object
    arm_data = bpy.data.armatures.new("RigData")
    arm_obj = bpy.data.objects.new("CharacterRig", arm_data)
    bpy.context.collection.objects.link(arm_obj)
    
    # Switch to Edit Mode to add bones
    bpy.context.view_layer.objects.active = arm_obj
    bpy.ops.object.mode_set(mode="EDIT")
    
    # Define bone positions
    positions = [(0, 0, 0), (0, 0, 1), (0, 0, 2), (0, 0, 3)]
    bone_names = ["Base", "Middle", "Top"]
    
    for i in range(3):
        bone = arm_data.edit_bones.new(bone_names[i])
        bone.head = positions[i]
        bone.tail = positions[i + 1]
        if i > 0:
            bone.parent = arm_data.edit_bones[bone_names[i - 1]]
    
    # Return to Object Mode
    bpy.ops.object.mode_set(mode="OBJECT")


    Displaying In The Browser With ThreeJS

    To view your automated rig on the web you must export it as a glTF file. This is the industry standard for 3D on the internet.

    ThreeJS is a powerful JavaScript library that can render this file. It uses WebGL to display your 3D content inside an HTML5 canvas.

    Below is the frontend code to load your rig. You need to include the ThreeJS library and the GLTFLoader to make this work.


    import * as THREE from "three";
    import { GLTFLoader } from "three/examples/jsm/loaders/GLTFLoader.js";
    
    const scene = new THREE.Scene();
    const camera = new THREE.PerspectiveCamera(75, window.innerWidth / window.innerHeight, 0.1, 1000);
    const renderer = new THREE.WebGLRenderer();
    
    renderer.setSize(window.innerWidth, window.innerHeight);
    document.body.appendChild(renderer.domElement);
    
    const loader = new GLTFLoader();
    loader.load("path/to/your_rig.glb", function (gltf) {
        scene.add(gltf.scene);
        
        // Access the bones created via Python
        const skeleton = new THREE.SkeletonHelper(gltf.scene);
        scene.add(skeleton);
    });
    
    camera.position.z = 5;
    
    function animate() {
        requestAnimationFrame(animate);
        renderer.render(scene, camera);
    }
    animate();


    Advanced Rigging Logic

    Automation is perfect for creating secondary bones like hair or clothing. You can generate hundreds of bones with a single loop.

    You can also automate the creation of Inverse Kinematics constraints. This makes your character rigs much easier for animators to use.

    [PLACEHOLDER: COMBINED SCREENSHOTS GALLERY]

    This project proves that Blender is a professional pipeline tool. Start your journey into 3D automation on your computer today.

    📸 Screenshots & Screencast

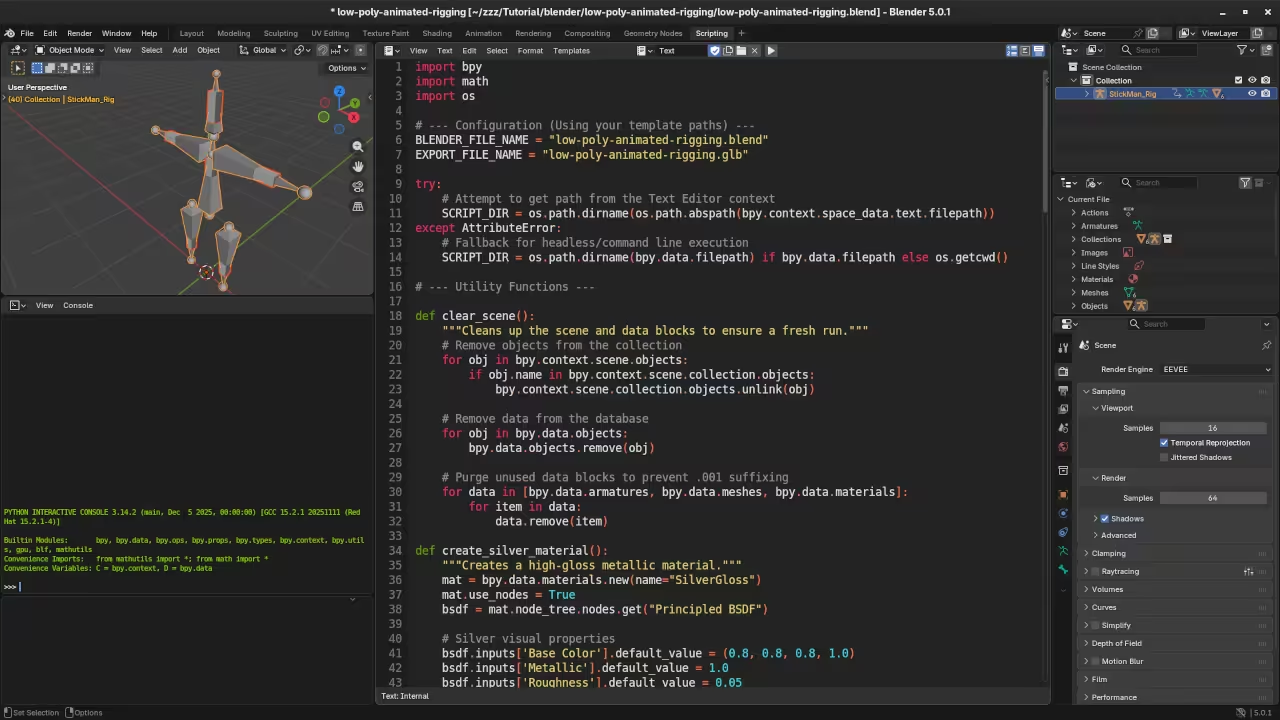
    Stickman Rigging Python code
    Blender Scripting Workspace Displaying Stickman Rigging Python Code

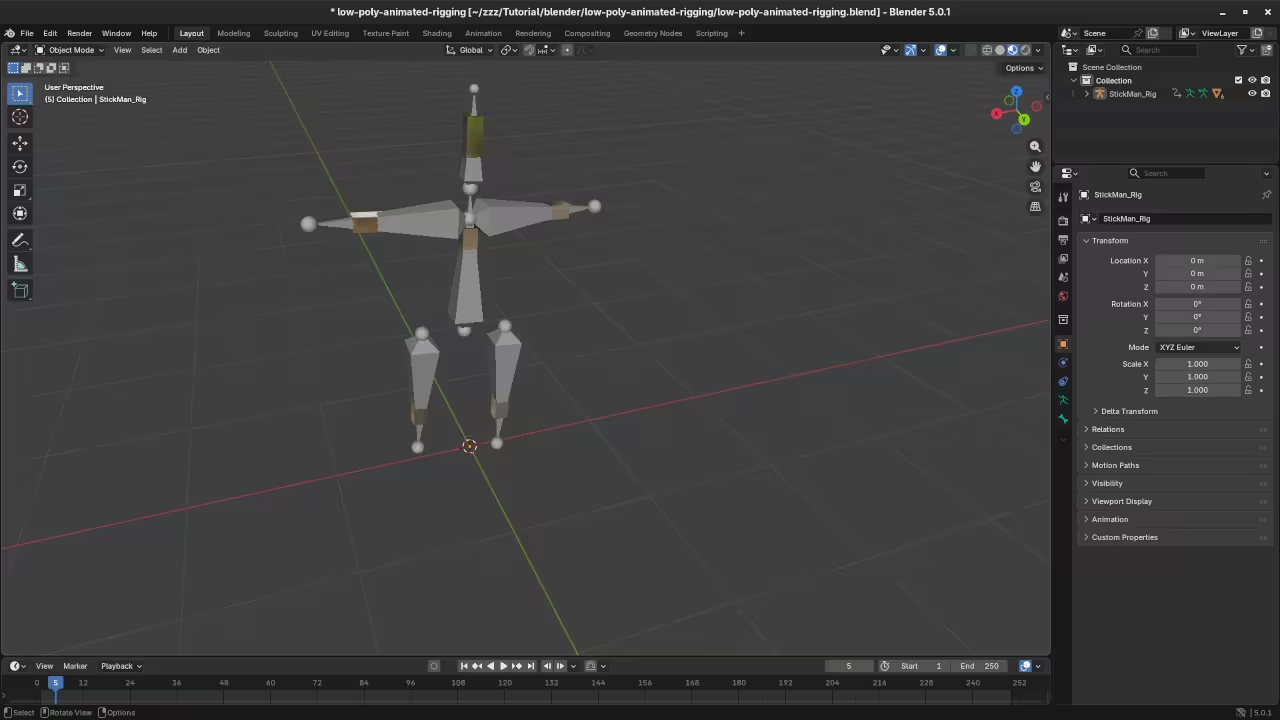
    Stickman Rigging in Blender
    Blender Layout Workspace Displaying Stickman Rigging

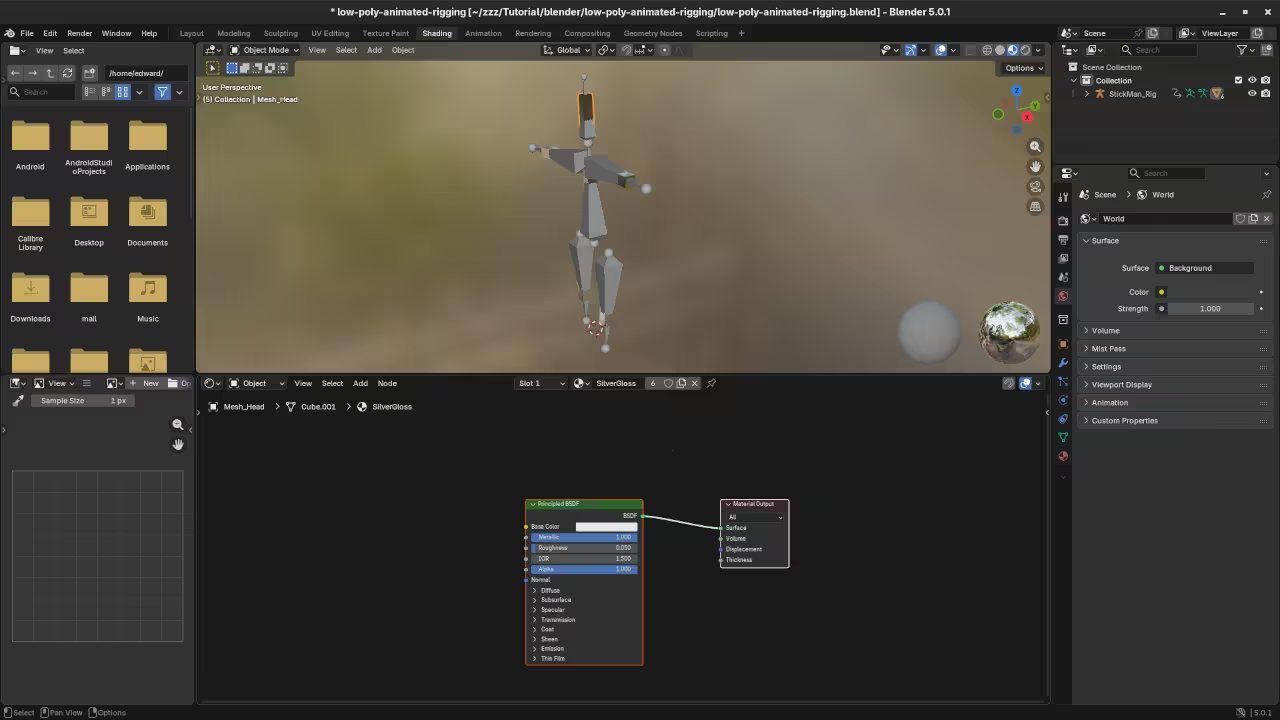
    Stickman Rigging in Blender Shading
    Blender Shading Workspace Displaying Stickman Rigging

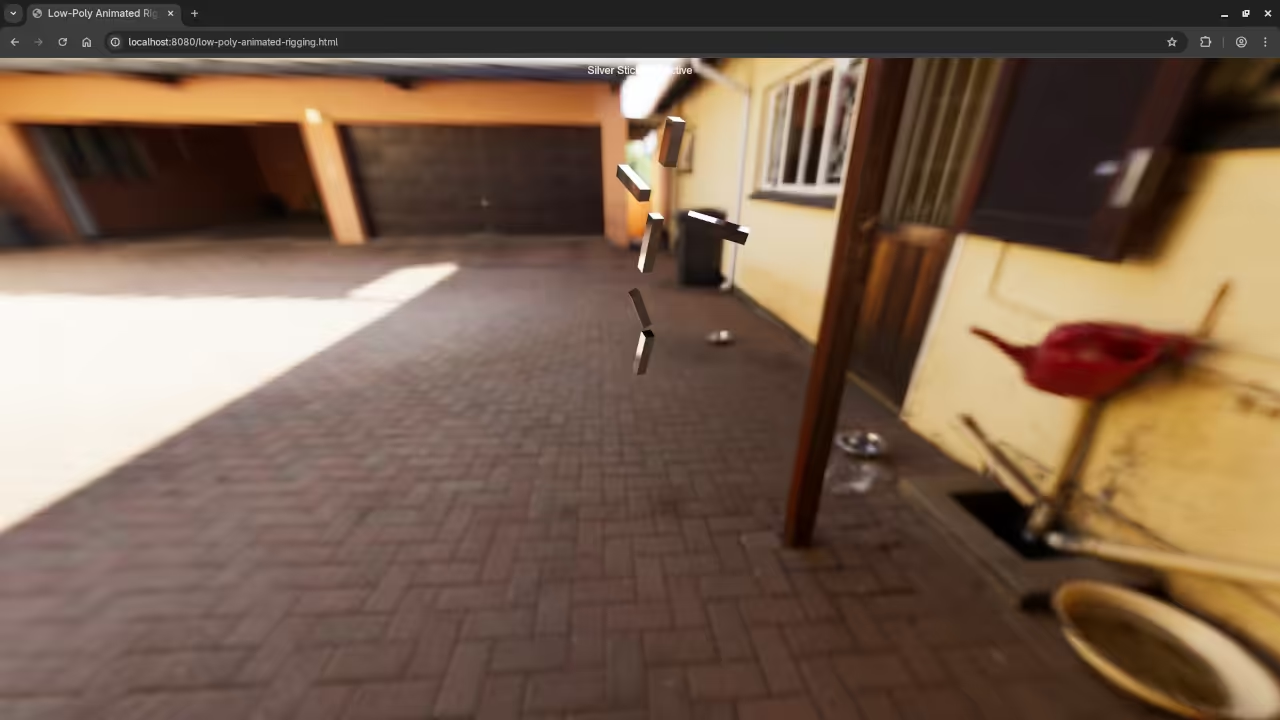
    Stickman Rigging in Web browser
    Web Browser Displaying Rendered Stickman Rigging

    Screencast For Blender Python API Stickman Rigging

    Take Your Skills Further

  • Access Your Desktop Anywhere With Apache Guacamole

    Access Your Desktop Anywhere With Apache Guacamole


    Introduction

    Apache Guacamole is a powerful remote desktop gateway. It allows you to access your computers from anywhere.

    The software is famous for being completely clientless. You only need a modern web browser to connect.

    Your Fedora Linux workstation acts as a perfect host. The installation process is stable and very efficient today.

    Importance Of The Apache License

    One major highlight is the Apache License 2.0. This license is a critical part of the software.

    The license ensures the software remains free forever. You can modify the code for any specific project.

    There are no hidden costs or royalty fees. This makes it ideal for personal and professional use.

    The Apache License 2.0 also provides patent protection. This gives developers peace of mind when using it.

    It encourages a transparent and collaborative development cycle. Users can contribute to the code base easily.

    Supported Protocols And Performance

    Guacamole supports standard protocols like RDP and VNC. It also handles SSH connections for terminal access.

    The system translates these protocols into HTML5 data. This allows for smooth performance without any browser plugins.

    Gateway Security Features

    Security is a top priority for this gateway project. You can enable two factor authentication for every user.

    It integrates easily with LDAP and standard SQL databases. This helps you manage many users from one place.

    You can even record sessions for security auditing. This feature is built directly into the server backend.

    Admins can monitor active connections in real time. You can disconnect any user with a single click.

    User Experience And Interface

    The interface is very clean and easy to navigate. You can switch between different remote desktops instantly.

    Remote work is much simpler with this gateway installed. You can control your home lab from any location.

    The community provides excellent support and detailed manuals. You will find help for any setup issues online.

    Server Setup Components

    Apache Guacamole is the best choice for remote access. Start your own self hosted gateway on Fedora now.

    The installation involves setting up the guacd proxy service. You also need a Java based servlet container.

    Apache Tomcat is the most common choice for this. It serves the web application to your local network.

    Advanced Capabilities

    You can customize the branding of the login page. This allows you to match your own corporate identity.

    The software handles high resolution displays with very low latency. It is even capable of playing remote video smoothly.

    File transfers work through a simple drag and drop. You can move documents between your local and remote machines.

    The on screen keyboard allows for mobile tablet use. You can type and control your mouse using touch.

    Cloud deployments are very popular for this specific tool. It provides a secure bridge to your private network.

    This project is a true leader in the industry. It proves that open source tools can beat proprietary ones.

    📷 Screenshots

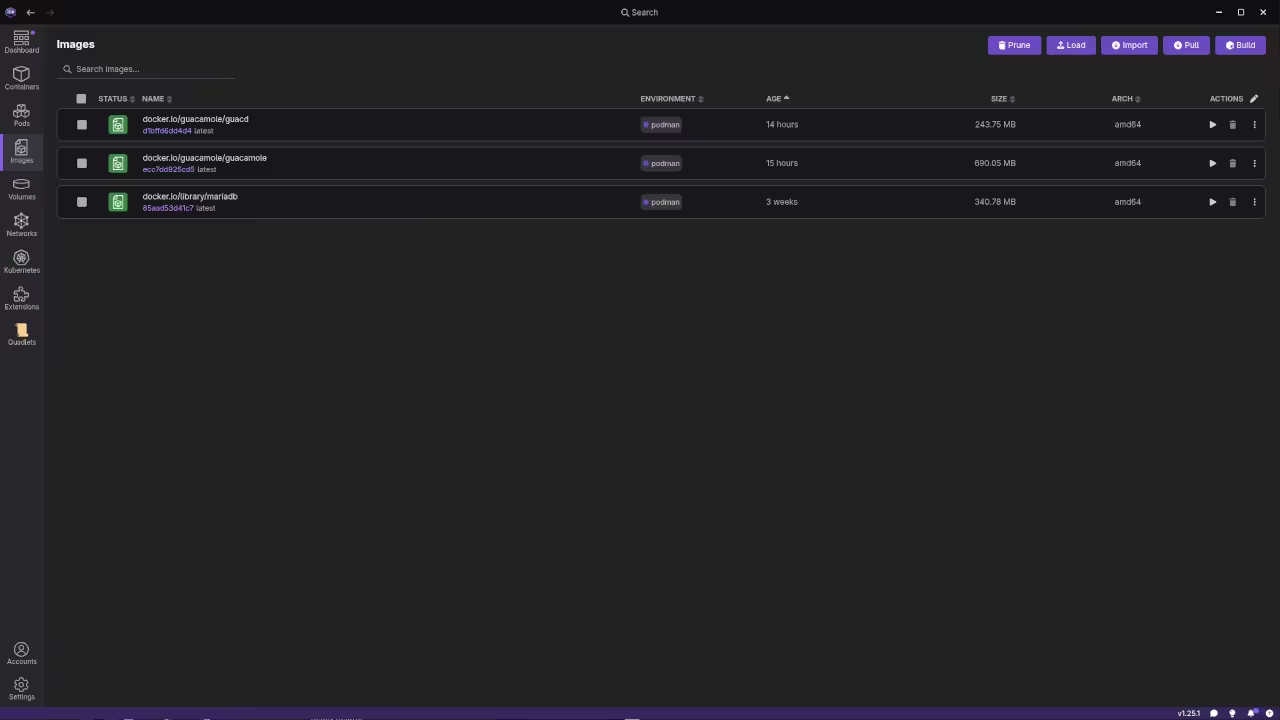
    Pulled Images
    Podman Desktop Displaying Pulled iamges

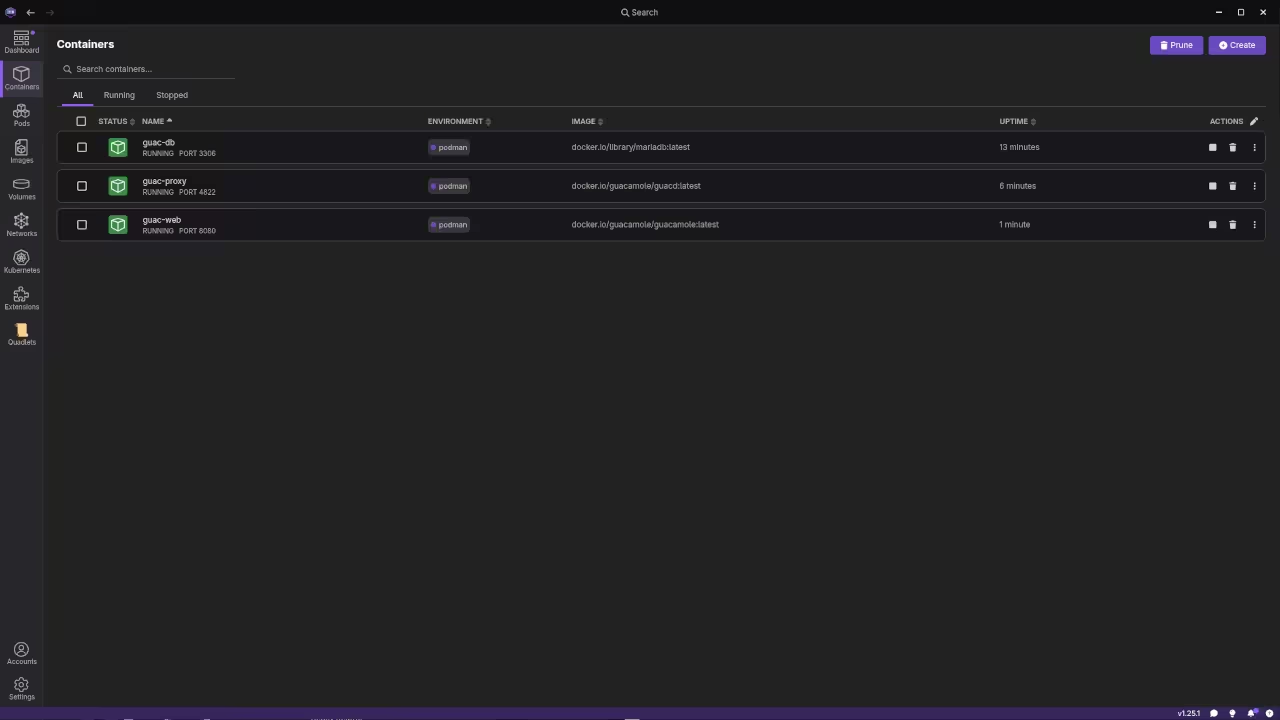
    Running Containers
    Podman Desktop Displaying Running Containers

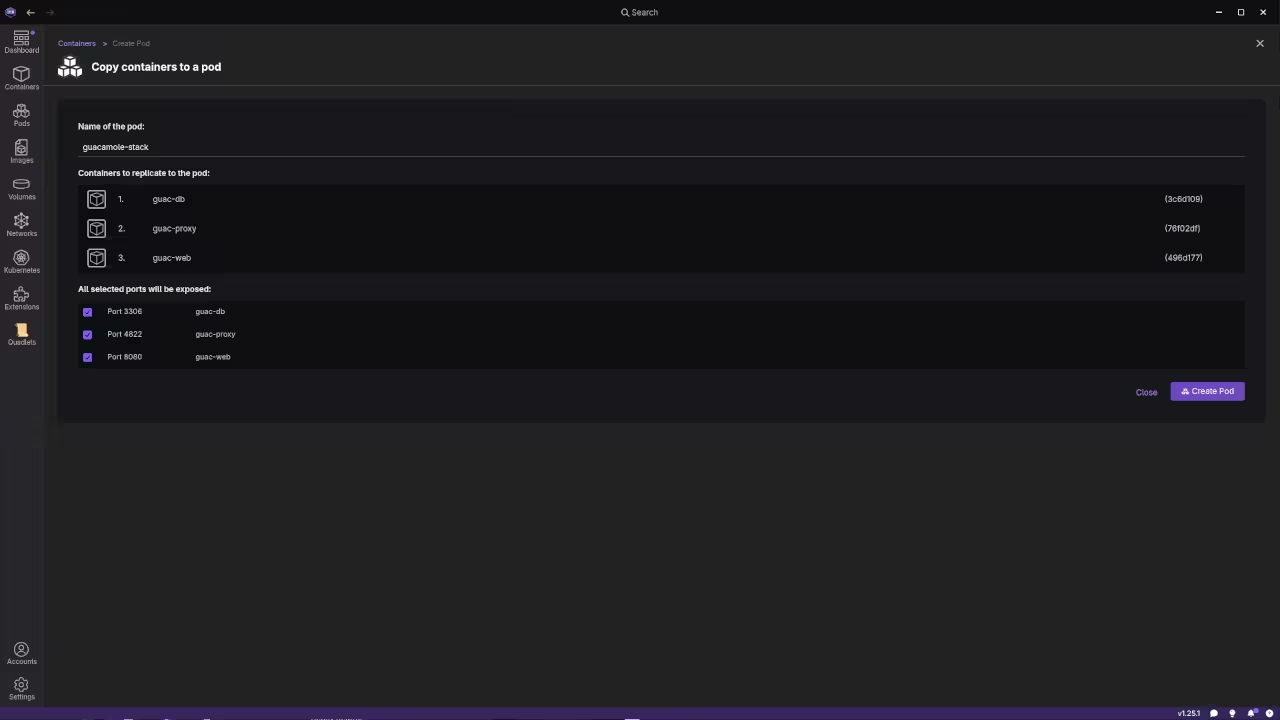
    Pod Creation
    Podman Desktop Displaying Pod Creation

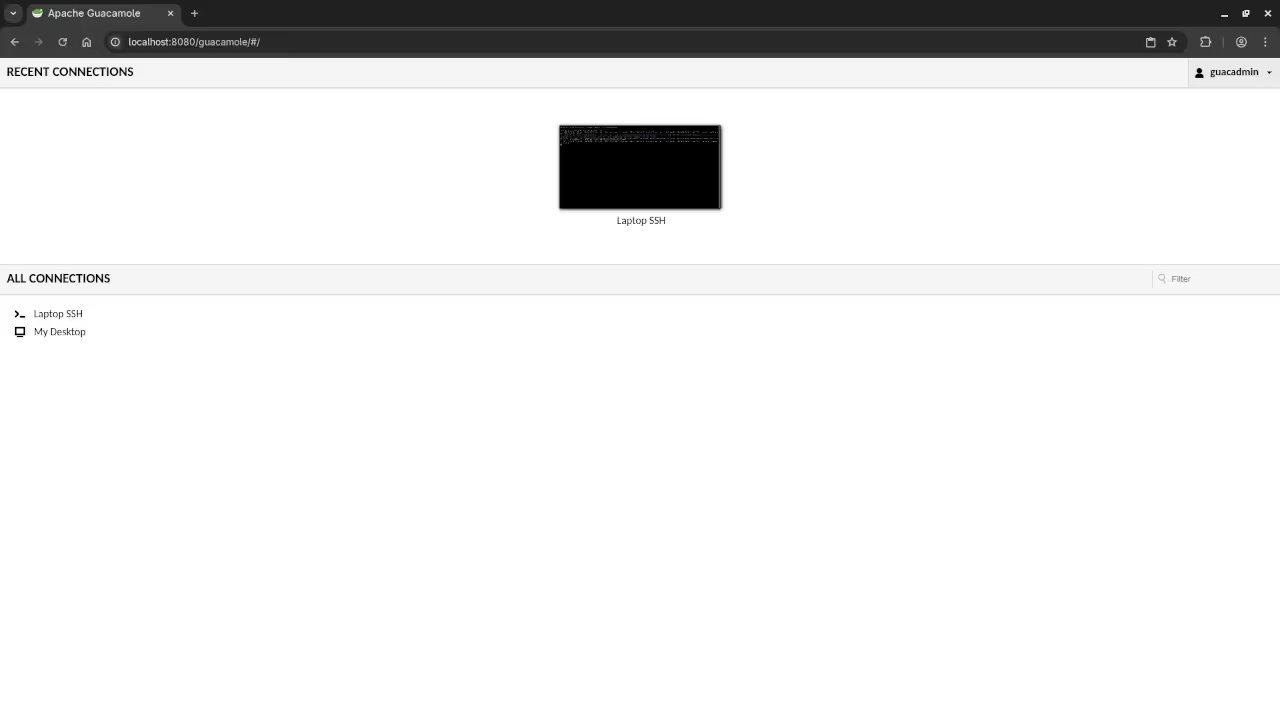
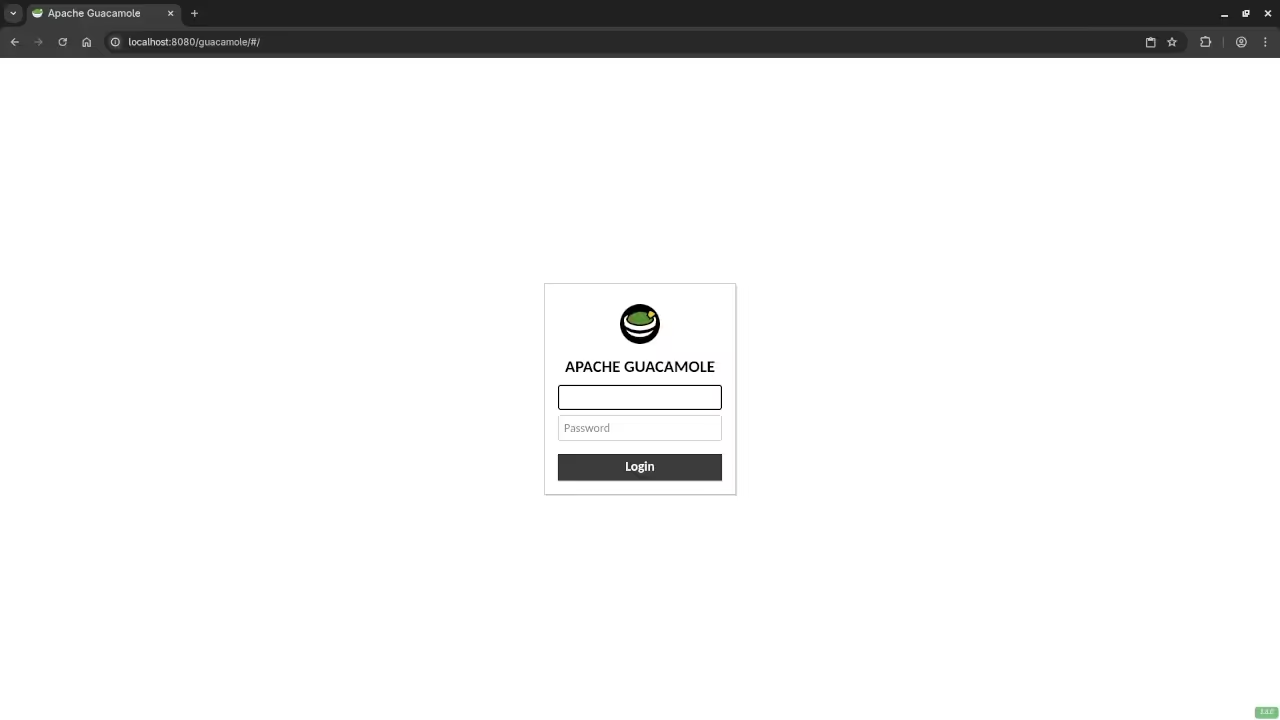
    Guacamole Login
    Web Browser Displaying Guacamole Login

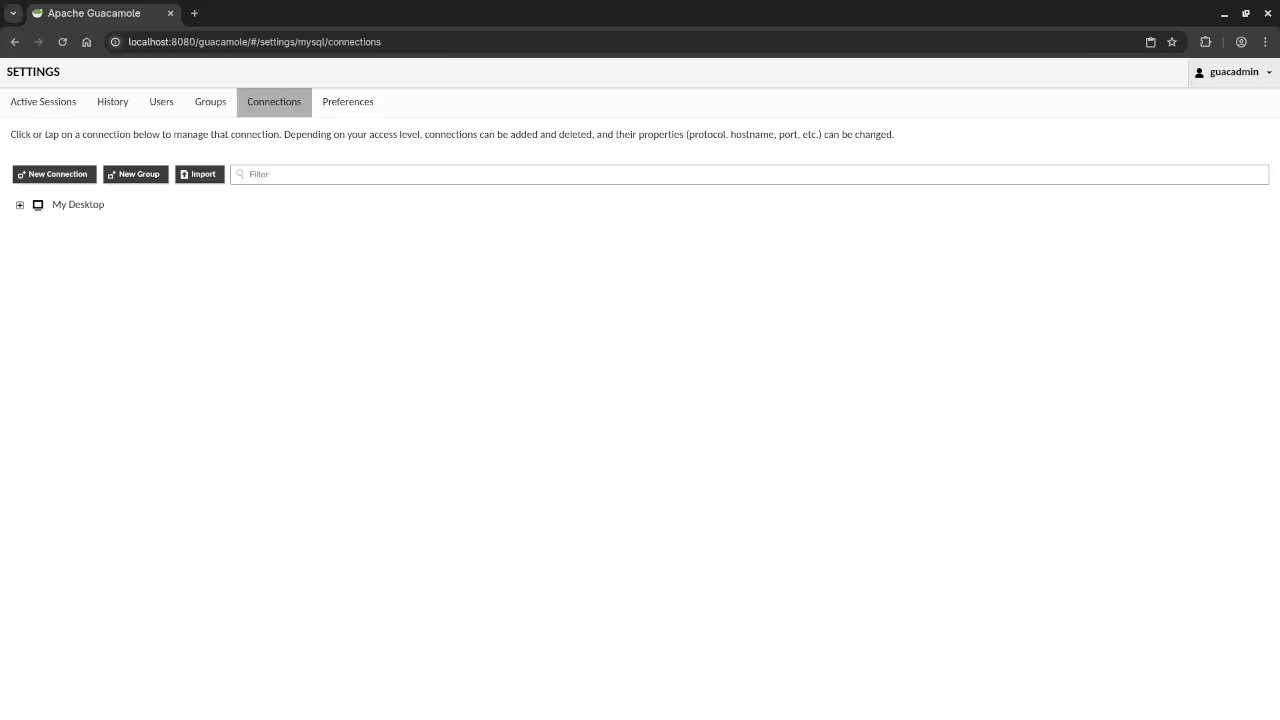
    Guacamole Settings
    Web Browser Displaying Guacamole Settings

    🎬 Live YouTube Screencast

    Video Displaying The Installation And Use Of Apache Guacamole

    Take Your Skills Further

  • Beginner Game Development With Godot 4

    Beginner Game Development With Godot 4


    Introduction

    Godot 4 is an amazing open source engine. It runs perfectly on your desktop computer.

    Your Fedora Linux workstation provides a great development environment. The engine is lightweight and very easy to install.

    Why Choose Godot Engine

    One major benefit of Godot is its license. The engine is completely free under the MIT license.

    You own everything you create with no hidden fees. There are no royalties or contracts for your games.

    Working With 3D Assets

    You can also use Blender to create 3D assets. Blender is the best open source tool for modeling.

    Blender Integration

    Godot 4 imports Blender files directly with ease. You simply save your blend files in your project.

    The engine automatically detects changes made in Blender. Your models update in the game world instantly.

    Installation Methods

    You can download the official binary very quickly. Simply extract the file and run the executable.

    The Flatpak version is also a very popular choice. Use the Flathub repository to get the latest updates.

    Understanding Nodes and Scenes

    The Godot engine uses a unique system of nodes. You combine these nodes to build complex game scenes.

    Every character and light in your game is a node. This hierarchy makes organizing your project very simple and clear.

    Scripting With GDScript

    Beginner programmers often choose Godot for its scripting language. This language is called GDScript and is very intuitive.

    GDScript uses a syntax that is similar to Python. You will find it very easy to read and write.

    Nodes handle the physics and collisions in your world. You can create 2D platformers or 3D shooters quickly.

    Advanced Editor Features

    The editor includes a built-in documentation search tool. You never have to leave the app to find help.

    Signals allow nodes to communicate with each other easily. You can trigger events when a player touches an object.

    Visuals and Interface

    The UI system in Godot 4 is very powerful. You can design professional menus and buttons with simple tools.

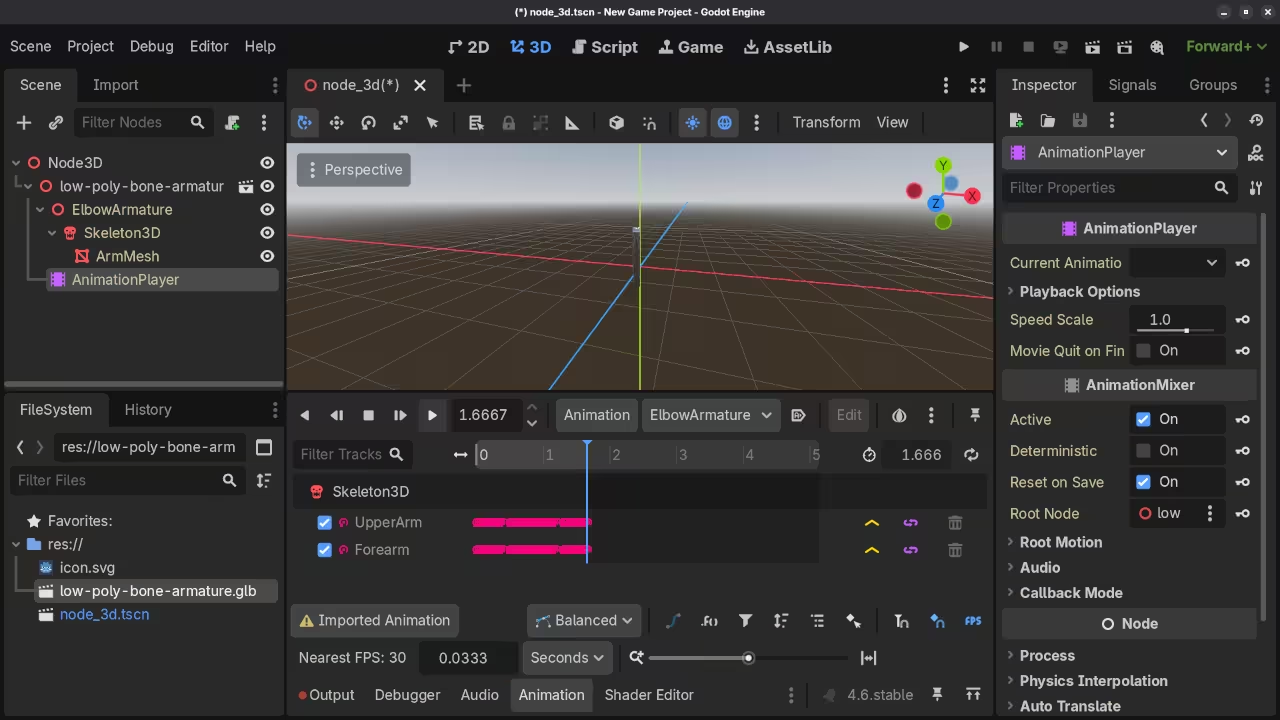
    Animations are handled by a dedicated animation player node. You can animate almost any property in the inspector window.

    The engine supports advanced lighting and shadow effects natively. Your games will look modern and professional on all systems.

    Publishing Your Game

    You can export your finished games to many platforms. Share your work on Windows, Mac, and mobile devices easily.

    Game development is a great way to learn logic. Start your first project on your computer today.

    📷 Screenshots

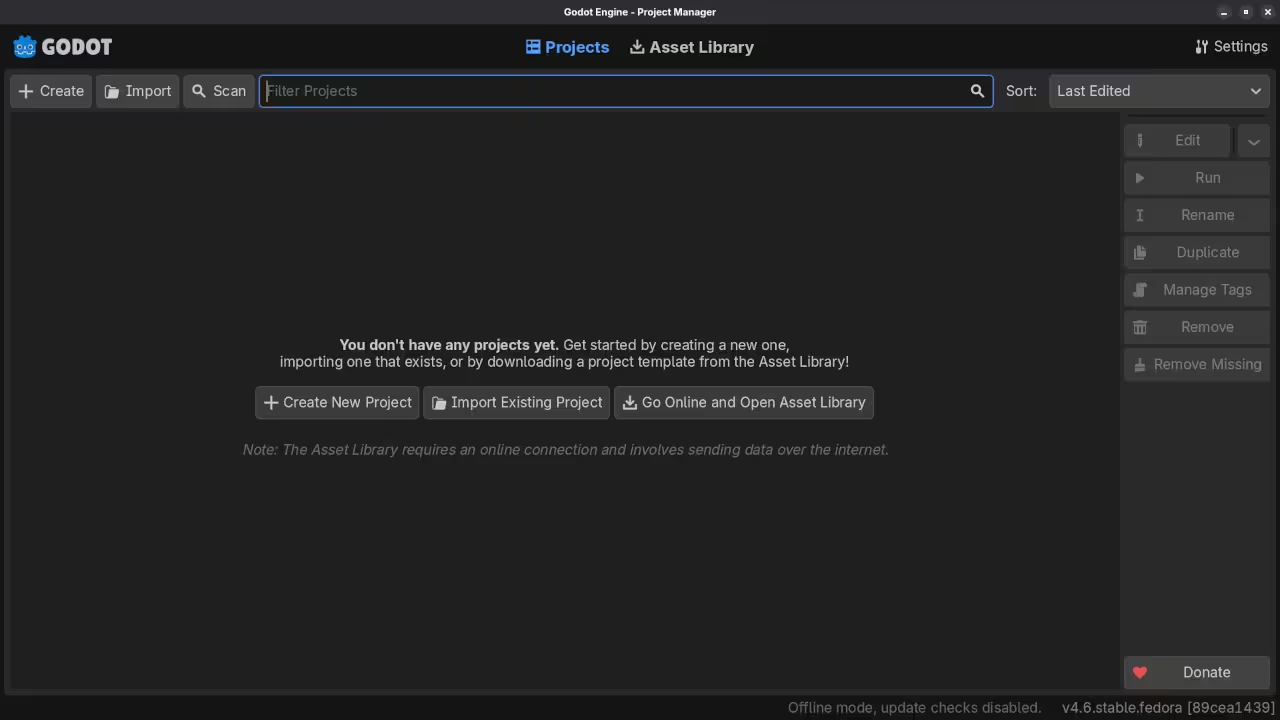
    Godot Engine Game Engine
    Godot Engine Game Engine Start Screen

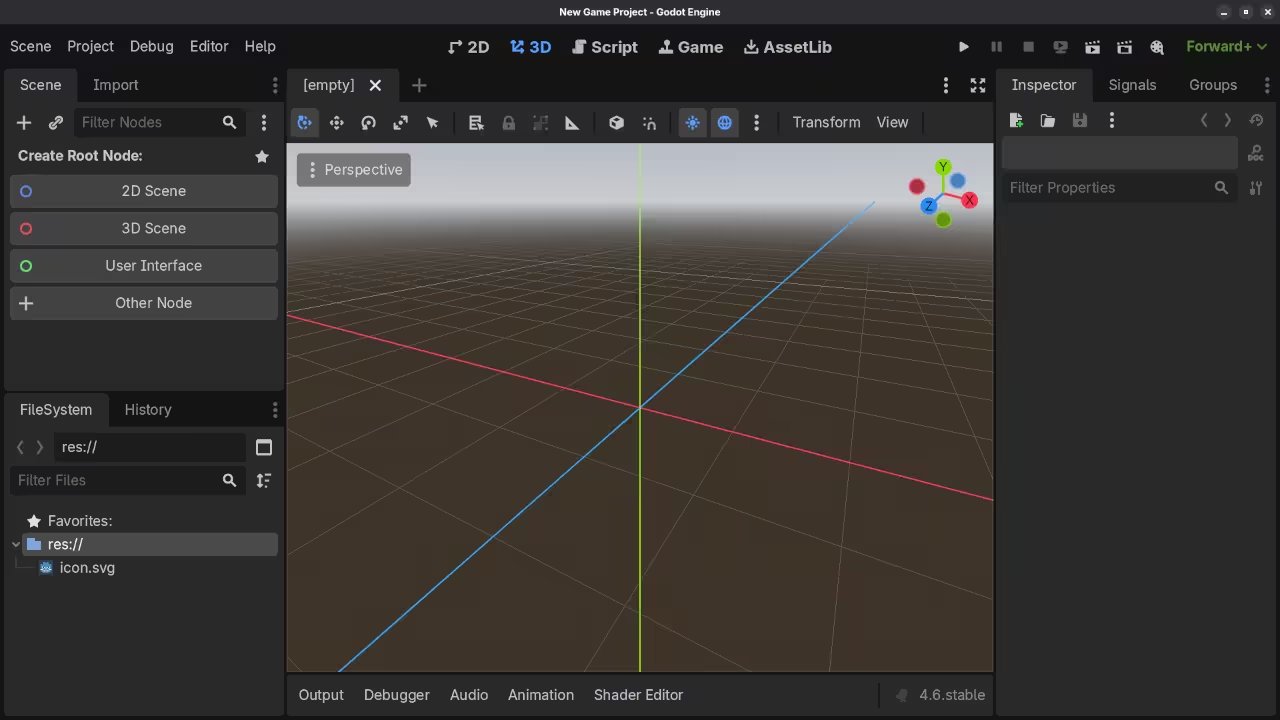
    Godot Engine New Project
    Godot Engine Game Engine New Project Dashboard

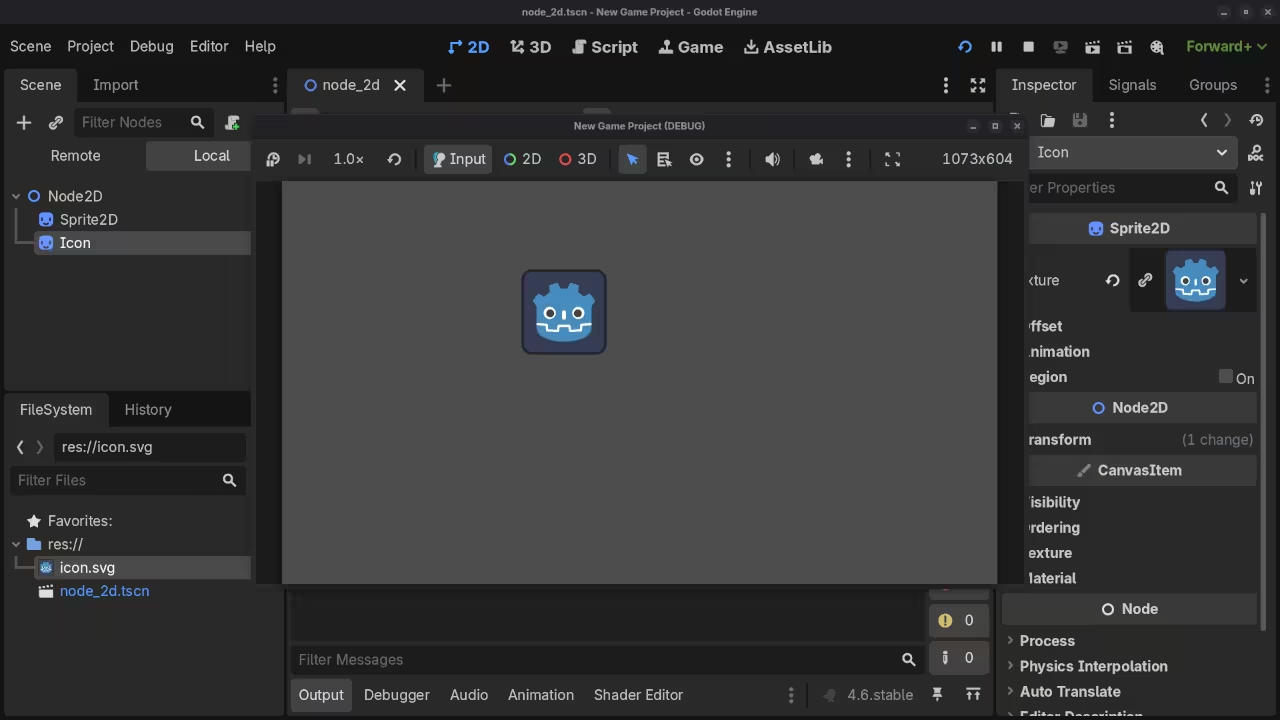
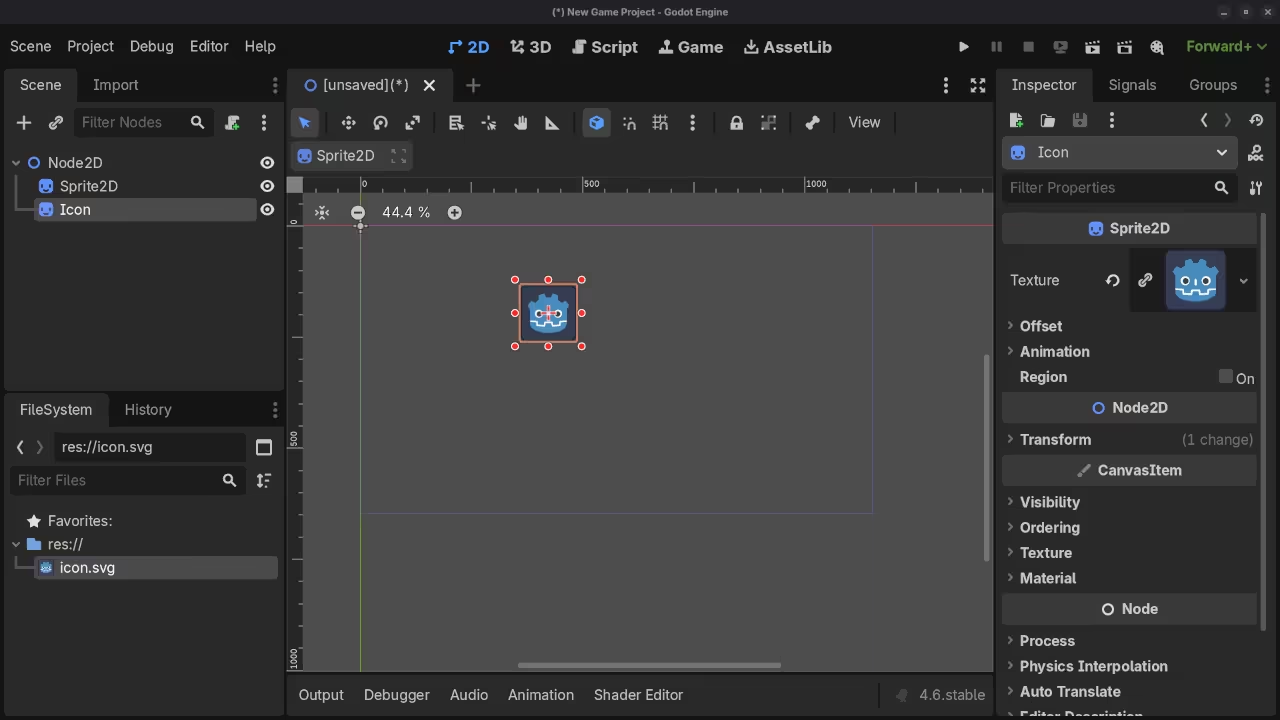
    Godot Engine 2D Scene
    Godot Engine Game 2D Scene View

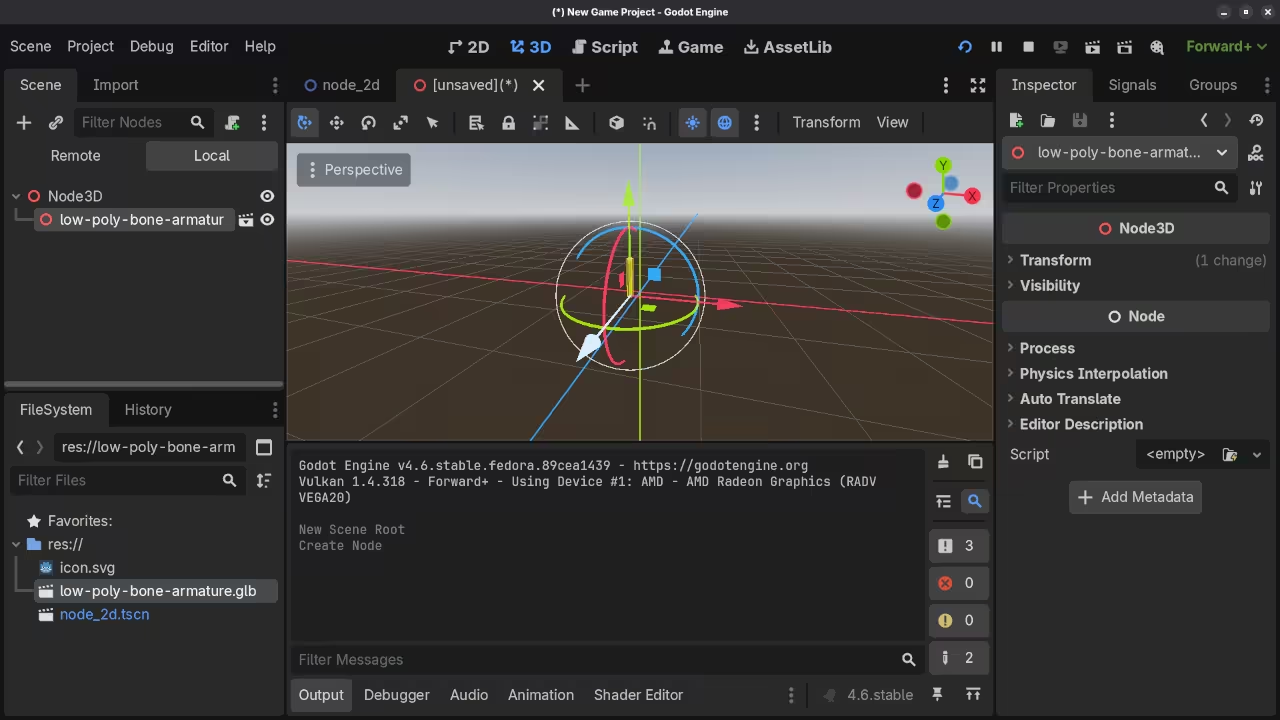
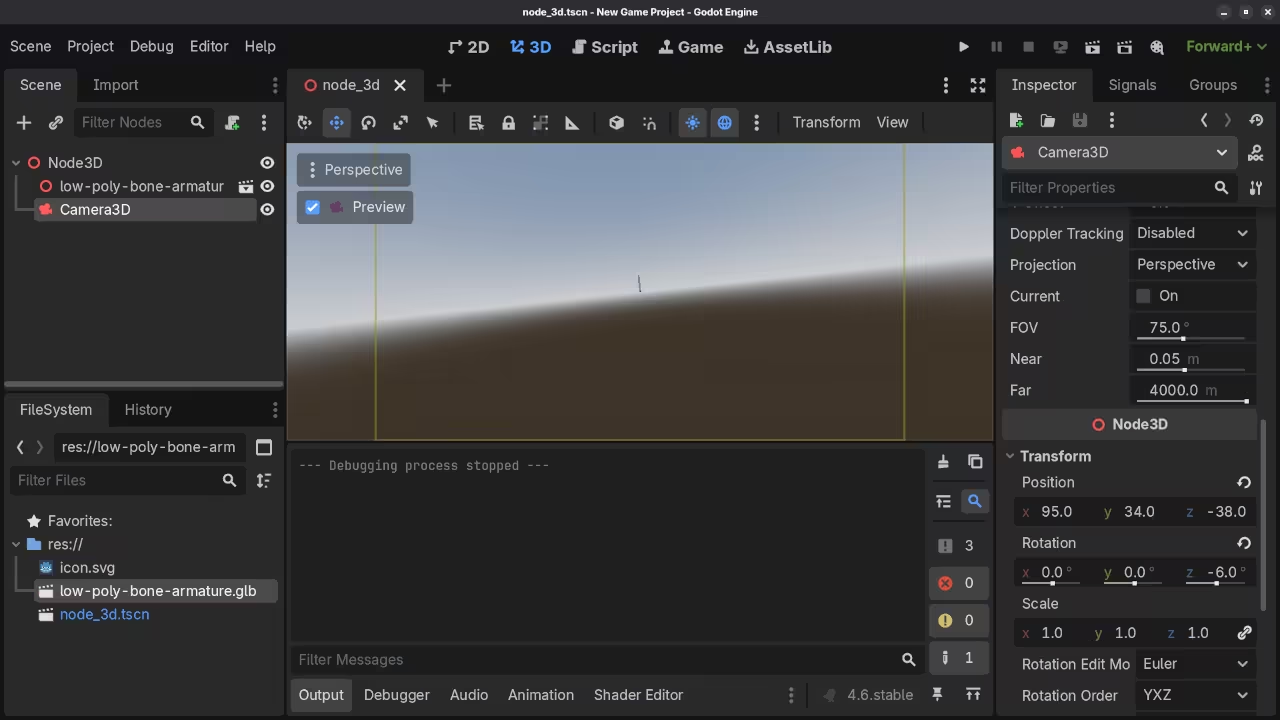
    Godot Engine 3D Scene
    Godot Engine Game Engine 3D Scene View

    Godot Engine Animation
    Godot Engine Game Engine Playing 3D Scene Animation

    Godot Engine Play Scene
    Godot Engine Game Engine Playing 3D Scene Player

    🎬 Live YouTube Screencast

    Video Displaying The Installation And Use Of Godot Engine Game Engine

    Take Your Skills Further

  • Host a Multiplayer Game Server on Raspberry Pi Zero W

    Host a Multiplayer Game Server on Raspberry Pi Zero W


    Introduction

    Nakama is a powerful server for multiplayer games. You can host it on a tiny Raspberry Pi.

    Your Fedora desktop provides a great environment for development. You can manage the Pi remotely using the terminal.

    The Raspberry Pi Zero W runs Raspbian for compatibility. This setup uses very little power for home hosting.

    Hardware Specifications

    Raspberry Pi Zero W Hardware Specs
    Component Specification
    CPU 1GHz Single-Core Broadcom BCM2835
    RAM 512MB LPDDR2 SDRAM
    Storage MicroSD Card Slot
    Wireless 802.11 b/g/n WiFi and Bluetooth 4.1
    USB 1 x Micro-USB OTG Port
    Video Mini HDMI Port
    Component Specification

    Connecting From Fedora to Raspbian

    First open the terminal on your Fedora workstation. Use the ssh command to connect to your Pi.

    You need the IP address of your Raspbian device. Type the hostname command on the Pi to find it.

    Installing the Game Server

    Update the package list on your Raspbian system first. Use the apt command to keep everything current.

    Nakama requires a database to store player information. PostgreSQL is a reliable choice for this specific task.

    The Pi Zero W has limited RAM for applications. You must use a swap file to increase stability.

    Binary Configuration for ARM

    Download the ARMv6 binary for Nakama onto the Pi. This version is built for the older Zero hardware.

    Extract the downloaded files into a new project folder. Give the binary execution permissions using the chmod command.

    Create a configuration file to limit resource usage. Set the internal logging level to warning for speed.

    Testing and Social Features

    The server can handle features like friend lists easily. Leaderboards also work well on this small hardware.

    Use your Fedora machine to test the connection. Ping the Pi address to check for network latency.

    Optimization and Maintenance

    A game server on a Pi is great learning. It teaches you how to handle hardware resource limits.

    Monitor the system temperature while the server is running. Small heat sinks can help keep the Pi cool.

    This project shows the power of lightweight game backends. You now have a working server for your games.

    📷 Screenshots

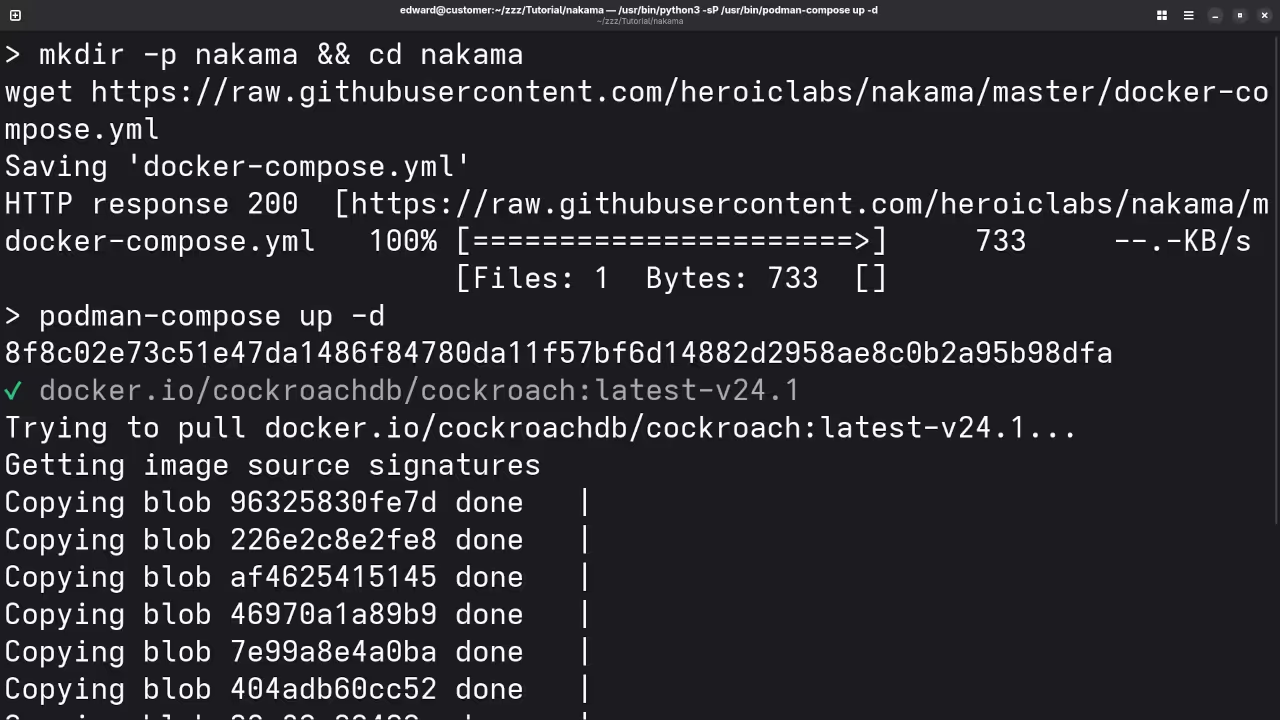
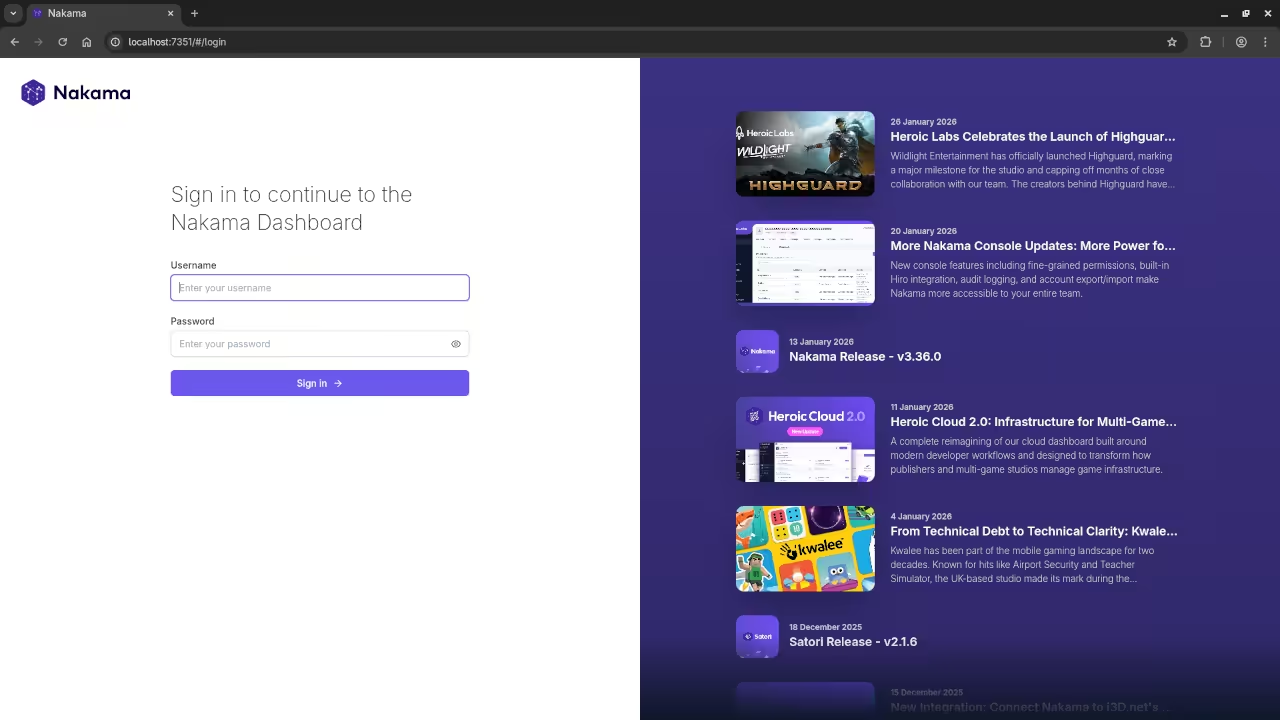
    Nakama Install
    Command Line Nakama Installation

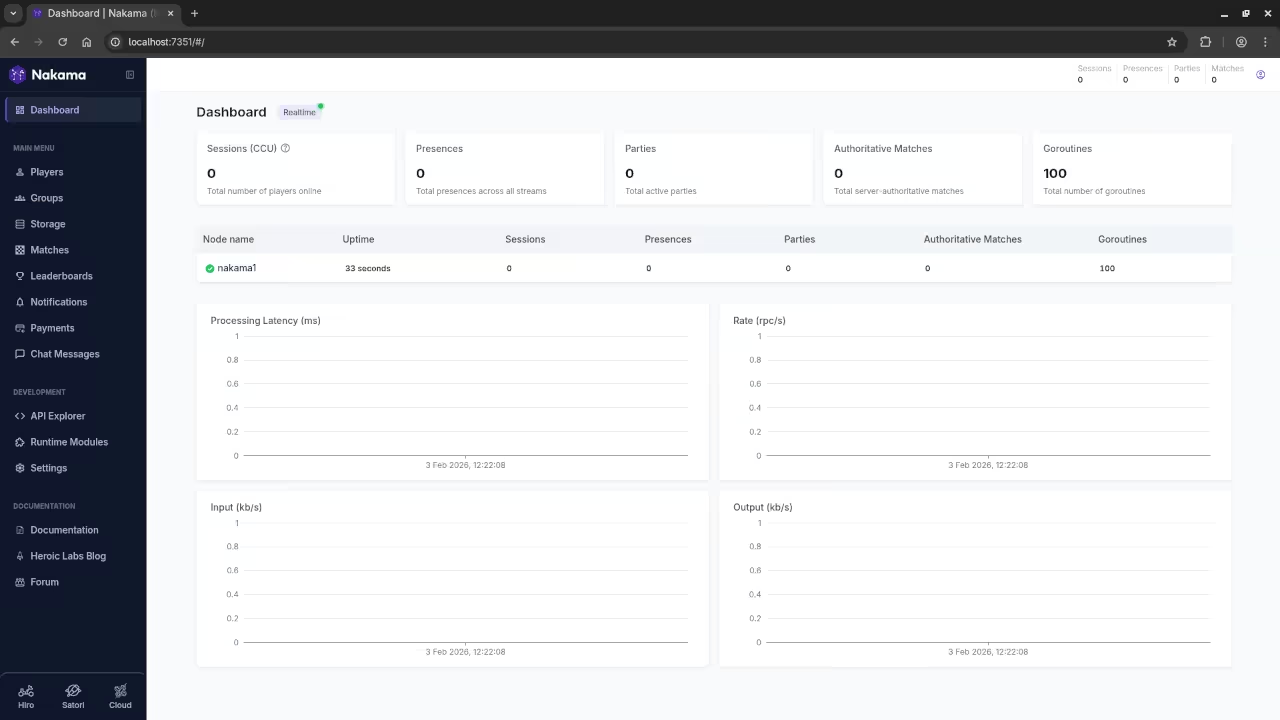
    Nakama Login
    Web Browser Displaying Nakama Console Login

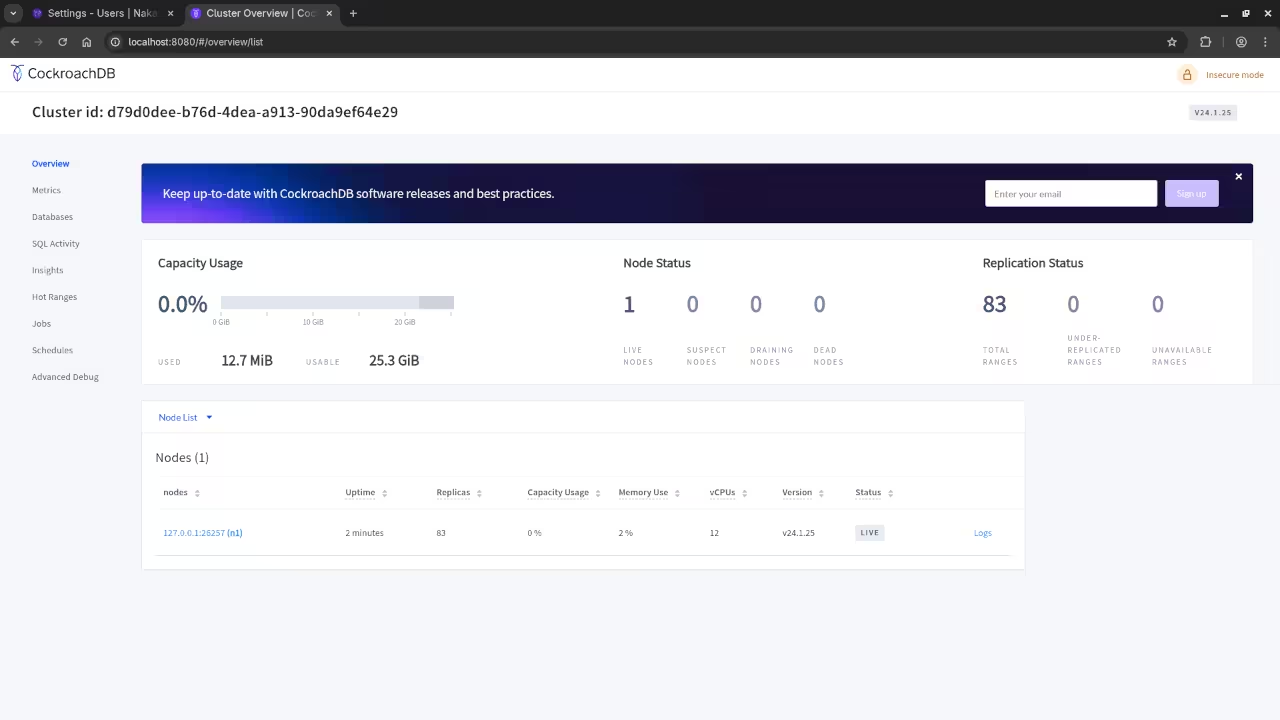
    Database Console
    Web Browser Displaying Database Console

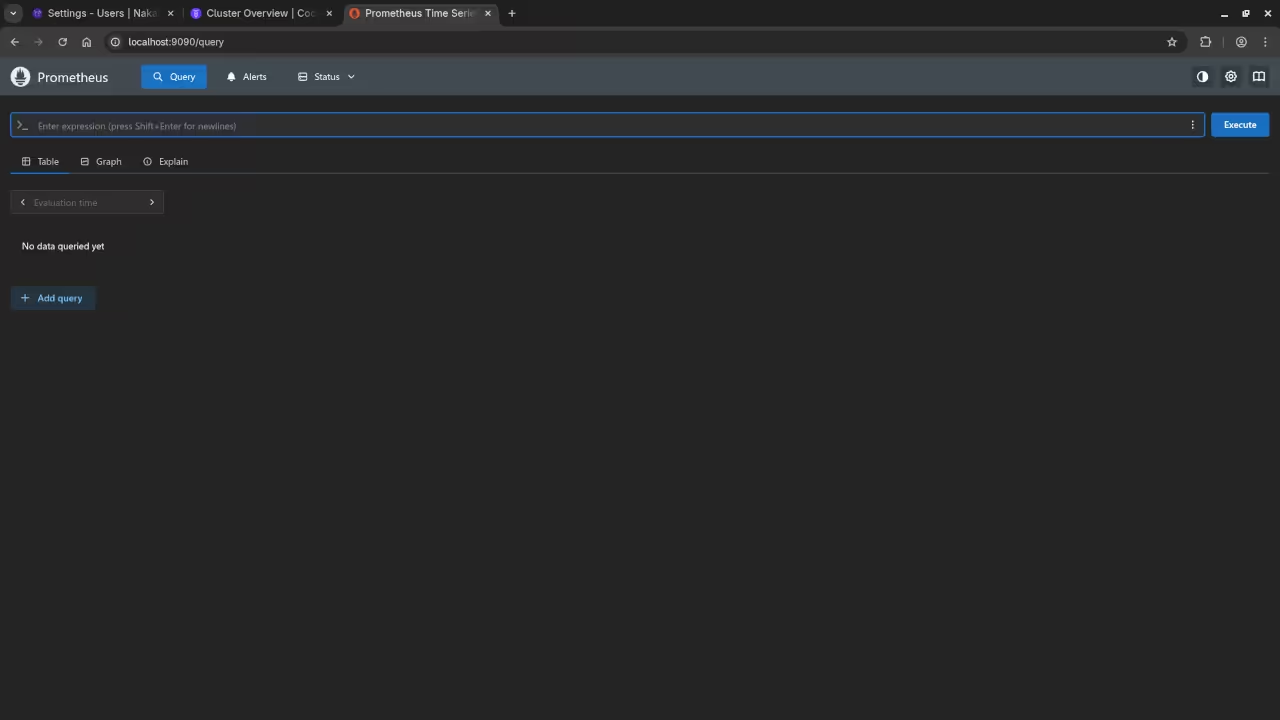
    Prometheus Graphs
    Web Browser Displaying Prometheus Graphs

    🎬 Live YouTube Screencast

    Video Displaying The Installation Nakama Game Server For Raspberry Pi

    Take Your Skills Further