
Introduction
Local AI runs directly on your computer hardware. This guide helps you set up AMD GPUs.
Modern computers can process AI tasks very fast. You do not need expensive cloud subscriptions anymore.
AMD cards are powerful tools for this work. They offer great value for beginner programmers today.
Understanding AMD ROCm Software
You must use the right software for your hardware. AMD uses a specific platform called ROCm.
ROCm stands for Radeon Open Compute platform. It bridges the gap between hardware and code.
Choosing the Operating System
Fedora Linux is a great choice for this setup. It provides the newest kernels for your GPU drivers.
Start with a clean installation of Fedora Workstation. Ensure your internet connection is stable and fast.
Preparing the Linux Environment
Open your terminal to begin the configuration process. Type the command to update all system packages.
The sudo dnf upgrade --refresh command works well. Restart your system after the updates finish completely.
Removing Driver Conflicts
You must remove old NVIDIA drivers from your system. These files often cause major software conflicts.
Search for xorg x11 drv nvidia packages specifically. Remove them to ensure a clean AMD environment.
Installing the ROCm Stack
Now you can install the core ROCm software. Use the dnf package manager for this task.
Install rocm-hip and rocm-opencl packages right now. These libraries handle the heavy math for AI.
Configuring User Permissions
You must grant your user account special permissions. Add yourself to the video and render groups.
This step allows Python to access your GPU. Log out and log back in for changes.
Check your GPU status with the rocminfo tool. It should display your card name and version.
Advanced GPU Configuration
Some consumer cards require a small manual tweak. You might need to set an environment variable.
Use the HSA override gfx version command now. This makes your card compatible with professional software.
Setting Up Python Virtual Environments
Create a new directory for your AI projects. Use a Python virtual environment to stay organized.
Python environments prevent breaking your main system files. Activate the environment before installing any new libraries.
Installing AI Frameworks
You need a special version of the PyTorch library. Do not use the standard installation command here.
Point your installer to the ROCm software index. This ensures the library uses your AMD hardware.
Verify the installation with a short Python script. Check if torch cuda is available returns true.
Running ComfyUI and Stable Diffusion
Now you are ready to install ComfyUI software. Clone the repository from GitHub to your folder.
Install the requirements listed in the text file. This process may take a few minutes to finish.
Download a base model like Stable Diffusion XL. Place the file inside the models checkpoints folder.
Launch the application using the main Python file. Open your web browser to the local address.
Generating Content Locally
You can now generate high quality images locally. The speed depends on your specific GPU model.
Monitor your system resources during the generation process. Watch the memory usage in your system monitor.
Local AI keeps your data private and secure. No images are ever sent to external servers.
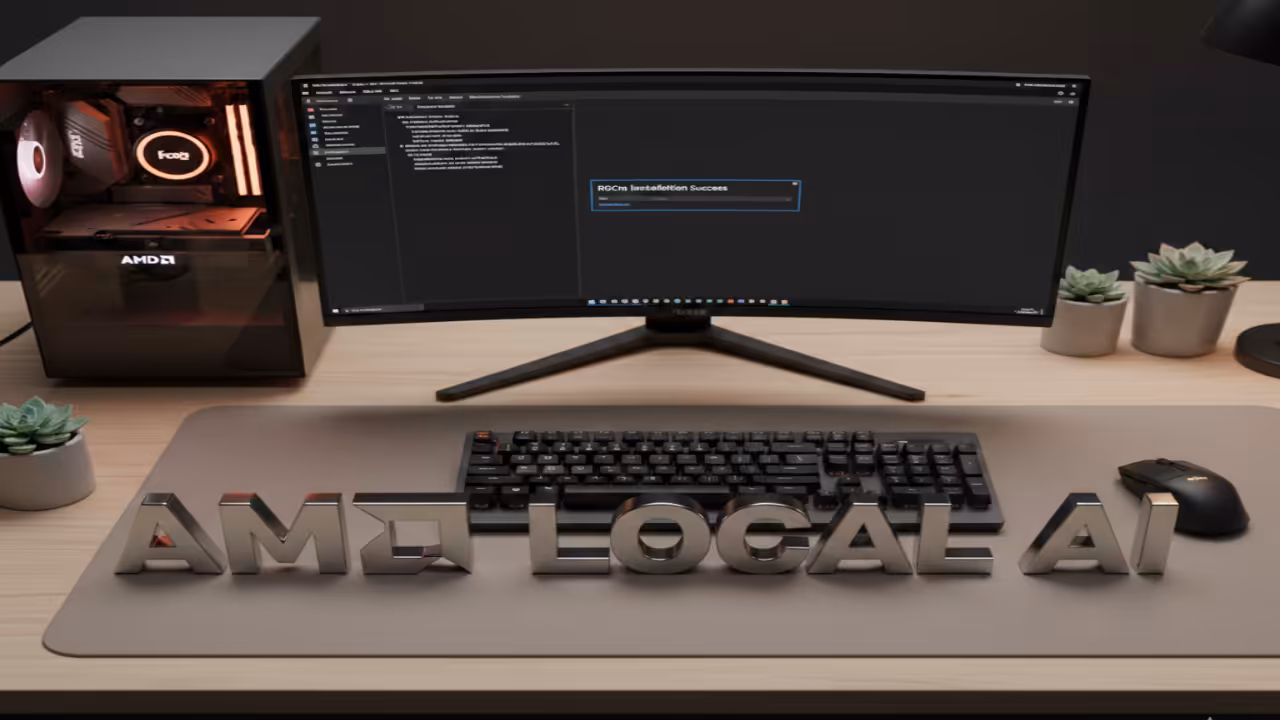
Screenshot
Live Screencast
Conclusion and Next Steps
You have successfully configured a complex technical stack. Practice by changing different settings in the interface.
Learning these steps builds a strong technical foundation. You are now part of the open AI community.
Take Your Skills Further
- Books: https://www.amazon.com/stores/Edward-Ojambo/author/B0D94QM76N
- Courses: https://ojamboshop.com/product-category/course
- Tutorials: https://ojambo.com/contact
- Consultations: https://ojamboservices.com/contact
🚀 Recommended Resources
Disclosure: Some of the links above are referral links. I may earn a commission if you make a purchase at no extra cost to you.