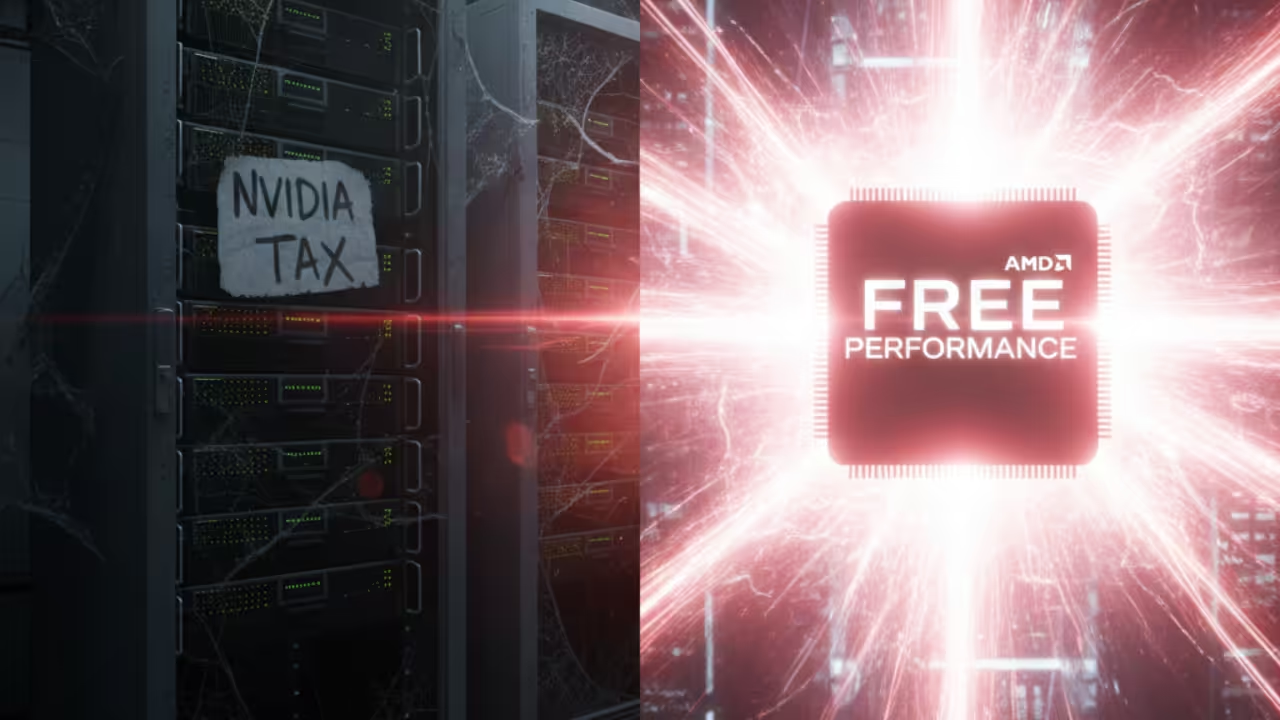
Stop wasting money on cloud credits for AI image and video generation today. NVIDIA hardware is no longer the only way to run professional local models.
The release of ROCm 7.2 has finally shattered the long standing CUDA monopoly. AMD users can now achieve elite performance levels using official open source tools.
This masterclass reveals the exact steps to build a high performance AI workstation. You will learn to harness the full power of your Radeon hardware now.
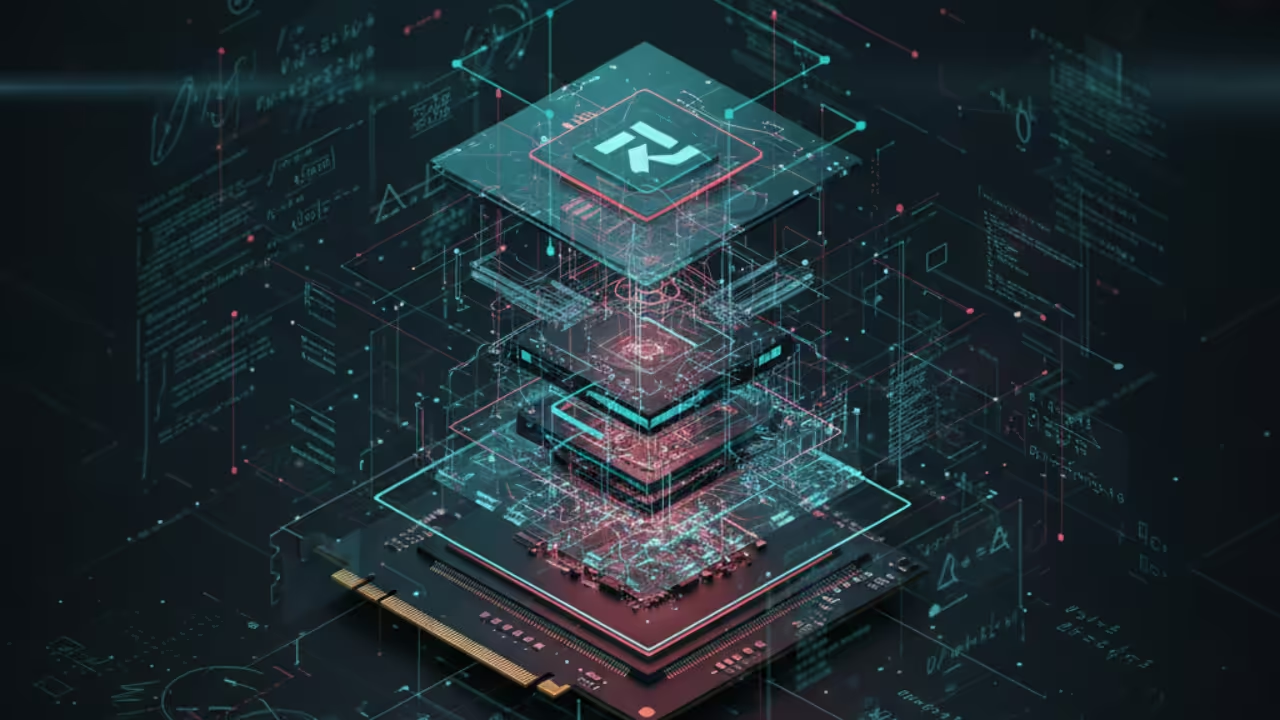
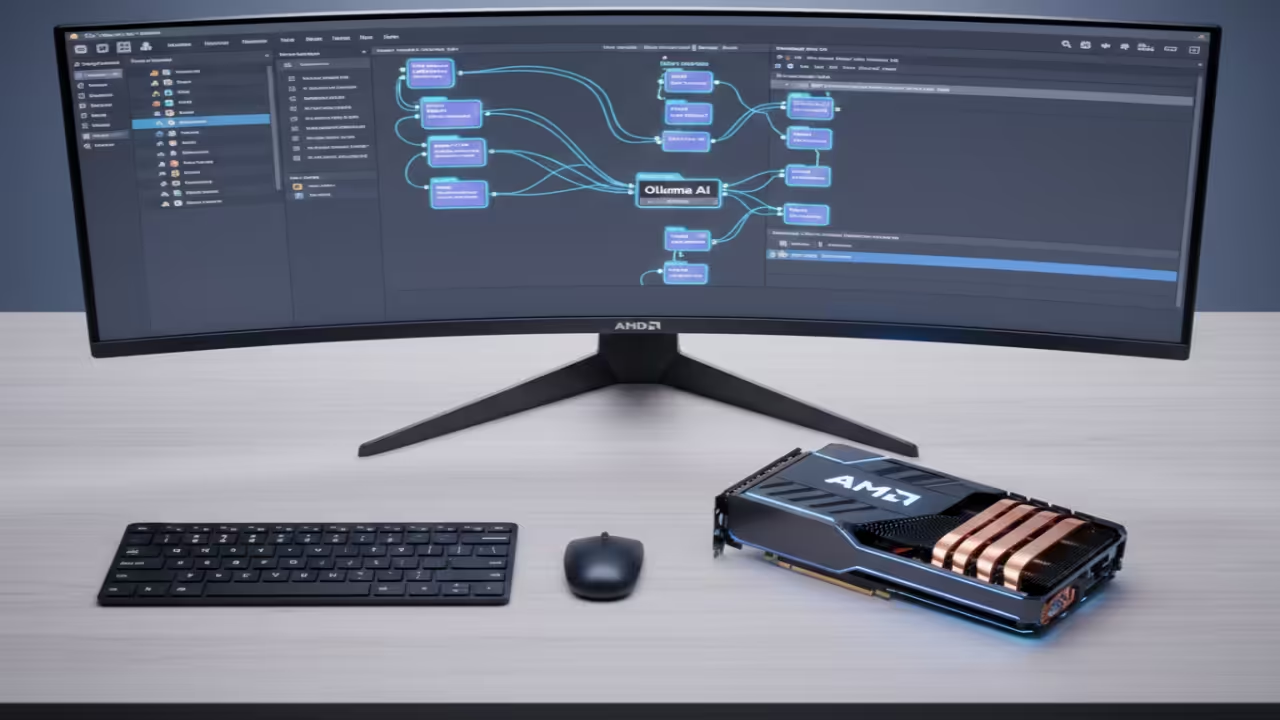
ROCm 7.2 architecture diagram showing the software stack from hardware to applications.
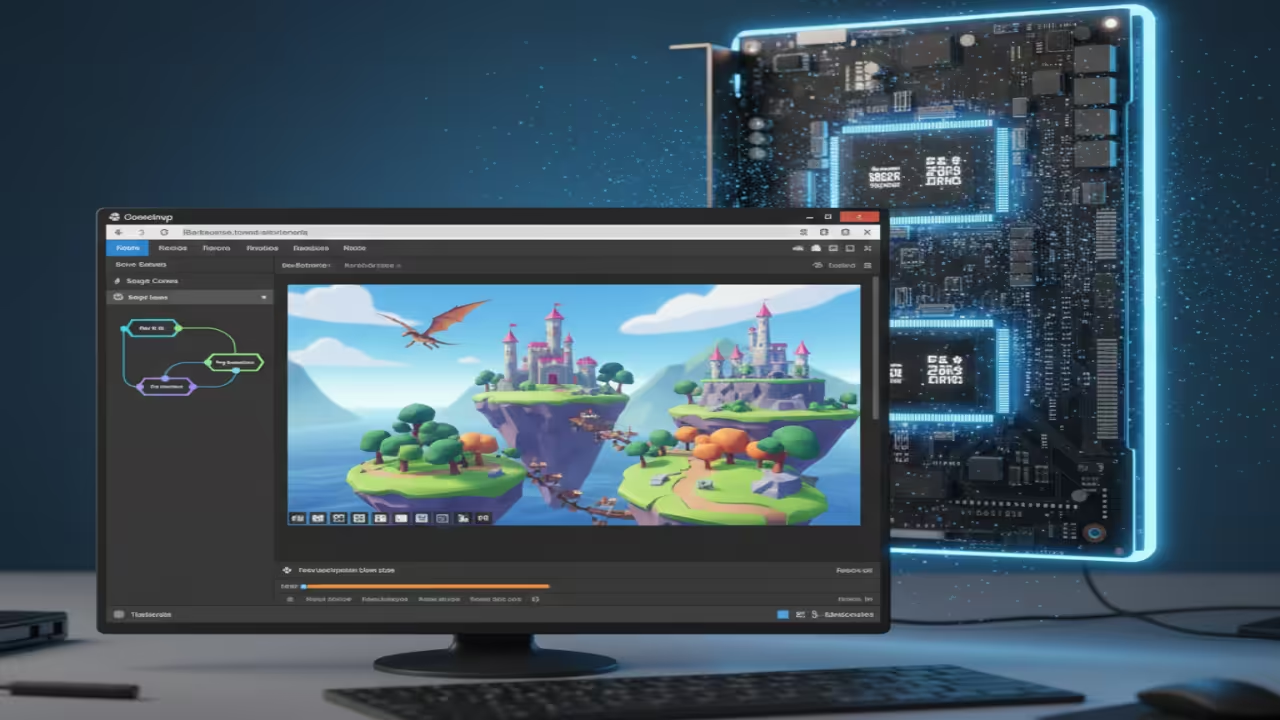
AMD AI Beginners Masterclass video tutorial and screencast.
We are moving past hacky workarounds and slow direct machine learning implementations. The new unified driver system provides a native path for high speed generation.
Professional workflows that previously required thousands in hardware now run on consumer cards. You can generate complex images and high definition videos in seconds locally.
The technical barrier has vanished for creators who want total data sovereignty. You own your models and your creative output without recurring monthly fees.
AMD GPU Performance Matrix for ComfyUI 2026
Hardware Tier
Architecture
VRAM Sweet Spot
Radeon RX 9000 Series
RDNA 4
24GB GDDR7
Radeon RX 8000 Series
RDNA 4
16GB GDDR6
Radeon RX 7000 Series
RDNA 3
12GB GDDR6
Hardware Tier
Architecture
VRAM Sweet Spot
Setup begins with installing the latest Adrenalin drivers for your specific card. You must ensure ROCm 7.2 support is active in your system environment.
We utilize the official ComfyUI desktop build to simplify the entire installation process. This eliminates the need for manual python environment management or complex scripts.
Stable workflows depend on using optimized nodes designed for the ROCm backend. We focus on the official node suite to ensure maximum compatibility and speed.
Maximizing Performance With Advanced Quantization
Memory management is the most critical factor for stability on AMD cards. We implement zram and fp8 quantization to keep your VRAM usage low.
These techniques allow you to run massive models like FLUX on mid range hardware. You get professional results without the enterprise price tag of high end cards.
The 2026 update also brings native support for advanced video generation models. You can now create cinematic motion graphics using local open source resources.
This setup provides a future proof foundation for all your creative projects. You will never be locked into a single hardware ecosystem again starting today.
Local AI generation is now a reality for every tech enthusiast regardless of GPU. Master these tools to stay ahead in the rapidly evolving digital landscape.
Selecting the right hardware is vital for high performance video production work. This article examines a specific testing system and standard hardware requirements for developers.
Hardware Specifications and Test Environment
The primary test system utilizes an AMD Ryzen 5 5600GT desktop processor. This chip features six physical cores and twelve threads for balanced multitasking. A total of 32GB of DDR4 memory is installed for the environment. Four gigabytes are dedicated to the integrated graphics hardware for display.
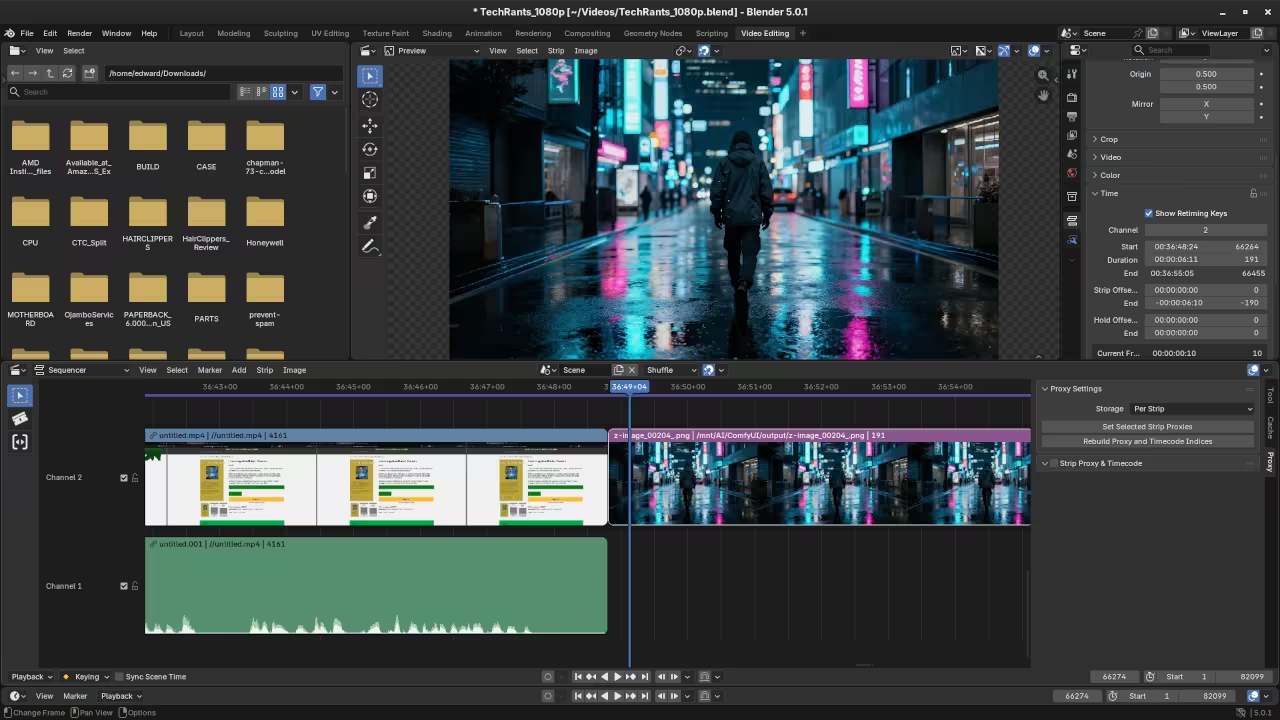
This setup runs Fedora 43 Workstation using the GNOME 49 desktop. The Wayland windowing system provides a modern and responsive user interface experience. Blender 5.0.1 provides a robust Video Sequence Editor for all users. Minimum hardware requirements for this version include a four core processor today.
A minimum of 8GB of system memory is required for basic tasks. The graphics card must support OpenGL 4.3 or the Vulkan 1.3 standard. Recommended specifications for larger projects include an eight core processor for efficiency. 32GB of RAM is highly suggested for editing high resolution video clips.
Hardware and System Specification Comparison
Component
Minimum Requirement
Test System Spec
Processor
4 Core (SSE4.2)
Ryzen 5 5600GT (6C/12T)
Memory
8GB RAM
32GB RAM (4GB iGPU)
Operating System
glibc 2.28+
Fedora 43 (Wayland)
Component
Minimum Requirement
Test System Spec
Editing Workflow in Blender VSE
The VSE handles cutting and splicing through simple keyboard shortcut commands. Use the K key to cut a selected strip at the playhead position. Dragging the edges of a strip allows for quick trimming of media. The sequencer provides a visual representation of the entire video project timeline.
Adding a Speed Control effect strip enables advanced retiming of video footage. You can speed up or slow down clips with great precision. Keyframes allow you to animate the speed factor over a specific duration. This creates a professional look for time lapse or slow motion sequences easily.
Transitions such as crossfades blend two different video strips together seamlessly. Select overlapping strips and apply the Cross effect from the menu. The VSE remains a powerful choice for Linux users and developers alike. Its lightweight nature makes it ideal for many different hardware configurations today.
Advanced Command Line Rendering
Command line rendering offers the most efficient way to process final files. This method bypasses the graphical interface to save precious system resources. Open the terminal and navigate to your specific project file directory. Use the command blender -b project.blend -a to start the render.
The -b flag runs Blender in background mode without a window. The -a flag instructs the software to render the entire animation. The Ryzen 5600GT handles these rendering tasks using all available processing threads. Multi threaded performance significantly reduces the time needed for the final export.
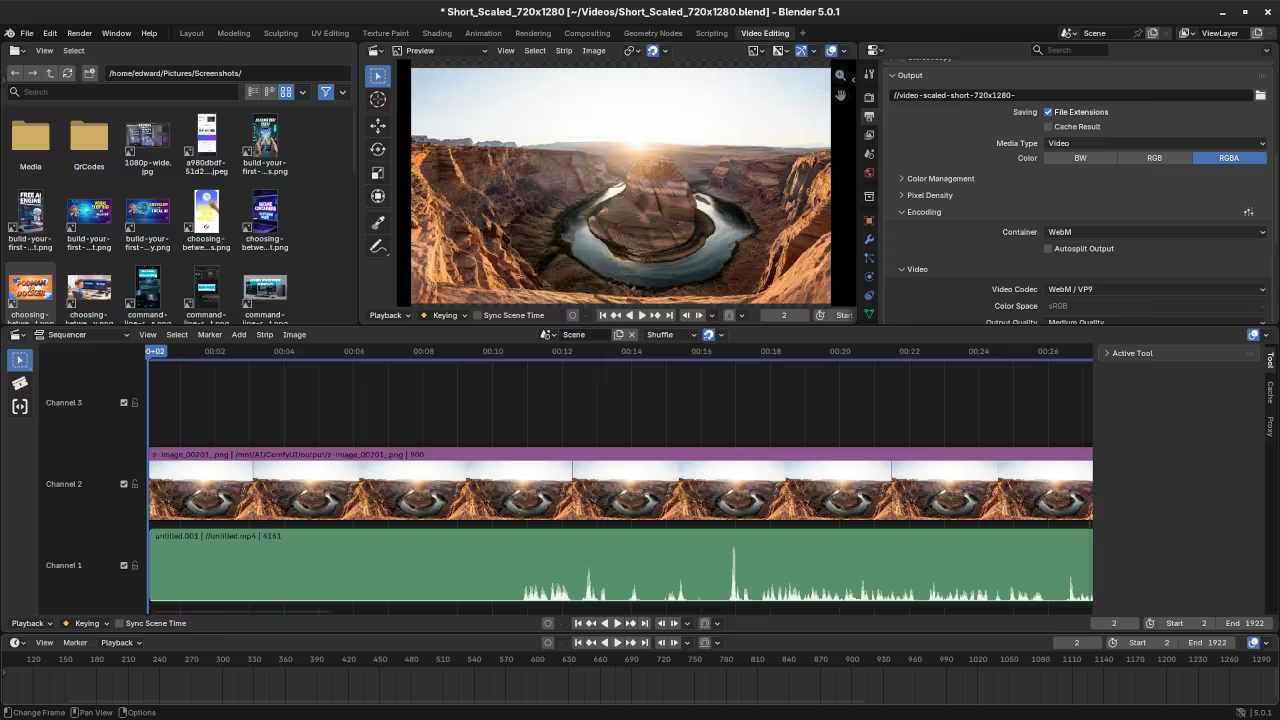
Transparent WebM files require specific output configurations within the blend file. Ensure the video codec is set to support the alpha channel. Selecting the RGBA color option is mandatory for transparency to function correctly. The command line render will honor these saved internal file settings.
Testing the final WebM in a browser confirms the transparency works. This format is widely supported for modern web development projects today. Using the terminal ensures that all system resources go toward the encoding process.
📸 Screenshots & Screencast
Blender Video Sequence Editor WorkspaceScreencast For Blender VSE Transparent Video
Take Your Skills Further
Professional resources are available to help you master these advanced creative tools. Visit the links below to access specialized training and support services.
Every developer needs a way to run applications in isolated environments. You will likely choose between Podman and Docker for this specific task.
Both tools allow you to package software into small portable containers. These containers run consistently across different operating systems and cloud providers.
Architectural Differences Between Engines
Docker uses a central daemon to manage all your active containers. This background process requires root privileges to function on your system.
Podman operates without a daemon by using a fork-exec model instead. It runs containers as a standard user for better overall security.
Installation Guide for Multiple Platforms
You can install Docker on Windows by using the Desktop installer. macOS users should download the official DMG package from the website.
Fedora Linux users can install Docker using the dnf package manager. Simply run sudo dnf install docker-ce to get the latest version.
Installing Podman on Fedora is even easier than setting up Docker. You just run sudo dnf install podman to begin your journey.
Windows users can install Podman using the official MSI installer file. Use the brew command to install Podman on your Apple computer.
Container Feature Comparison
Parameter
Description
Value
Architecture
How the tool manages processes
Daemonless vs Daemon
Root Access
Security level required for operation
Rootless Support
Parameter
Description
Value
Managing Multiple Containers
Docker Compose helps you manage applications with multiple interconnected containers. You define your services inside a single YAML file for convenience.
Podman uses a tool called podman-compose to achieve similar results easily. It translates your Docker Compose files into Podman commands automatically now.
Understanding Pods and Groups
Podman introduces the concept of pods for grouping multiple containers together. These containers share the same network namespace and local storage resources.
Docker does not have a native pod concept for local development. You must use Kubernetes if you want to manage pods effectively.
User Experience and Interface
Beginners usually find the Docker Desktop interface very friendly and intuitive. Podman Desktop provides a similar graphical experience for all Linux users.
The command line interfaces for both tools are nearly identical today. You can often alias podman to docker without any functional issues.
Performance and Security Features
Performance is usually very similar between these two popular container engines. Podman might start slightly faster because it lacks a persistent daemon.
Docker has a larger community and more third-party integration tools available. Podman is gaining popularity rapidly due to its native Linux integration.
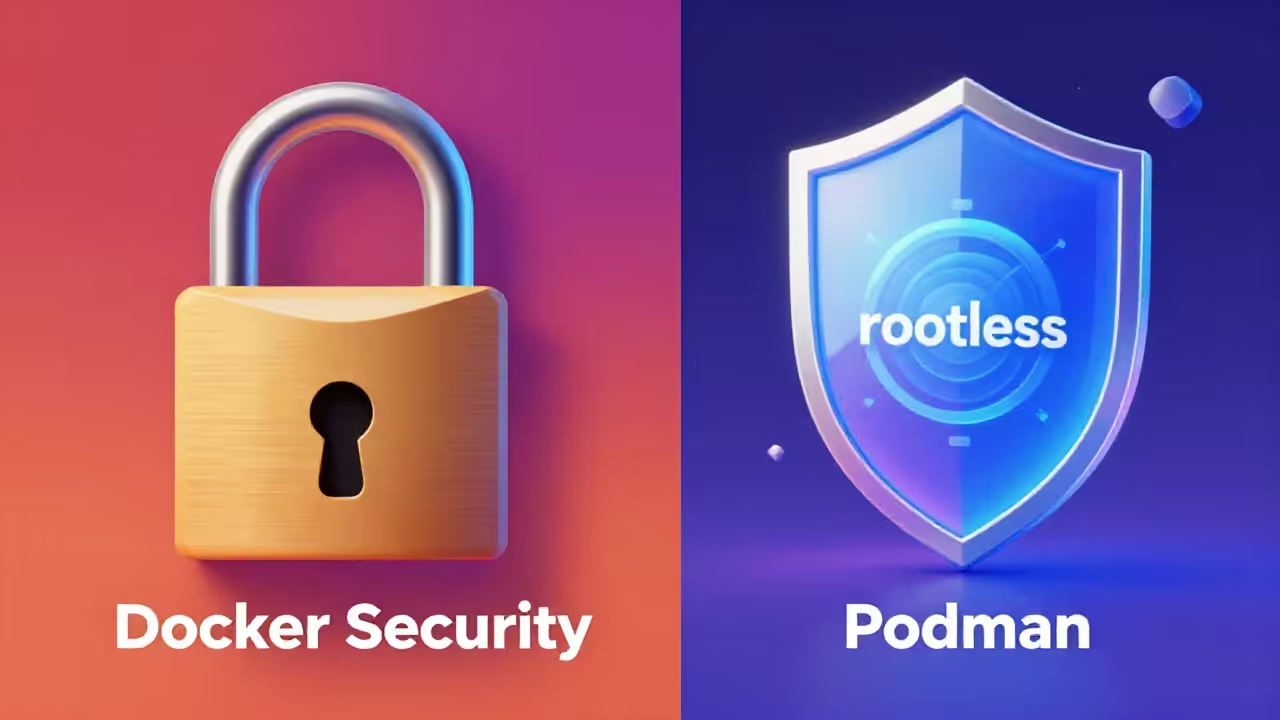
Security experts often prefer Podman for its excellent rootless container support. This feature prevents attackers from gaining root access to your host.
Docker recently added rootless mode to compete with Podman security features. Setting up rootless Docker requires more manual configuration on your system.
Screenshot
Podman Compared To Docker
Live Screencast
Screencast Of The Comparison Between Podman And Docker
Conclusion and Recommendations
Choose Docker if you need a mature ecosystem with extensive documentation. Select Podman if security and system integration are your main priorities.
Fedora users will find Podman works perfectly with their operating system. It comes pre-installed on many versions of the Fedora Workstation distribution.
You should try both tools to see which fits your workflow. Most container images will work perfectly on either engine without changes.
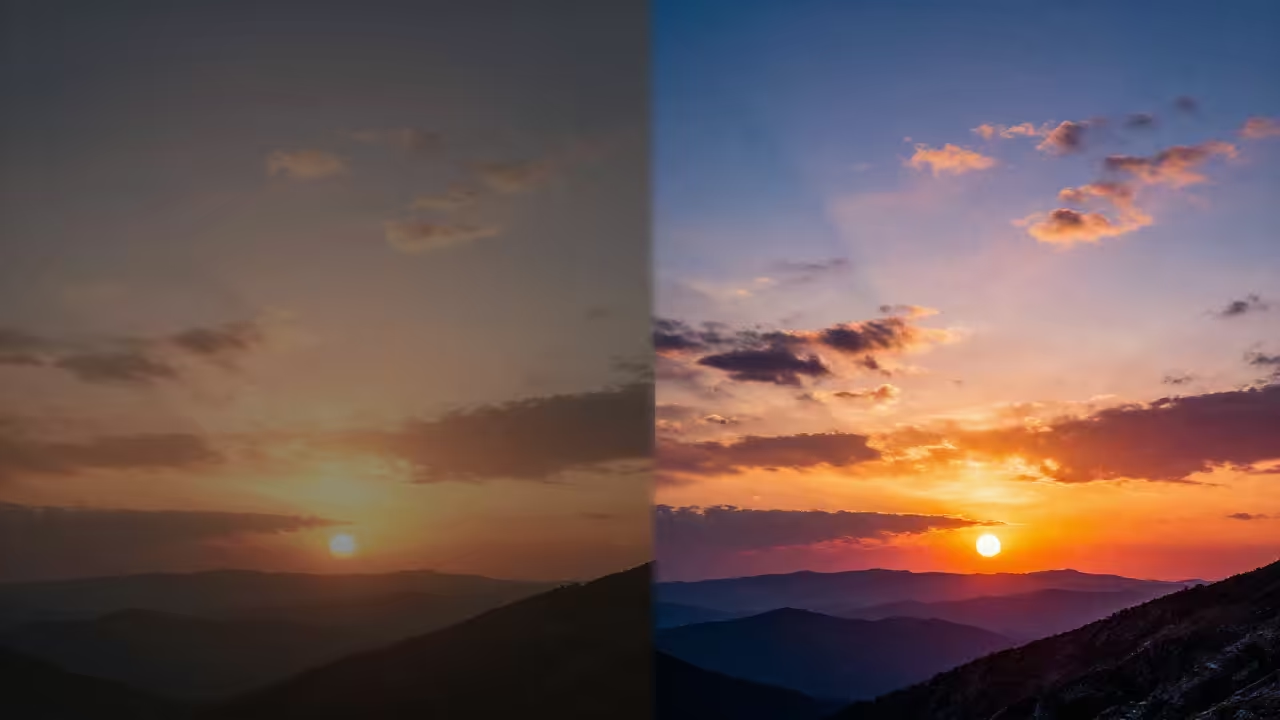
High dynamic range images capture more light than standard photos. You can create these images using artificial intelligence today.
Z-Image Turbo is a powerful model for fast generation. It uses a single stream diffusion transformer for high efficiency.
Advanced Hardware on Fedora Linux
This guide targets beginners using Fedora Linux and ROCm. We will use the AMD Instinct MI60 for speed.
The MI60 features thirty two gigabytes of high speed memory. This hardware is perfect for modern generative AI tasks.
Software Environment Setup
You must first install the ComfyUI interface on Fedora. Open your terminal to install the necessary python dependencies.
Use dnf to install git and the python virtual environment. Create a new folder for your local AI project.
Server Performance Parameters
Parameter
Description
Value
Python
Language runtime version 3.12 plus
sudo dnf install python3
ROCm Stack
AMD GPU acceleration libraries
sudo dnf install rocm-hip
Luminance HDR
HDR merging and tonemapping
sudo dnf install luminance-hdr
Parameter
Description
Value
Download the Z-Image Turbo GGUF files to start. Place the diffusion weights in your models unet folder.
We also need the Gemma 3 12B text encoder. This encoder helps the model understand complex image descriptions.
Creating Exposure Brackets
The first step involves creating multiple exposure brackets. Standard images often lose detail in bright or dark areas.
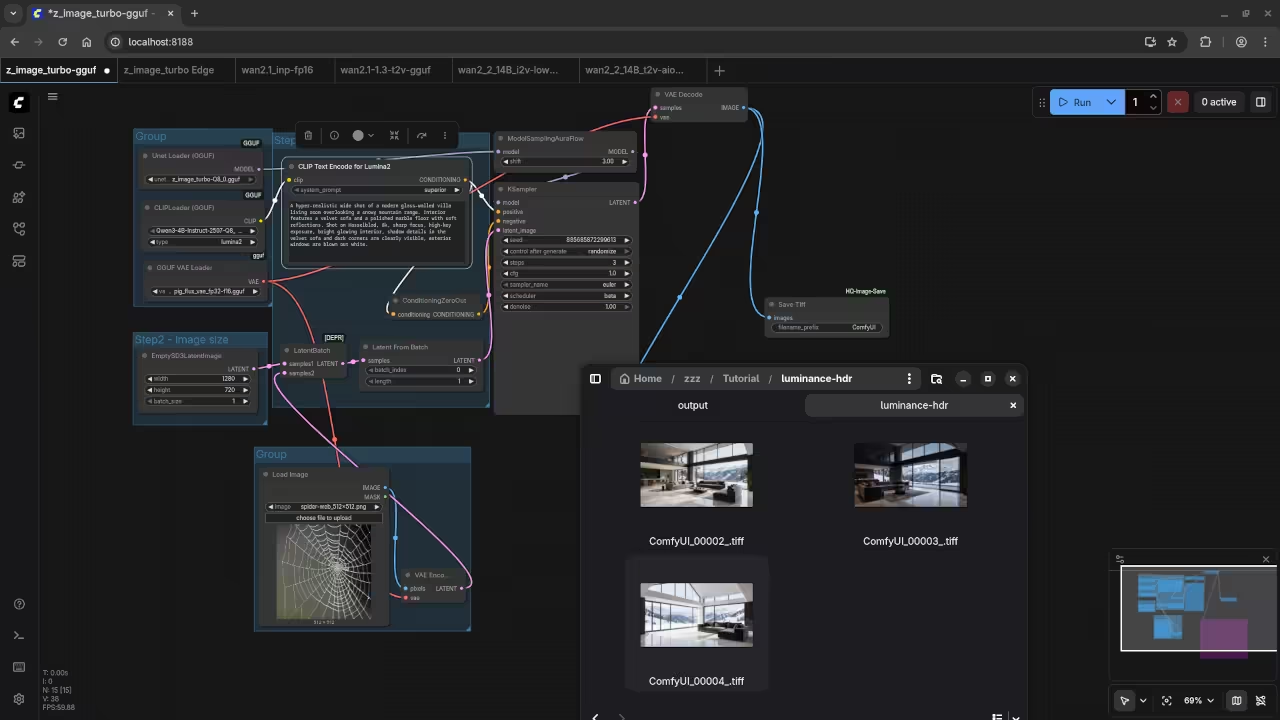
Exposure bracketing solves this by taking multiple lighting shots. We will generate three versions of the same image.
Set your generation seed to a fixed number first. This ensures the subject remains identical across all three images.
Adjust the brightness levels for each separate generation pass. Create one dark one normal and one bright image.
Export these images as sixteen bit TIFF files for quality. Standard JPEG files lose too much data for HDR work.
TIFF files preserve the color depth needed for merging. Save them into a dedicated folder on your Fedora system.
Merging in Luminance HDR
Open Luminance HDR from your application menu to continue. Click the New HDR button to start the wizard.
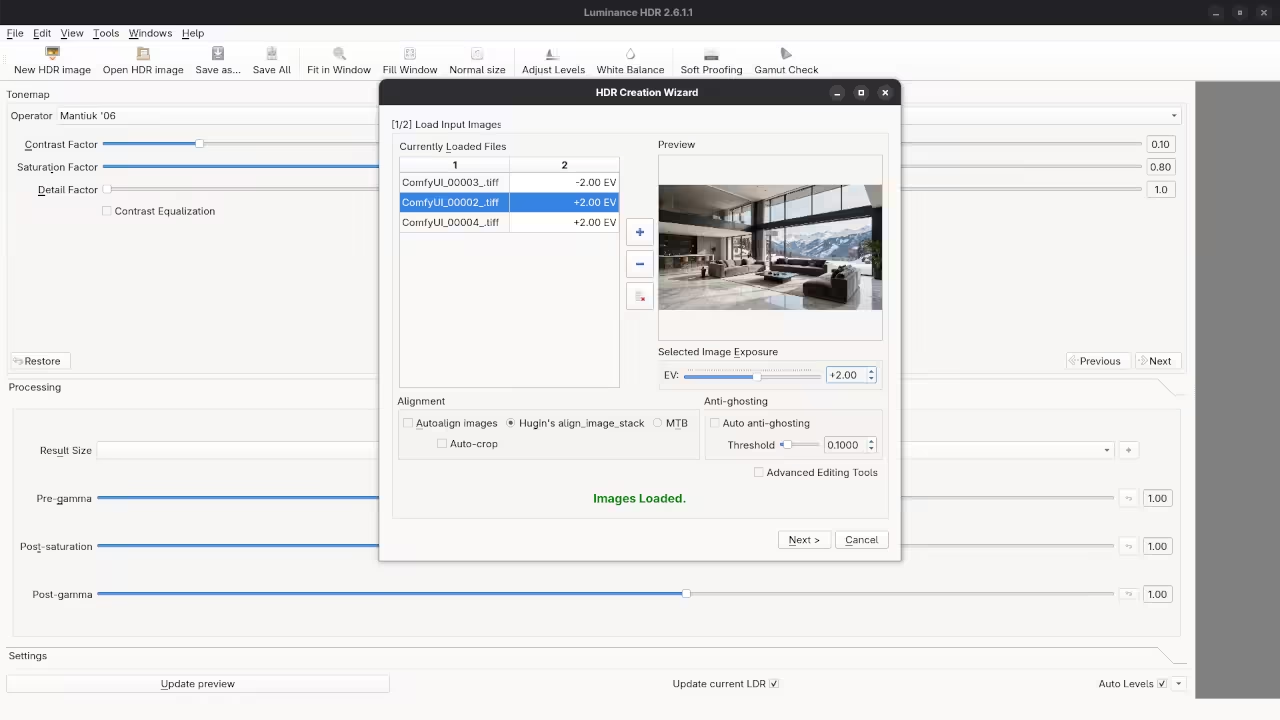
Import your three bracketed TIFF files into the software. Assign exposure values of minus two zero and plus two.
Luminance HDR will merge these files into one dataset. This file now contains a high dynamic range of light.
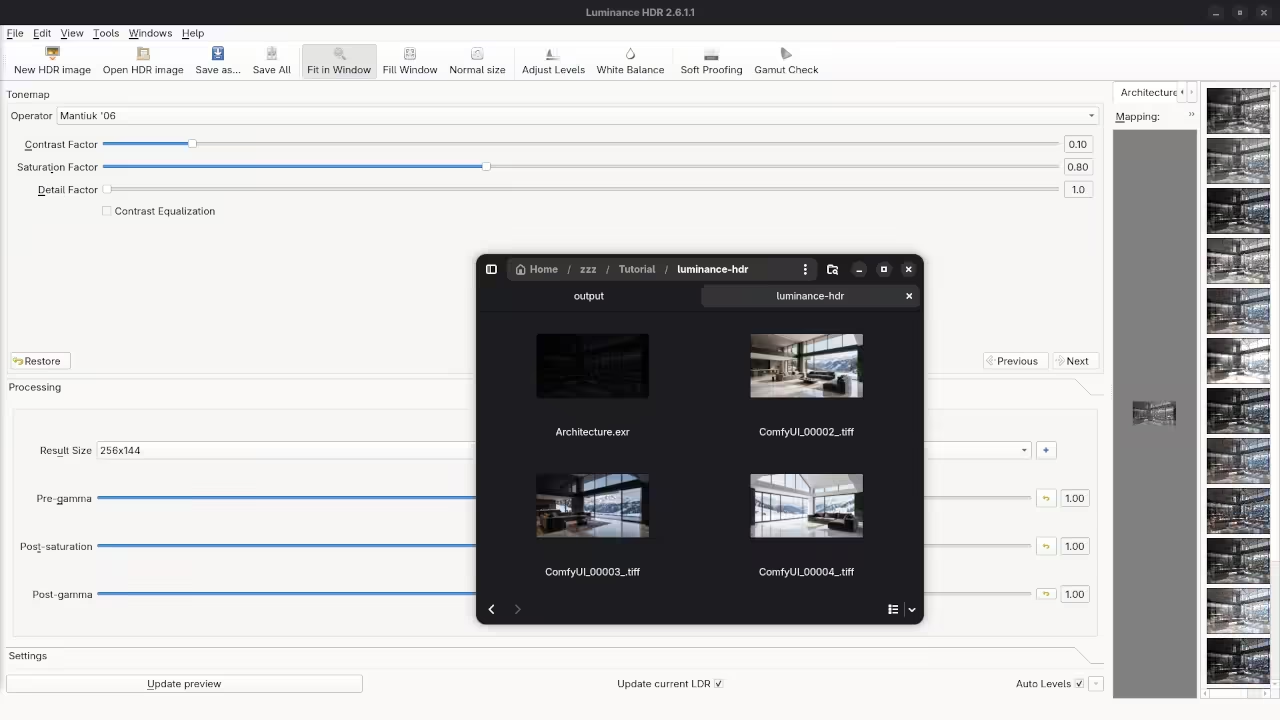
The resulting image will look very dark or very flat. We must apply tonemapping to make the details visible.
Tonemapping converts the high range data for standard monitors. Try the Mantiuk or Reinhard operators for the best results.
Adjust the contrast levels until the image looks perfectly balanced. Save your final masterpiece as a high quality PNG file.
Screenshot
Same Image With Different Brightness LevelsComfyUI Displaying Z-image-turbo Images Generated With Different Brightness LevelsLuminance HDR Displaying Loaded TIFF Images With Exposure SettingsLuminance HDR Displaying EXR Preview
Live Screencast
Screencast Of The AI HDR Image Creation Workflow
Take Your Skills Further
This workflow combined AI speed with professional photography tools. The MI60 handles the heavy lifting with its large VRAM.
Fedora provides a stable environment for these advanced open source tools. You can now create stunning HDR art at home.