
Installing Podman Desktop for Your Nextcloud Project
To follow along with our Nextcloud deployment project you first need to install Podman Desktop on your machine. This tool serves as your command center for managing containers through a user friendly interface.
Installation Steps for Fedora Linux
Since we are focusing on a robust Linux environment for our Nextcloud server Fedora is an excellent choice. Follow these simple steps to get started.
1. Enable Flatpak Support
Most modern Linux distributions use Flatpak to distribute desktop applications safely. Open your terminal and ensure Flatpak is enabled on your system.
2. Install Podman Desktop via Flathub
The easiest way to install the software is through the Flathub repository. You can find Podman Desktop by searching in your Software Center or by using the following command in your terminal.
flatpak install flathub io.podman_desktop.PodmanDesktop
3. Launch and Initial Setup
Once the installation is complete you can launch Podman Desktop from your application menu. On the first run the application will check if the Podman engine is installed on your system. If it is missing the dashboard will provide a simple button to install the necessary components for you.
Verifying the Installation
After launching the application you should see a dashboard indicating that the Podman engine is active. This confirms that your system is ready to handle the Nextcloud container and the Quadlet files we discussed earlier.
Getting Nextcloud with Podman Desktop
You do not need to be a command line expert to get started. You can pull the Nextcloud software directly through the Podman Desktop interface with a few clicks.
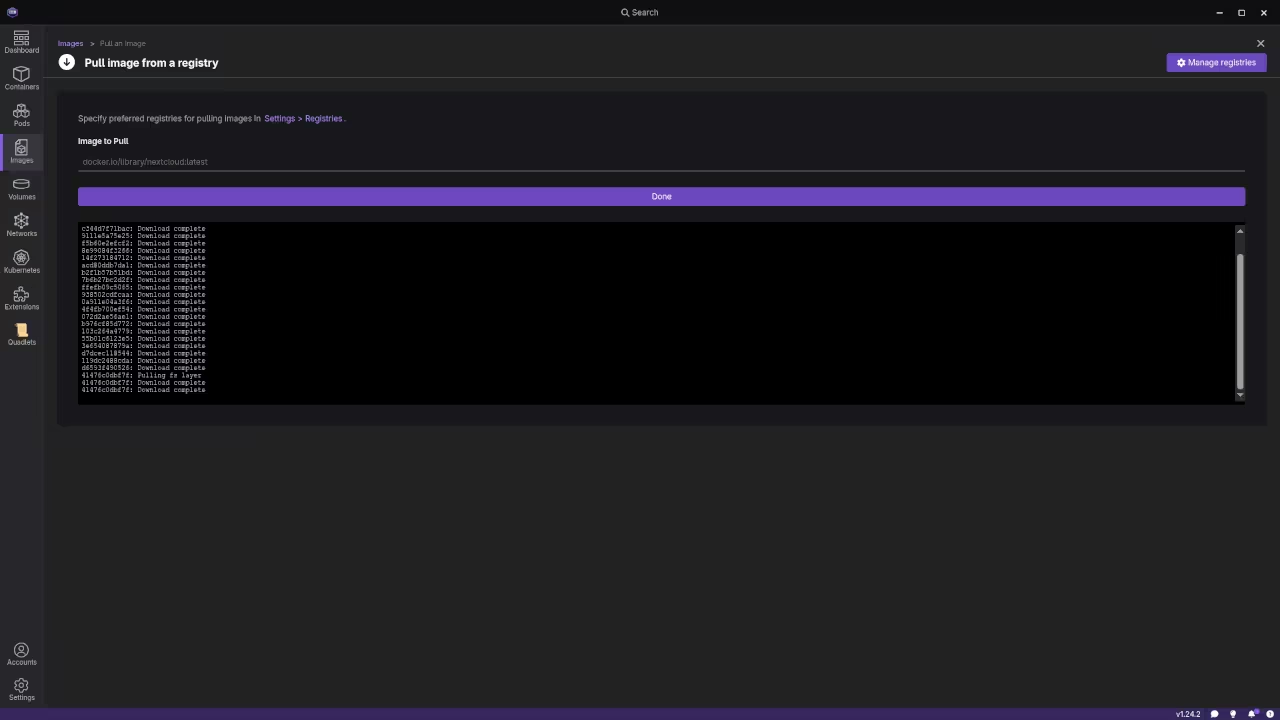
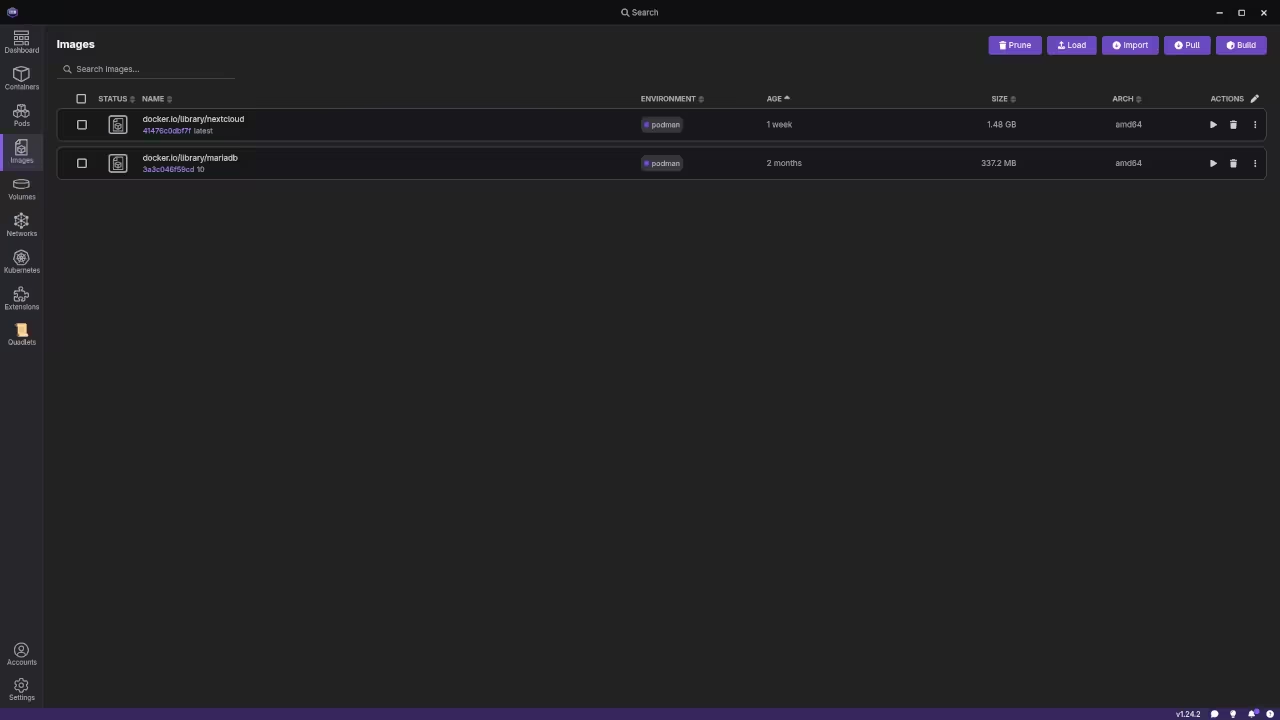
1. Download the Nextcloud Image
Open Podman Desktop and navigate to the Images tab on the left. Click the Pull Image button and enter docker.io/library/nextcloud:latest in the search box. This downloads the official Nextcloud package to your computer.
2. Start Your Container
Once downloaded, click the Play icon next to the Nextcloud image. In the configuration settings, find the Port Mapping section and map host port 8080 to container port 80. This tells your computer to show Nextcloud when you visit port 8080 in your browser.
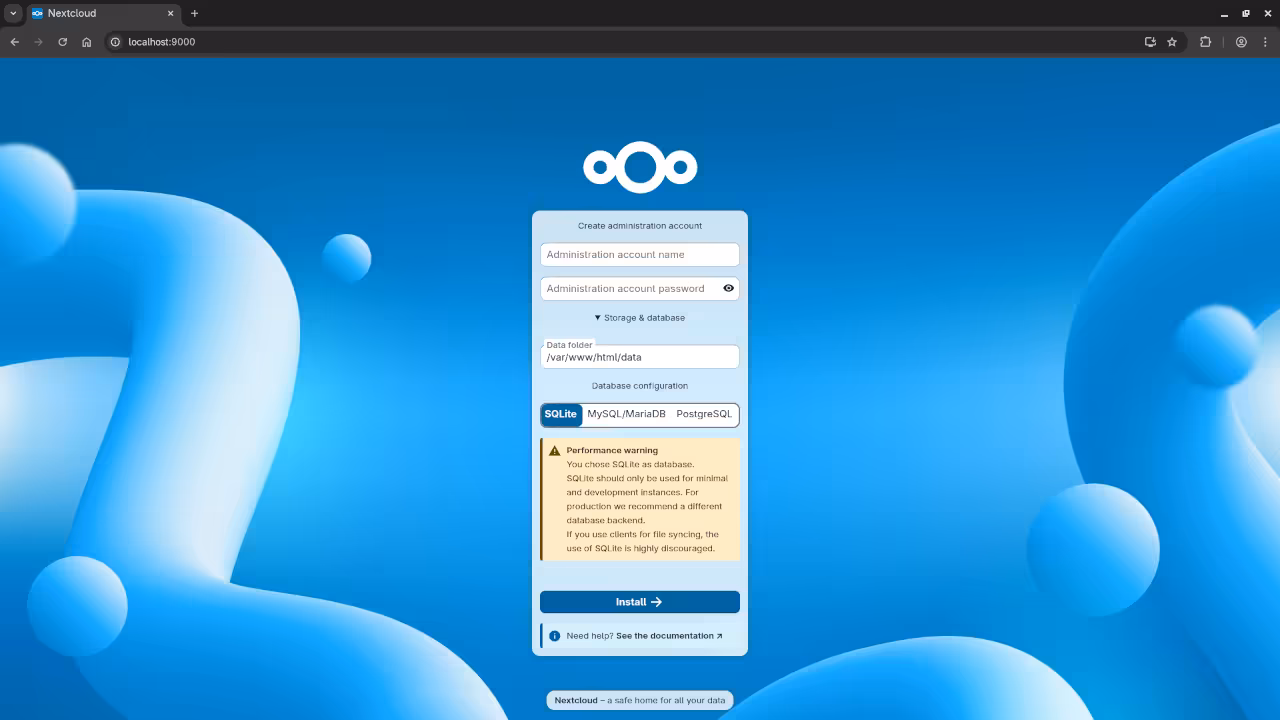
3. Finalize the Setup
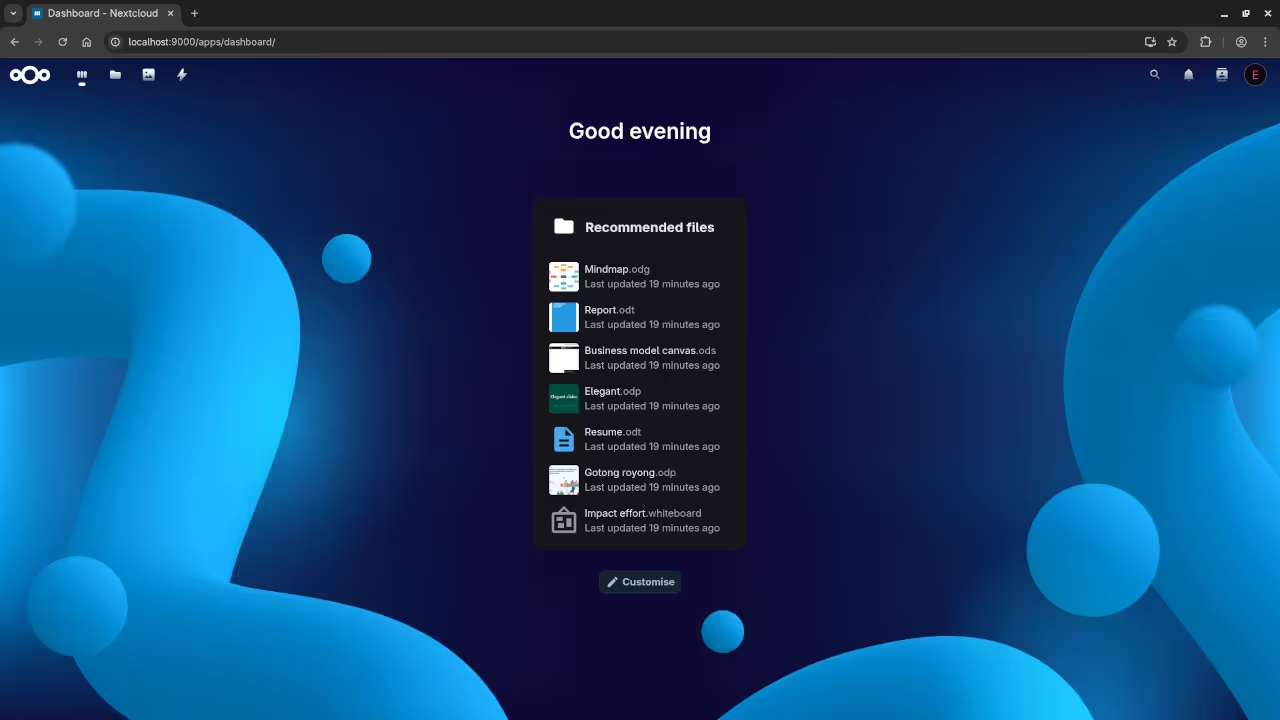
Click Start Container and wait for the status to turn green. Open your web browser and type localhost:8080 into the address bar. You will be greeted by the Nextcloud setup wizard where you can create your admin account.
📷 Screenshots
Now that you have the management tools installed you are ready to view the screencast and begin your deployment.
🎬 Live YouTube Screencast
Let Us Keep Learning Together
Building your own server environment is an empowering journey. If you would like more guidance on Linux systems or container management I offer several ways to help you succeed.
- Deepen Your Knowledge: View my library of books on Amazon which break down complex technical topics into easy guides.
- Structured Learning: I offer comprehensive online courses that walk you through projects step by step.
- One on One Support: If you need a personalized learning path I am available for private programming tutorials.
- Business Solutions: For professional implementations I provide consultation services to help you build robust infrastructure.
🚀 Recommended Resources
Disclosure: Some of the links above are referral links. I may earn a commission if you make a purchase at no extra cost to you.