
Introduction
High dynamic range images capture more light than standard photos. You can create these images using artificial intelligence today.
Z-Image Turbo is a powerful model for fast generation. It uses a single stream diffusion transformer for high efficiency.
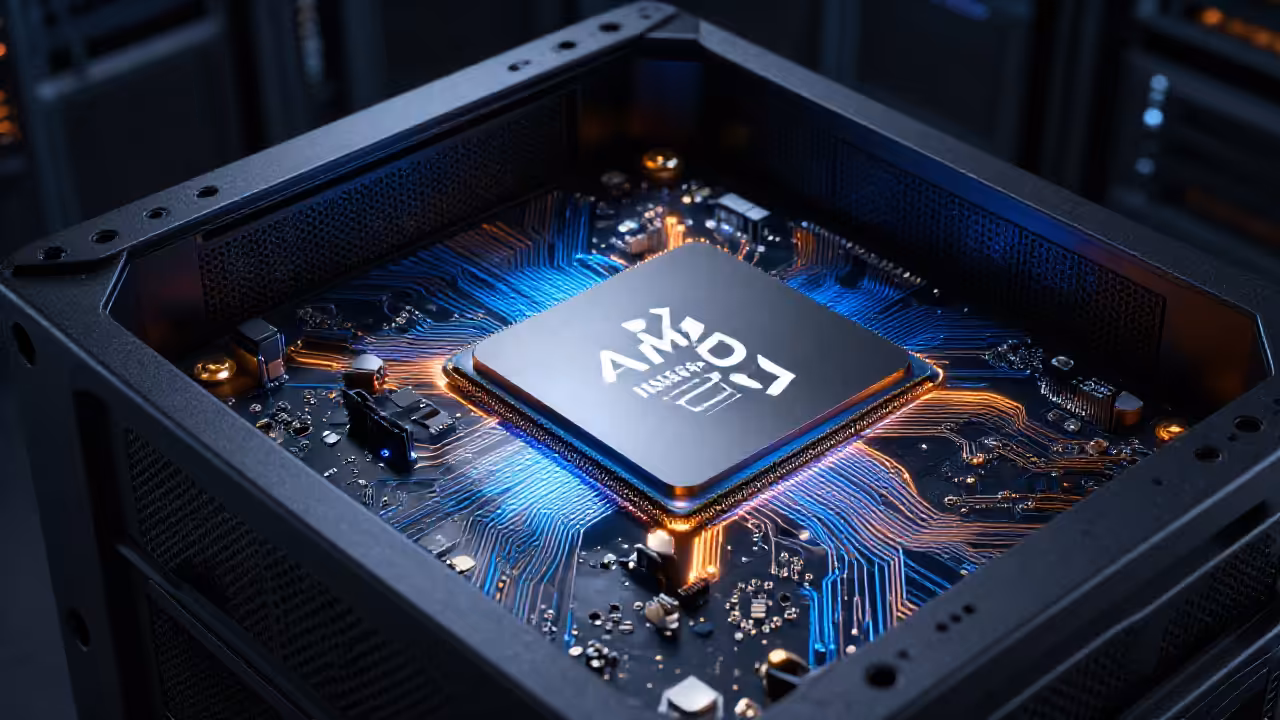
Advanced Hardware on Fedora Linux
This guide targets beginners using Fedora Linux and ROCm. We will use the AMD Instinct MI60 for speed.
The MI60 features thirty two gigabytes of high speed memory. This hardware is perfect for modern generative AI tasks.
Software Environment Setup
You must first install the ComfyUI interface on Fedora. Open your terminal to install the necessary python dependencies.
Use dnf to install git and the python virtual environment. Create a new folder for your local AI project.
| Parameter | Description | Value |
|---|---|---|
| Python | Language runtime version 3.12 plus | sudo dnf install python3 |
| ROCm Stack | AMD GPU acceleration libraries | sudo dnf install rocm-hip |
| Luminance HDR | HDR merging and tonemapping | sudo dnf install luminance-hdr |
| Parameter | Description | Value |
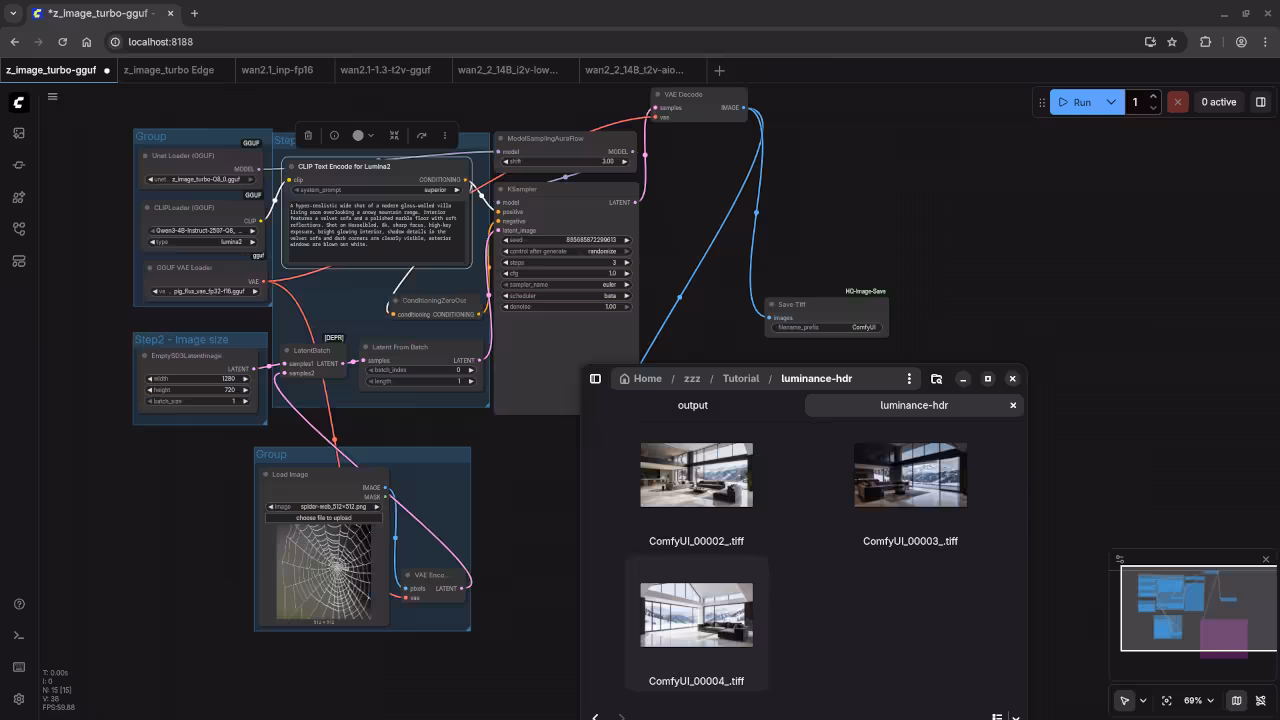
Download the Z-Image Turbo GGUF files to start. Place the diffusion weights in your models unet folder.
We also need the Gemma 3 12B text encoder. This encoder helps the model understand complex image descriptions.
Creating Exposure Brackets
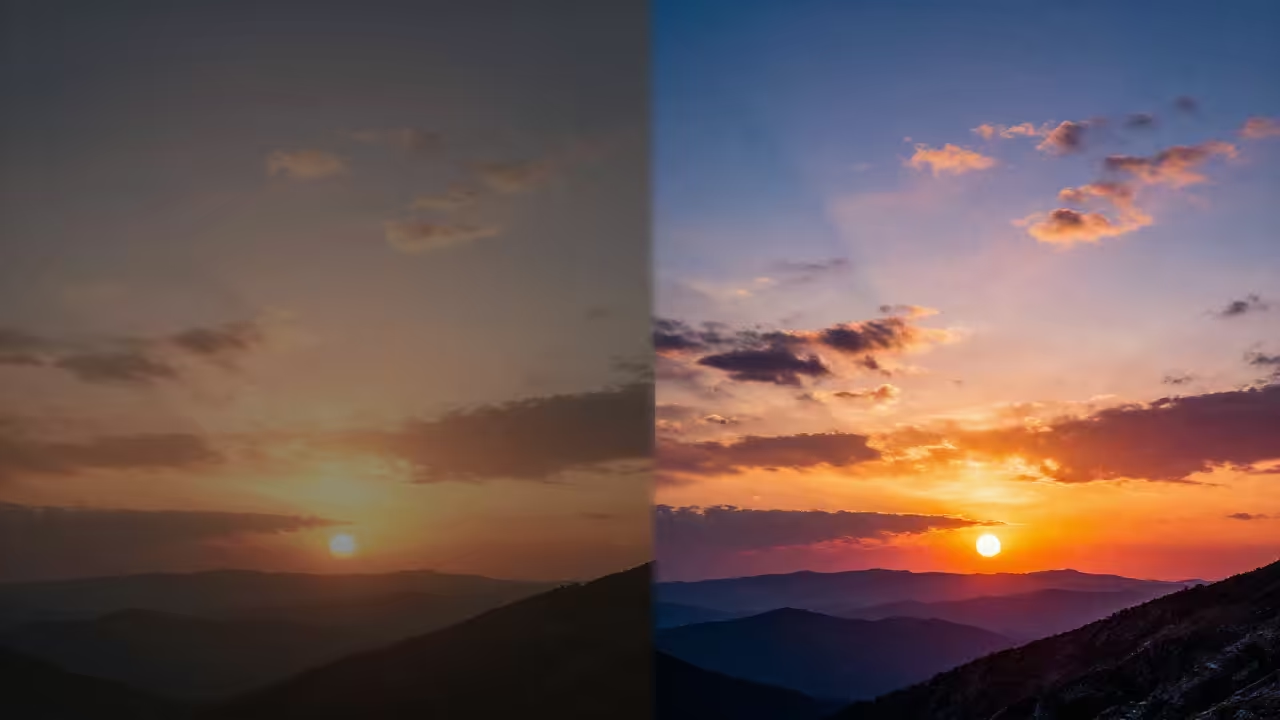
The first step involves creating multiple exposure brackets. Standard images often lose detail in bright or dark areas.
Exposure bracketing solves this by taking multiple lighting shots. We will generate three versions of the same image.
Set your generation seed to a fixed number first. This ensures the subject remains identical across all three images.
Adjust the brightness levels for each separate generation pass. Create one dark one normal and one bright image.
Export these images as sixteen bit TIFF files for quality. Standard JPEG files lose too much data for HDR work.
TIFF files preserve the color depth needed for merging. Save them into a dedicated folder on your Fedora system.
Merging in Luminance HDR
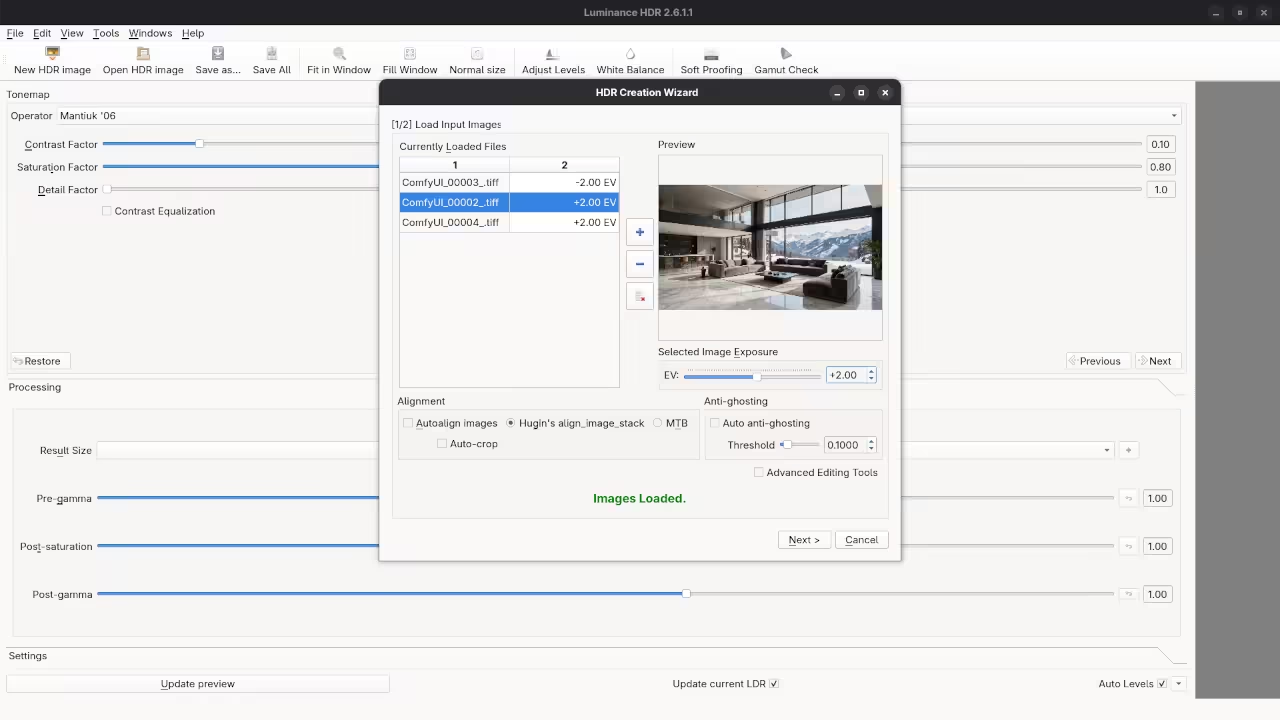
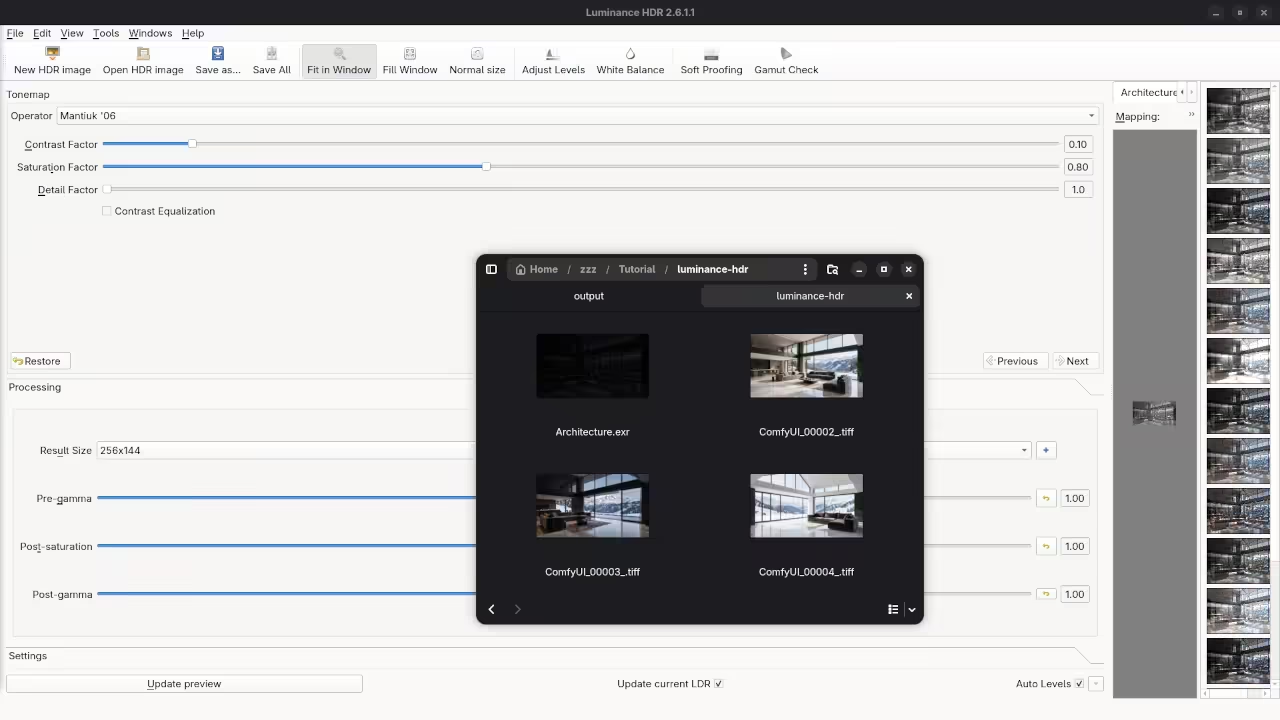
Open Luminance HDR from your application menu to continue. Click the New HDR button to start the wizard.
Import your three bracketed TIFF files into the software. Assign exposure values of minus two zero and plus two.
Luminance HDR will merge these files into one dataset. This file now contains a high dynamic range of light.
The resulting image will look very dark or very flat. We must apply tonemapping to make the details visible.
Tonemapping converts the high range data for standard monitors. Try the Mantiuk or Reinhard operators for the best results.
Adjust the contrast levels until the image looks perfectly balanced. Save your final masterpiece as a high quality PNG file.
Screenshot
Live Screencast
Take Your Skills Further
This workflow combined AI speed with professional photography tools. The MI60 handles the heavy lifting with its large VRAM.
Fedora provides a stable environment for these advanced open source tools. You can now create stunning HDR art at home.
- Books: https://www.amazon.com/stores/Edward-Ojambo/author/B0D94QM76N
- Courses: https://ojamboshop.com/product-category/course
- Tutorials: https://ojambo.com/contact
- Consultations: https://ojamboservices.com/contact
🚀 Recommended Resources
Disclosure: Some of the links above are referral links. I may earn a commission if you make a purchase at no extra cost to you.
Leave a Reply