

Save Inkscape Layers As Bitmap Images
A recent game required the creation of several related images. An image was created as a layer in Inkscape. The image was duplicated as a layer and slightly modified in subsequent layers.
Inkscape can export an area as a bitmap image in PNG format. Exporting individual visible Inkscape layers is tedious. A simpler exporting individual layers exists using the JessyInk plugin.
In this tutorial images will be created using Inkscape and bitmaps will be exported using the JessyInk plugin
- Tools are required:
- Inkscape SVG editor.
- JessyInk plugin for Inkscape.
- Un-archiver to decompress zip files.
Create Images Using Inkscape
Inkscape is required in order to follow this part of the tutorial. Inkscape can be downloaded at http://inkscape.org. Inkscape JessyInk plugin can be downloaded at http://code.google.com/p/jessyink.
- Run Inkscape:
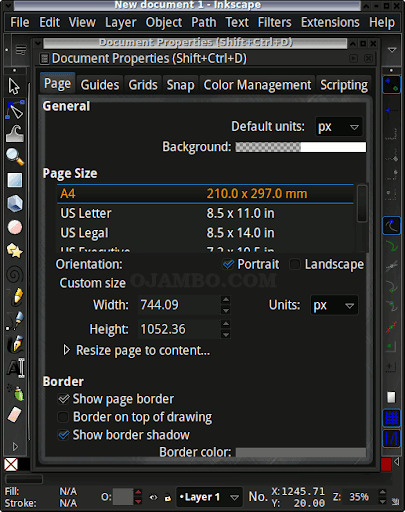
- File -> Document Properties -> Custom size.
- Create image 320px x 50px.
- Create and edit text objects tool -> Ojambo.com in red.
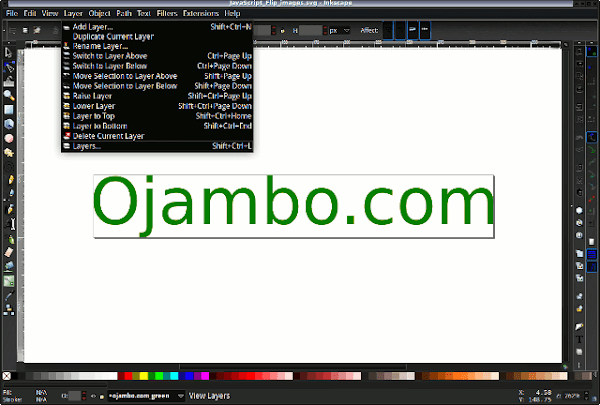
- Layer -> Layers -> Duplicate Current Layer
- Ojambo.com in yellow.
- Layer -> Layers -> Duplicate Current Layer
- Ojambo.com in green.
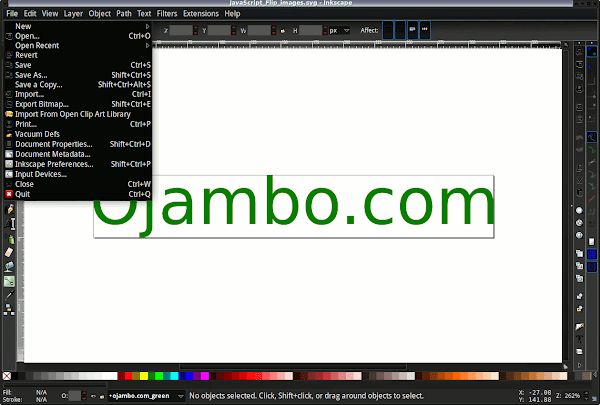
- File -> Save As -> JavaScript Flip Images
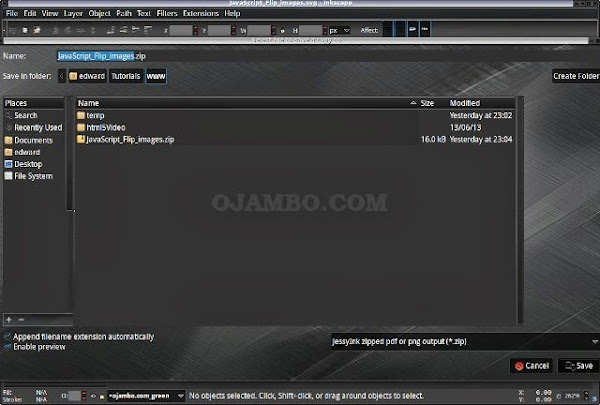
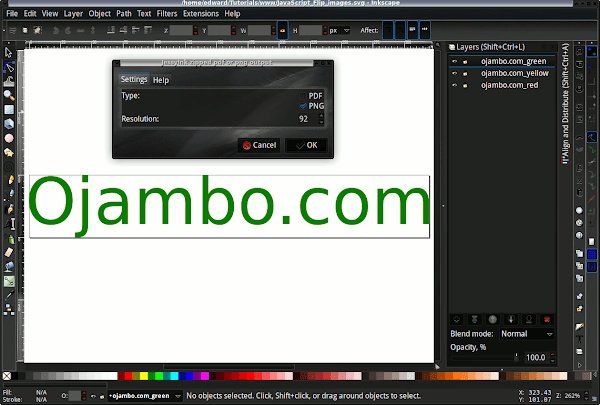
- File -> Save A Copy -> JessyInk zipped pdf or png output(*.zip)
- Settings -> Type = PNG
How To Use:
- Open File Manager
- Navigate to location where the zip file was saved.
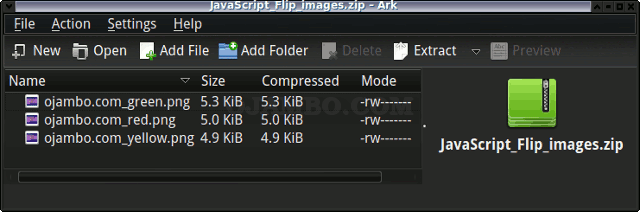
- Open zip file in your un-archiver.
- Observe the files inside the archived file.
Demonstration:
Ojambo.com Inkscape SVG Layers Into Bitmaps Using JessyInk Tutorial
Conclusion:
Saving individual Inkscape layers is tedious. JessyInk converts each Inkscape layer into a single slide for presentation purposes. JessyInk has options for the conversion process.
JessyInk allows output to only bitmap PNG files. The files are automatically archived in a zip file.
- Recommendations:
- Rename layers because JessyInk uses layer names as the file names.
- Select PNG option to output only bitmap files.
- Keep the plugin up-to-date by checking for updates.
🚀 Recommended Resources
Disclosure: Some of the links above are referral links. I may earn a commission if you make a purchase at no extra cost to you.
Comments
2 responses to “Inkscape SVG Layers Into Bitmaps Using JessyInk”