
How to Install Passbolt Community Edition on Your Server (Using Podman with Self-Signed SSL)
Introduction
In this guide, we will walk you through setting up Passbolt Community Edition using Podman and self-signed SSL certificates for HTTPS. This approach is perfect for local or development environments where you want to securely manage passwords, but do not need a commercial SSL certificate. Since you are working locally, you’ll configure a self-signed certificate and bind-mount it inside your Passbolt container.
What is Passbolt Community Edition?
Passbolt is an open-source password manager designed for teams to securely manage shared passwords. The Community Edition is free to use and can be self-hosted for complete control over your password management system. It features robust security protocols, including encryption and audit trails, and works well for both small teams and individuals.
Prerequisites
Before you begin, make sure you have the following:
- A server or local machine with root or sudo access.
- Podman installed on your system (or Podman-Compose for Docker Compose compatibility).
- A working SMTP server to send email notifications.
- A working NTP service to avoid GPG authentication issues.
- Self-signed SSL certificates for HTTPS setup.
For Podman installation, refer to the official guide.
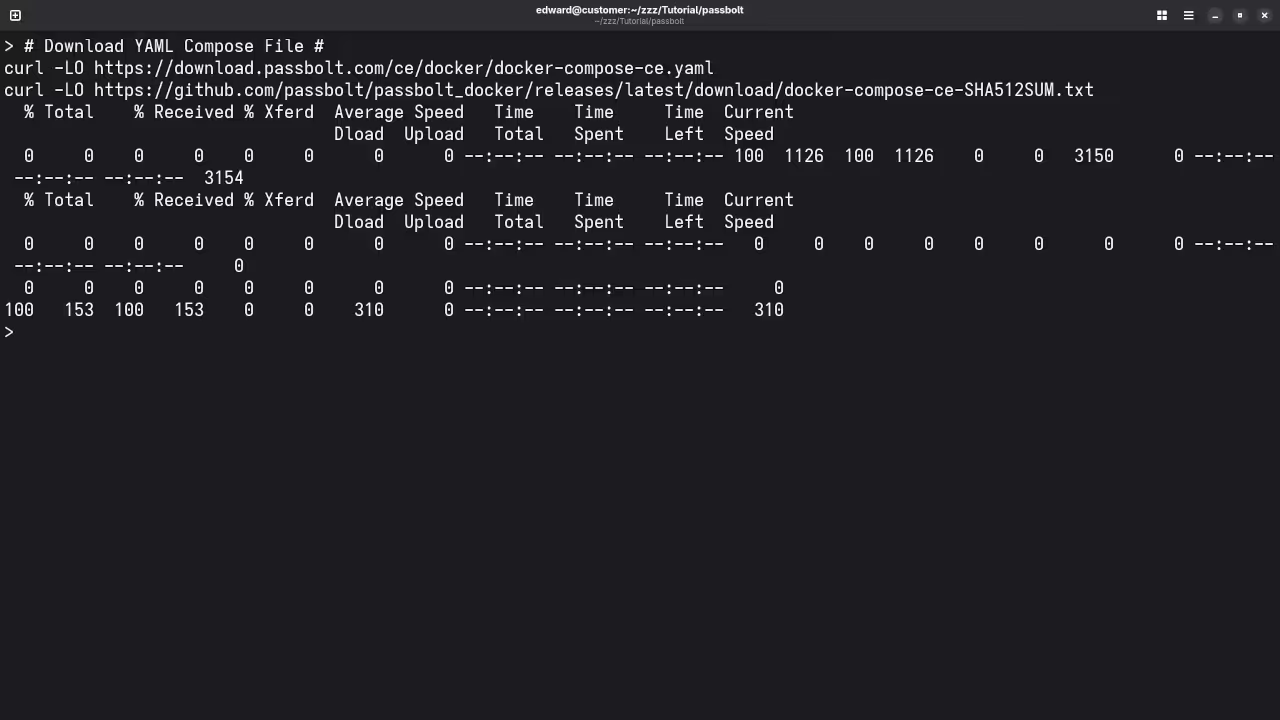
Step 1: Download the Official Passbolt Docker Compose File
Let’s start by downloading the official docker-compose.yaml file for Passbolt, which we can use with Podman:
    curl -LO "https://download.passbolt.com/ce/docker/docker-compose-ce.yaml"
    curl -LO "https://github.com/passbolt/passbolt_docker/releases/latest/download/docker-compose-ce-SHA512SUM.txt"
This will download the docker-compose-ce.yaml file and the checksum file to verify its integrity.
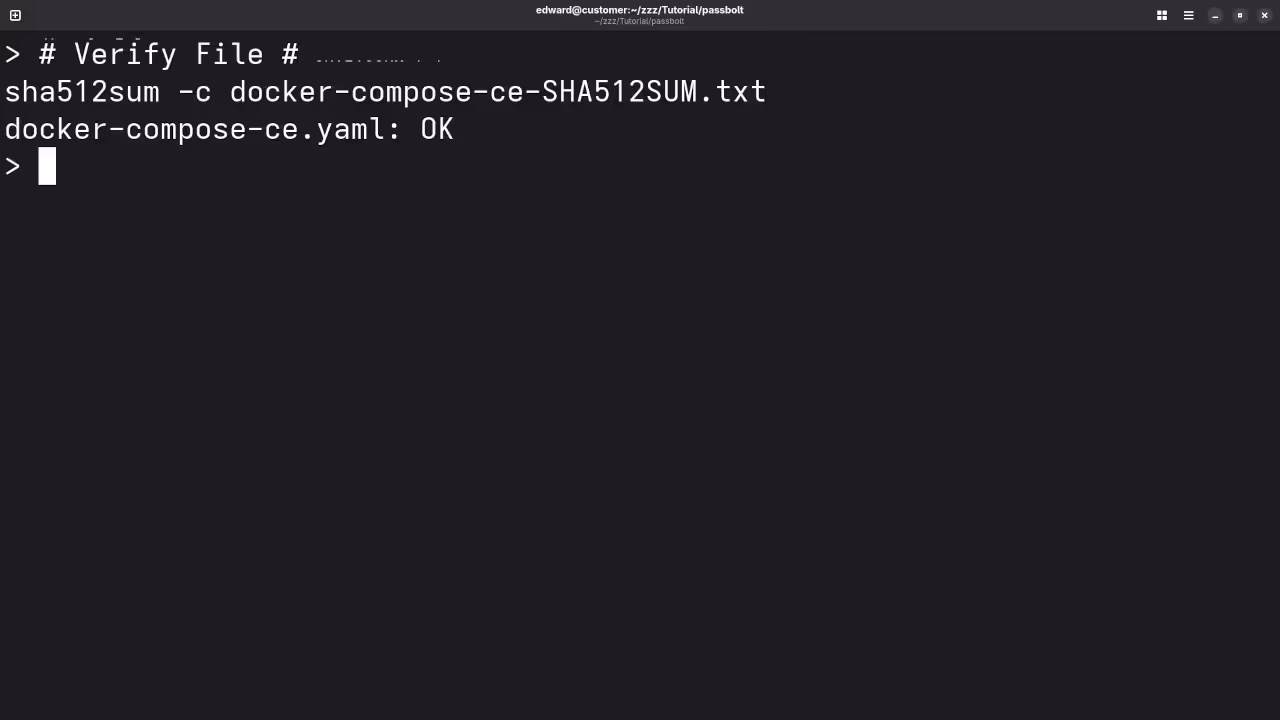
Step 2: Verify the Integrity of the Downloaded Files
Ensure that the downloaded file hasn’t been corrupted by verifying the checksum:
sha512sum -c docker-compose-ce-SHA512SUM.txt && echo "Checksum OK" || (echo "Bad checksum. Aborting" && rm -f docker-compose-ce.yaml)
If the checksum is valid, you can proceed. If not, the script will abort.
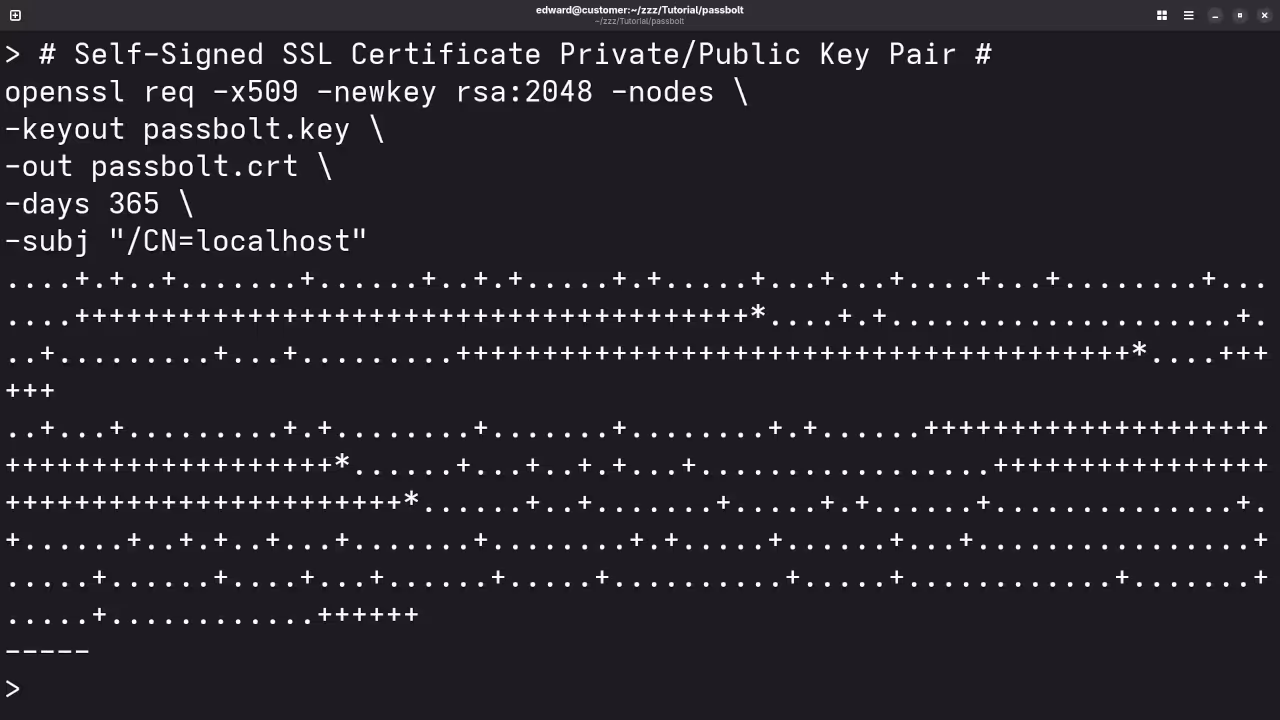
Step 3: Prepare Your Self-Signed SSL Certificates
To use HTTPS, you need to prepare your self-signed certificates. Create a folder for your certificates:
    mkdir certs
    mv /path/to/your/certificate.crt certs/cert.pem
    mv /path/to/your/certificate.key certs/key.pem
Replace /path/to/your/certificate.crt and /path/to/your/certificate.key with the actual paths to your self-signed certificate files.
Step 4: Configure the Docker Compose YAML File for Podman
Now, modify the docker-compose-ce.yaml file to use your self-signed certificates. There are two configurations you can use: for standard images or non-root images. Since you are using Podman, we will focus on binding the certificate files correctly.
For standard Passbolt images, add the following to the volumes section of the passbolt service:
    version: '3.7'
    services:
      db:
        ...
      passbolt:
        ...
        volumes:
          - ./certs/cert.pem:/etc/ssl/certs/certificate.crt:ro
          - ./certs/key.pem:/etc/ssl/certs/certificate.key:ro
        ports:
          - 80:80
          - 443:443
        environment:
          APP_FULL_BASE_URL: "https://your-domain-or-ip"
For non-root images, the bind-mount paths will be different, and the ports may also differ (e.g., 4433 for non-root images):
    version: '3.7'
    services:
      db:
        ...
      passbolt:
        ...
        volumes:
          - ./certs/cert.pem:/etc/passbolt/certs/certificate.crt:ro
          - ./certs/key.pem:/etc/passbolt/certs/certificate.key:ro
        ports:
          - 80:8080
          - 443:4433
        environment:
          APP_FULL_BASE_URL: "https://your-domain-or-ip"
Ensure that the APP_FULL_BASE_URL environment variable starts with https://, as you will be using SSL.
Step 5: Start Your Containers with Podman-Compose
Now that everything is configured, start the containers using Podman-Compose:
podman-compose -f docker-compose-ce.yaml up -d
This command will download the necessary Docker images and start the containers for Passbolt and MySQL in the background.
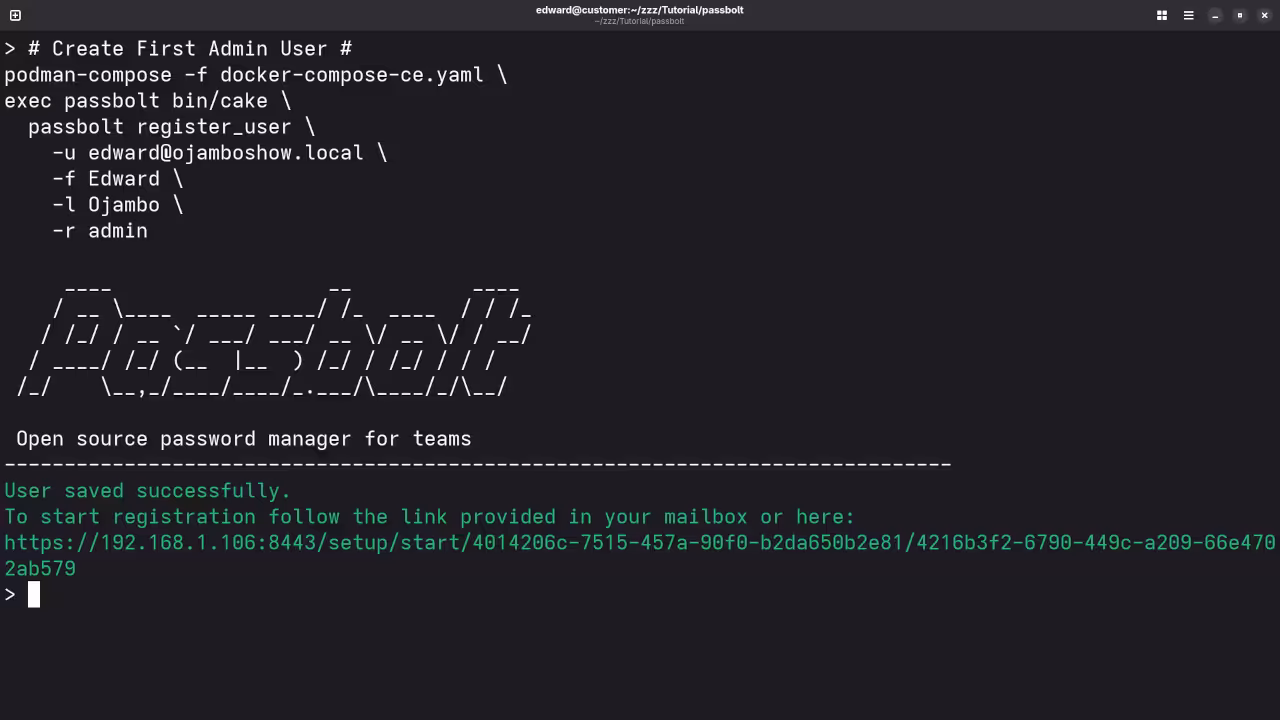
Step 6: Create the First Admin User
After the containers are up and running, create the first admin user by executing the following:
    podman-compose -f docker-compose-ce.yaml exec passbolt su -m -c "/usr/share/php/passbolt/bin/cake \
      passbolt register_user \
        -u YOUR_EMAIL \
        -f YOUR_NAME \
        -l YOUR_LASTNAME \
        -r admin" -s /bin/sh www-data
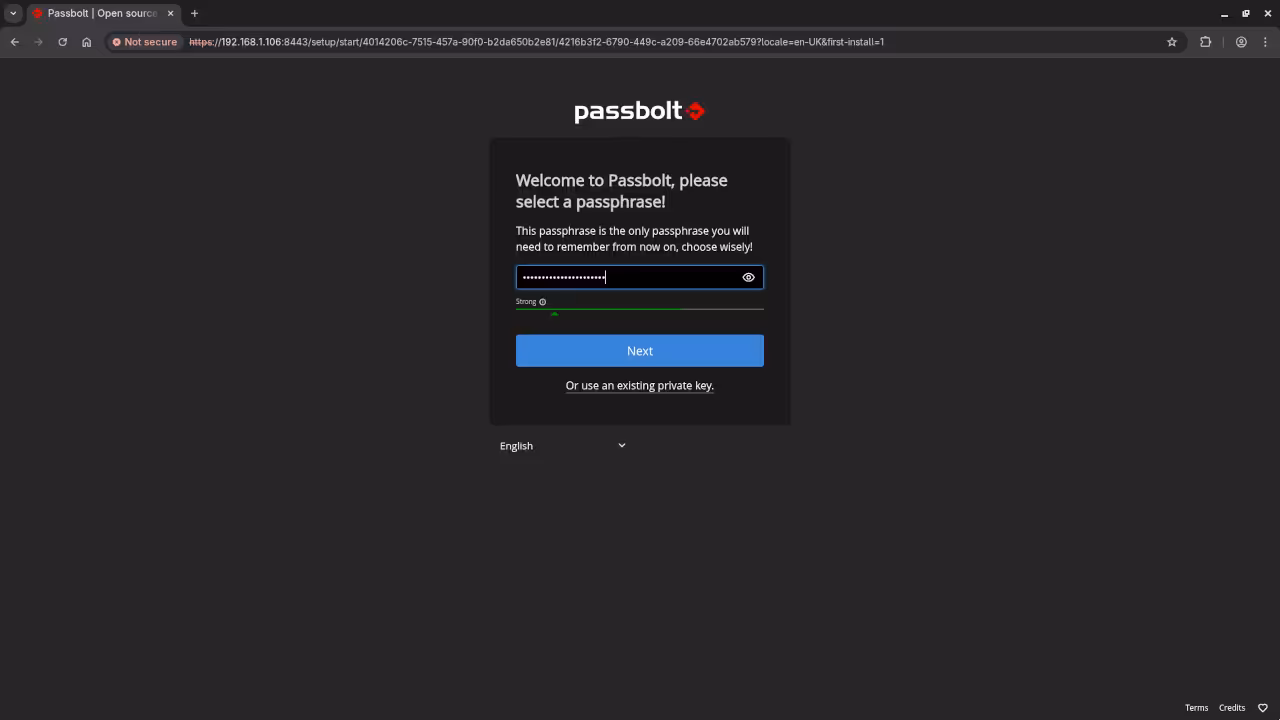
Replace YOUR_EMAIL, YOUR_NAME, and YOUR_LASTNAME with the admin details. This will generate a registration link that you can paste into your browser to finalize the user creation.
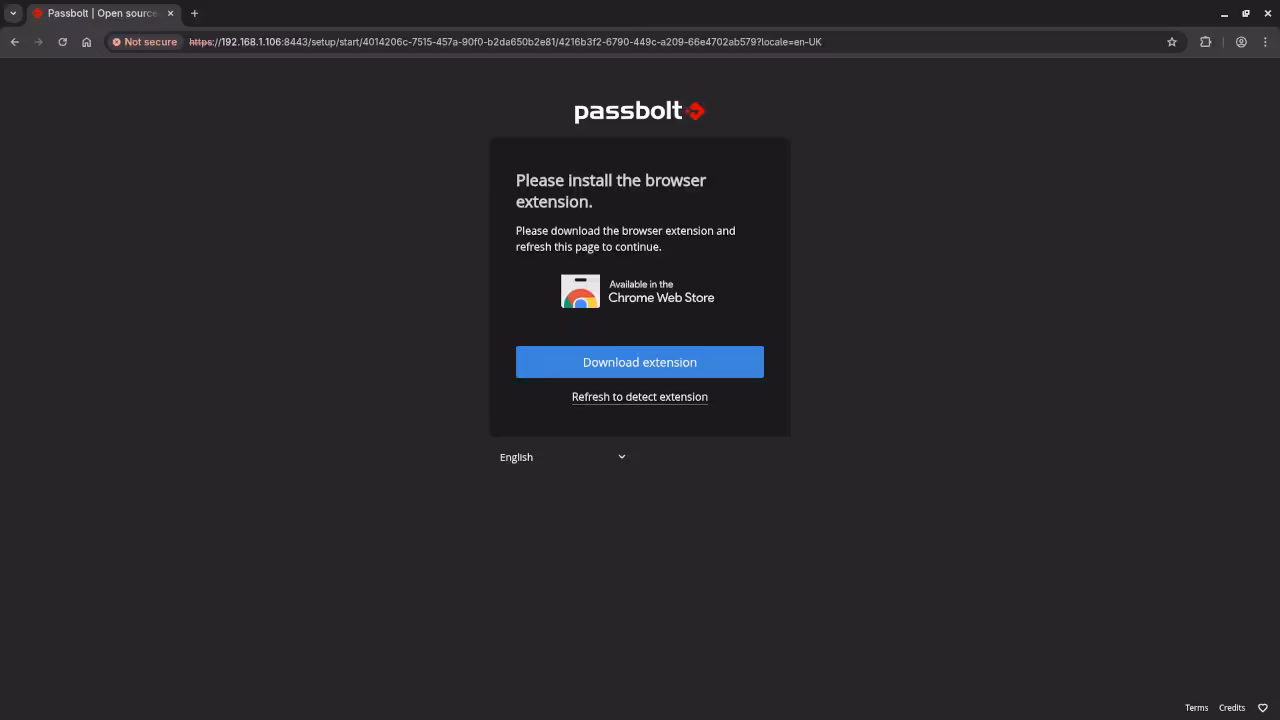
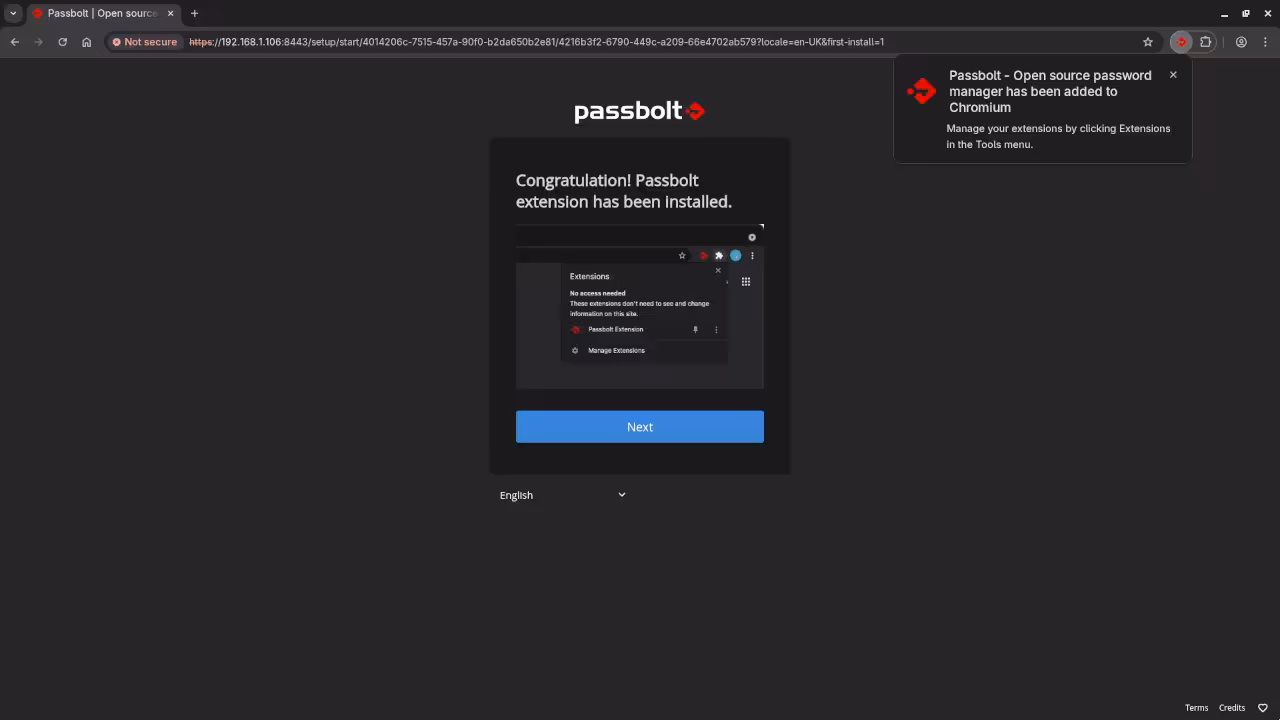
Step 7: Access Passbolt via HTTPS
Once the containers are up, you can access Passbolt via your browser:
https://your-domain-or-ip
Since you are using a self-signed certificate, your browser will likely show a security warning. Proceed with the exception to continue.
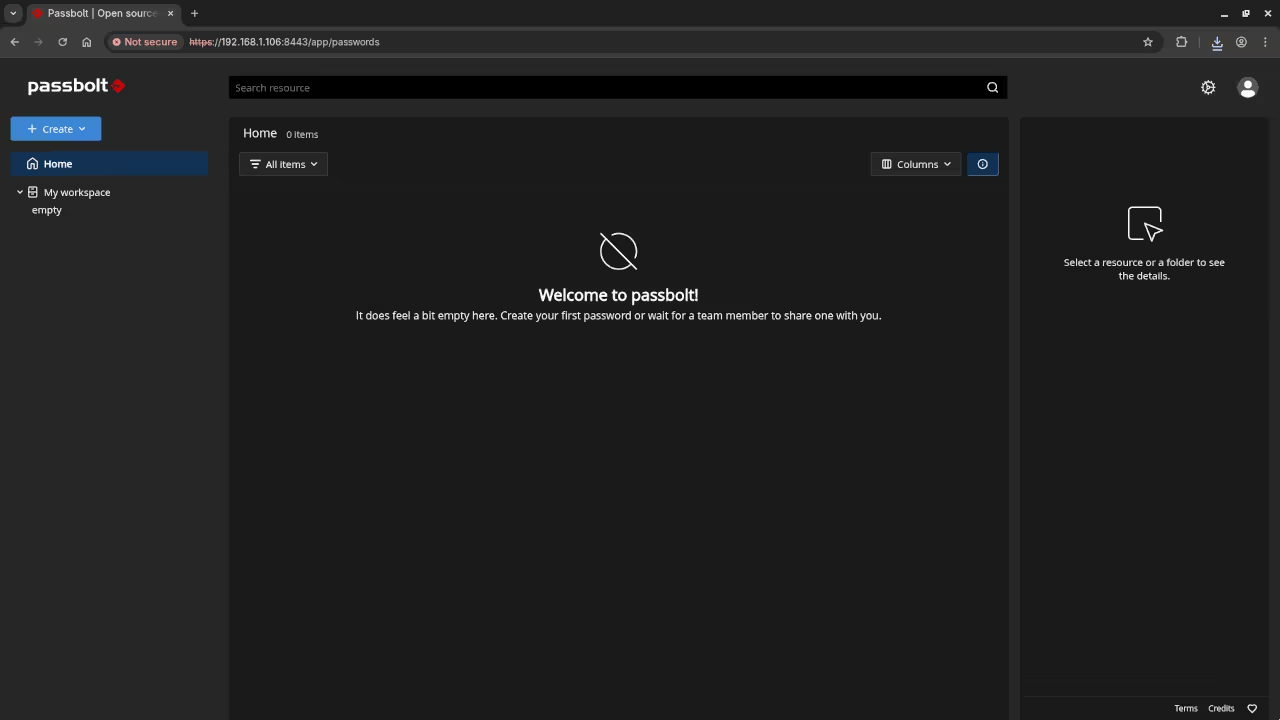
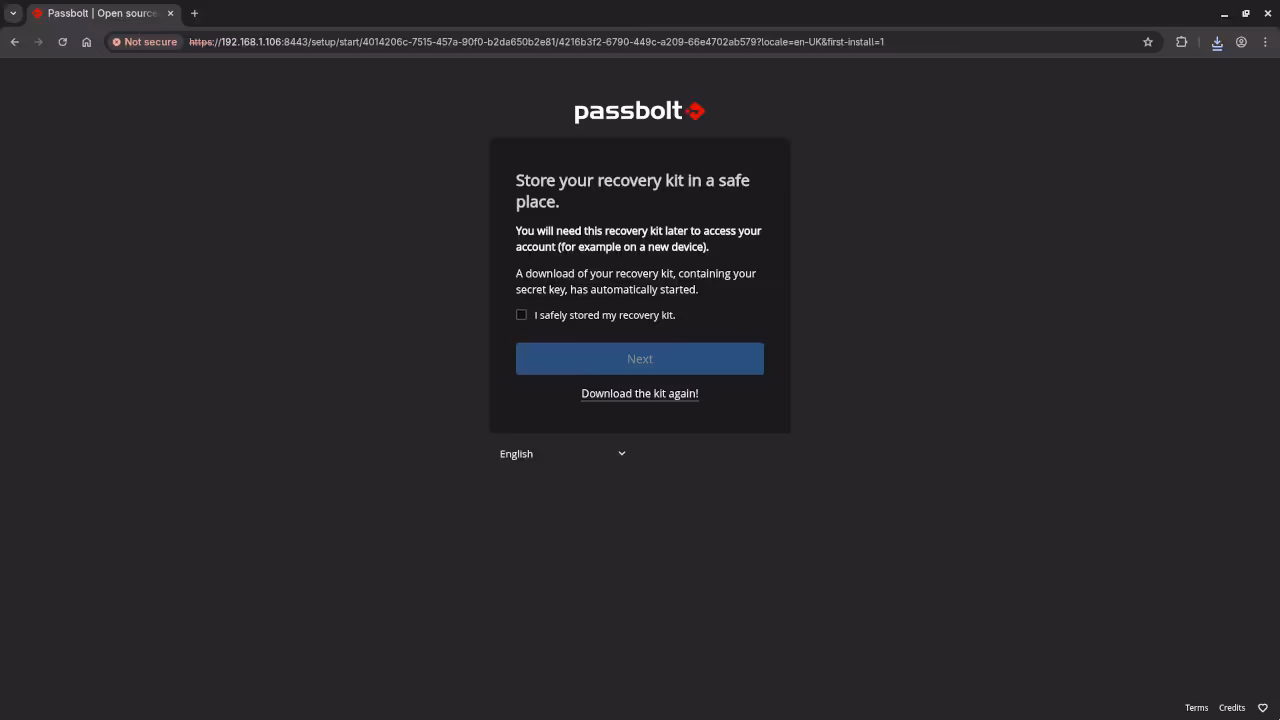
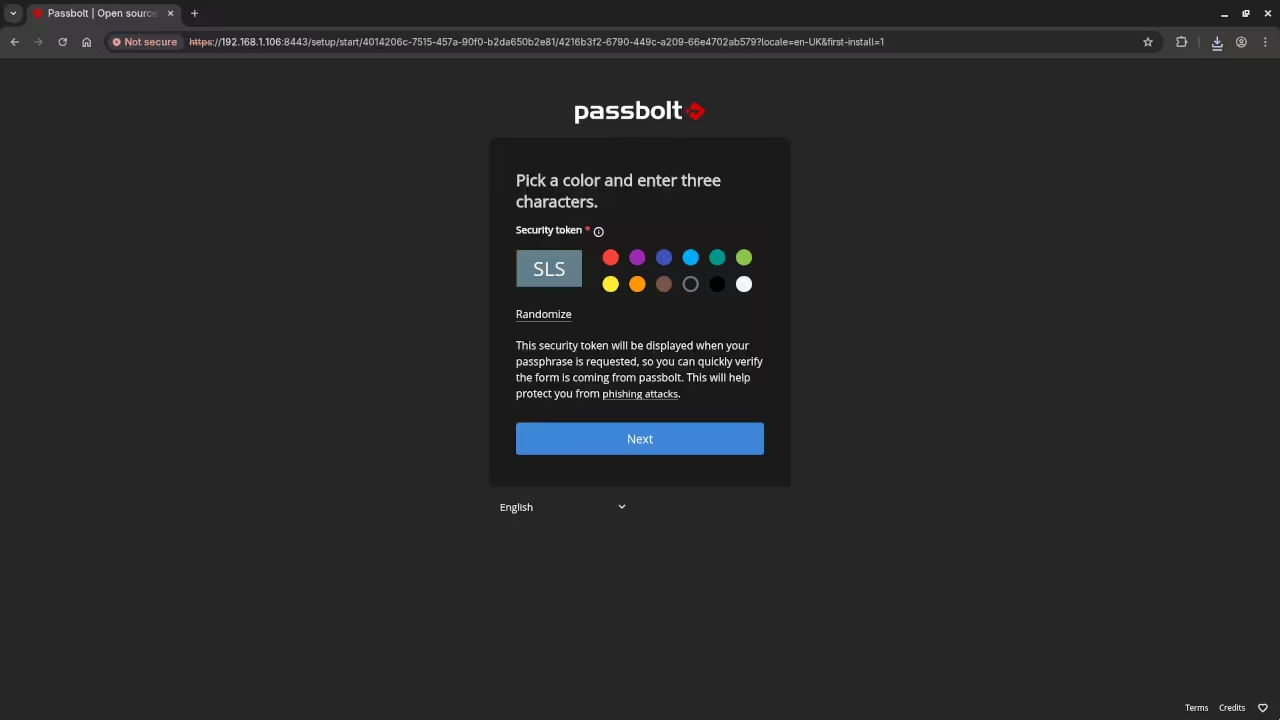
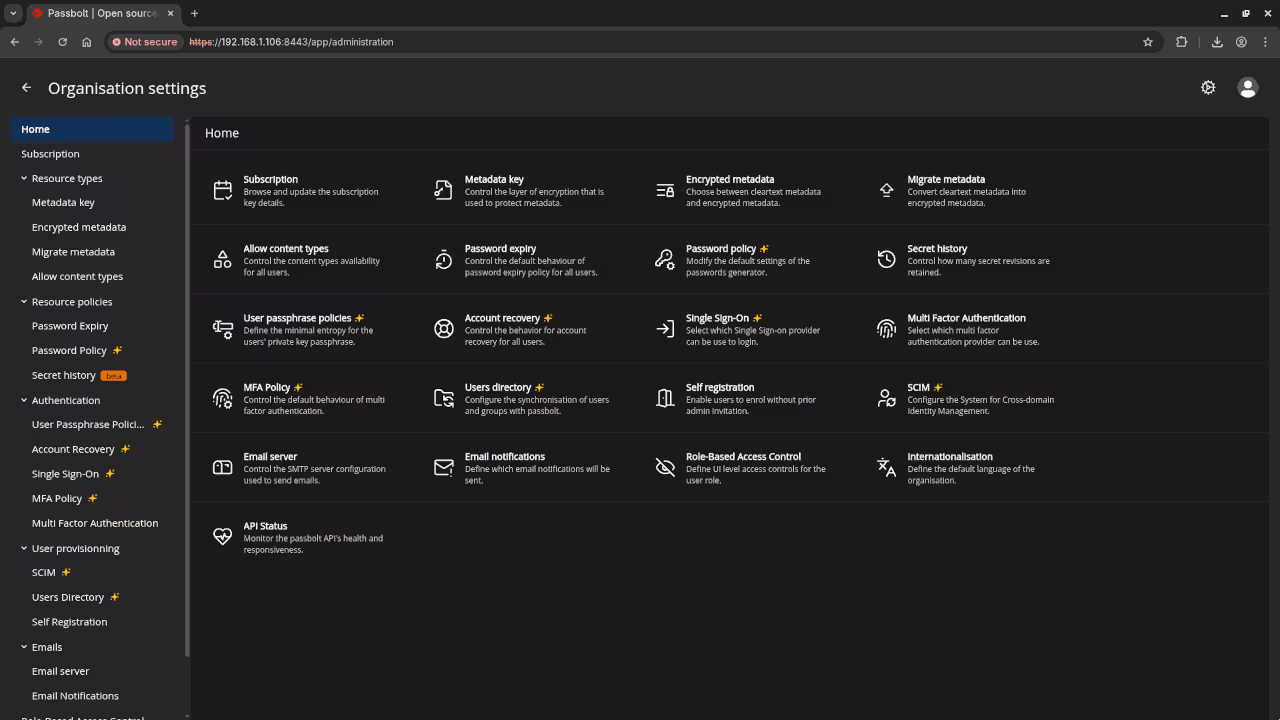
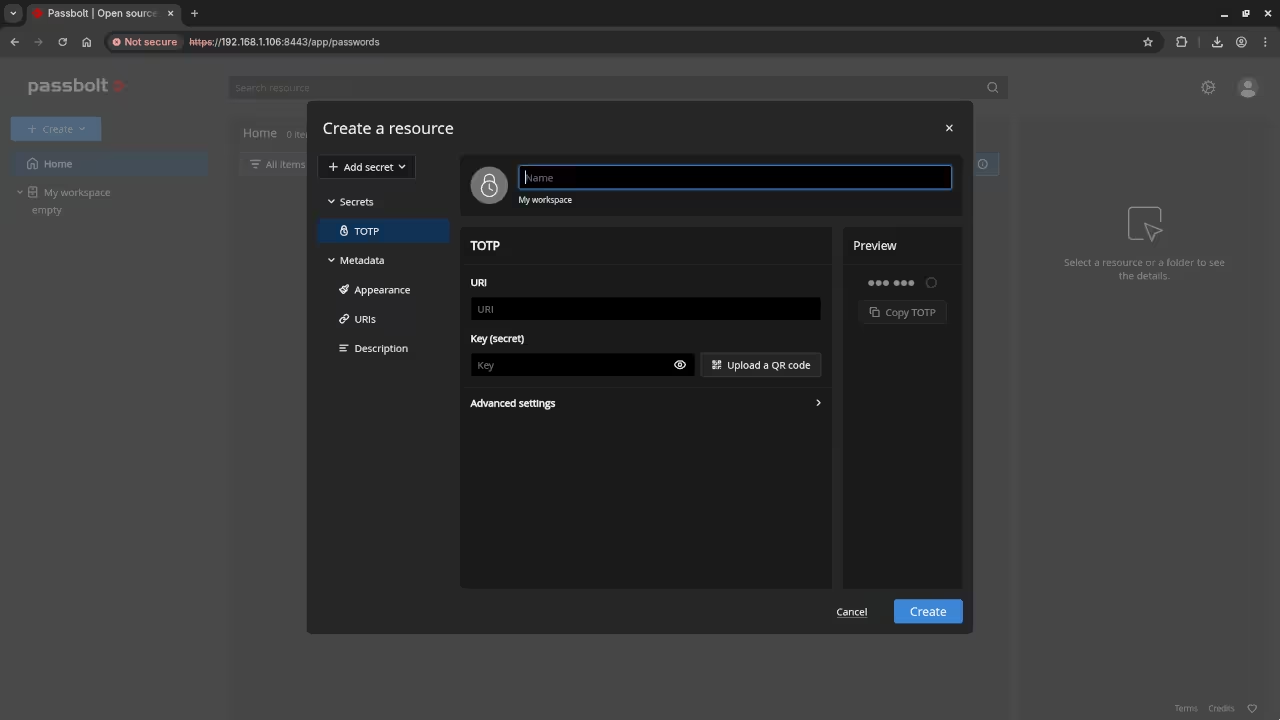
📱 Screenshots & Screencast


Additional Services and Resources
If you need help with Passbolt installation or migration, I offer the following services:
- One-on-one Programming Tutorials: Learn programming with personalized online tutorials. Book a session at my contact page.
- Passbolt Installation and Migration Services: Need assistance with installing or migrating Passbolt Community Edition? Get in touch with me at my contact page.
More from Edward Ojambo
- Programming Books: Explore my collection of programming books available on Amazon.
- Programming Courses: Learn programming with my online courses.
Conclusion
With this guide, you can now set up Passbolt Community Edition using Podman with self-signed SSL certificates for local development environments. It is an easy, secure way to get started with password management for teams. If you need any further assistance or a customized setup, feel free to contact me!
🚀 Recommended Resources
Disclosure: Some of the links above are referral links. I may earn a commission if you make a purchase at no extra cost to you.