
Creating Modular Fence Gates with Blender Python API and Displaying Them on the Web
If you’re new to Blender Python scripting, welcome! In this tutorial, we’ll walk through a basic Python script that generates modular fence gate models in Blender, exports them as glTF (.glb), and displays the result in a web browser using the <model-viewer> component.
Whether you’re just starting with Python or leveling up your 3D skills, this post will help you get your first model online in minutes!
🔧 What You’ll Need
- Blender installed (3.0+ recommended)
- Basic knowledge of Python
- Text editor or Blender’s built-in scripting tab
- Web browser (Chrome, Firefox, Edge)
- Simple web server (e.g., Python’s
http.server)
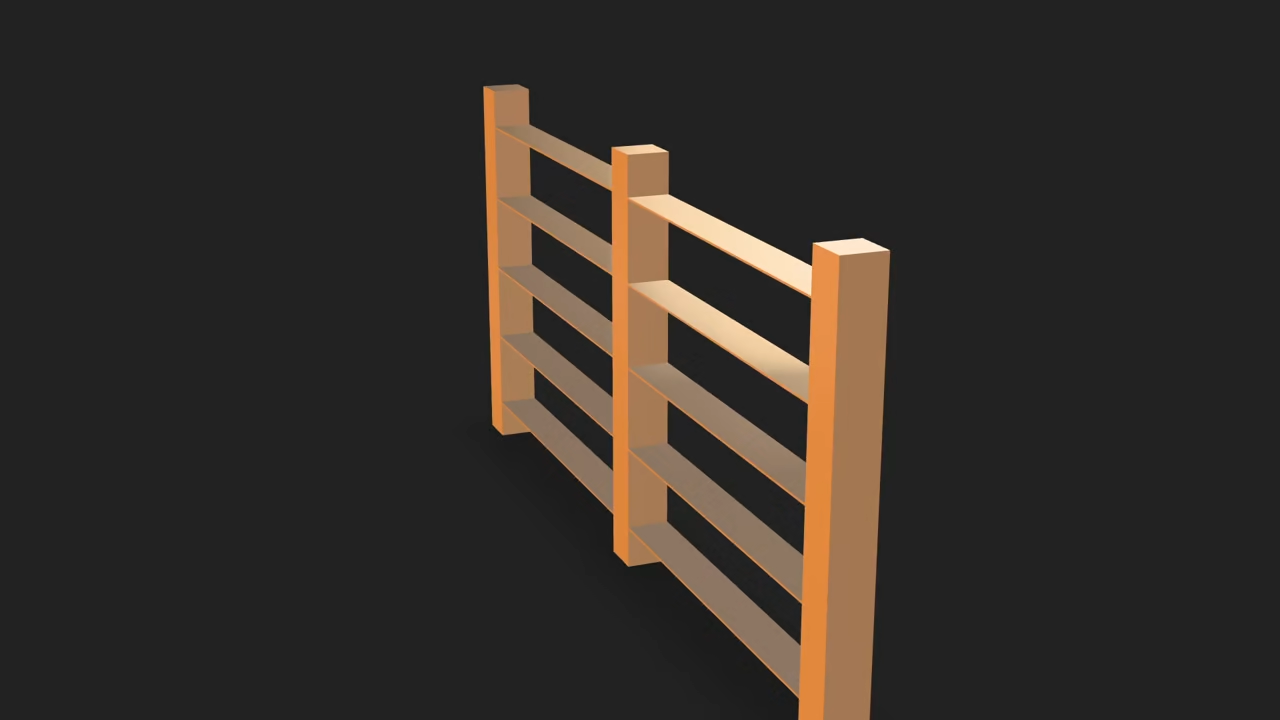
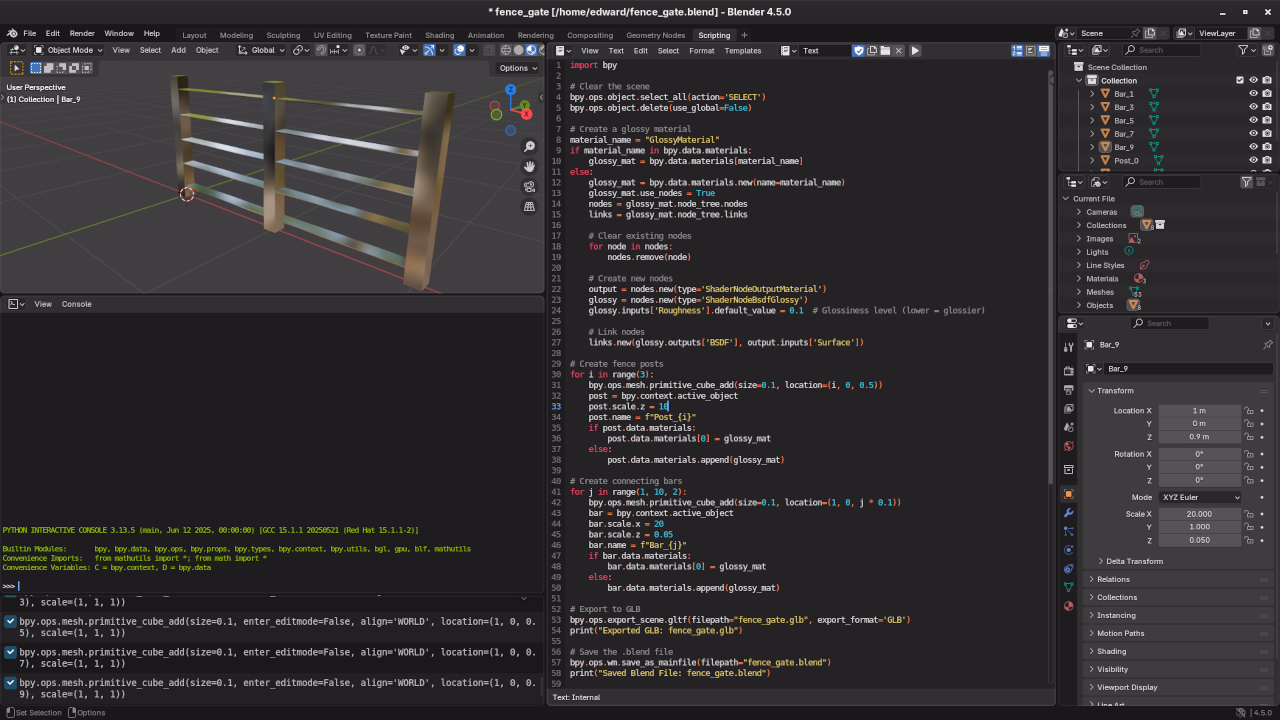
📦 Step 1: Generate the Fence Gate in Blender
Here’s a basic Blender Python script that creates a modular fence gate using cubes and collections. Save this as generate_fence_gate.py:
import bpy
# Clear the scene
bpy.ops.object.select_all(action='SELECT')
bpy.ops.object.delete(use_global=False)
# Create a glossy material
material_name = "GlossyMaterial"
if material_name in bpy.data.materials:
glossy_mat = bpy.data.materials[material_name]
else:
glossy_mat = bpy.data.materials.new(name=material_name)
glossy_mat.use_nodes = True
nodes = glossy_mat.node_tree.nodes
links = glossy_mat.node_tree.links
# Clear existing nodes
for node in nodes:
nodes.remove(node)
# Create new nodes
output = nodes.new(type='ShaderNodeOutputMaterial')
glossy = nodes.new(type='ShaderNodeBsdfGlossy')
glossy.inputs['Roughness'].default_value = 0.1 # Glossiness level (lower = glossier)
# Link nodes
links.new(glossy.outputs['BSDF'], output.inputs['Surface'])
# Create fence posts
for i in range(3):
bpy.ops.mesh.primitive_cube_add(size=0.1, location=(i, 0, 0.5))
post = bpy.context.active_object
post.scale.z = 5
post.name = f"Post_{i}"
if post.data.materials:
post.data.materials[0] = glossy_mat
else:
post.data.materials.append(glossy_mat)
# Create connecting bars
for j in range(1, 10, 2):
bpy.ops.mesh.primitive_cube_add(size=0.1, location=(1, 0, j * 0.1))
bar = bpy.context.active_object
bar.scale.x = 10
bar.scale.z = 0.05
bar.name = f"Bar_{j}"
if bar.data.materials:
bar.data.materials[0] = glossy_mat
else:
bar.data.materials.append(glossy_mat)
# Export to GLB
bpy.ops.export_scene.gltf(filepath="fence_gate.glb", export_format='GLB')
print("Exported GLB: fence_gate.glb")
# Save the .blend file
bpy.ops.wm.save_as_mainfile(filepath="fence_gate.blend")
print("Saved Blend File: fence_gate.blend")
💻 Step 2: Run the Python Script from Command Line
To execute the script outside the Blender GUI, run this in your terminal:
blender --background --python generate_fence_gate.py This tells Blender to run in the background and execute your script. The result will be a .glb file you can use on the web!
🌐 Step 3: Display with <model-viewer> in Your Browser
Create an index.html file:
<!DOCTYPE html>
<html lang="en">
<head>
<meta charset="UTF-8">
<title>Modular Fence Gate</title>
<script type="module" src="https://unpkg.com/@google/model-viewer/dist/model-viewer.min.js"></script>
</head>
<body>
<model-viewer src="fence_gate.glb" alt="Fence Gate"
auto-rotate camera-controls
style="width: 600px; height: 400px;">
</model-viewer>
</body>
</html>
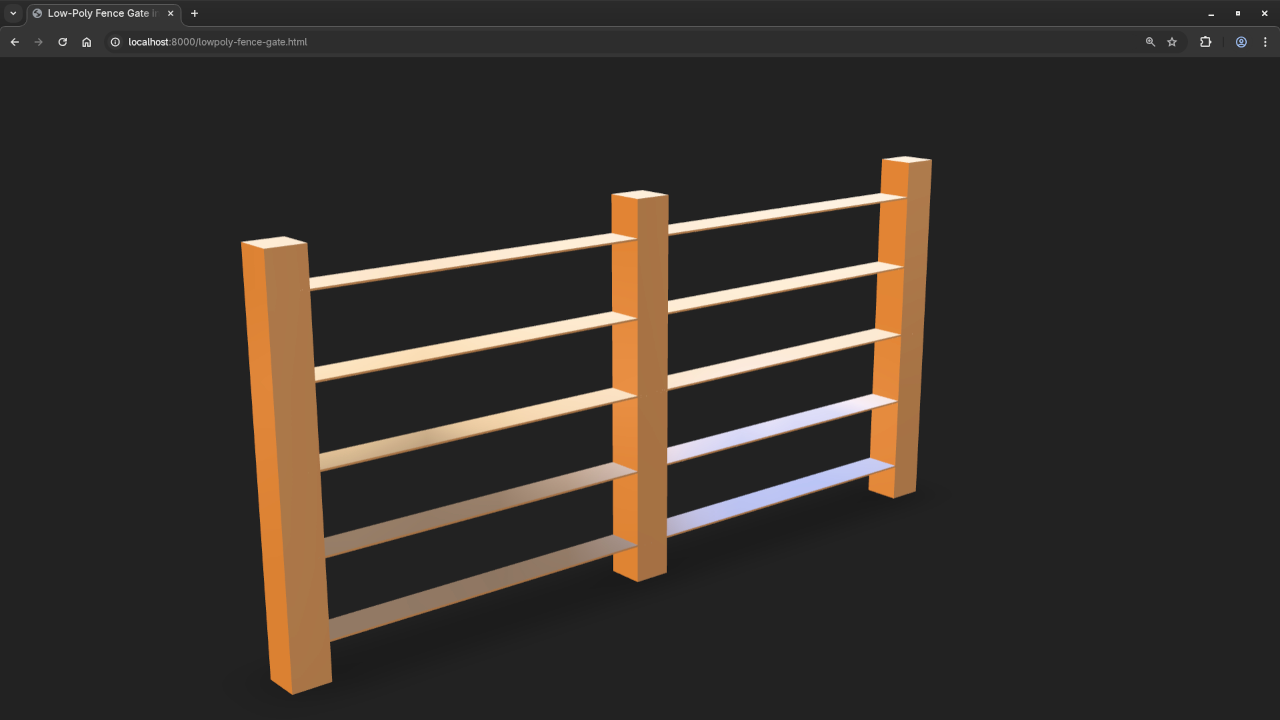
Then start a simple web server in the same folder:
python -m http.server Visit http://localhost:8000 in your browser to see your gate in full 3D!
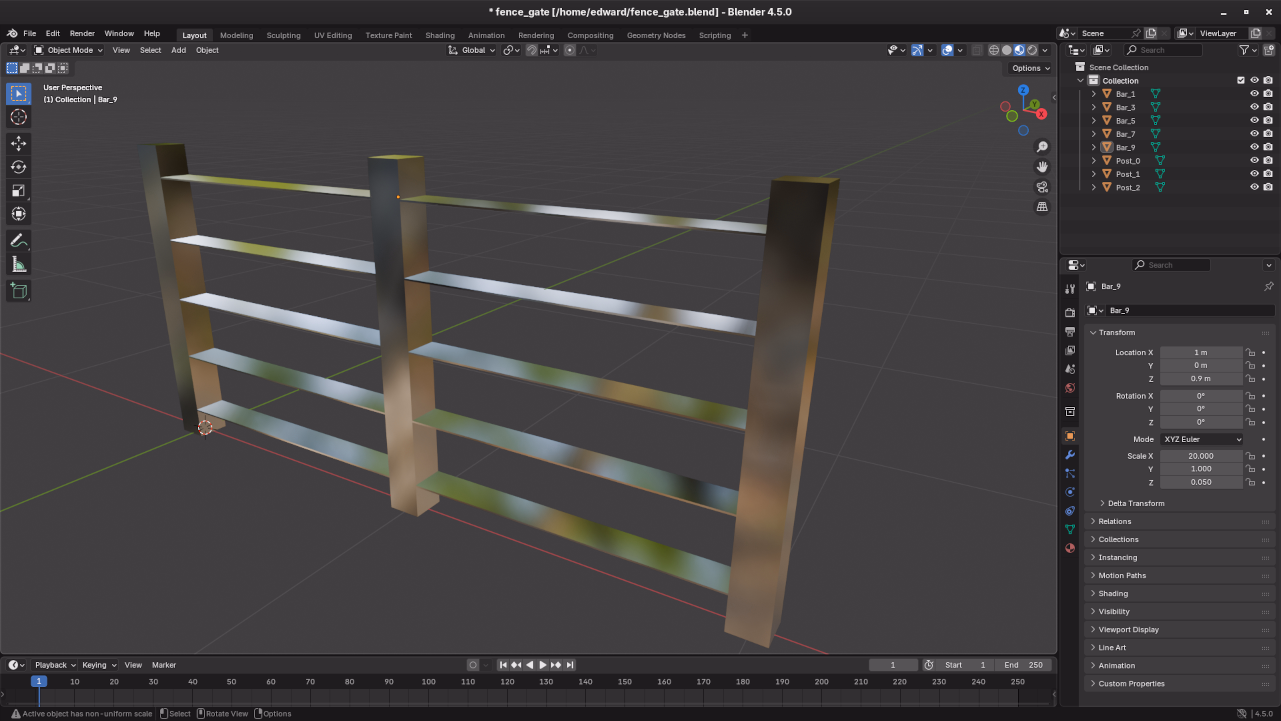
📷 Screenshots & Screencast
📚 Recommended Reading & Courses
- 📕 Learning Python (Amazon eBook) – Great for beginners starting with Python.
- 📕 Mastering Blender Python API (Amazon eBook) – Perfect for those ready to automate and expand Blender workflows.
- 🎓 Learning Python (Online Course) – Learn at your own pace, practical and project-based.
👨💻 Need Help? One-on-One Tutoring Available!
I offer personalized online Python tutoring, including Blender scripting.
💻 Reach out via my contact form to schedule your session.
✅ Final Thoughts
You’ve now created a modular 3D model in Blender using Python and visualized it online. This is just the beginning—automated 3D workflows can revolutionize how you design, visualize, and publish assets on the web.
Have questions or want to show your fence gate render? Drop a comment below!
🚀 Recommended Resources
Disclosure: Some of the links above are referral links. I may earn a commission if you make a purchase at no extra cost to you.