
Install OpenSign Using Podman: A Beginner’s Guide to Self-Hosted E-Signatures
Looking for a free, open-source alternative to platforms like DocuSign? OpenSign, developed by OpenSignLabs, is a powerful and privacy-respecting e-signature platform you can self-host with modern container tools like Podman – no Docker required.
In this guide, you will learn how to install OpenSign using podman-compose, following the official method while adapting it for Docker-free systems. At the end, I have also included options to contact me if you need personal assistance.
Why Use OpenSign?
- Open Source (AGPL-3.0 license)
- Enterprise-Ready features
- Modern Stack: React frontend, Node.js backend, MongoDB database
- Self-Hosted: Stay in control of your data and workflow
Official Repo: OpenSignLabs/OpenSign on GitHub
Official Docs: docs.opensignlabs.com
Prerequisites
Before we begin, make sure you have the following:
- A Linux system with Podman and podman-compose installed
curlto download setup files- Internet access
- Optional: a domain name with HTTPS support (for production use)
Note: This setup uses podman-compose, which understands Docker Compose files and runs them using Podman under the hood.
Step-by-Step Installation with Podman
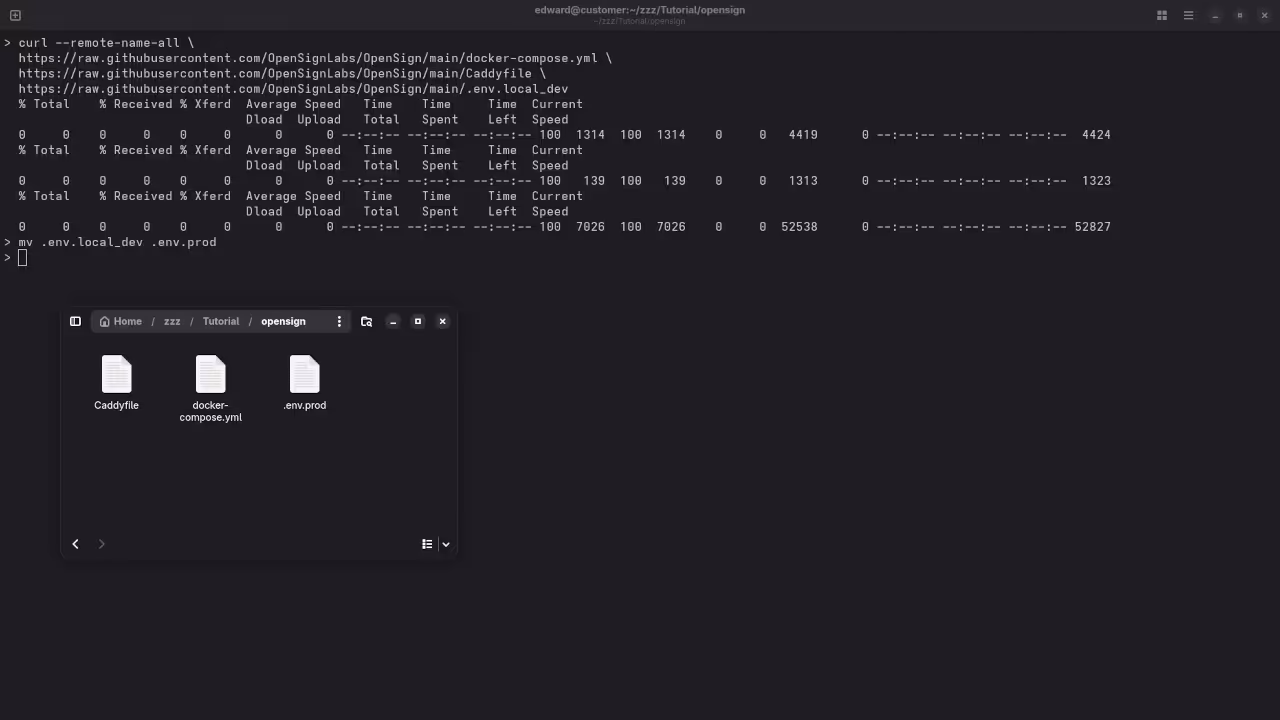
Step 1: Download OpenSign Configuration Files
You do not need to clone the GitHub repository. Instead, download the necessary files directly:
curl --remote-name-all \
https://raw.githubusercontent.com/OpenSignLabs/OpenSign/main/docker-compose.yml \
https://raw.githubusercontent.com/OpenSignLabs/OpenSign/main/Caddyfile \
https://raw.githubusercontent.com/OpenSignLabs/OpenSign/main/.env.local_dev
mv .env.local_dev .env.prod Step 2: Edit the Environment File
Open .env.prod in a text editor and customize the values. At a minimum, set the following:
HOST_URL=https://localhost:3001
MONGODB_URI=mongodb://mongo:27017/opensign
JWT_SECRET=your_secure_jwt_secret For local development, “localhost” will work. For production, use your actual domain.
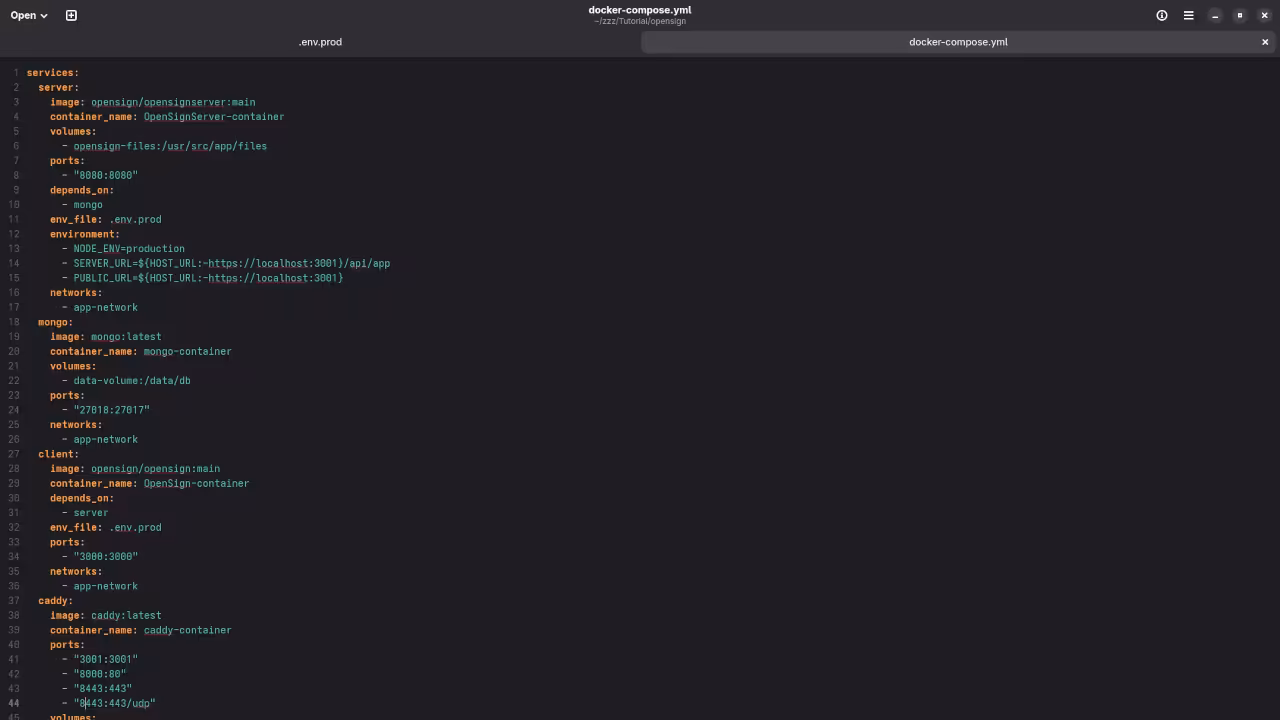
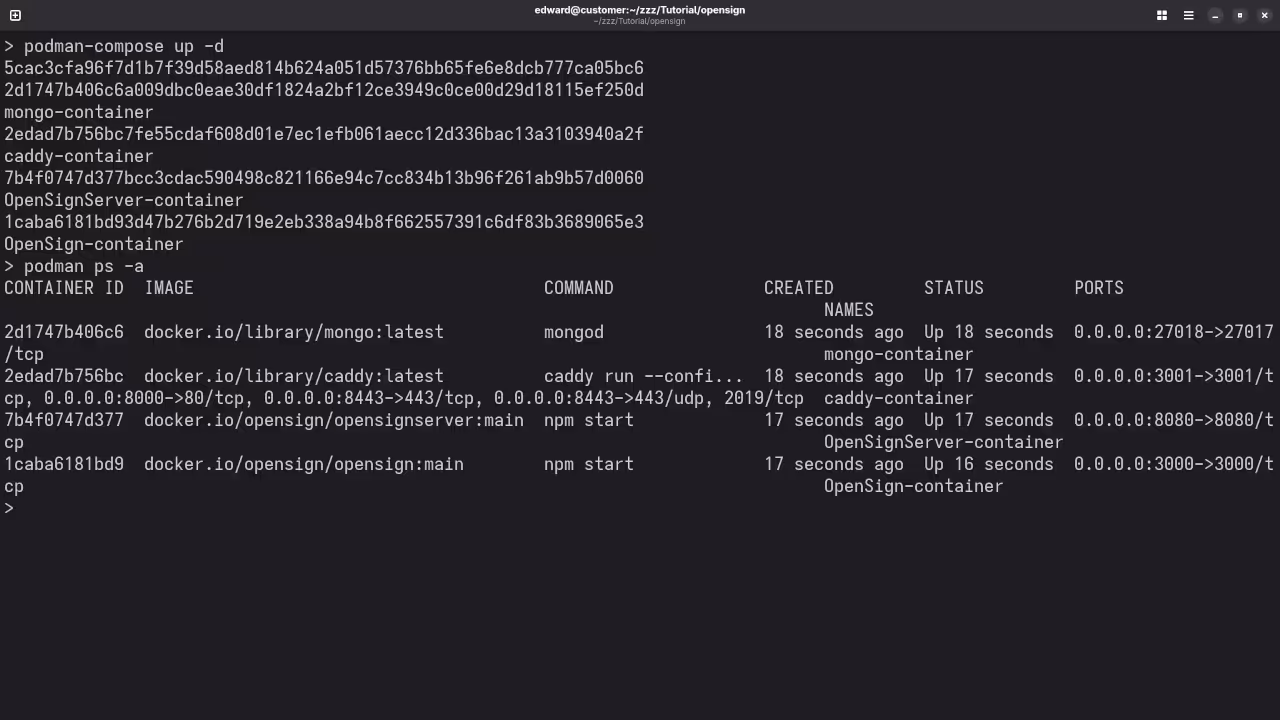
Step 3: Run OpenSign with podman-compose
Launch the services using podman-compose:
podman-compose --file docker-compose.yml --env-file .env.prod up -d This command will start:
- The OpenSign backend
- The MongoDB database
- The Caddy web server (reverse proxy)
- The frontend (React UI)
Step 4: Access Your Installation
Once the containers are running, open your browser and go to:
https://localhost:3001 If you’re using a self-signed certificate, your browser may warn you. Accept the warning to proceed. For production use, configure SSL with a trusted certificate provider using Caddy.
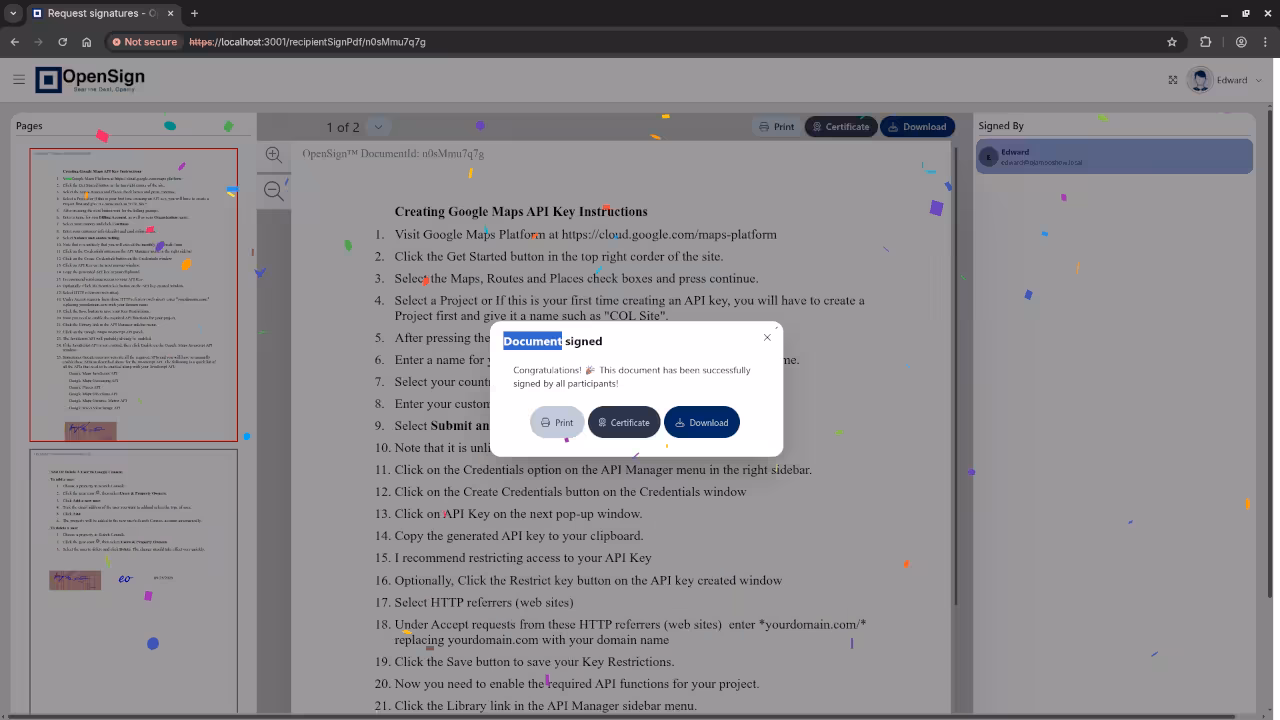
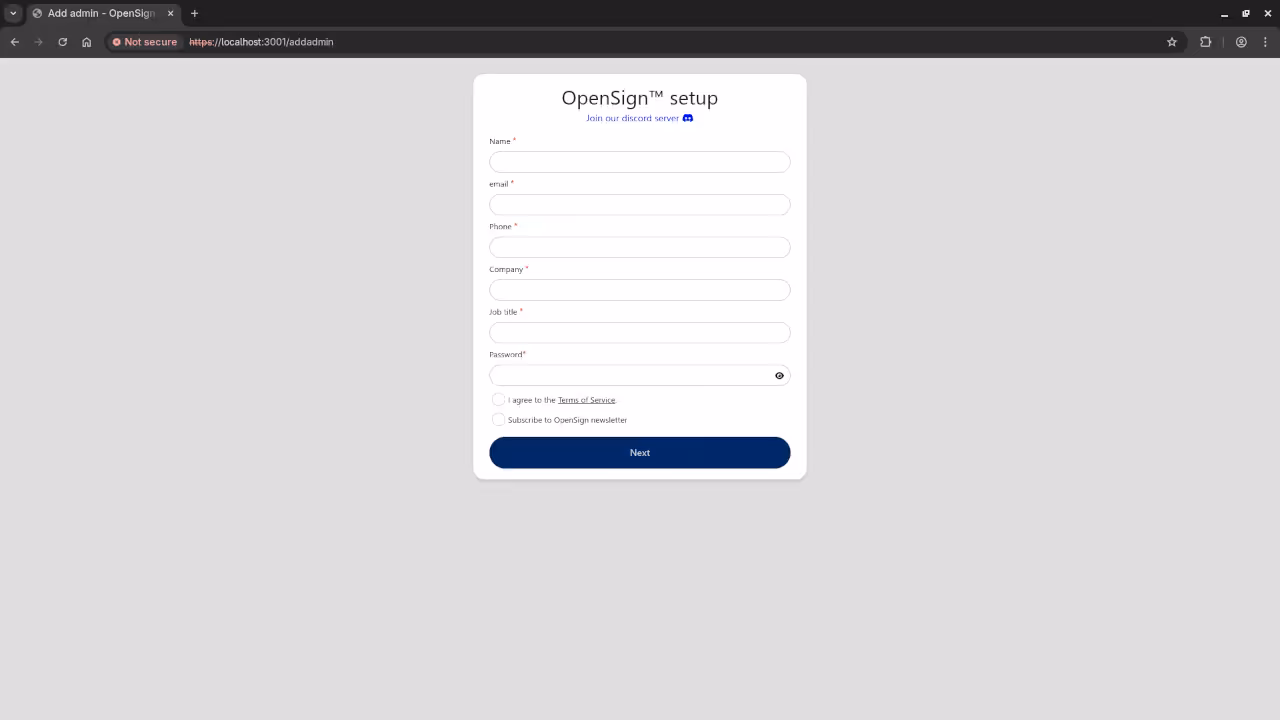
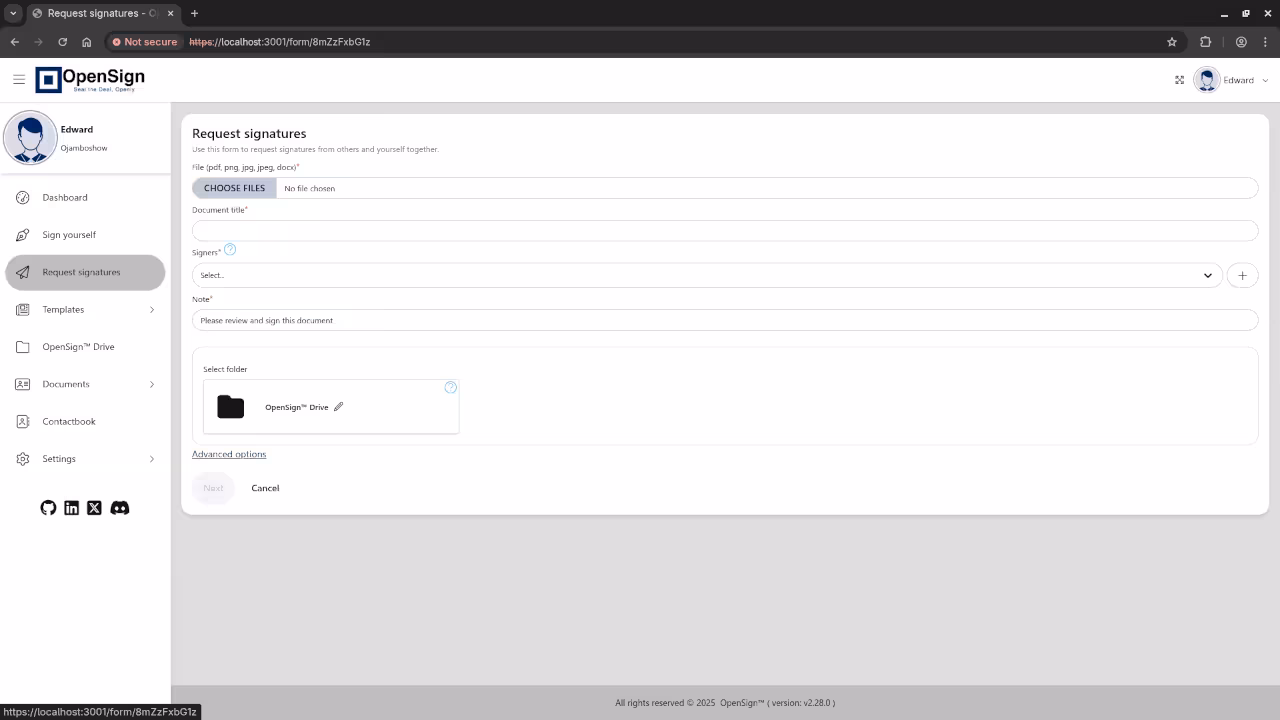
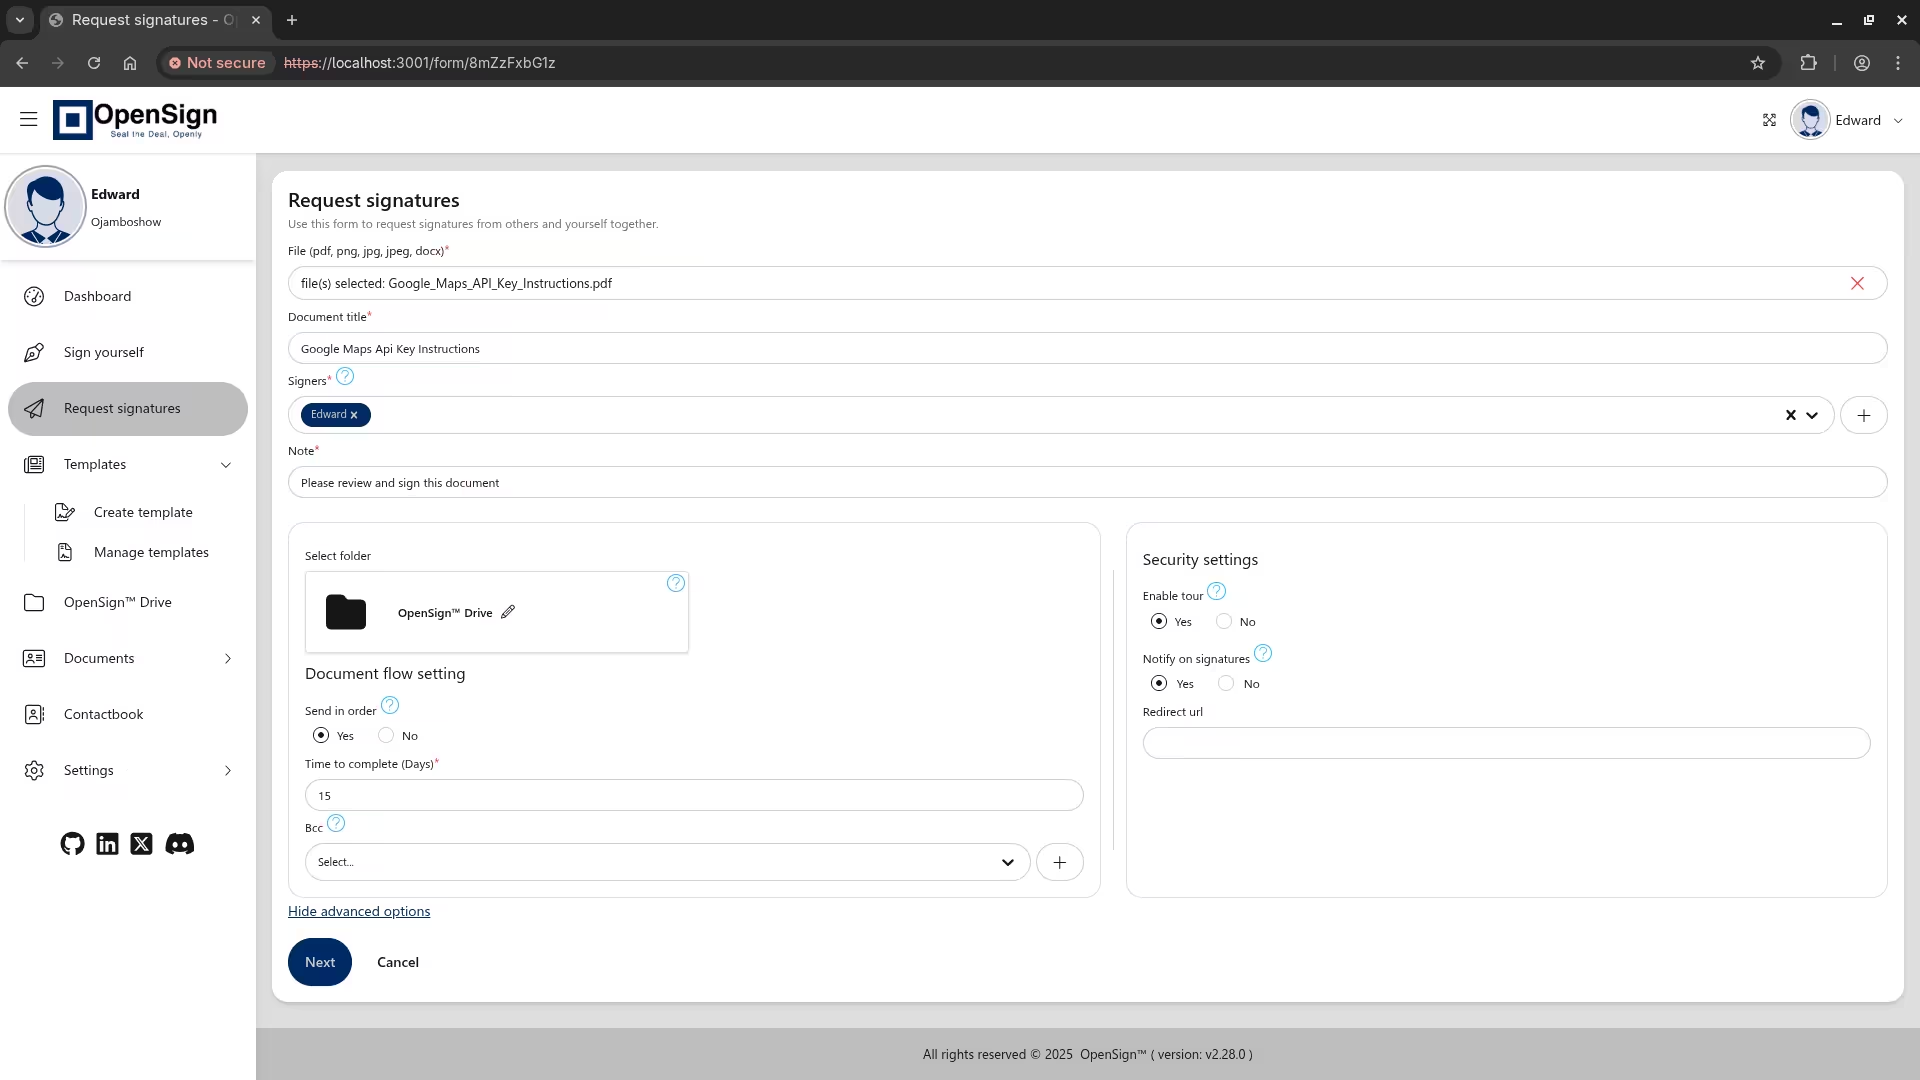
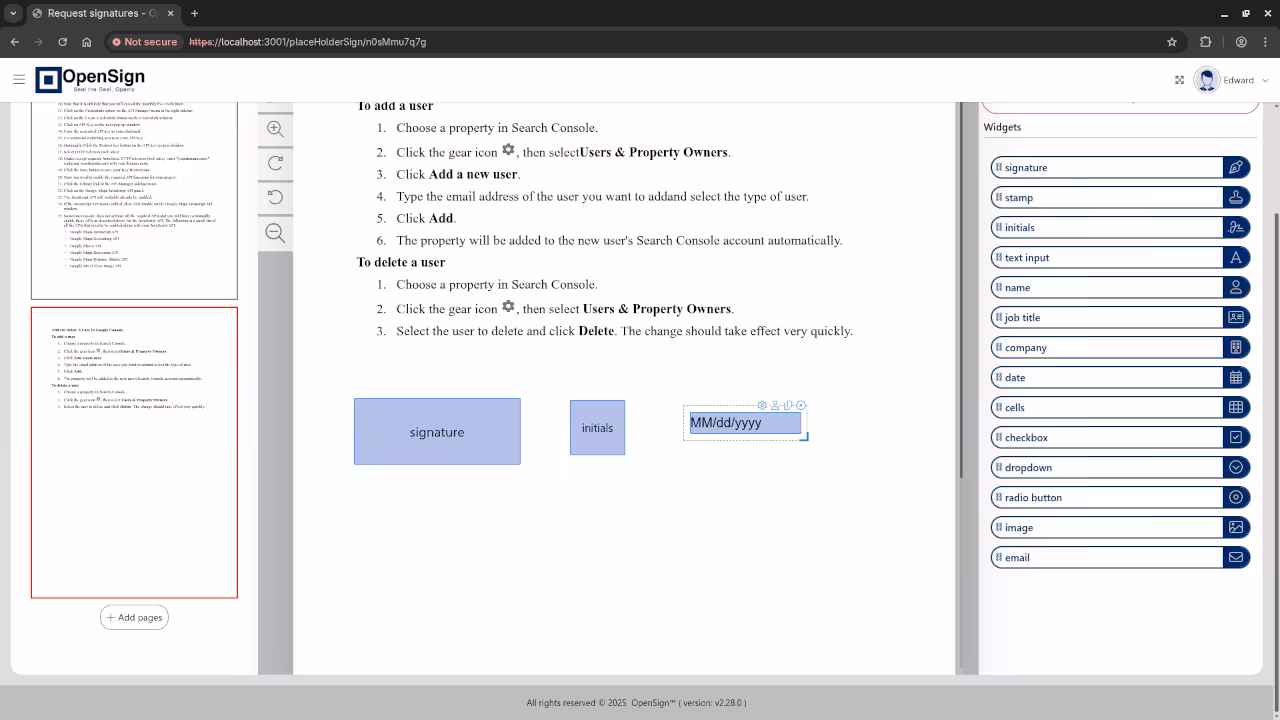
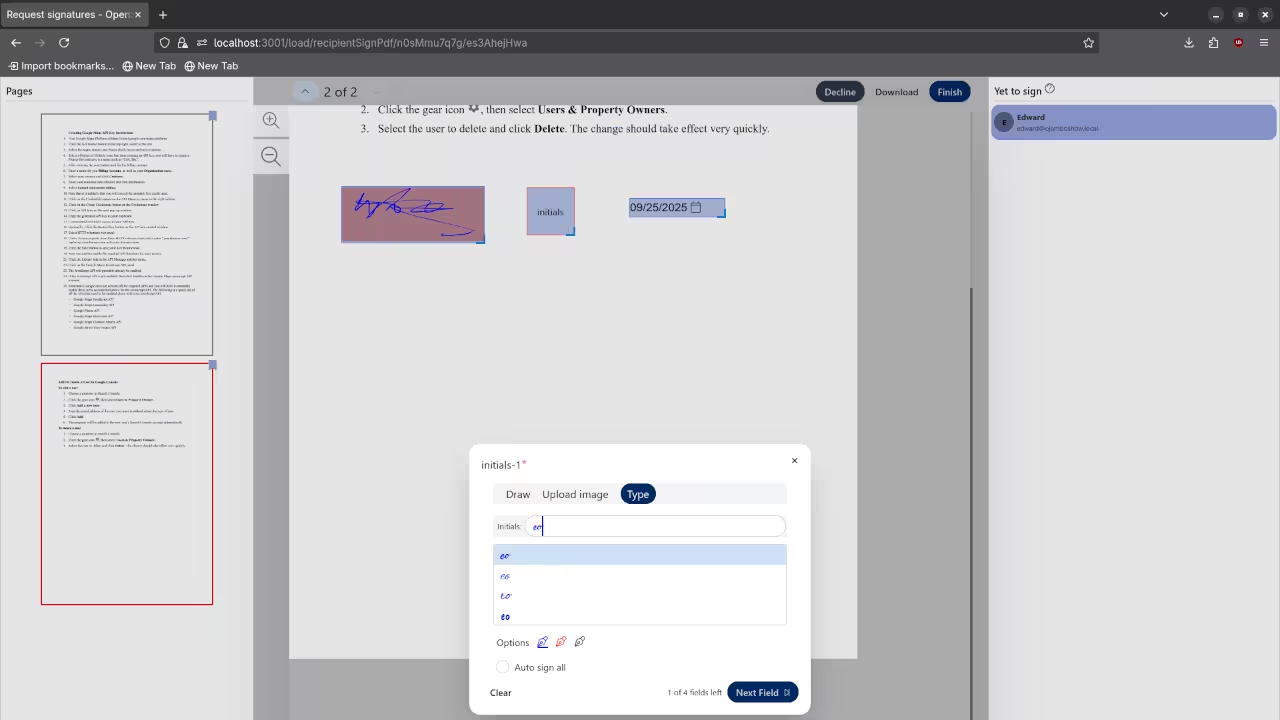
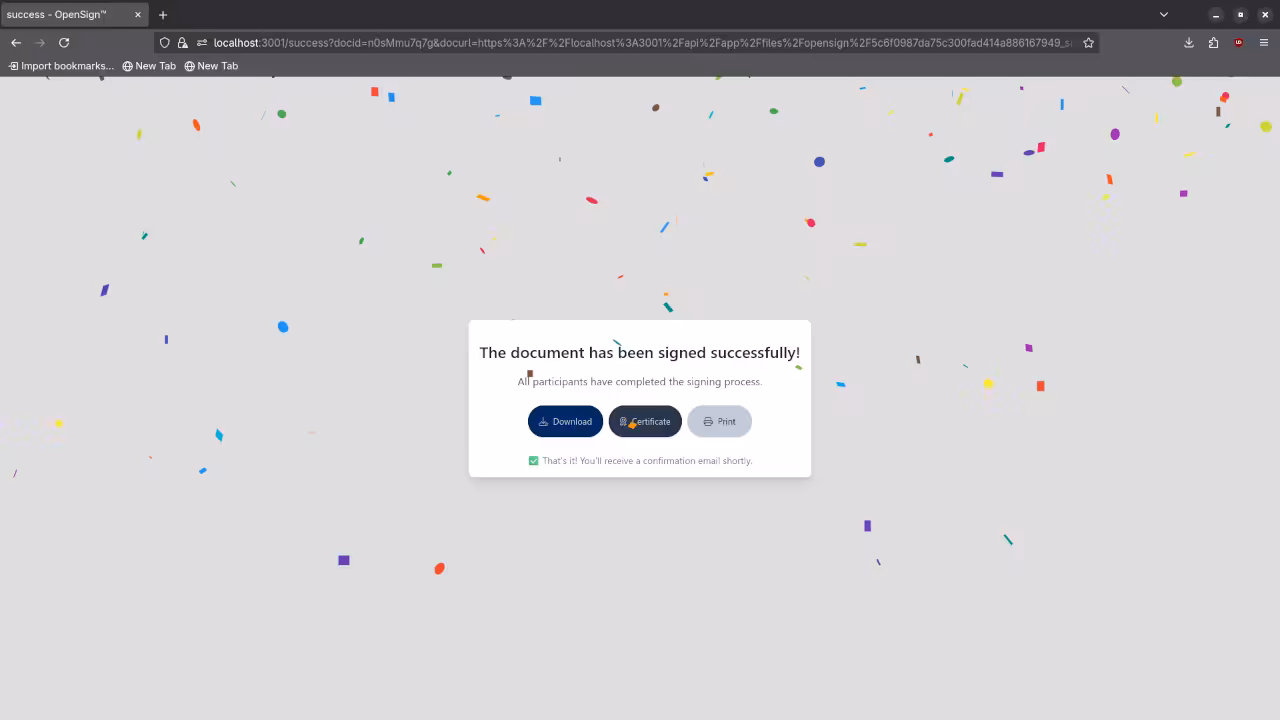
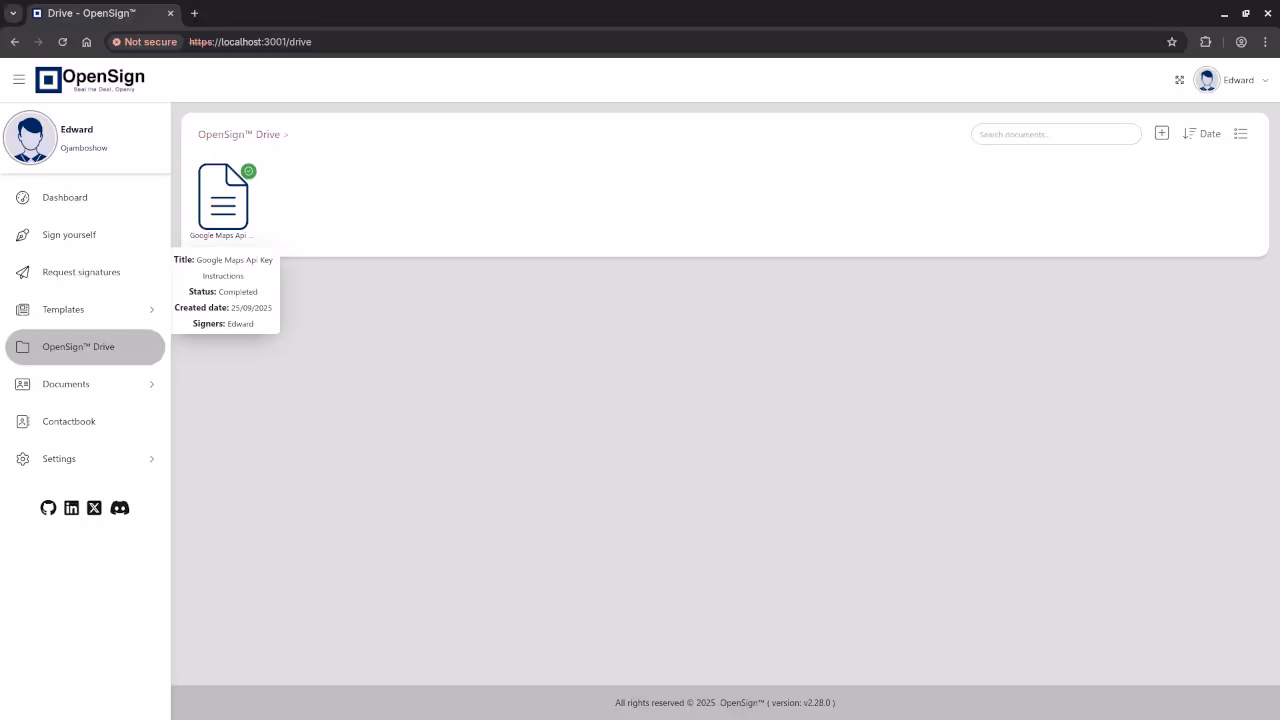
📷 Screenshots & 📽️ Screencast
Need Help Installing or Migrating OpenSign?
If you’re interested in:
- One-on-one programming tutorials
- Help with custom installation, updating, or migrating OpenSign
- Optimizing Podman-based deployments
I offer personalized support for OpenSign and other open-source projects.
Final Thoughts
You do not need Docker to self-host powerful software like OpenSign. Thanks to podman-compose, you can deploy the full system using only open-source tools on a Docker-free stack.
This setup gives you full control, better security, and zero vendor lock-in – all while supporting a modern, enterprise-ready e-signature platform.
🚀 Recommended Resources
Disclosure: Some of the links above are referral links. I may earn a commission if you make a purchase at no extra cost to you.