

Training TinyGPT 124M in a Podman Compose Container Using Your Own Dataset
In this tutorial, we’ll walk you through how to train the TinyGPT 124M language model in a Podman Compose container. We’ll show you how to:
- Train the model on a custom dataset.
- Use Podman Compose to containerize the environment for training.
- Test the model after training.
TinyGPT is a smaller, lightweight version of GPT-2 that is open-source and can be trained for a variety of NLP tasks. This guide includes all the necessary files, including create_dataset.py, train.py, test.py, and the necessary Dockerfile and podman-compose.yml to run everything in containers.
What is TinyGPT?
TinyGPT is a scaled-down version of GPT-2 (124 million parameters). It’s optimized for tasks that require less computational power, making it a great choice for personal projects or smaller NLP tasks.
TinyGPT is open-source, and we’ll be fine-tuning it with a custom dataset that you provide.
What You’ll Need
1. Podman: Container management tool (alternative to Docker).
2. Podman Compose: To manage multi-container applications.
3. Python 3.6+: For running the training and testing scripts.
4. Hugging Face Transformers: A Python library to interact with pre-trained models like GPT-2.
5. Custom Dataset: A .txt file containing your text data for fine-tuning.
Installation Steps
Let’s get started by setting up TinyGPT using Podman Compose and training it on your custom dataset.
1. Prepare Your Custom Dataset
First, prepare your custom dataset (e.g., a collection of .txt files). For this guide, we assume you have a text file called custom_data.txt with text data you want to use to fine-tune TinyGPT.
2. Create the Dataset Script
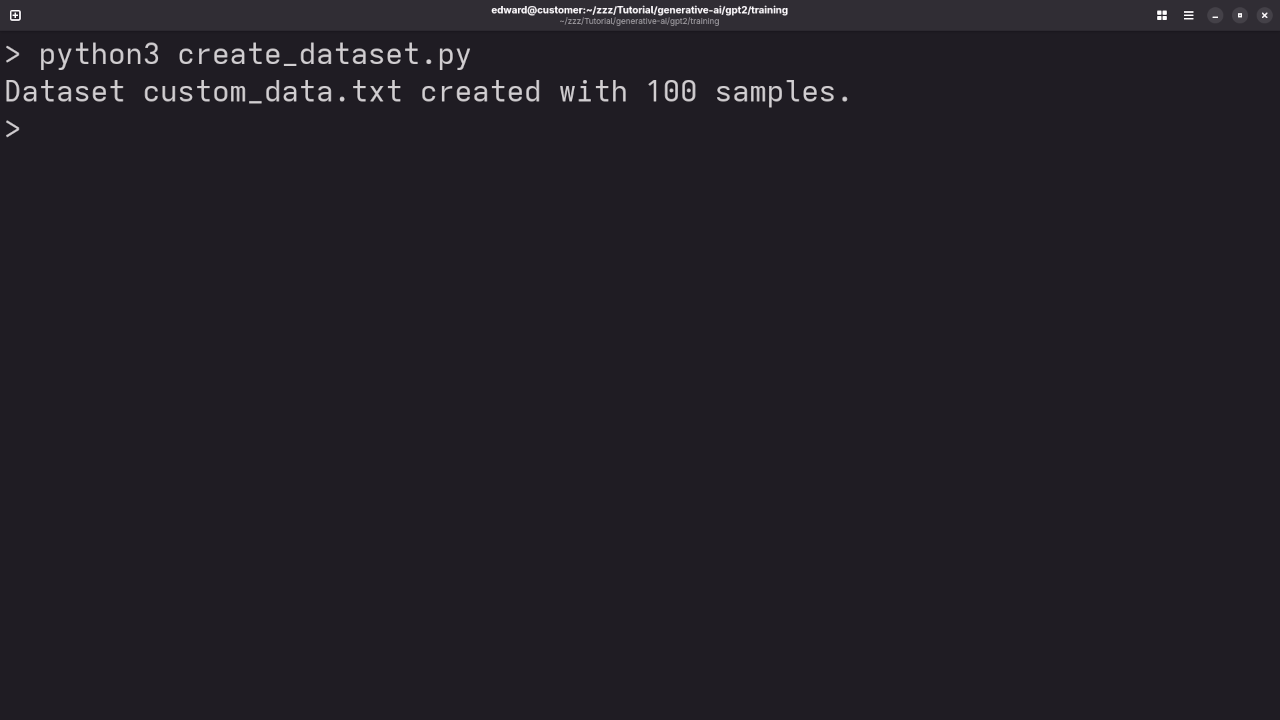
We need a script to prepare your dataset in a format suitable for training. Below is the create_dataset.py file that processes the raw dataset into a tokenized format.
from datasets import Dataset
# Create dataset from a text file
def create_dataset(input_file, output_file):
with open(input_file, 'r', encoding='utf-8') as f:
text = f.read().splitlines()
dataset = Dataset.from_dict({'text': text})
dataset.save_to_disk(output_file)
print(f"Dataset saved to {output_file}")
if __name__ == "__main__":
input_file = "/mnt/data/custom_data.txt" # Path to your raw text file
output_file = "/mnt/data/custom_dataset" # Output path for processed dataset
create_dataset(input_file, output_file)
This script reads the text file (custom_data.txt), processes it, and saves it in the datasets format.
3. Create the Training Script
The train.py script will fine-tune TinyGPT (124M) using the custom dataset.
import os
from transformers import GPT2LMHeadModel, GPT2Tokenizer, Trainer, TrainingArguments
from datasets import load_from_disk
# Specify the cache directory for Hugging Face models
cache_dir = "/mnt/cache/huggingface"
# Load the GPT-2 tokenizer and model (from cache if available)
tokenizer = GPT2Tokenizer.from_pretrained("gpt2", cache_dir=cache_dir)
model = GPT2LMHeadModel.from_pretrained("gpt2", cache_dir=cache_dir)
# Set pad_token to eos_token (common practice for GPT models)
tokenizer.pad_token = tokenizer.eos_token # Set pad_token to eos_token
# Ensure the logs directory exists
logs_dir = '/mnt/logs'
os.makedirs(logs_dir, exist_ok=True)
# Load custom dataset from disk
train_dataset = load_from_disk("/mnt/data/custom_dataset")
# Tokenize the dataset
def tokenize_function(examples):
encoding = tokenizer(examples['text'], return_tensors='pt', padding=True, truncation=True)
# For causal language modeling, we need to shift the labels by one position
input_ids = encoding['input_ids']
labels = input_ids.clone() # Clone the input_ids to create labels
labels[input_ids == tokenizer.pad_token_id] = -100 # Ignore padding tokens in the loss calculation
encoding['labels'] = labels # Add the labels to the tokenized data
return encoding
# Apply the tokenization function to the dataset
tokenized_datasets = train_dataset.map(tokenize_function, batched=True)
# Define training arguments
training_args = TrainingArguments(
output_dir="/mnt/models", # Use the cache directory to store the fine-tuned model
num_train_epochs=1,
per_device_train_batch_size=8,
save_steps=10_000,
logging_dir=logs_dir, # Logs will be saved here
logging_steps=500,
save_total_limit=1,
)
# Initialize Trainer
trainer = Trainer(
model=model,
args=training_args,
train_dataset=tokenized_datasets,
)
# Train the model
trainer.train()
# Save the fine-tuned model and tokenizer
model.save_pretrained("/mnt/models/tinygpt-finetuned")
tokenizer.save_pretrained("/mnt/models/tinygpt-finetuned")
print("Training complete. Model and tokenizer saved.")
This script:
- Loads the GPT-2 model and tokenizer.
- Tokenizes the custom dataset.
- Fine-tunes the model using Trainer from Hugging Face’s
transformerslibrary. - Saves the fine-tuned model to
/mnt/models/tinygpt-finetuned.
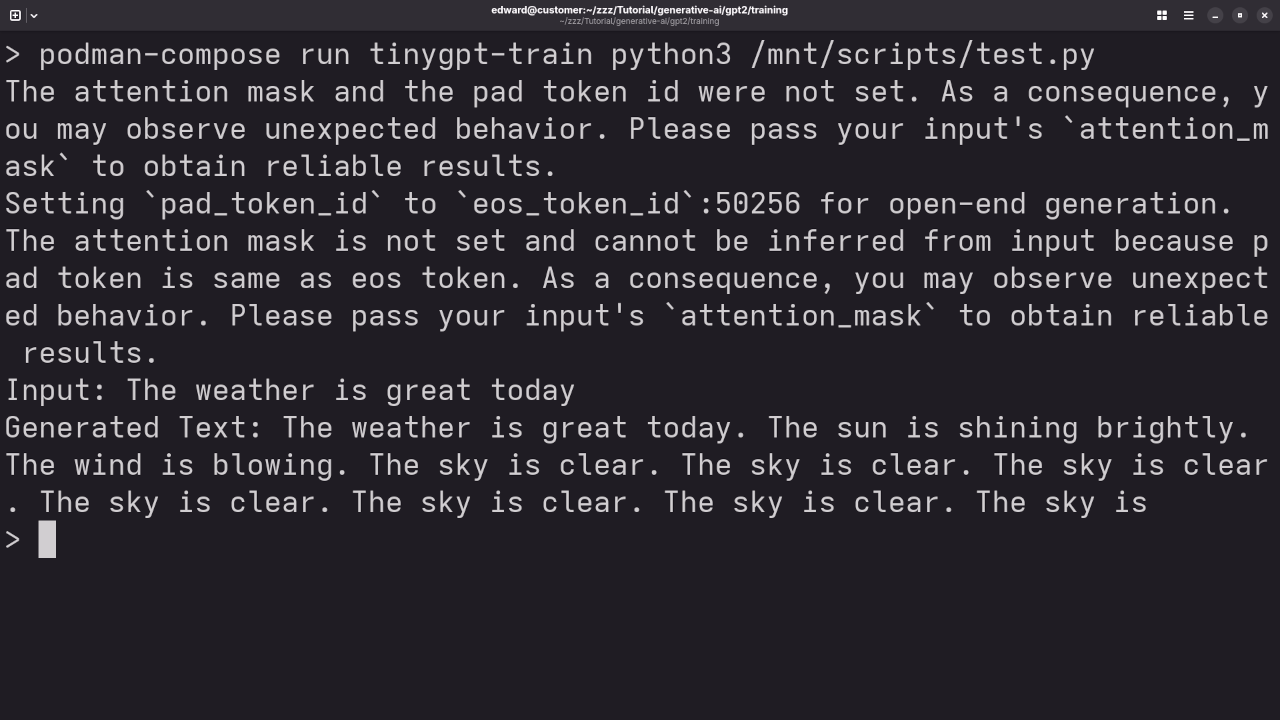
4. Create the Testing Script
The test.py script allows you to test the fine-tuned model after training.
from transformers import GPT2LMHeadModel, GPT2Tokenizer
# Path to the cache directory (where the model and tokenizer are saved)
model_dir = "/mnt/models/tinygpt-finetuned"
# Load the fine-tuned model from the cache directory
tokenizer = GPT2Tokenizer.from_pretrained(model_dir)
model = GPT2LMHeadModel.from_pretrained(model_dir)
# Ensure the model is in evaluation mode
model.eval()
# Tokenize the input text
input_text = "The future of AI is"
inputs = tokenizer(input_text, return_tensors="pt")
# Generate output (text continuation)
outputs = model.generate(inputs["input_ids"], max_length=50, num_return_sequences=1)
# Decode the generated text
generated_text = tokenizer.decode(outputs[0], skip_special_tokens=True)
print(f"Input: {input_text}")
print(f"Generated Text: {generated_text}")
This script loads the fine-tuned model and generates text based on an input prompt.
5. Dockerfile and Podman Compose Configuration
Here’s the Dockerfile to set up the environment for training and testing TinyGPT:
# Use Python 3.8 image
FROM python:3.8-slim
# Set working directory
WORKDIR /mnt
# Install necessary dependencies
RUN pip install --upgrade pip \
&& pip install torch transformers datasets
# Copy the local files to the container
COPY ./scripts /mnt/scripts
COPY ./data /mnt/data
# Set environment variables
ENV PYTHONUNBUFFERED=1
# Set default command
CMD ["python3", "/mnt/scripts/train.py"] Below is the podman-compose.yml configuration file:
version: "3.8"
services:
tinygpt-train:
build: .
volumes:
- ./data:/mnt/data # Mount dataset
- ./scripts:/mnt/scripts # Mount scripts
- ./models:/mnt/models # Mount model output
- ./logs:/mnt/logs # Mount logs output
command: python3 /mnt/scripts/train.py 6. Running the Container
To build and start the training process in a container, use the following commands:
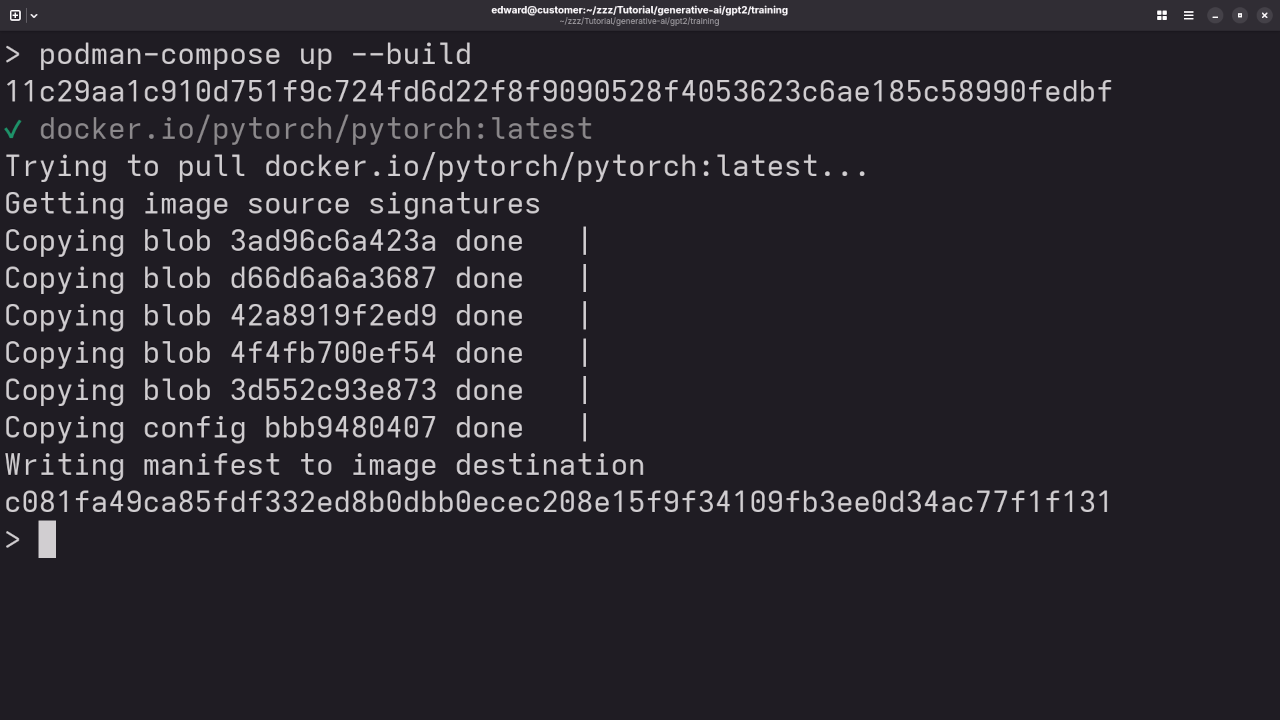
1. Build the container image:
podman-compose up --build
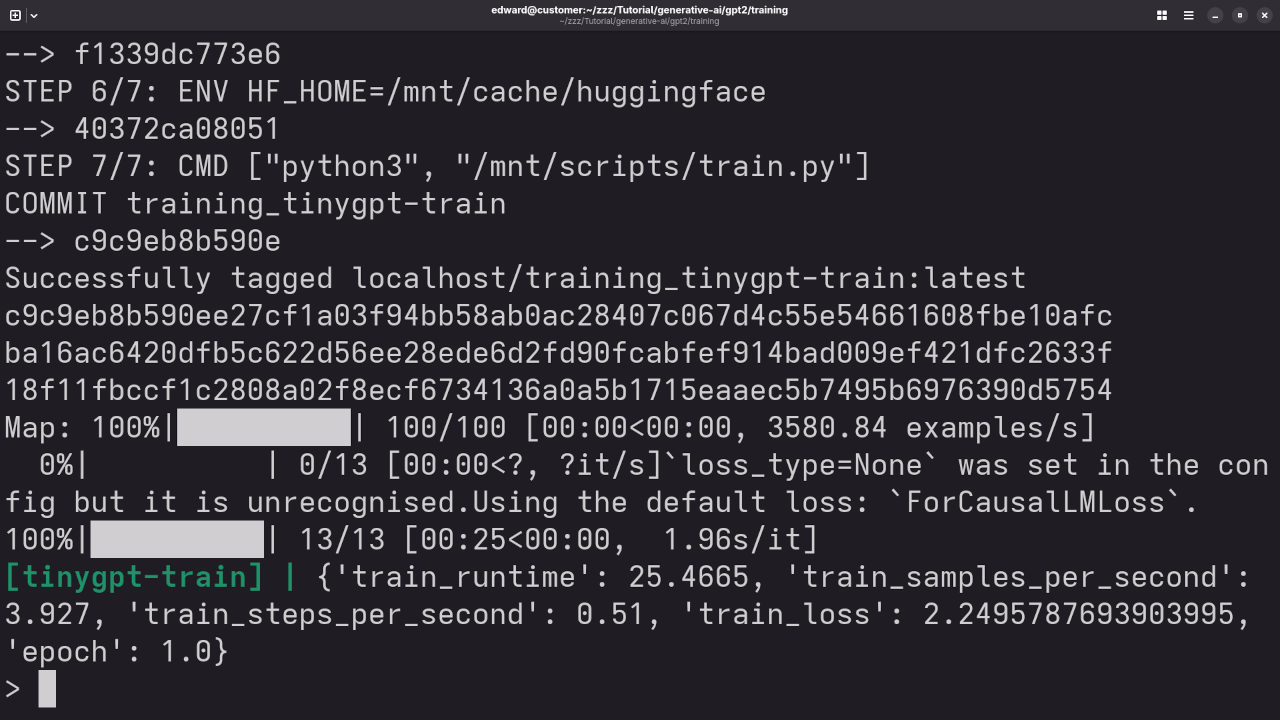
2. Once the training is complete, the model will be saved to /mnt/models/tinygpt-finetuned. Screenshots and Screencast
Before and After Training Results
Before Training:
- Input: “The future of AI is”
- Output: “… uncertain.”
After training on your custom dataset, TinyGPT will produce more relevant and context-aware responses!
Conclusion
In this guide, we’ve walked through the process of training TinyGPT 124M LLM using Podman Compose containers. We’ve created a custom dataset, written the necessary training and testing scripts, and containerized the entire workflow. You now have a trained TinyGPT model that you can use for various NLP tasks!
Author Information
If you’re interested in learning more about Python, check out my book Learning Python or my online Learning Python Course.
I also offer one-on-one online Python tutorials and can help you install, train, and migrate TinyGPT!
🚀 Recommended Resources
Disclosure: Some of the links above are referral links. I may earn a commission if you make a purchase at no extra cost to you.