

If you’re looking for a privacy-respecting, ad-free video hosting solution, look no further than PeerTube. PeerTube is an open-source, decentralized alternative to YouTube that lets you take control of your content. In this guide, we’ll show you how to easily self-host PeerTube using Podman and the latest Docker Compose configuration.
🚀 Why Choose PeerTube?
- Open Source – PeerTube is free to use and fully open source.
- Decentralized – Connects with other PeerTube instances for federation.
- No Ads or Tracking – A video platform that respects your privacy.
- Self-Hostable – Run it on your own server for full control over your content.
💻 Requirements
- A Linux server (Ubuntu 22.04+ recommended)
- Podman and podman-compose installed
- Basic knowledge of the terminal
- Open ports 80 and 443 on your firewall
⚡️ Installing PeerTube with Podman
Follow these steps to install PeerTube locally on your server using Podman.
1. Install Podman & podman-compose
First, you need to install Podman and Podman Compose on your server:
sudo apt update && sudo apt install -y podman podman-compose 2. Create a Directory for PeerTube
Next, create a directory for your PeerTube setup and navigate into it:
mkdir -p ~/peertube-podman && cd ~/peertube-podman 3. Download the Latest Docker Compose Configuration
Download the latest Docker Compose file from PeerTube’s official GitHub repository:
curl -O https://raw.githubusercontent.com/Chocobozzz/PeerTube/master/support/docker/production/docker-compose.yml 4. Modify docker-compose.yml for Podman Compatibility
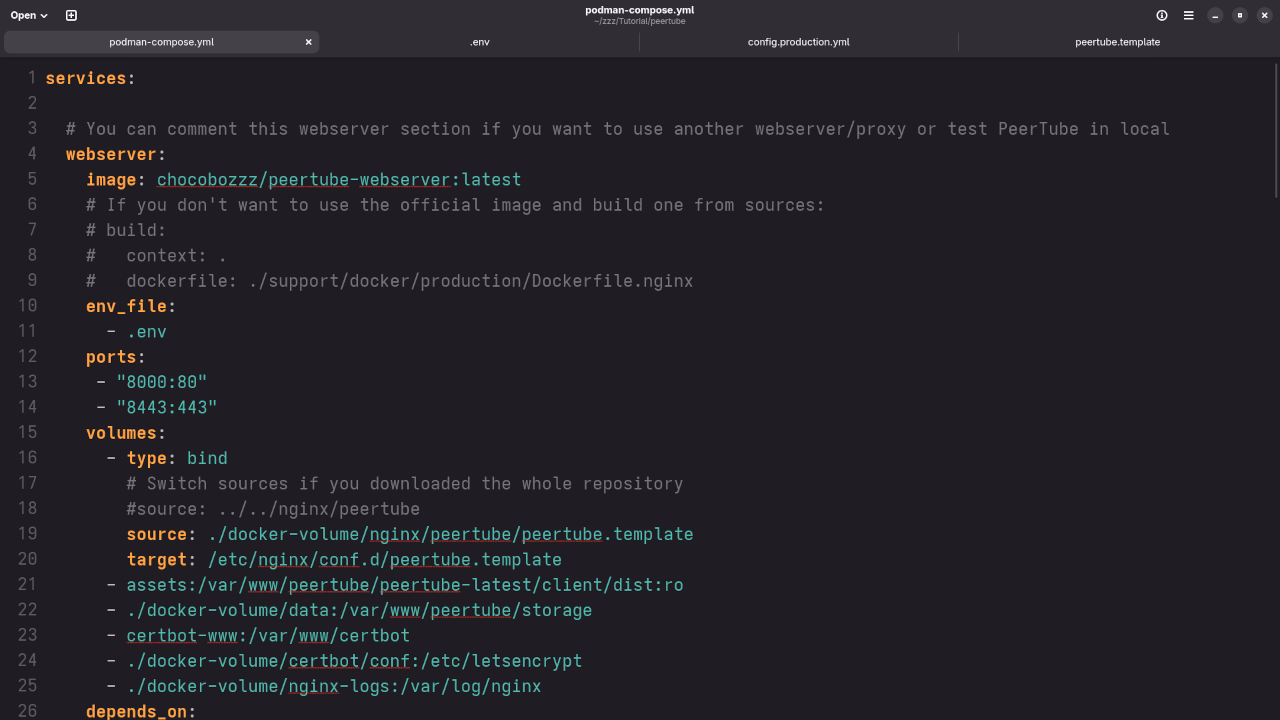
You’ll need to adjust the configuration file to work with Podman. The following is a sample podman-compose.yml for local PeerTube installation:
version: "3.7"
services:
# PeerTube application container
peertube:
image: chocobozzz/peertube:production-bookworm
container_name: peertube
environment:
- NODE_ENV=production
- PEERTUBE_DB_HOSTNAME=peertube-db
- PEERTUBE_ADMIN_EMAIL=your-email@example.com
- PEERTUBE_WEBSERVER_HOSTNAME=localhost:9000
- PEERTUBE_SECRET=your-secret-key
ports:
- "9000:9000" # PeerTube UI
volumes:
- ./peertube_data:/data
restart: unless-stopped
networks:
- peertube-net
# PostgreSQL container for PeerTube database
peertube-db:
image: postgres:13
container_name: peertube-db
environment:
- POSTGRES_USER=peertube
- POSTGRES_PASSWORD=peertube_password
- POSTGRES_DB=peertube
volumes:
- ./postgres_data:/var/lib/postgresql/data
networks:
- peertube-net
restart: unless-stopped
# Redis container for PeerTube caching
peertube-redis:
image: redis:6
container_name: peertube-redis
networks:
- peertube-net
restart: unless-stopped
# Nginx container as the reverse proxy (optional, useful for SSL)
peertube-nginx:
image: nginx:latest
container_name: peertube-nginx
volumes:
- ./nginx.conf:/etc/nginx/nginx.conf
- ./peertube_data:/data
ports:
- "8000:80"
- "8443:443"
networks:
- peertube-net
restart: unless-stopped
networks:
peertube-net:
driver: bridge 5. NGINX Configuration (Optional, for Reverse Proxy & SSL)
If you want to secure your PeerTube installation with SSL and run NGINX as a reverse proxy, you’ll need to configure NGINX with a custom configuration file.
Here is an example of a basic nginx.conf file for reverse proxying to PeerTube:
server {
listen 80;
server_name localhost;
location / {
proxy_pass http://peertube:9000; # Forward requests to PeerTube
proxy_set_header Host $host;
proxy_set_header X-Real-IP $remote_addr;
proxy_set_header X-Forwarded-For $proxy_add_x_forwarded_for;
proxy_set_header X-Forwarded-Proto $scheme;
}
} If you’re setting up SSL, you’ll also need to update the configuration to handle HTTPS traffic:
server {
listen 443 ssl;
server_name yourdomain.com; # Replace with your domain
ssl_certificate /etc/ssl/certs/your_certificate.crt;
ssl_certificate_key /etc/ssl/private/your_private.key;
location / {
proxy_pass http://peertube:9000;
proxy_set_header Host $host;
proxy_set_header X-Real-IP $remote_addr;
proxy_set_header X-Forwarded-For $proxy_add_x_forwarded_for;
proxy_set_header X-Forwarded-Proto $scheme;
}
} You can obtain SSL certificates from a provider like Let’s Encrypt or any other SSL certificate provider.
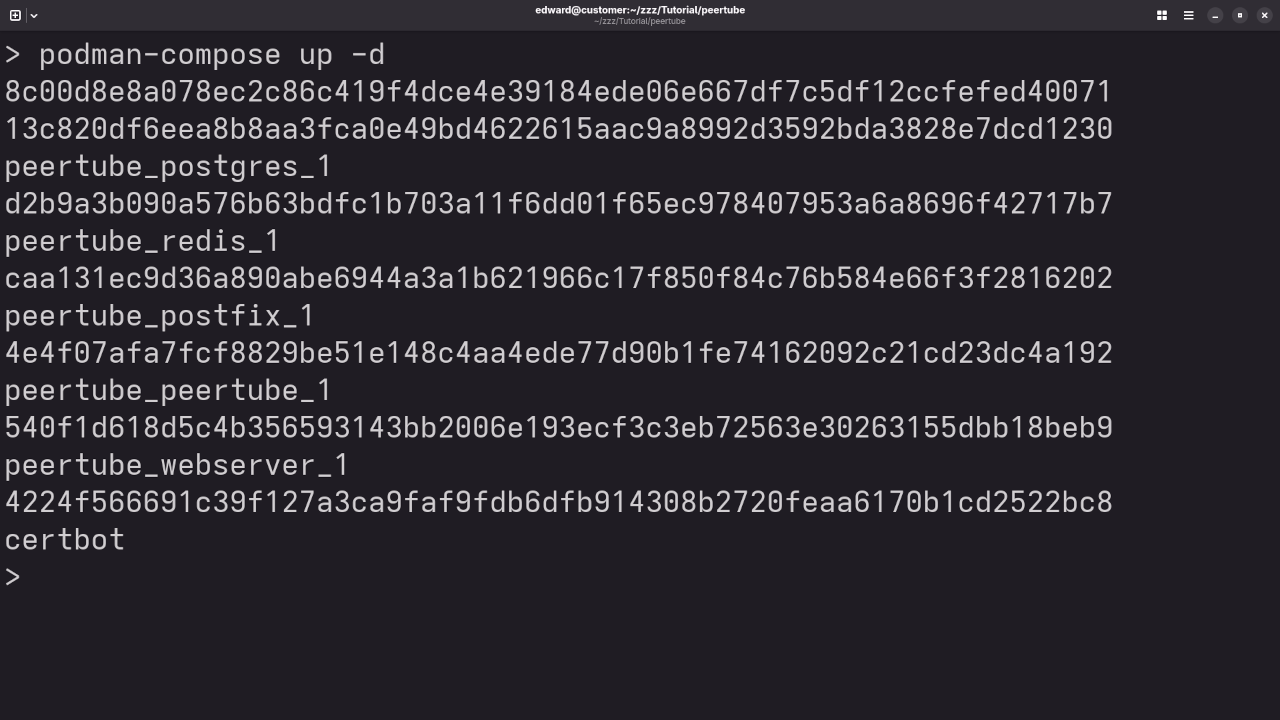
6. Start PeerTube Using Podman-Compose
Once the configuration is ready, start the PeerTube containers using Podman Compose:
podman-compose up -d 7. Check the Status of Containers
Verify that the containers are running correctly with the following command:
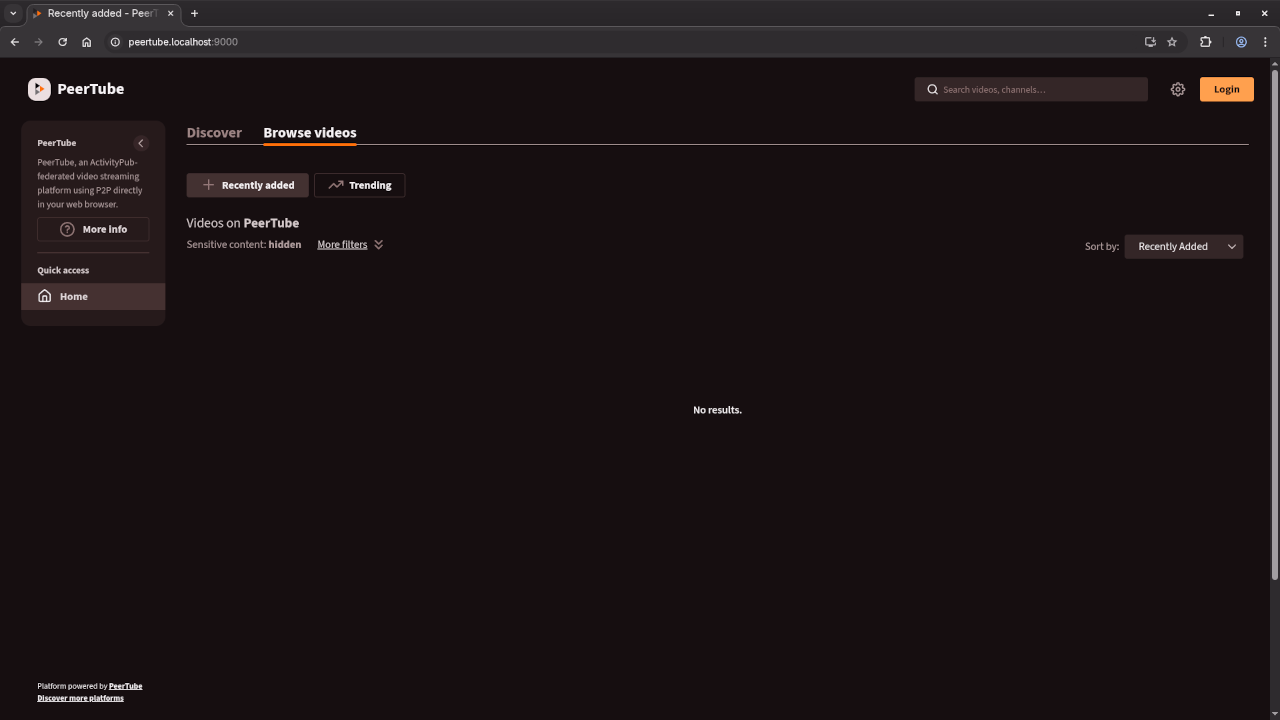
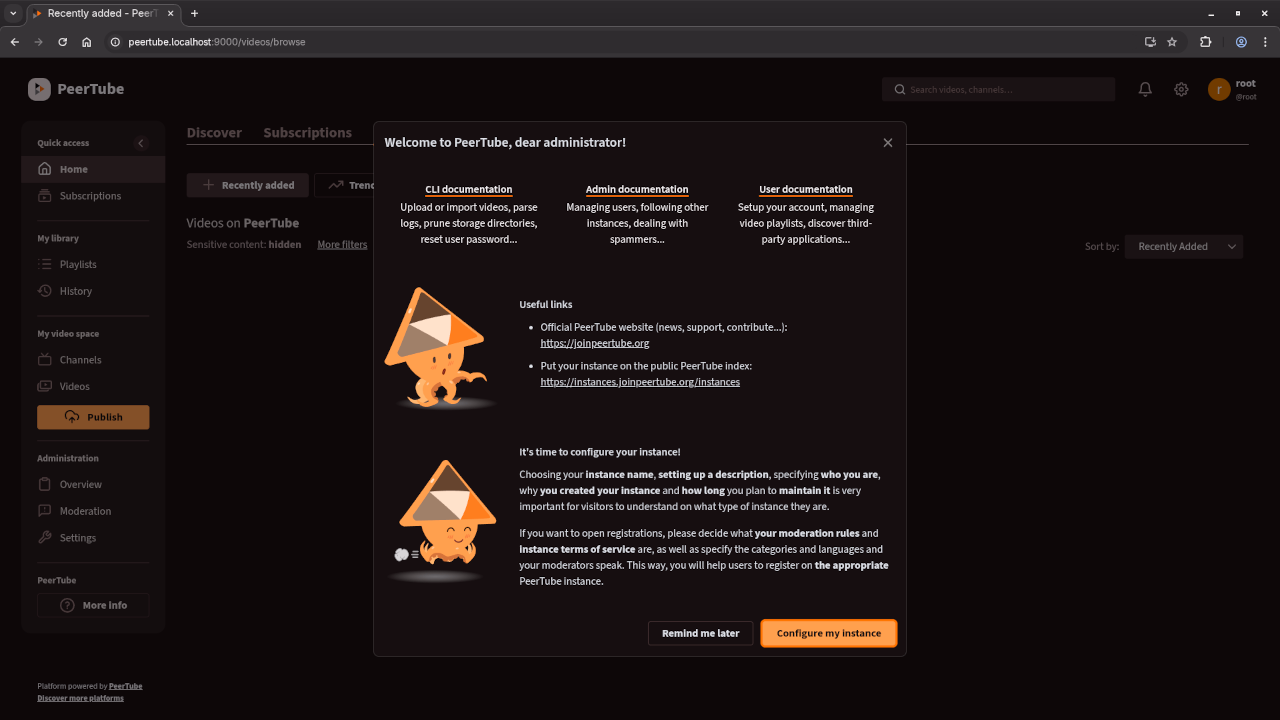
podman ps 8. How to View PeerTube in Your Web Browser
Once your containers are up and running, you can view your PeerTube instance in a web browser:
- If you are using HTTP, open your browser and go to
http://localhost:9000. This will display the PeerTube landing page. - If you have configured SSL with NGINX, open your browser and go to
https://yourdomain.com, where yourdomain.com is the domain you’ve set up.
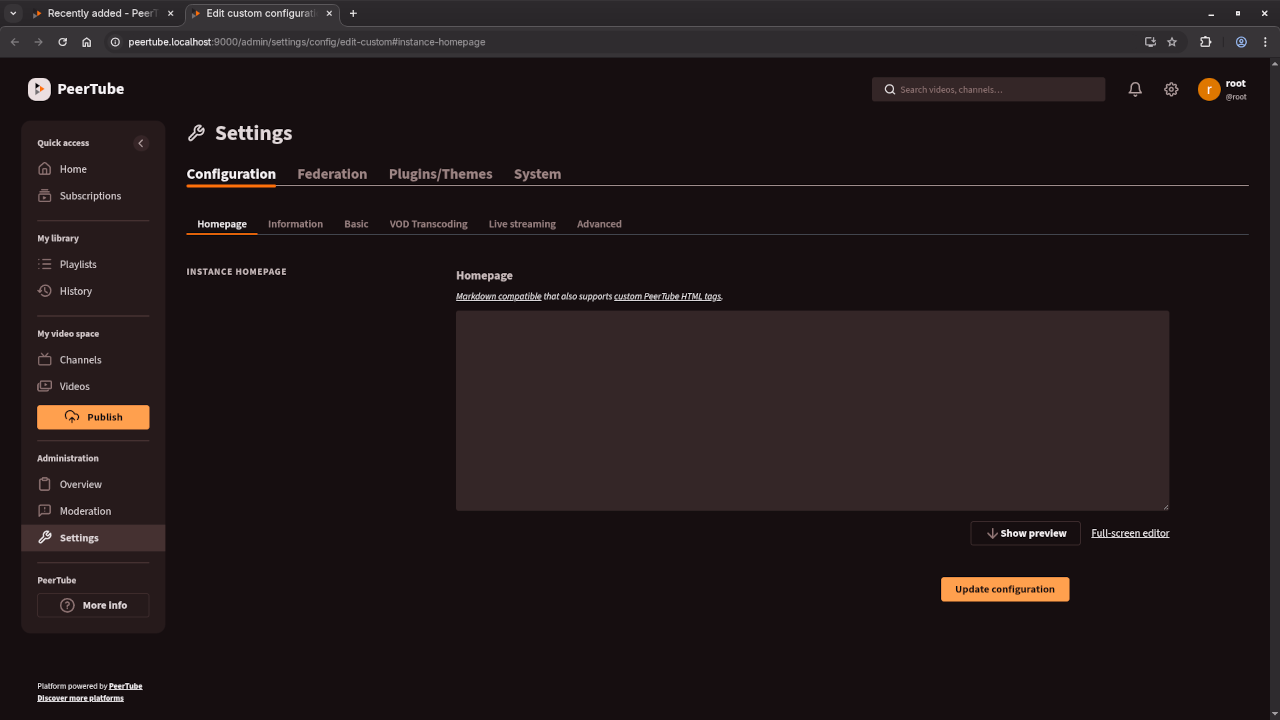
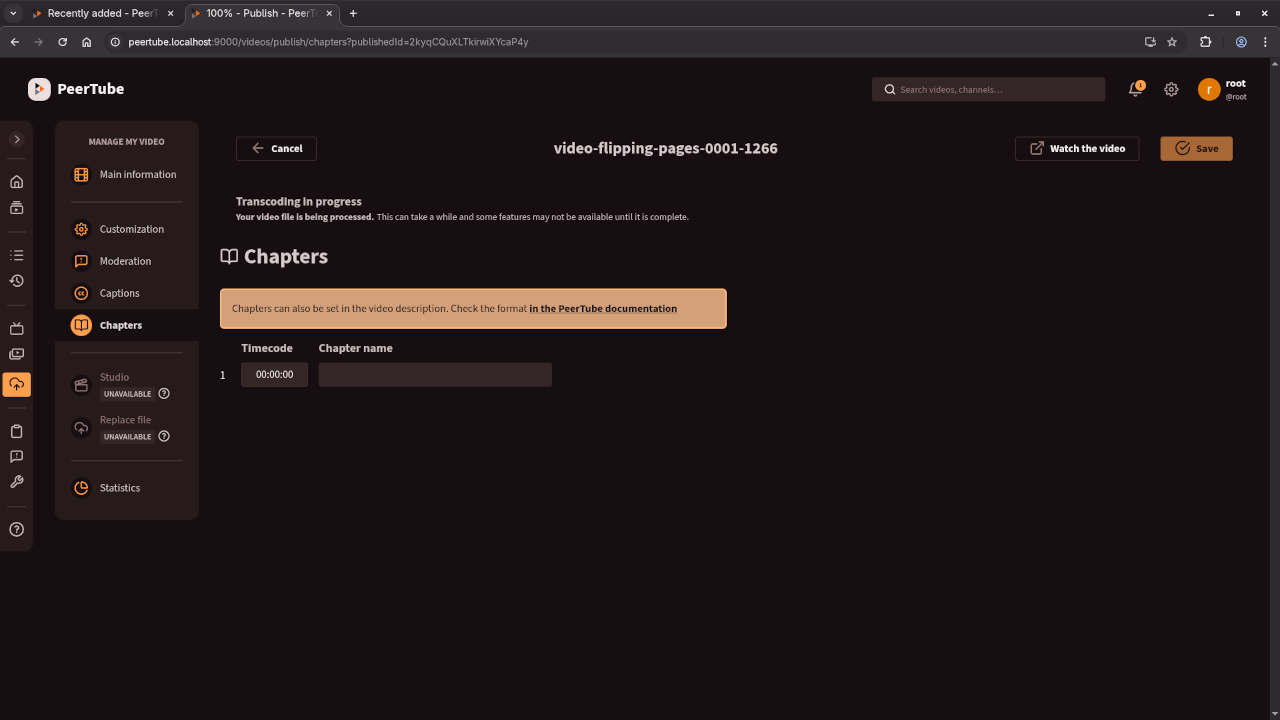
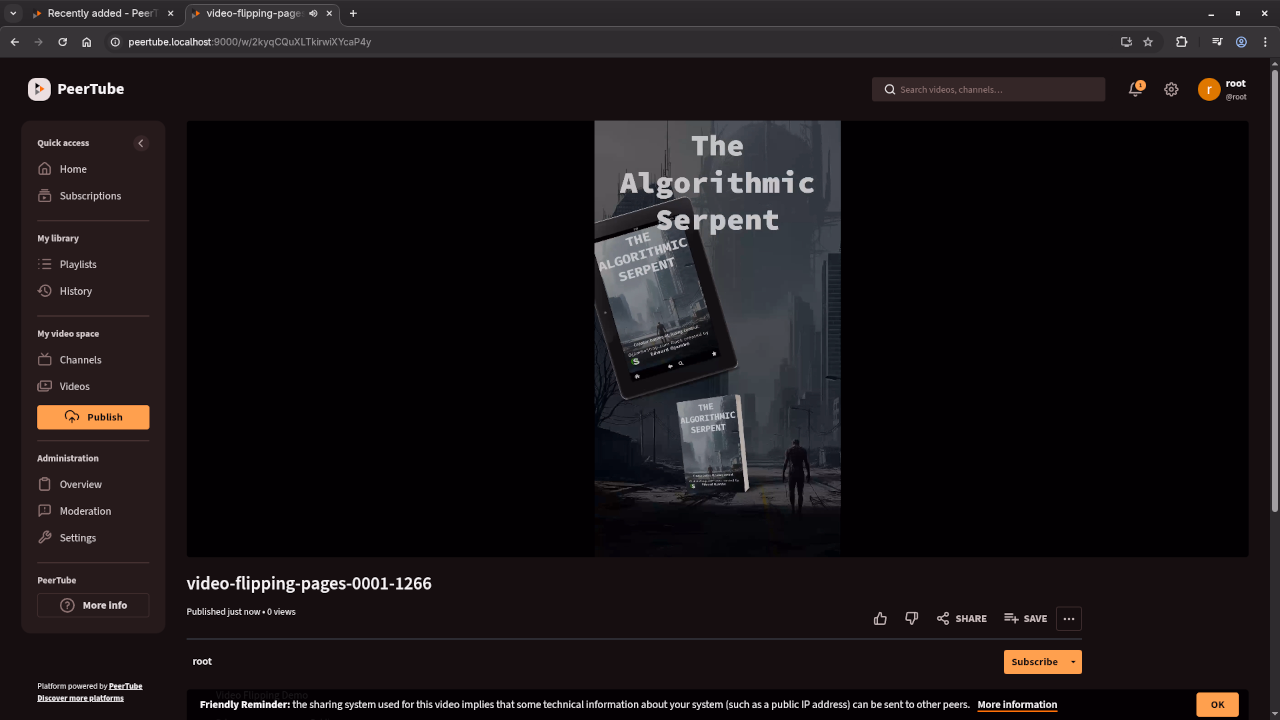
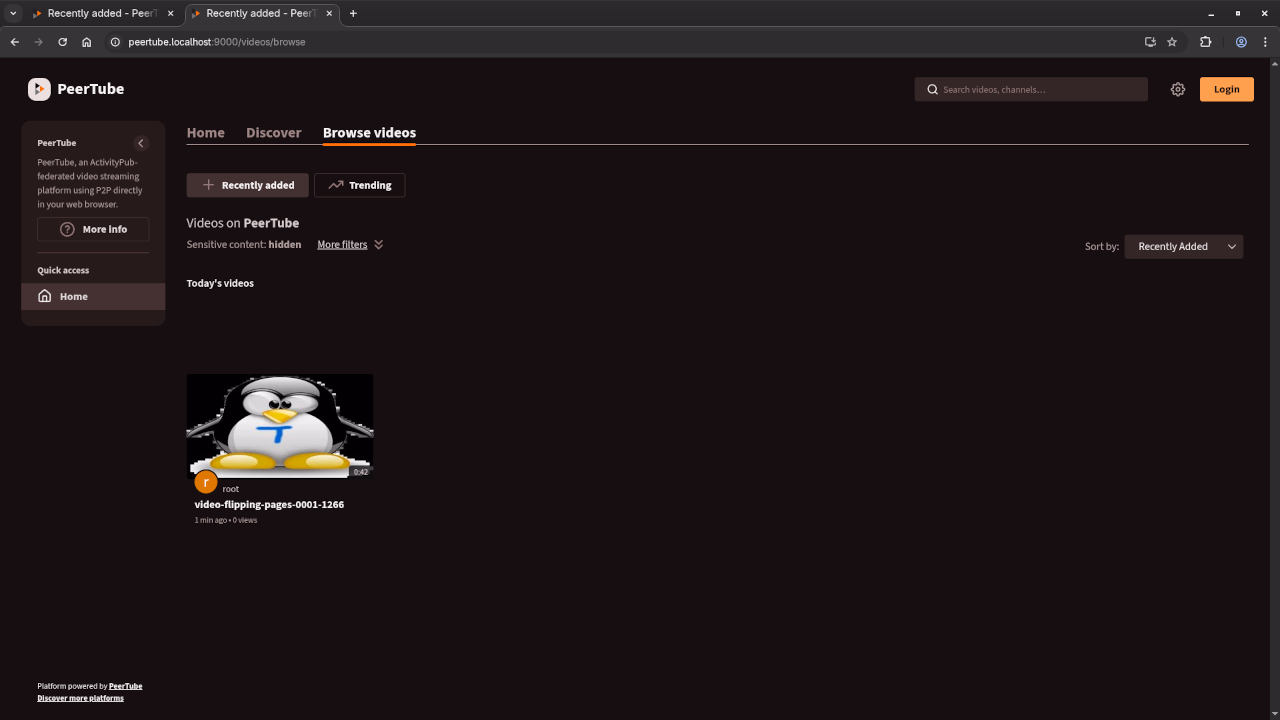
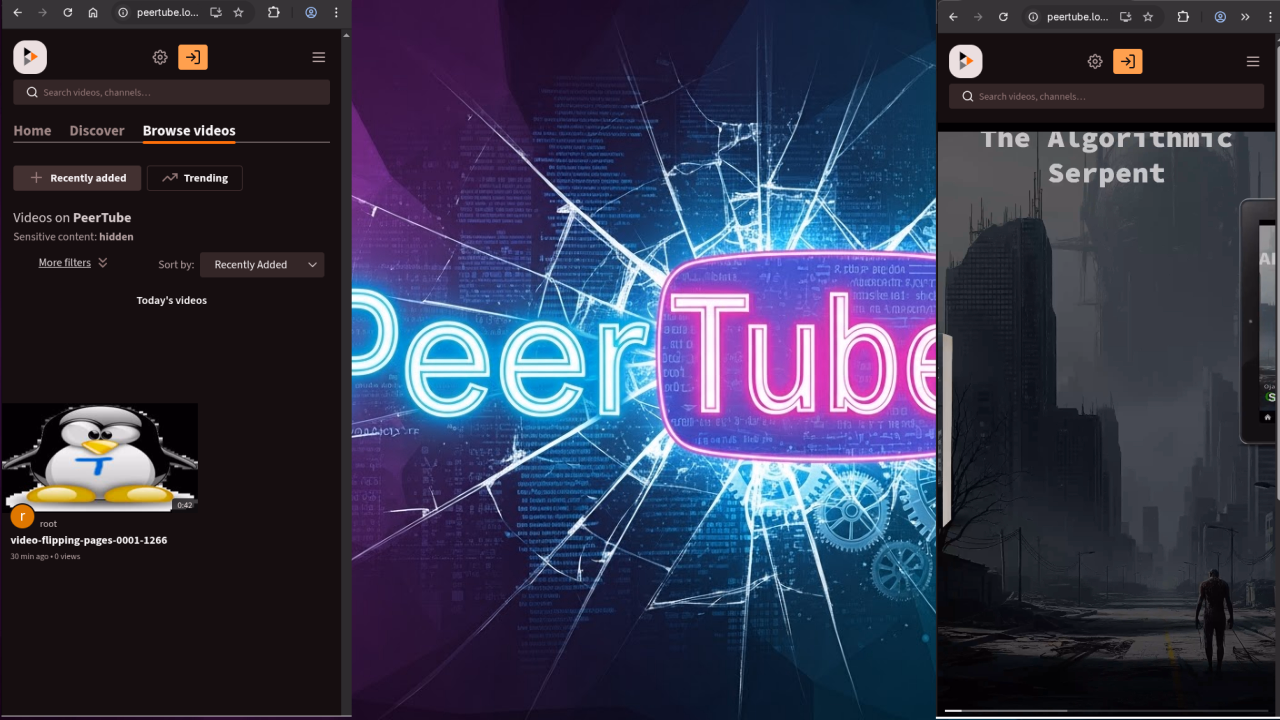
📱 Screenshots & Screencast
💡 Need Help with PeerTube?
I’m available for:
- One-on-one programming tutorials
- Custom PeerTube installs
- Updates and migrations
By choosing open-source solutions like PeerTube, you’re taking a step toward a freer, user-controlled internet. If you’re ready to take control of your video hosting, give PeerTube a try!
🚀 Recommended Resources
Disclosure: Some of the links above are referral links. I may earn a commission if you make a purchase at no extra cost to you.