
How to Install Immich: An Open-Source Photo Management Solution Using Podman
If you are looking for a self-hosted, open-source solution to manage your photos and videos, Immich might be exactly what you need. Immich is a modern, open-source photo management platform that gives you complete control over your media-without the need to rely on cloud services.
In this tutorial, we will walk through the process of installing Immich on your server using Podman (or podman-compose for easier container management), making sure you can get up and running quickly.
What is Immich?
Immich is an open-source photo management system designed to let you store, organize, and view your photos and videos privately. It is an excellent alternative to services like Google Photos or iCloud, but with the benefit of being self-hosted. That means you control your data and privacy.
Key features:
- Open Source: Completely free and modifiable.
- Self-Hosted: Host it on your own server for full data privacy.
- Multi-format Support: Organize and access a wide range of media files.
- Syncing: Sync photos across devices without relying on a third-party cloud provider.
How to Install Immich Using Podman or Podman-Compose
While Docker is a popular choice for containerization, Podman is another great option for managing containers without needing a daemon. If you prefer using Podman, here’s how you can install Immich on your system.
Step 1: Install Podman
Before proceeding, you need to have Podman installed on your machine. You can follow the installation instructions for your operating system from the official Podman installation guide.
Step 2: Download the Immich Files
To install Immich, create a new directory where you will store the necessary files for Podman.
mkdir ./immich-app
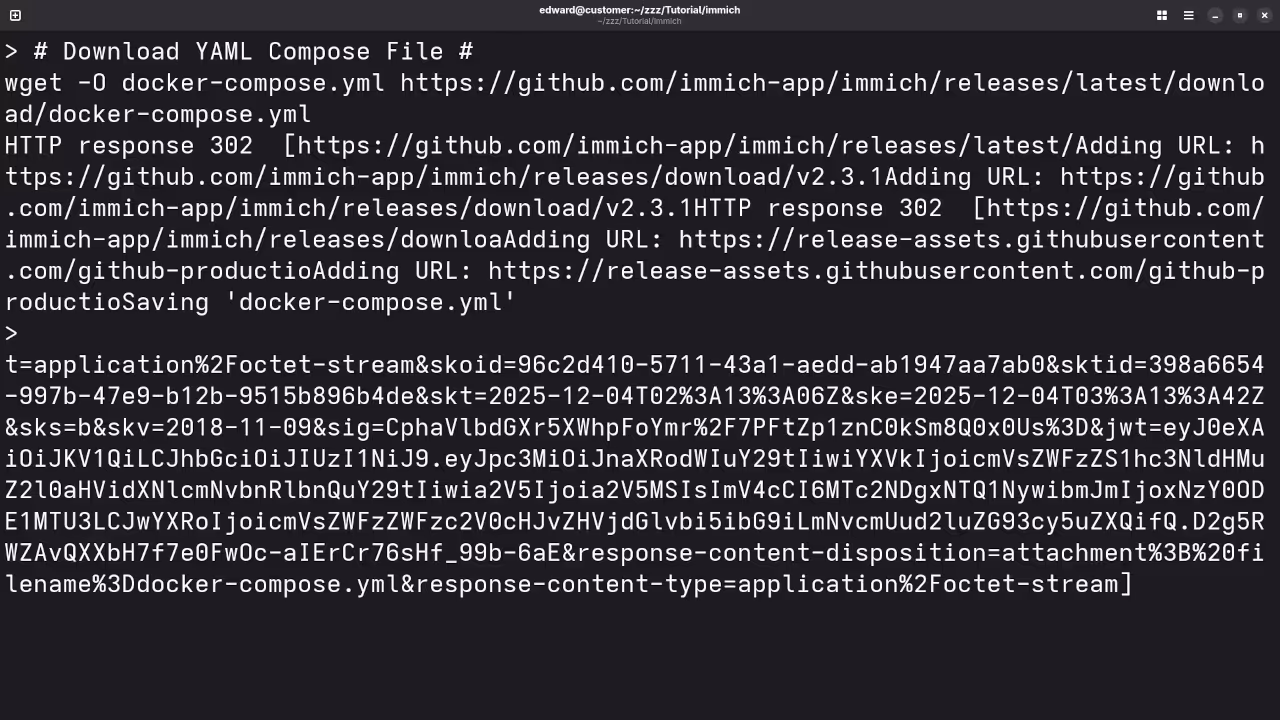
cd ./immich-app Then, download the required files for Immich:
- docker-compose.yml file: This file is used for container orchestration, and we can use it with podman-compose, which is Podman’s equivalent of Docker Compose.
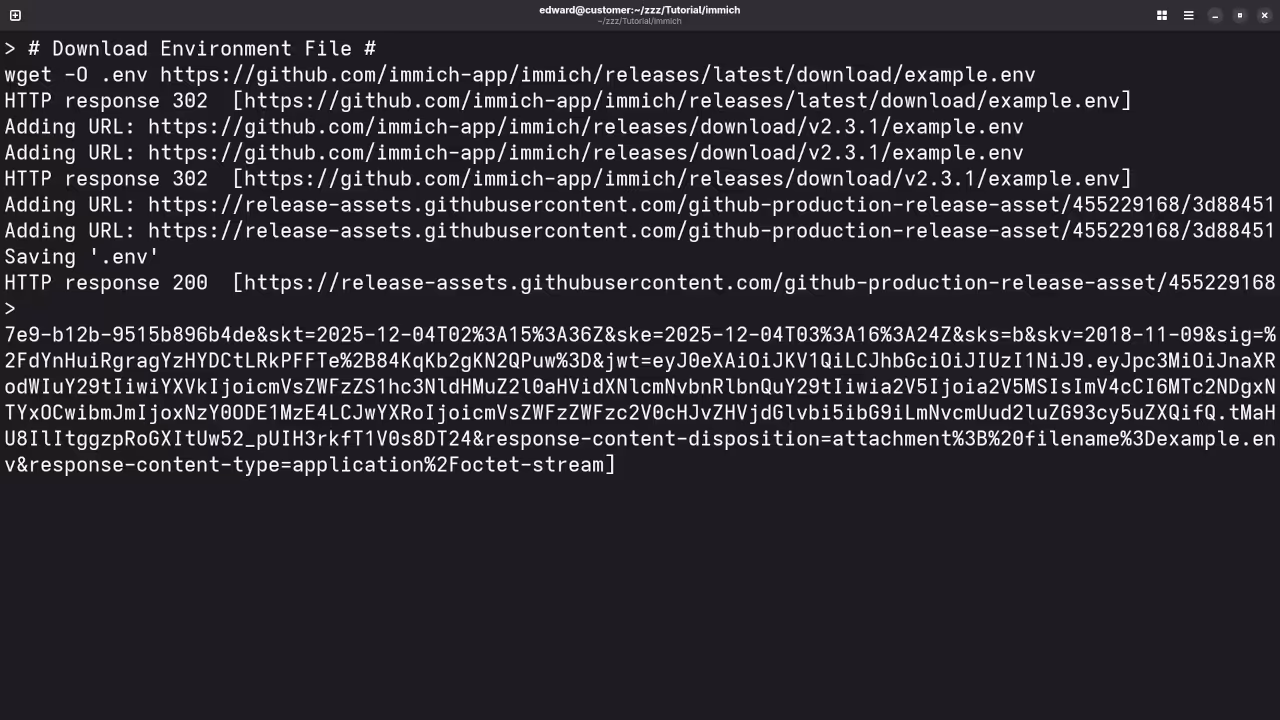
wget -O docker-compose.yml https://github.com/immich-app/immich/releases/latest/download/docker-compose.yml - example.env file: The .env file contains environment variables to configure your setup. After downloading the file, rename it to .env:
wget -O .env https://github.com/immich-app/immich/releases/latest/download/example.env Step 3: Modify the .env File
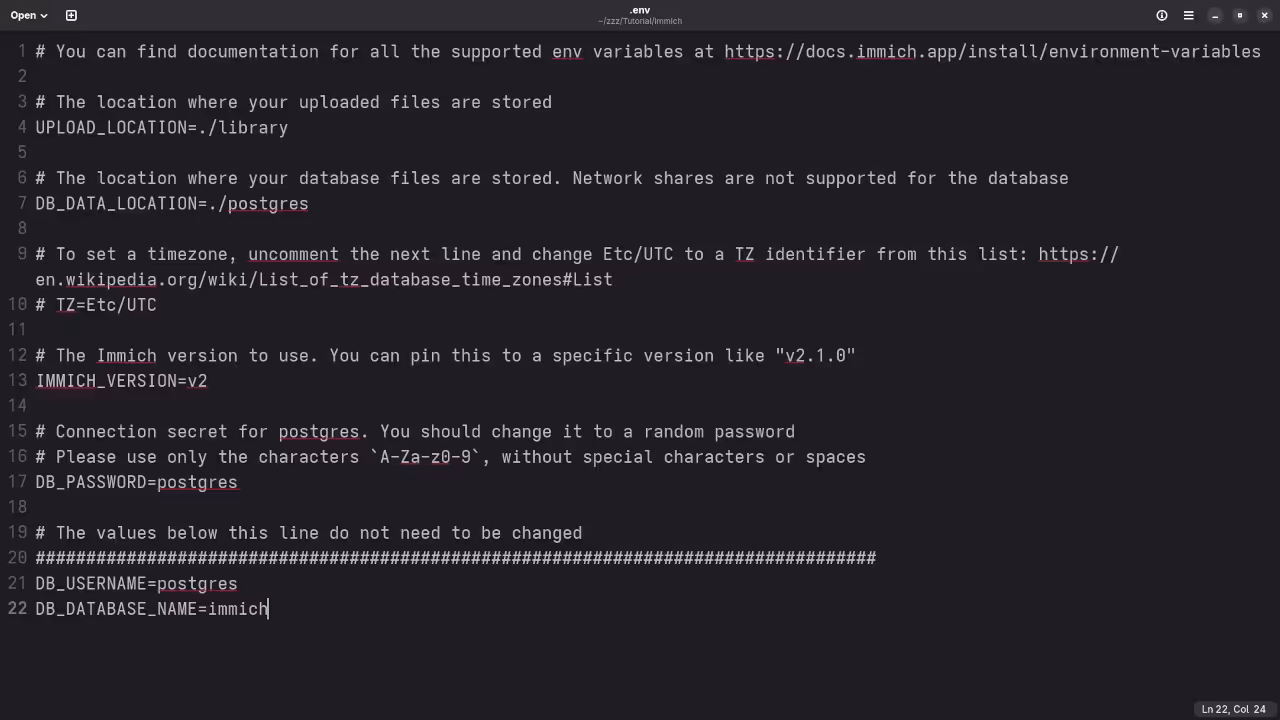
Before starting the containers, open the .env file and customize the environment variables. Here is a quick overview of the most important variables to configure:
- UPLOAD_LOCATION: Specify where you want to store your uploaded media files.
UPLOAD_LOCATION=./library - DB_DATA_LOCATION: Set the directory where the Postgres database files will be stored.
DB_DATA_LOCATION=./postgres - TZ (Optional): Uncomment and set the timezone if needed. For example:
TZ=Etc/UTC - IMMICH_VERSION: Set the version of Immich you want to run. The latest version is usually fine:
IMMICH_VERSION=v2 - DB_PASSWORD: Change the default DB_PASSWORD to something secure:
DB_PASSWORD=your_secure_password After customizing the variables, save the .env file.
Step 4: Start Immich Using Podman-Compose
Now that you’ve configured the environment, you can use podman-compose to start the containers.
- Install podman-compose (if you don’t already have it). Follow the official instructions here: Podman Compose Installation Guide.
- Once podman-compose is installed, start the containers:
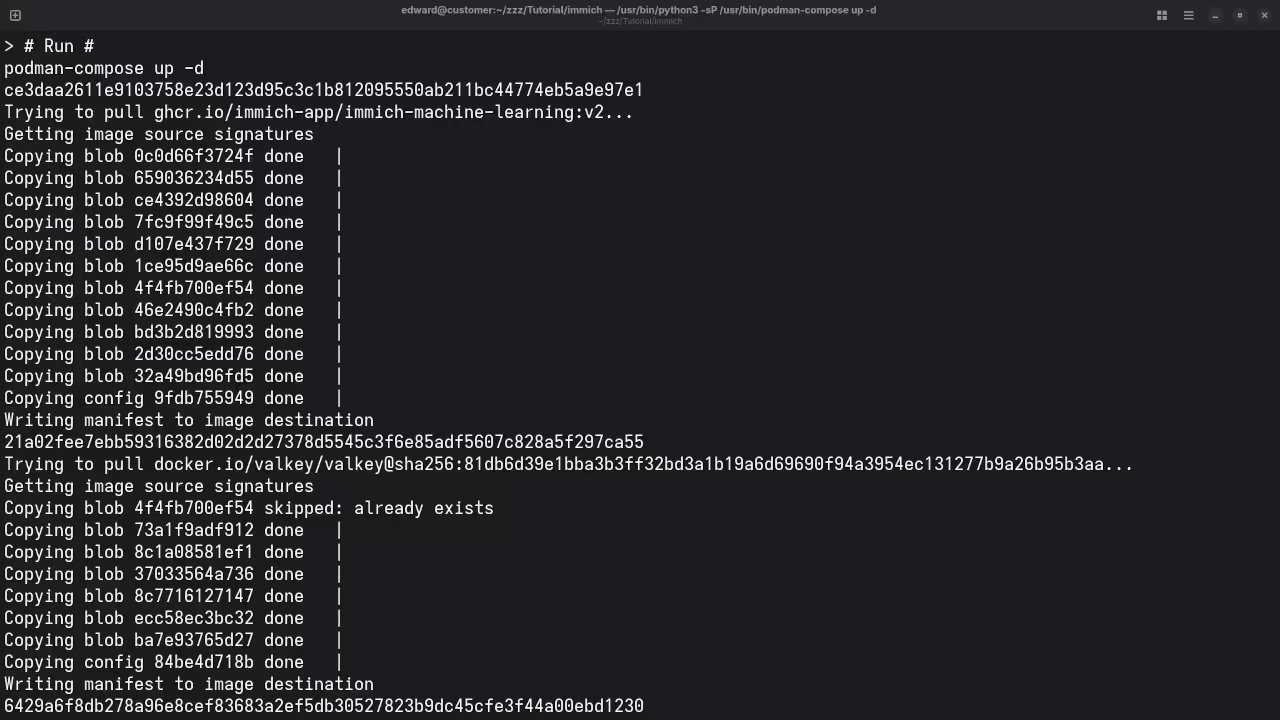
podman-compose up -d This command will start Immich in detached mode, meaning the containers will run in the background.
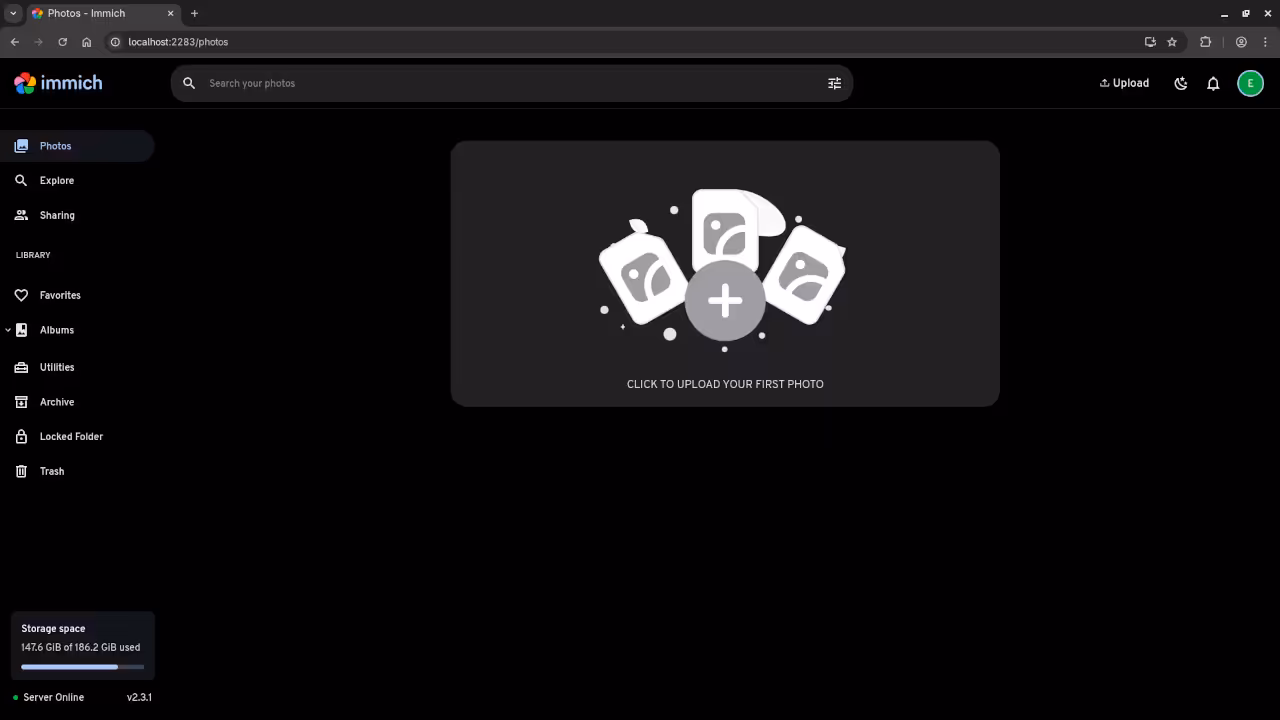
Step 5: Verify the Installation
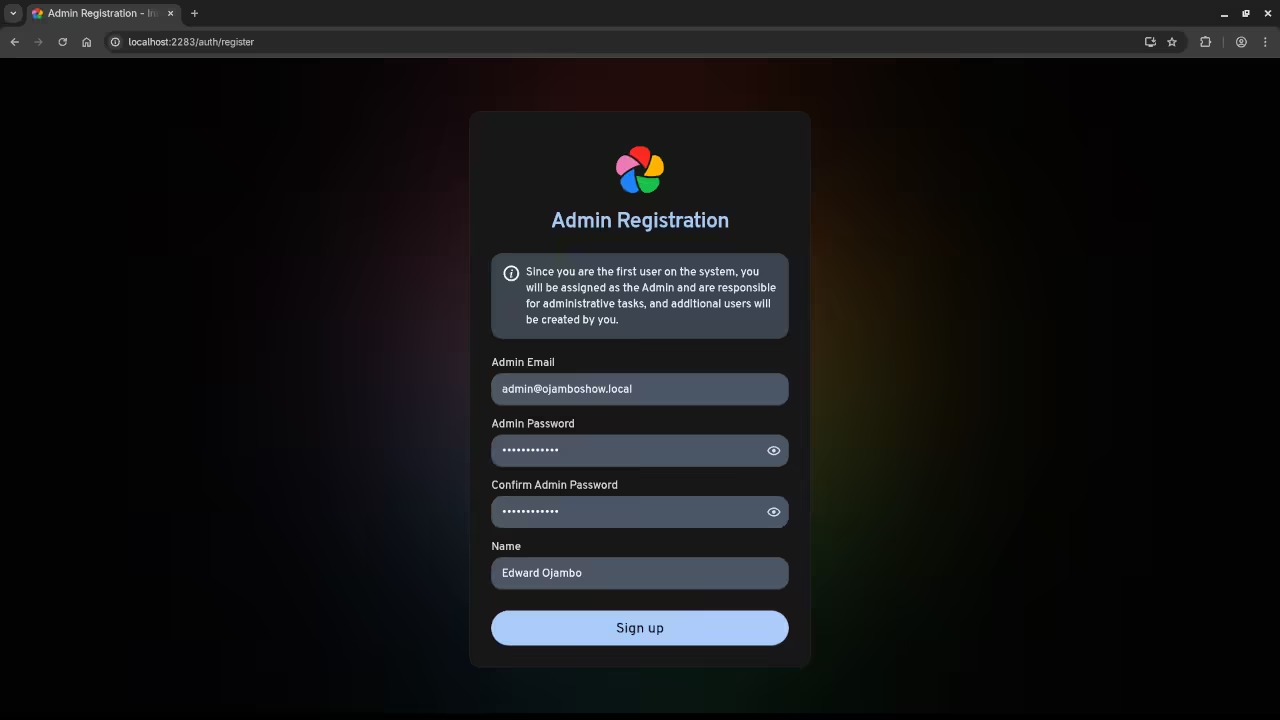
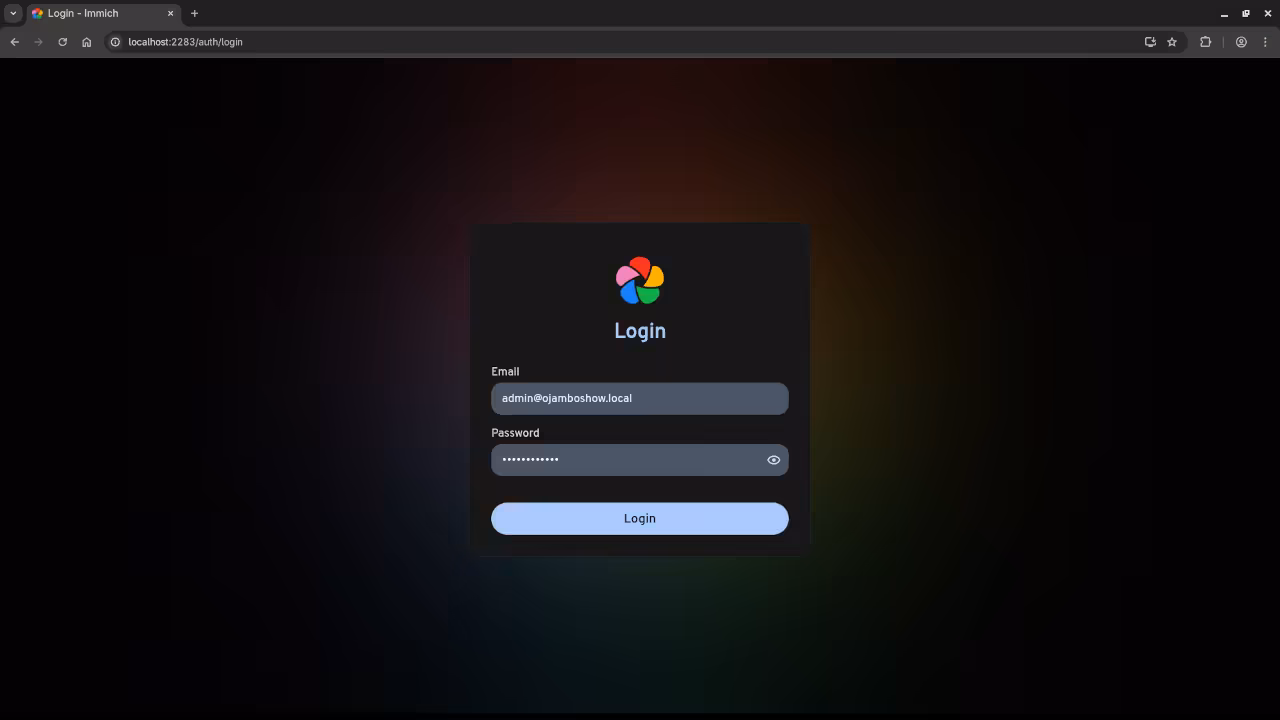
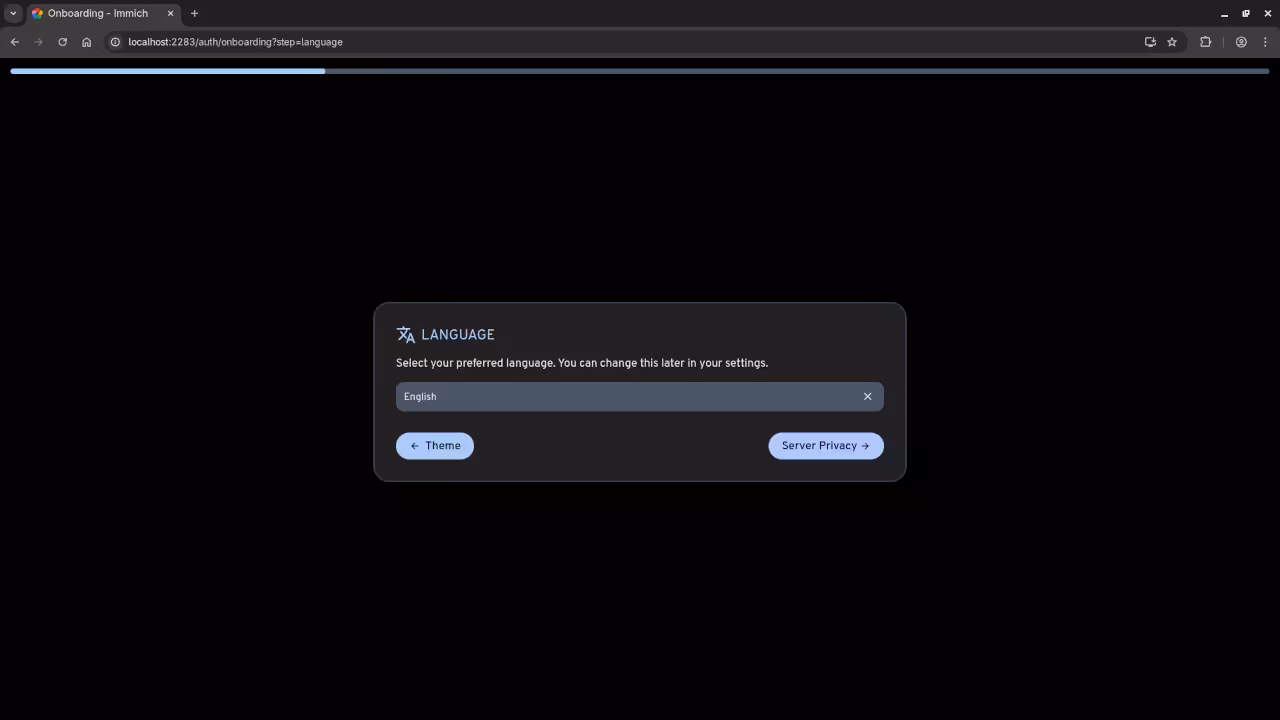
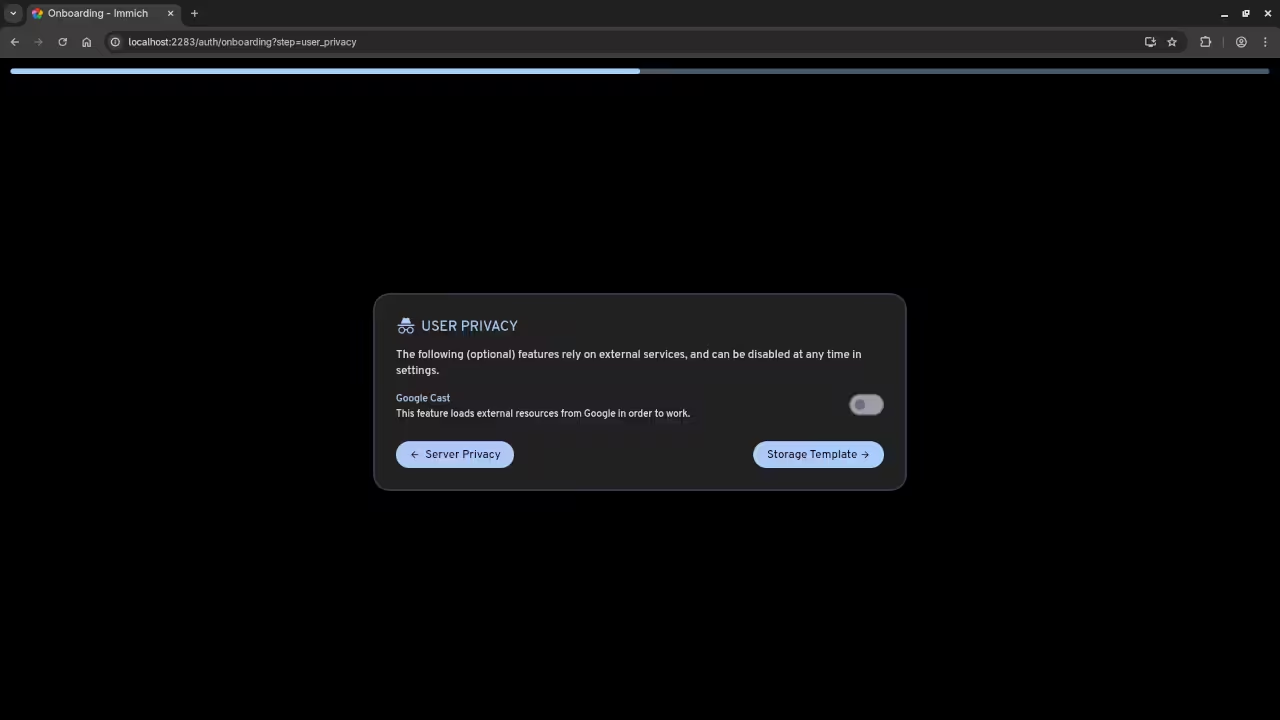
Once the containers are running, you can check if Immich is working by visiting http://localhost:2283 in your web browser. You should see the Immich login page, where you can begin using the platform to manage your photos and videos.
Watch the Full Installation Process
If you prefer a more visual approach, check out the screencast below, where I walk you through the entire installation process:
📱 Screenshots & Screencast

Additional Resources
Here are some useful links if you are interested in expanding your knowledge of programming or need further assistance with Immich:
- Programming Books: Check out my collection of programming books on Amazon.
- Programming Courses: Learn more through my online programming courses.
- One-on-One Programming Tutorials: Need personalized programming assistance? Book a session with me at Ojambo Tutorials.
- Immich Installation & Migration Services: I offer professional Immich installation and migration services if you need help with setting up or moving your photo management system.
Conclusion
With Immich, you can take control of your photo management system and host it on your own server, keeping all your data secure and private. By following this guide, you should be able to get Immich up and running with Podman in no time.
Feel free to reach out if you need any help with installation, migration, or programming tutorials!
🚀 Recommended Resources
Disclosure: Some of the links above are referral links. I may earn a commission if you make a purchase at no extra cost to you.