
How to Set Up Stable-Diffusion.cpp with Stable Diffusion v1-5 1B on Linux (AMD Instinct Mi60)
In this guide, we will walk you through setting up Stable-Diffusion.cpp with the Stable Diffusion v1-5 1B model on Linux, optimized for the AMD Instinct Mi60 32GB HBM2 GPU. Stable-Diffusion.cpp is a highly efficient C/C++ implementation of Stable Diffusion, and it runs without requiring Python. Let us get started!
Key Features of Stable-Diffusion.cpp
- C/C++ Implementation: Efficient, lightweight, and no Python dependencies.
- Cross-Platform: Works on Linux, Windows, macOS, and Android.
- Multiple Backends: Supports CUDA, OpenCL, Vulkan, Metal, SYCL, and more.
- Flexible Models: Supports various models like SD1.x, SD2.x, SD-Turbo, SDXL, and more.
- Optimizations: Includes features like Flash Attention, TAESD, and VAE Tiling for efficient memory usage.
System Requirements
Hardware
- GPU: AMD Instinct Mi60 32GB HBM2 (or compatible AMD GPU)
- CPU: Multi-core (4+ cores recommended, 8 cores for better performance)
- RAM: Minimum 16GB, recommended 32GB
- Disk Space: At least 10GB free space for model weights and temporary files
Software
- Linux: Any modern distribution
- ROCm: Required for AMD GPU acceleration (for AMD GPU users)
- Build Tools: CMake, Git, Clang
Installation Guide
Step 1: Clone the Repository
First, clone the Stable-Diffusion.cpp repository:
git clone --recursive https://github.com/leejet/stable-diffusion.cpp
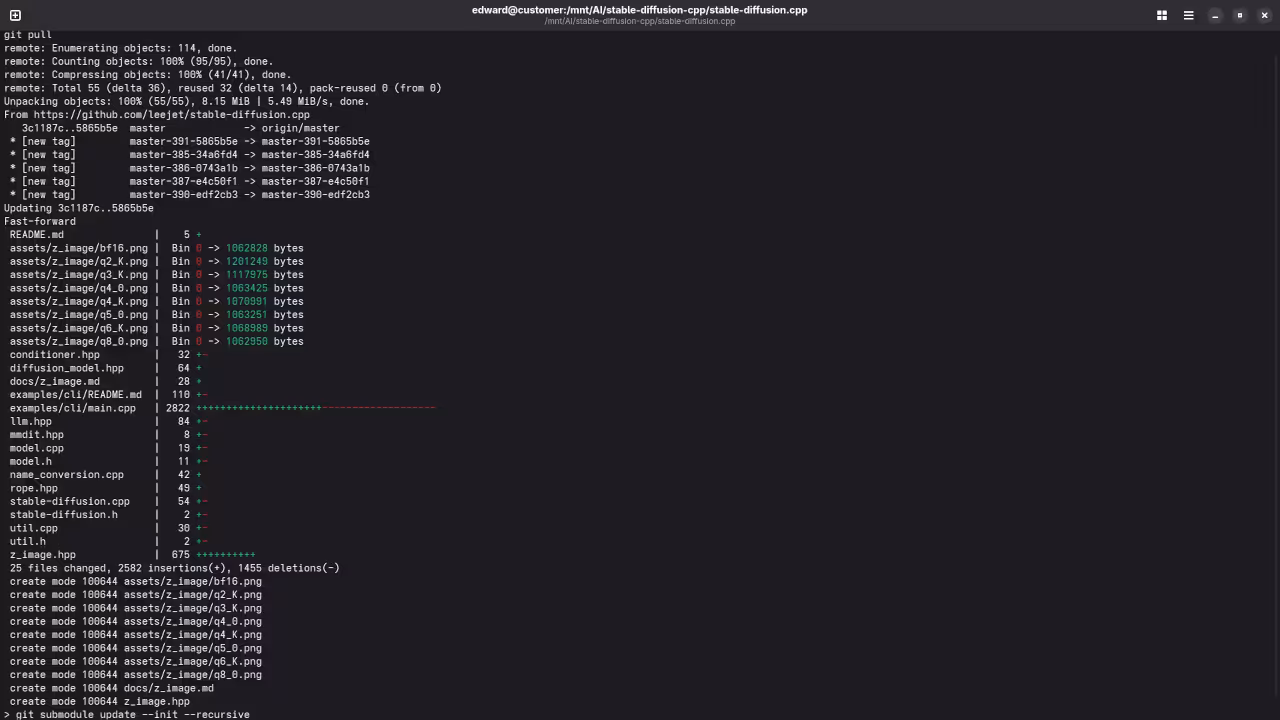
cd stable-diffusion.cpp To update an existing clone:
cd stable-diffusion.cpp
git pull origin master
git submodule init
git submodule update Step 2: Install Build Dependencies
You will need to have CMake, Git, and Clang installed. These are the only necessary tools to get started. Make sure they are installed on your system using your package manager.
Step 3: Build the Project
Now, choose one of the following build configurations based on your hardware setup.
Build Configurations
CPU-Only Build
For systems without a compatible GPU:
mkdir build && cd build
cmake ..
cmake --build . --config Release Build with OpenBLAS
To build with OpenBLAS for performance improvements:
mkdir build && cd build
cmake .. -DGGML_OPENBLAS=ON
cmake --build . --config Release Build with CUDA (For NVIDIA GPUs)
If you are using an NVIDIA GPU, ensure CUDA is installed. Then, enable GPU support:
mkdir build && cd build
cmake .. -DSD_CUDA=ON
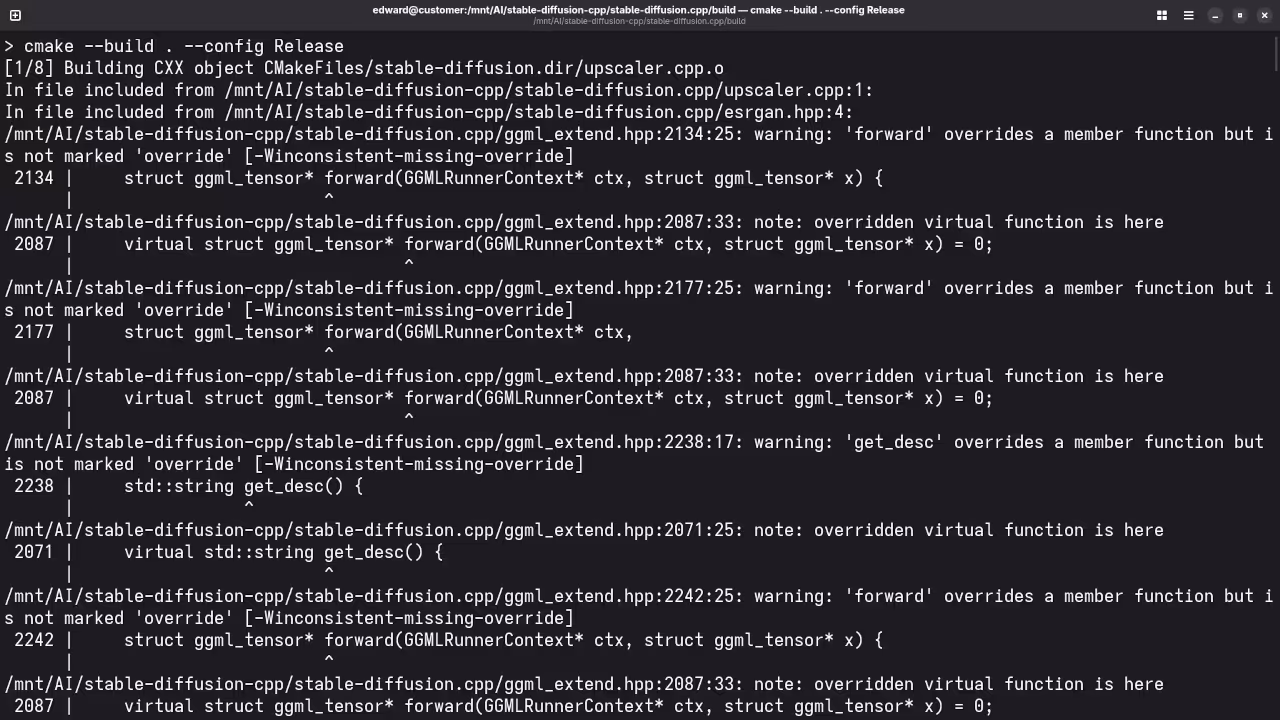
cmake --build . --config Release Build with ROCm (For AMD GPUs)
For AMD GPUs, you need to install ROCm and build with HipBLAS for GPU acceleration:
mkdir build && cd build
if command -v rocminfo; then export GFX_NAME=$(rocminfo | awk '/ *Name: +gfx[1-9]/ {print $2; exit}'); else echo "rocminfo missing!"; fi
if [ -z "${GFX_NAME}" ]; then echo "Error: Couldn't detect GPU!"; else echo "Building for GPU: ${GFX_NAME}"; fi
cmake .. -G "Ninja" -DCMAKE_C_COMPILER=clang -DCMAKE_CXX_COMPILER=clang++ -DSD_HIPBLAS=ON -DCMAKE_BUILD_TYPE=Release -DGPU_TARGETS=$GFX_NAME -DAMDGPU_TARGETS=$GFX_NAME -DCMAKE_BUILD_WITH_INSTALL_RPATH=ON -DCMAKE_POSITION_INDEPENDENT_CODE=ON
cmake --build . --config Release Build with MUSA (For Moore Threads GPU)
For Moore Threads GPU acceleration:
mkdir build && cd build
cmake .. -DCMAKE_C_COMPILER=/usr/local/musa/bin/clang -DCMAKE_CXX_COMPILER=/usr/local/musa/bin/clang++ -DSD_MUSA=ON -DCMAKE_BUILD_TYPE=Release
cmake --build . --config Release Build with Metal (For macOS users)
For macOS users, Metal is supported, but it is not the most optimized option yet. You can still build it with:
mkdir build && cd build
cmake .. -DSD_METAL=ON
cmake --build . --config Release Build with Vulkan
For Vulkan-supported GPUs:
mkdir build && cd build
cmake .. -DSD_VULKAN=ON
cmake --build . --config Release Build with OpenCL (For Adreno GPUs, or Android)
If you are using Adreno GPUs or working on Android, set up OpenCL and build like this:
mkdir build-android && cd build-android
cmake .. -G Ninja -DANDROID_ABI=arm64-v8a -DANDROID_PLATFORM=android-28 -DSD_OPENCL=ON
ninja Build with SYCL (For Intel GPUs)
For Intel GPUs, first install the Intel oneAPI Base toolkit and build with SYCL:
source /opt/intel/oneapi/setvars.sh
cmake .. -DSD_SYCL=ON -DCMAKE_C_COMPILER=icx -DCMAKE_CXX_COMPILER=icpx
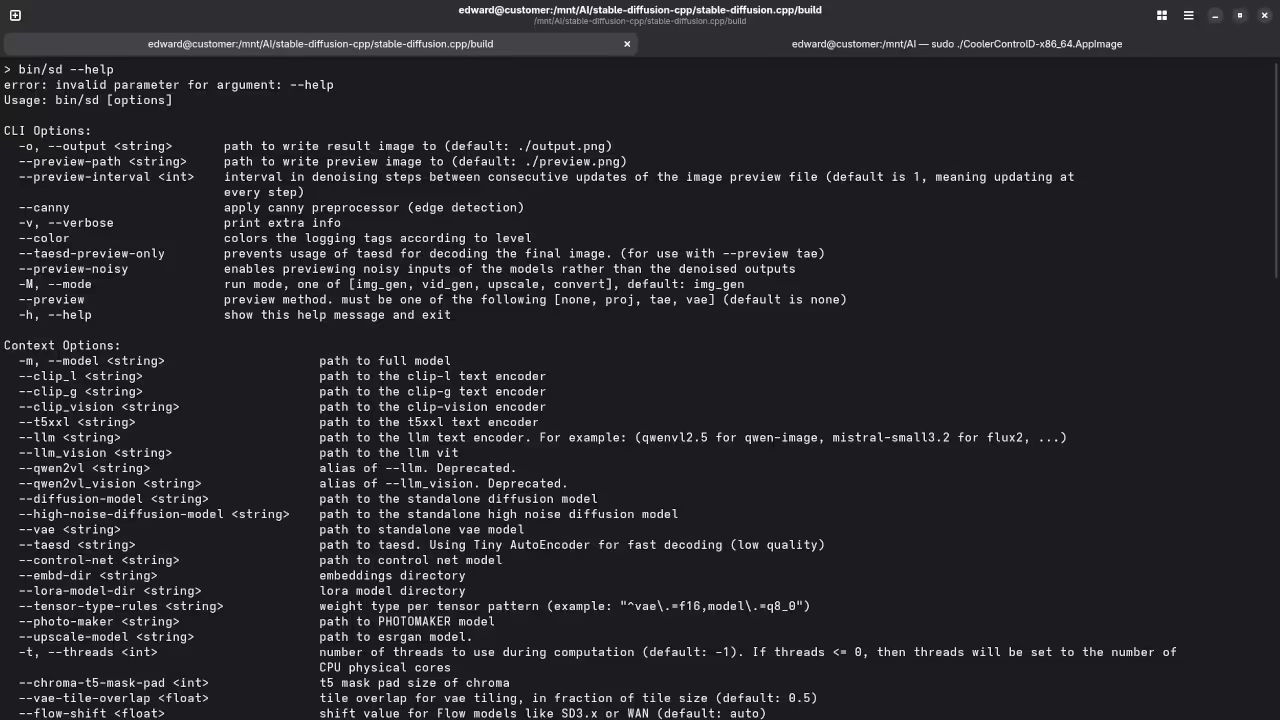
cmake --build . --config Release Step 4: Download Model Weights
After building the project, download the Stable Diffusion v1-5 1B model weights. You can download them in safetensors format or .ckpt / .gguf:
curl -L -O https://huggingface.co/runwayml/stable-diffusion-v1-5/resolve/main/v1-5-pruned-emaonly.safetensors Step 5: Generate an Image
Once everything is set up, you can generate an image. For example, generating a lovely cat:
./bin/sd -m ../models/v1-5-pruned-emaonly.safetensors -p "a lovely cat" ControlNet Support
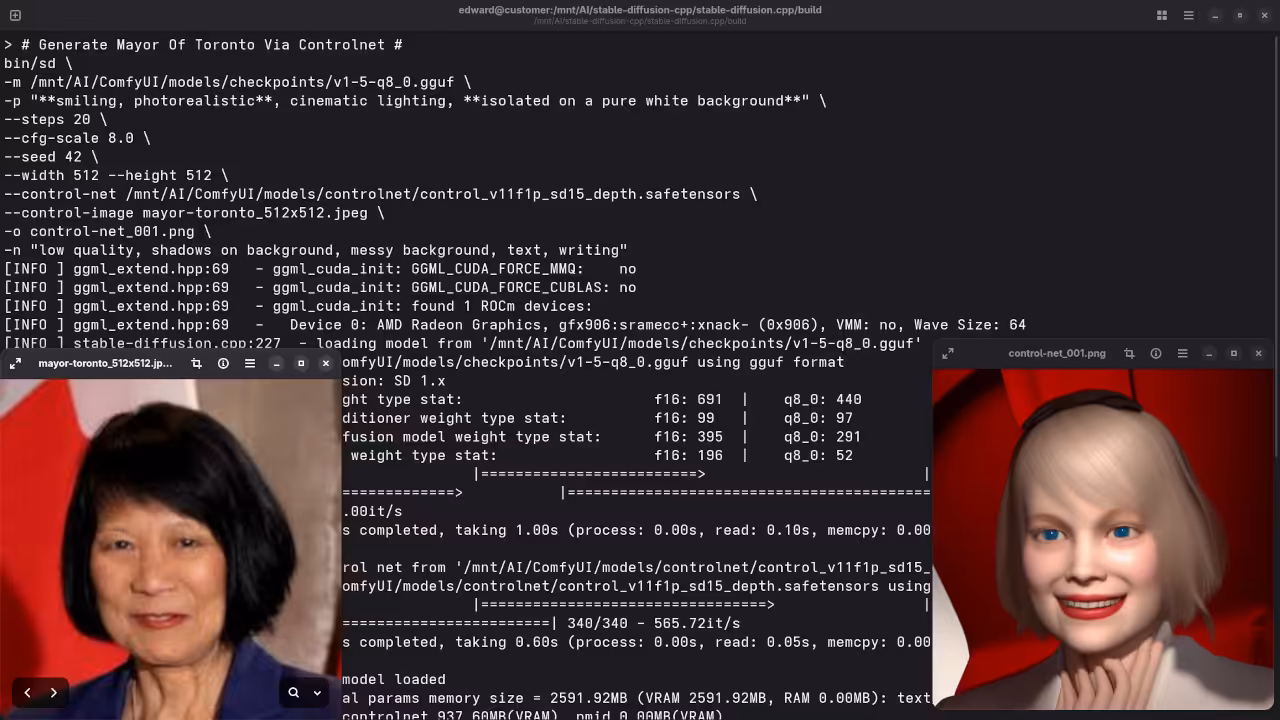
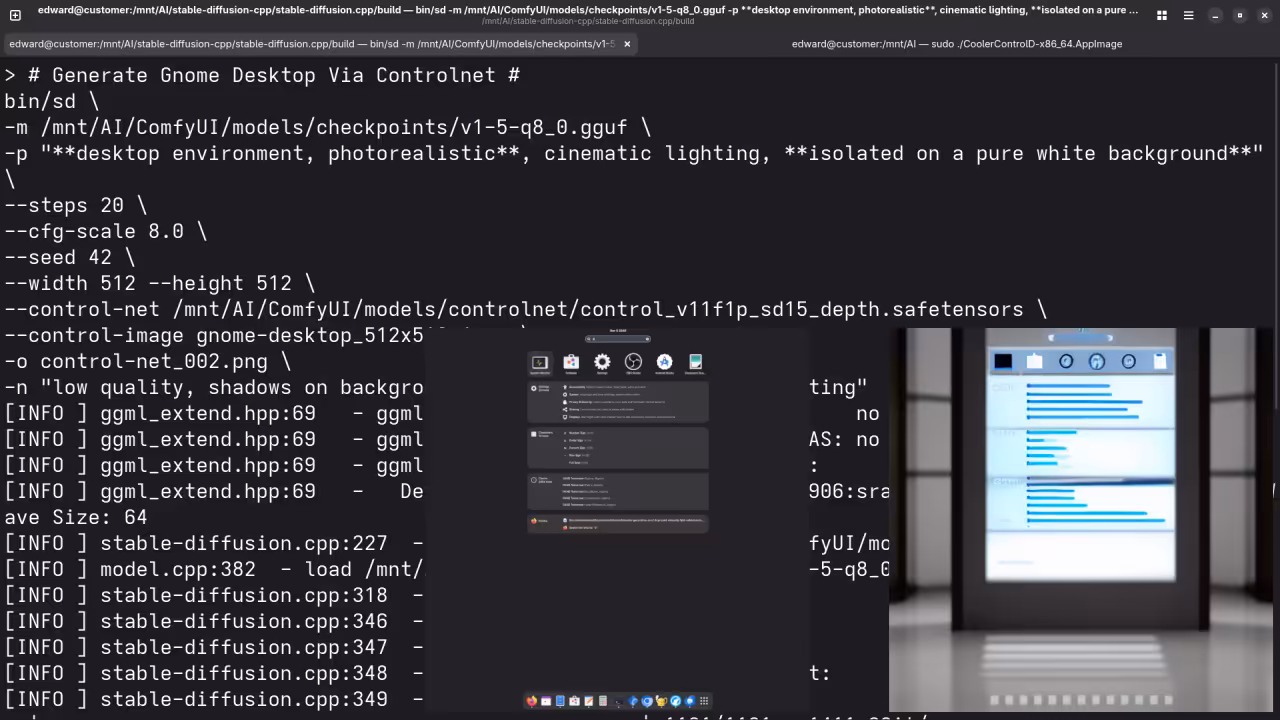
Stable-Diffusion.cpp also supports ControlNet, a technique that enables fine-grained control over generated images. This feature allows you to manipulate the output by controlling specific elements of the image, such as style, structure, and more. For instance, if you want to apply an image as a guide for generating another, ControlNet can help achieve that.
You can enable ControlNet with the following command:
./bin/sd \
-m ../models/checkpoints/v1-5-q8_0.gguf \
-p "**flat paperback book, 3D render, photorealistic, full cover, clean, blank pages, white cover**, cinematic lighting, **isolated on a pure white background**" \
--steps 20 \
--cfg-scale 8.0 \
--seed 42 \
--width 768 --height 1280 \
--control-net ../models/controlnet/control_v11f1p_sd15_depth.safetensors \
--control-image softcover_768x1280.png \
-o CLEAN_BLANK_3D_TEMPLATE_002.png \
-n "low quality, shadows on background, messy background, text, writing" Screenshots and Screencast
Here’s where you’ll find a visual walkthrough of setting up Stable Diffusion v1-5 1B using stable-diffusion.cpp on your local system:
Where to Place Your Models
| Model Type | Folder |
|---|---|
| Checkpoints (e.g. *.safetensors) | ComfyUI/models/checkpoints/ |
| LoRA models | ComfyUI/models/loras/ |
| VAEs | ComfyUI/models/vae/ |
| ControlNet | ComfyUI/models/controlnet/ |
Just drop your files into the appropriate folder and rerun stable-diffusion.cpp.
Test Tools
| Name | Description |
|---|---|
| CPU | AMD Ryzen 5 5600GT (6C/12T, 3.6GHz). |
| Memory | 32GB DDR4. |
| GPU | AMD Instinct MI60 (32GB HBM2). |
| Operating System | Fedora Linux Workstation 43. |
| Desktop Environment | Gnome 49. |
| Name | Description |
Screenshots and Screencast
Here’s where you’ll find a visual walkthrough of setting up Stable Diffusion v1-5 1B using stable-diffusion.cpp on your local system:


Results:
A photograph of the mayor of Toronto
Accurately drew a photograph mishmash of past mayors of Toronto.
A screenshot of the gnome desktop environment.
Accurately drew a screenshot of an older version of the Gnome desktop environment.
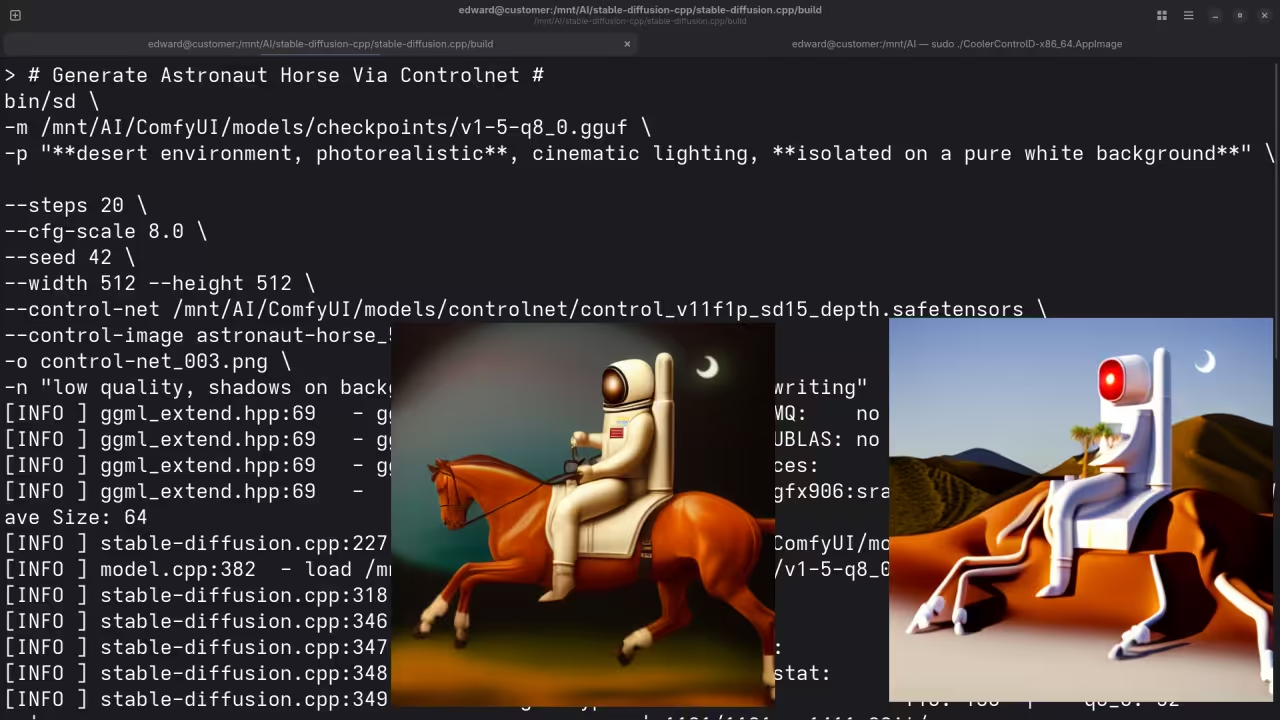
A photograph of an astronaut riding a horse.
Accurately drew a photograph of an astronaut riding a horse.
A picture of a chicken run.
Accurately drew a picture of a chicken run.
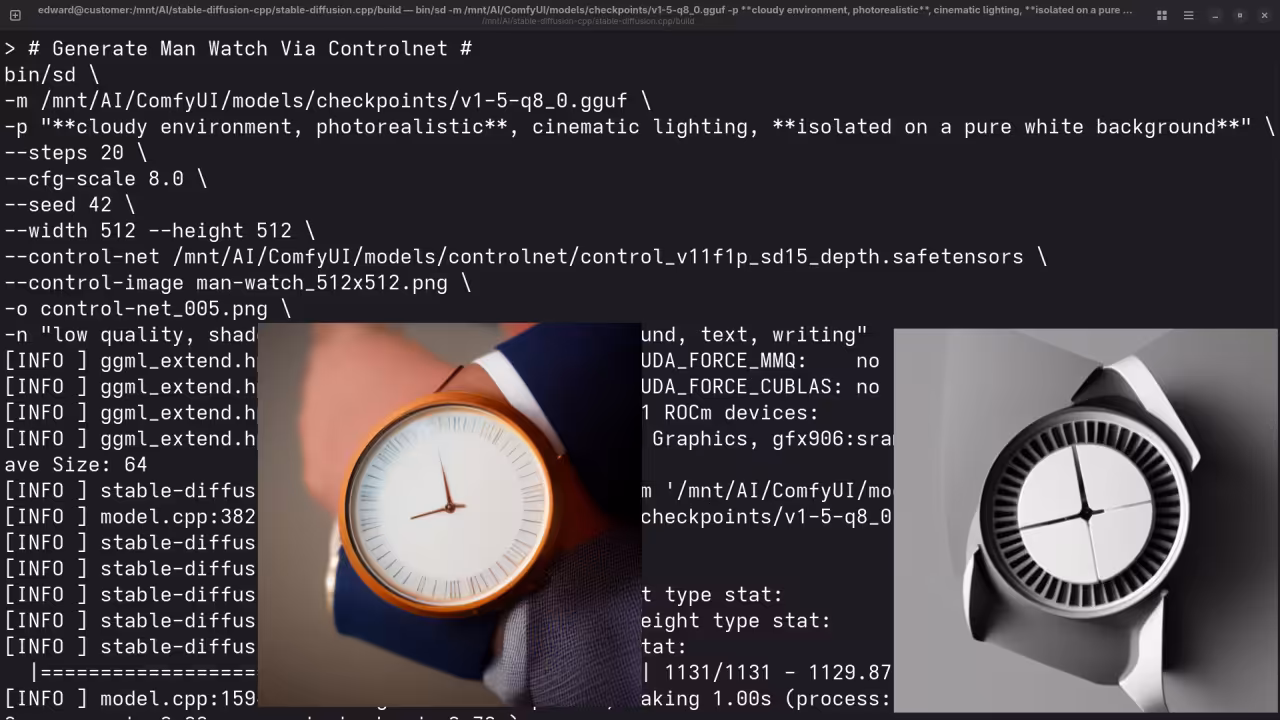
A picture of a man wearing a watch.
Accurately drew a picture of a man wearing a watch.
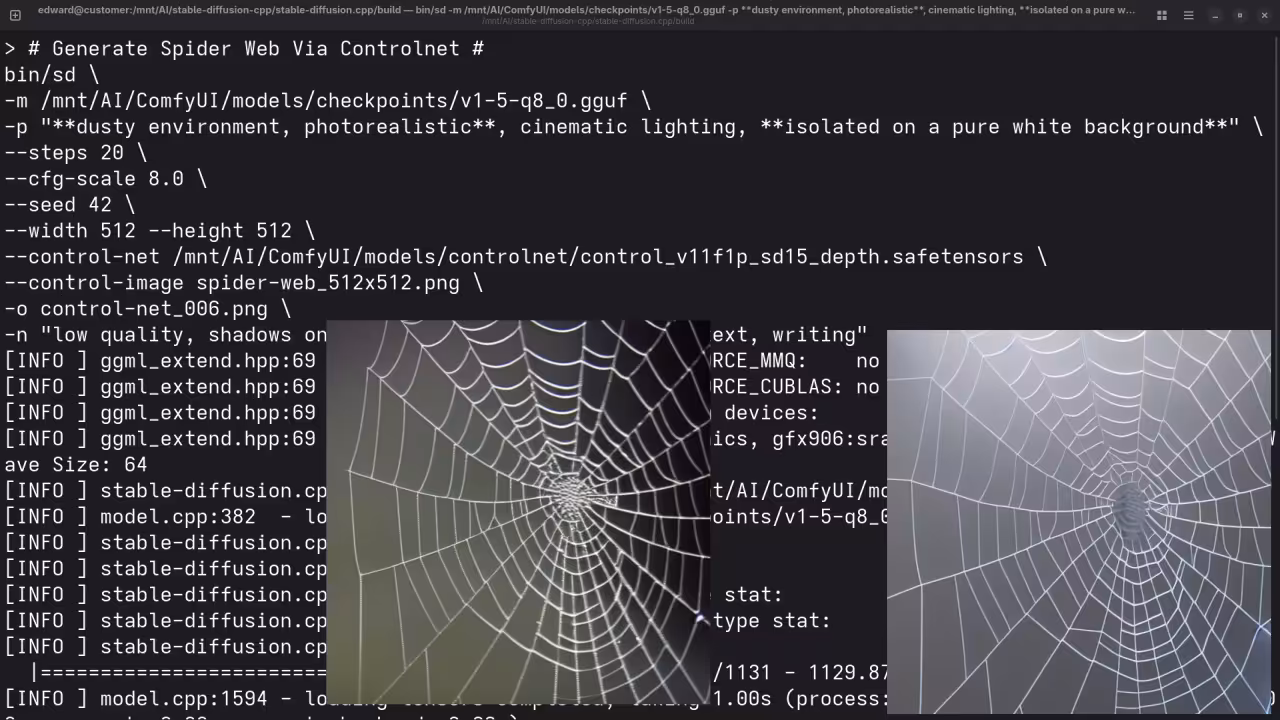
A picture of a spider web on sockets.
Accurately drew a picture of a spider web on sockets.
Conclusion
With Stable-Diffusion.cpp, you can run Stable Diffusion models efficiently without relying on Python. This guide shows you how to set it up on Linux, optimized for the AMD Instinct Mi60 GPU, and offers various build configurations based on your hardware. Enjoy generating high-quality AI images!
Additional Resources
Books
If you are new to Python programming, check out my book Learning Python for a beginner-friendly approach.
Courses
Take my course Learning Python to get hands-on with Python.
One-on-One Python Tutorials
For personalized Python help, contact me via Contact.
🚀 Recommended Resources
Disclosure: Some of the links above are referral links. I may earn a commission if you make a purchase at no extra cost to you.