
How to Install and Use Phorge – An Open Source Tool for Software Collaboration
If you’re looking for a free, open source platform for software collaboration, code review, and bug tracking, look no further than Phorge. It’s the modern continuation of Phabricator, built by an active open source community and ideal for individual developers, startups, or large engineering teams.
In this post, I’ll walk you through what Phorge does, how to install it on a system that already has PHP 8.4 and MariaDB, and where you can find extra learning resources – including books, courses, and tutorials.
What Is Phorge?
Phorge is a self-hosted, open source development platform that provides:
- Git repository hosting and browsing
- Code review tools (Differential)
- Issue and task tracking (Maniphest)
- Wiki and documentation system (Phriction)
- Project planning boards
- Custom workflows and automation
Because it’s open source, you can modify and extend it however you want – and host it on your own infrastructure for total control.
Installing Phorge on a Server with PHP 8.4 and MariaDB
Let’s assume your server already has PHP 8.4, MariaDB, and Git installed. Here’s how to install and configure Phorge.
Step 1: Create the Installation Directory
sudo mkdir -p /opt/phorge
cd /opt/phorge Step 2: Clone the Required Repositories
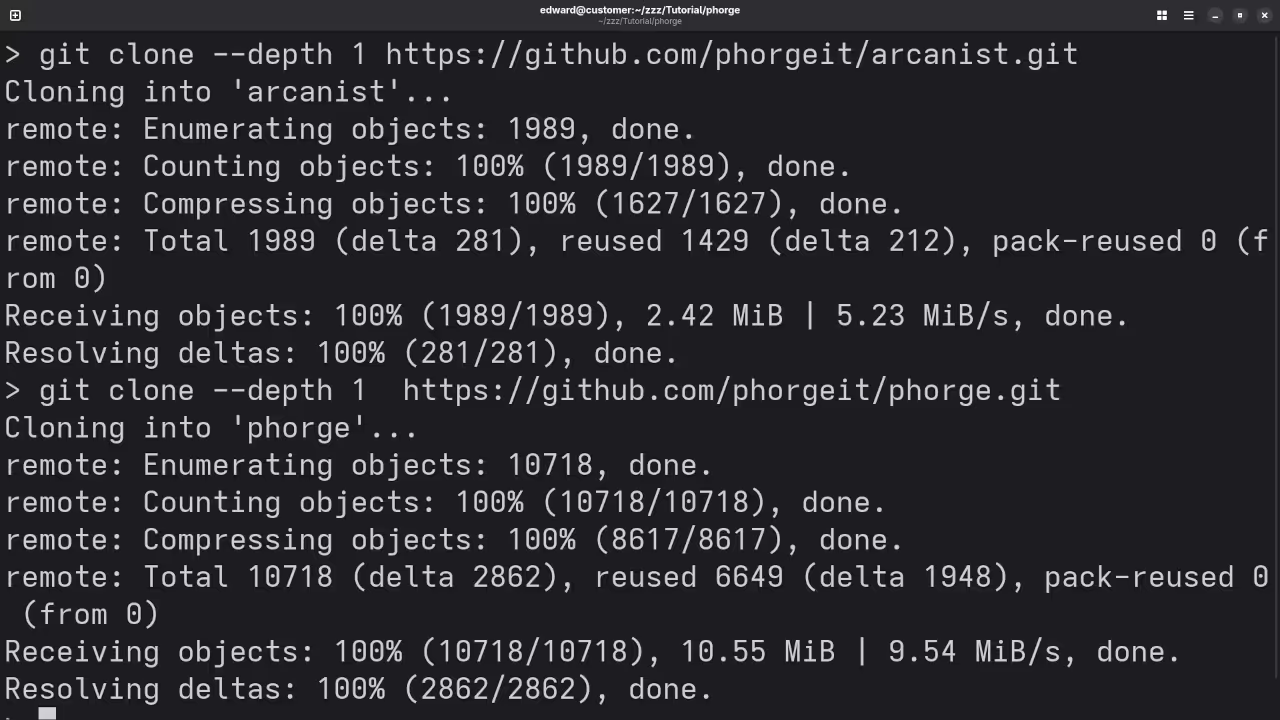
git clone https://we.phorge.it/source/phorge.git
git clone https://we.phorge.it/source/arcanist.git Step 3: Add Arcanist to Your PATH
echo 'export PATH=$PATH:/opt/phorge/arcanist/bin' >> ~/.bashrc
source ~/.bashrc Step 4: Install PHP Dependencies Using Composer
cd /opt/phorge/phorge
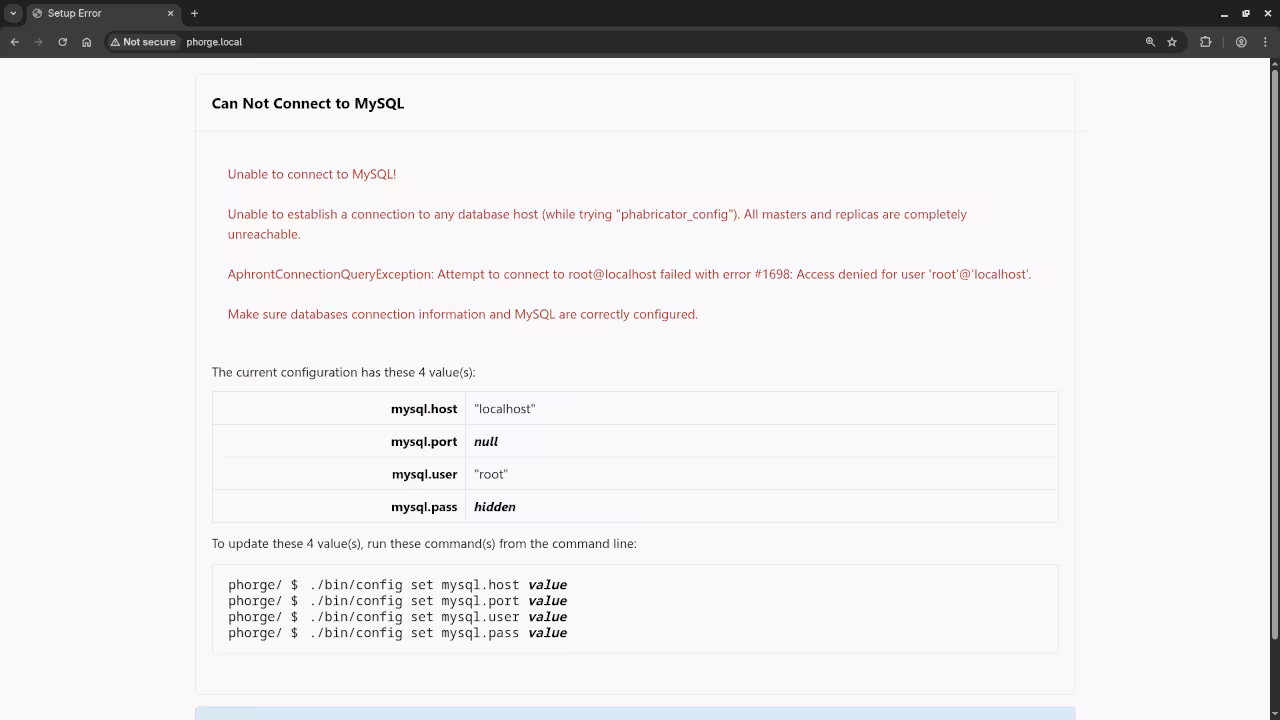
composer install Step 5: Set Up the Database (MariaDB)
Login to MariaDB:
sudo mysql -u root -p Then run the following SQL:
CREATE DATABASE phorge CHARACTER SET utf8mb4 COLLATE utf8mb4_general_ci;
CREATE USER 'phorgeuser'@'localhost' IDENTIFIED BY 'your-strong-password';
GRANT ALL PRIVILEGES ON `phabricator\_%`.* TO 'phorgeuser'@'localhost';
FLUSH PRIVILEGES;
EXIT; Configure Phorge to use the database:
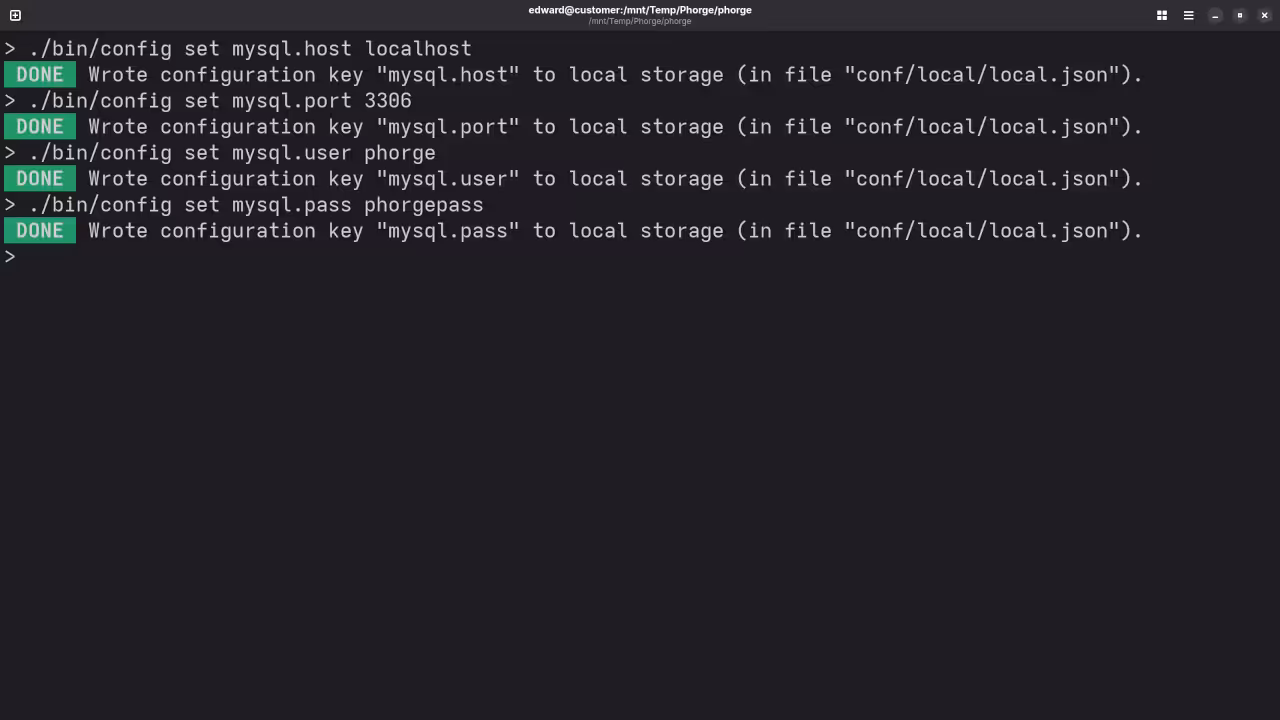
./bin/config set mysql.host localhost
./bin/config set mysql.user phorgeuser
./bin/config set mysql.pass your-strong-password
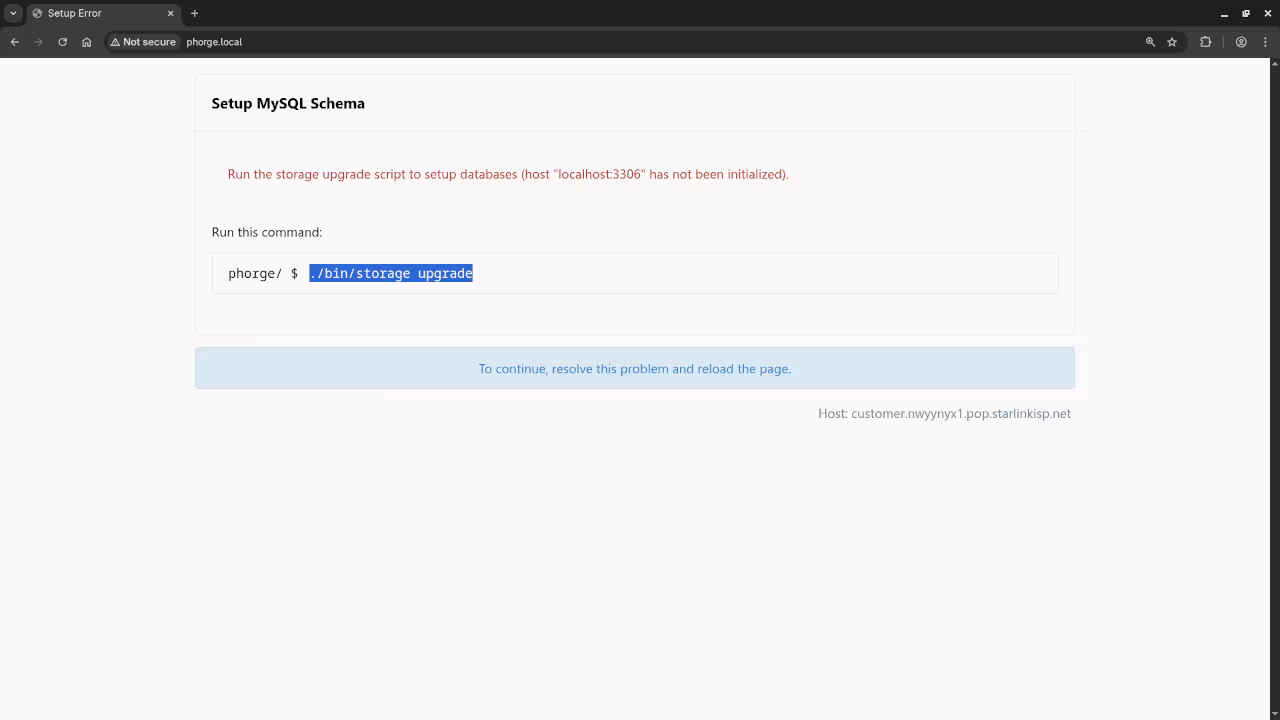
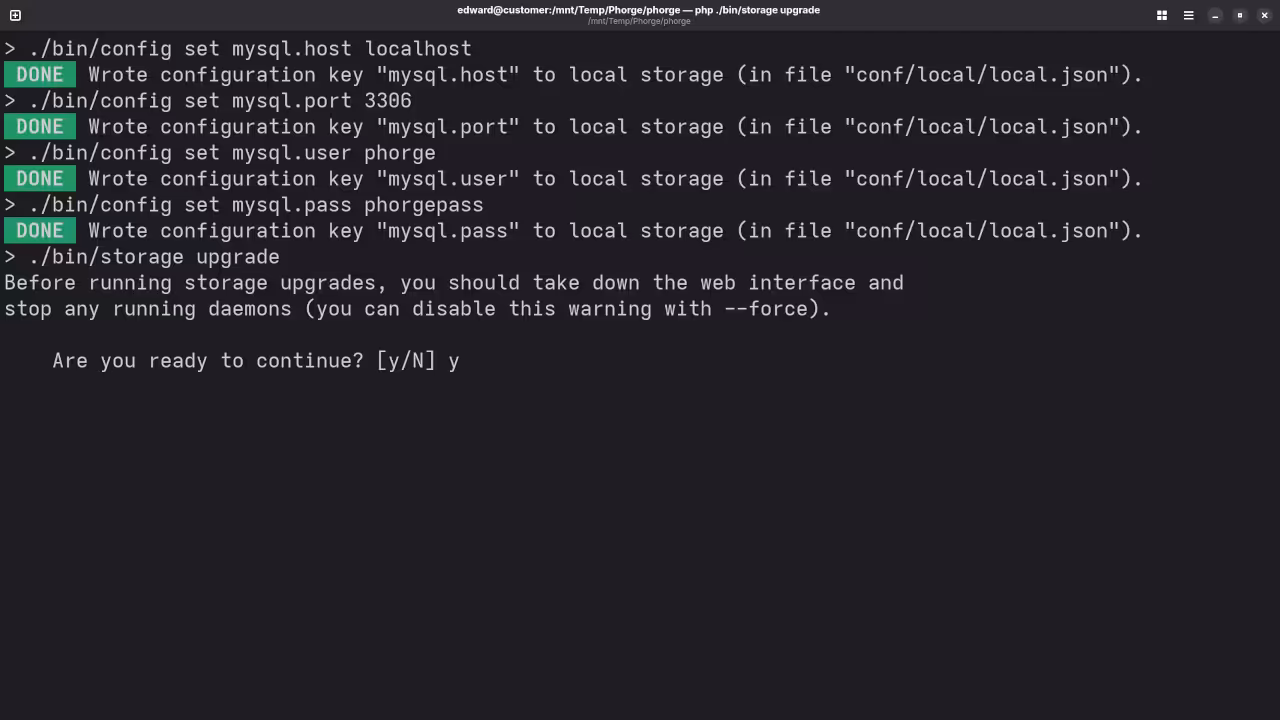
./bin/storage upgrade Step 6: Set Permissions
sudo chown -R www-data:www-data /opt/phorge/phorge
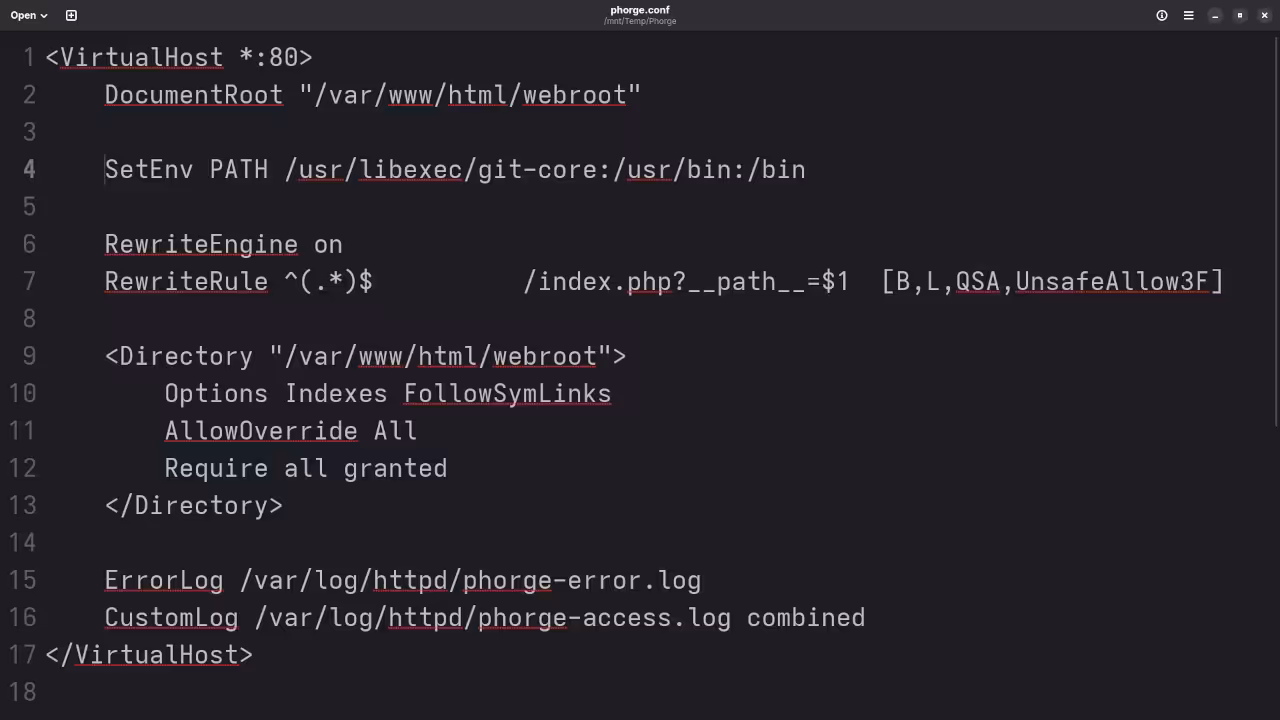
sudo chmod -R 755 /opt/phorge/phorge Step 7: Configure Your Web Server
Apache VirtualHost Example:
<VirtualHost *:80>
ServerName yourdomain.com
DocumentRoot /opt/phorge/phorge/webroot
<Directory "/opt/phorge/phorge/webroot">
Require all granted
AllowOverride All
</Directory>
</VirtualHost> Then enable the site:
sudo a2ensite yourdomain.com.conf
sudo a2enmod rewrite
sudo systemctl reload apache2 Step 8: Start the Phorge Daemons
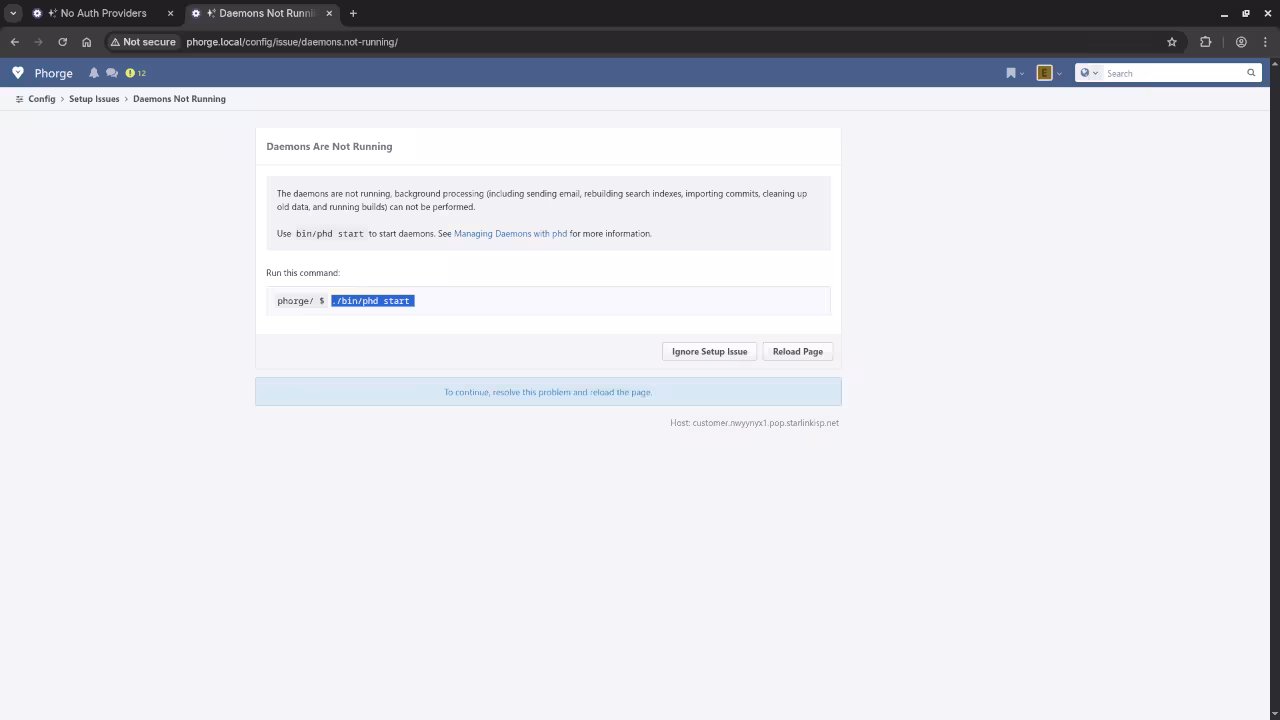
cd /opt/phorge/phorge
./bin/phd start Check status:
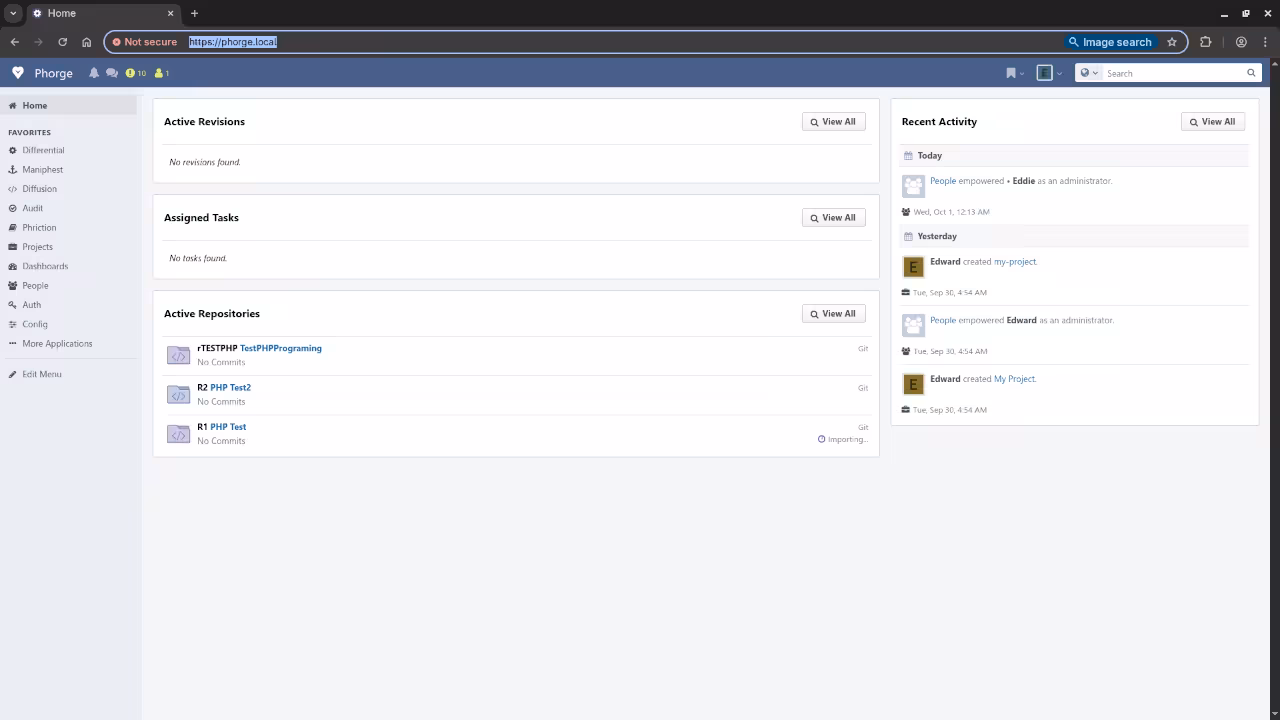
./bin/phd status Final Step: Access Phorge in the Browser
Open your browser and go to:
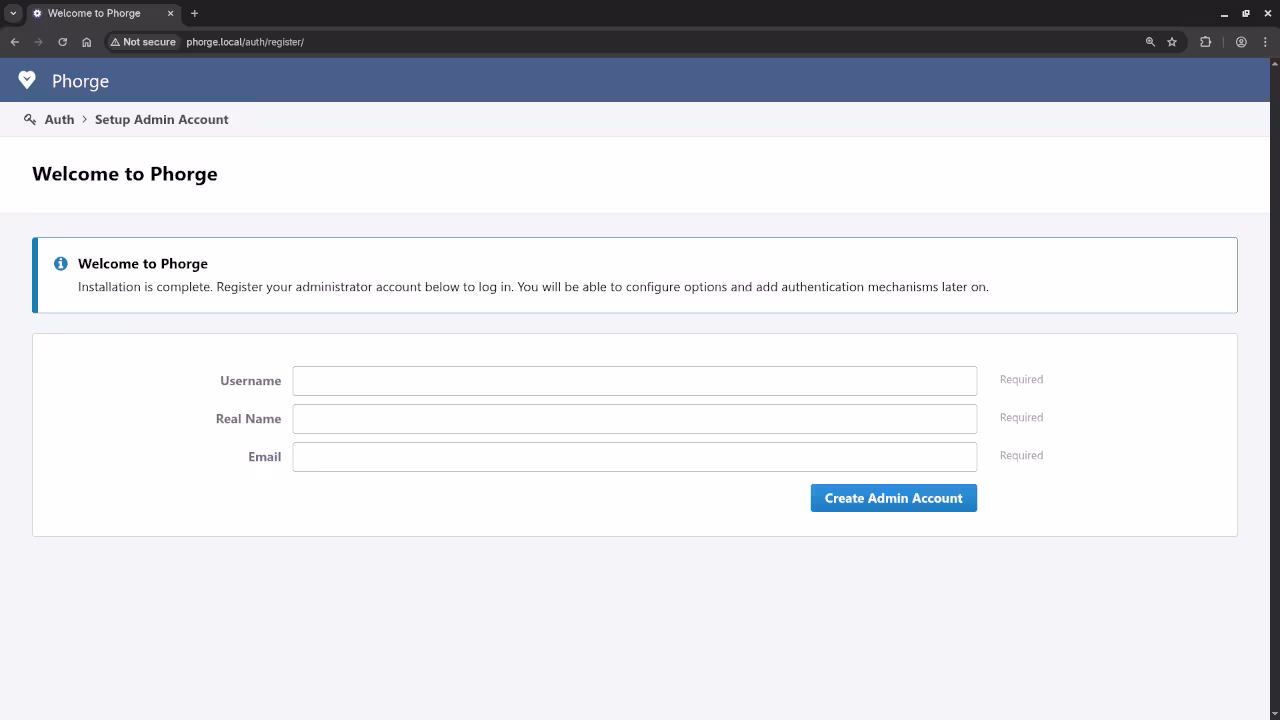
http://yourdomain.com/ You’ll be guided through creating an admin account and completing the setup process.
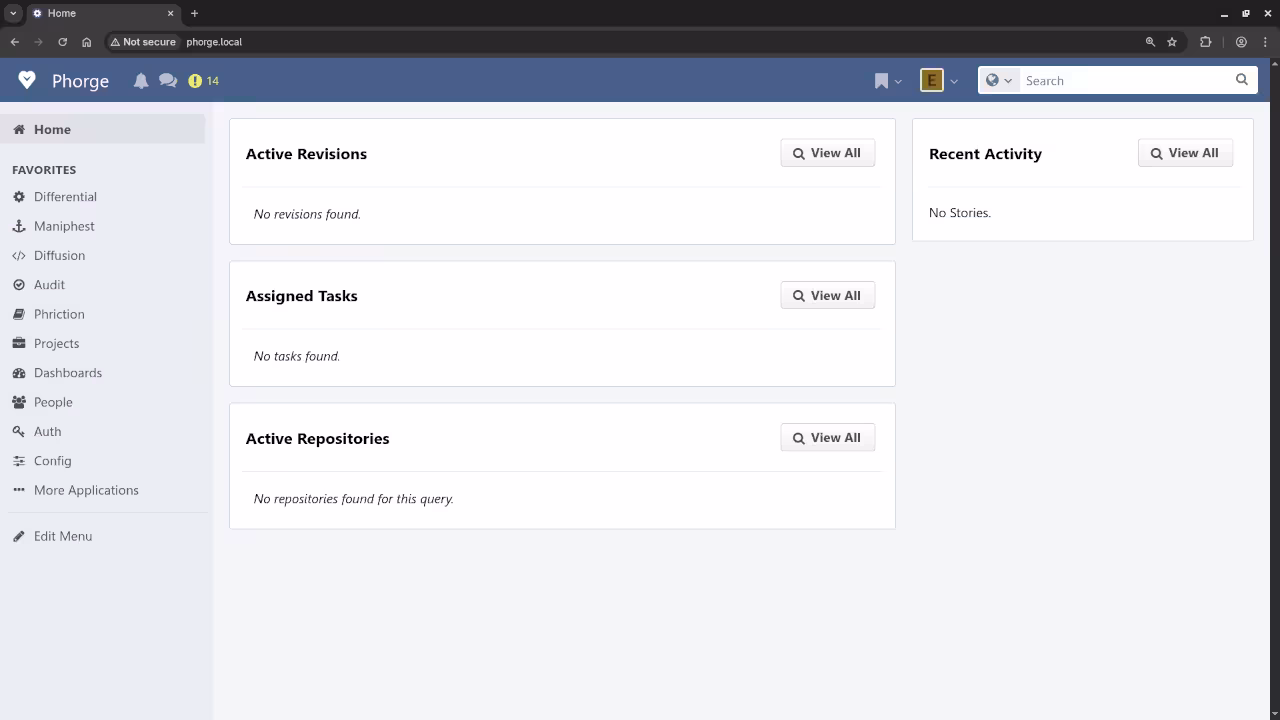
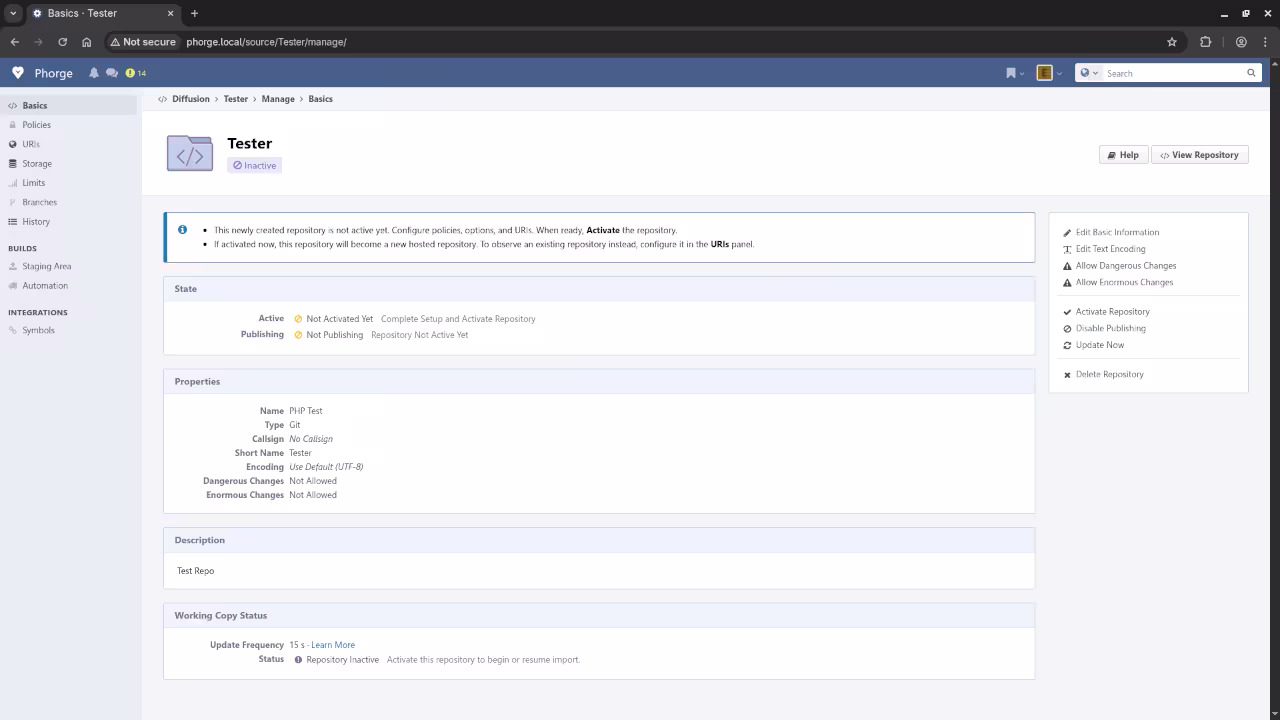
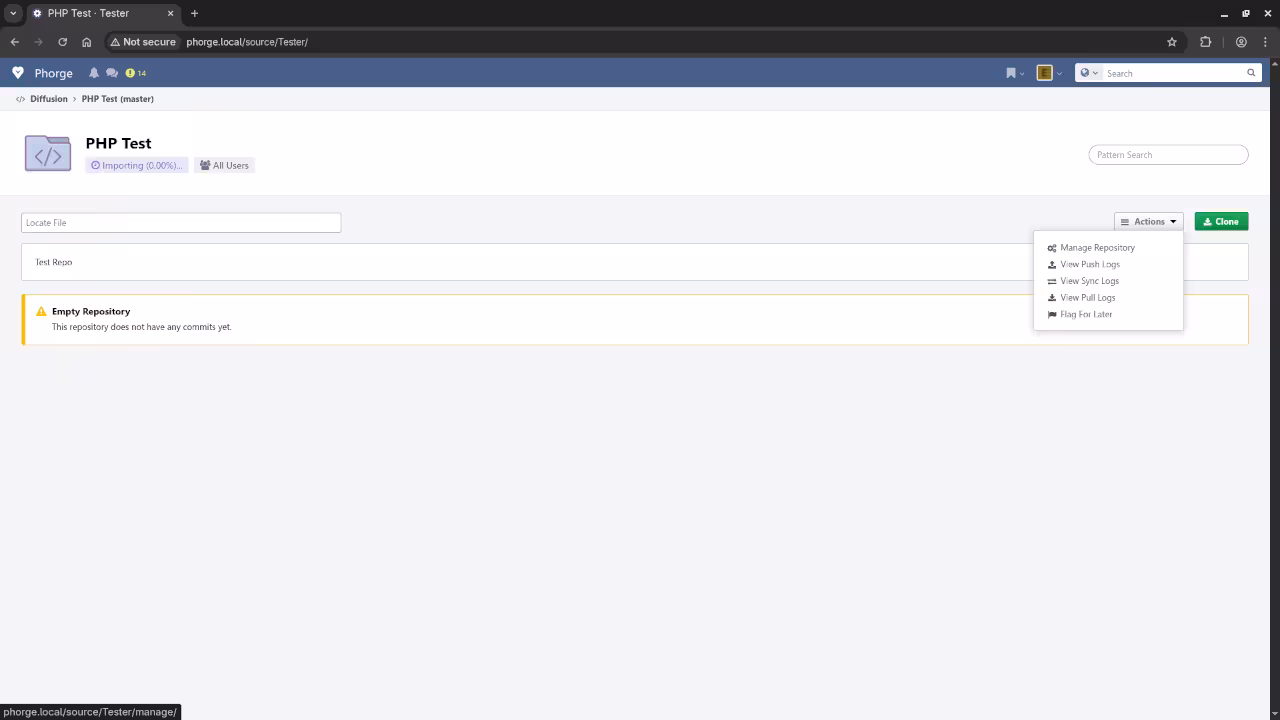
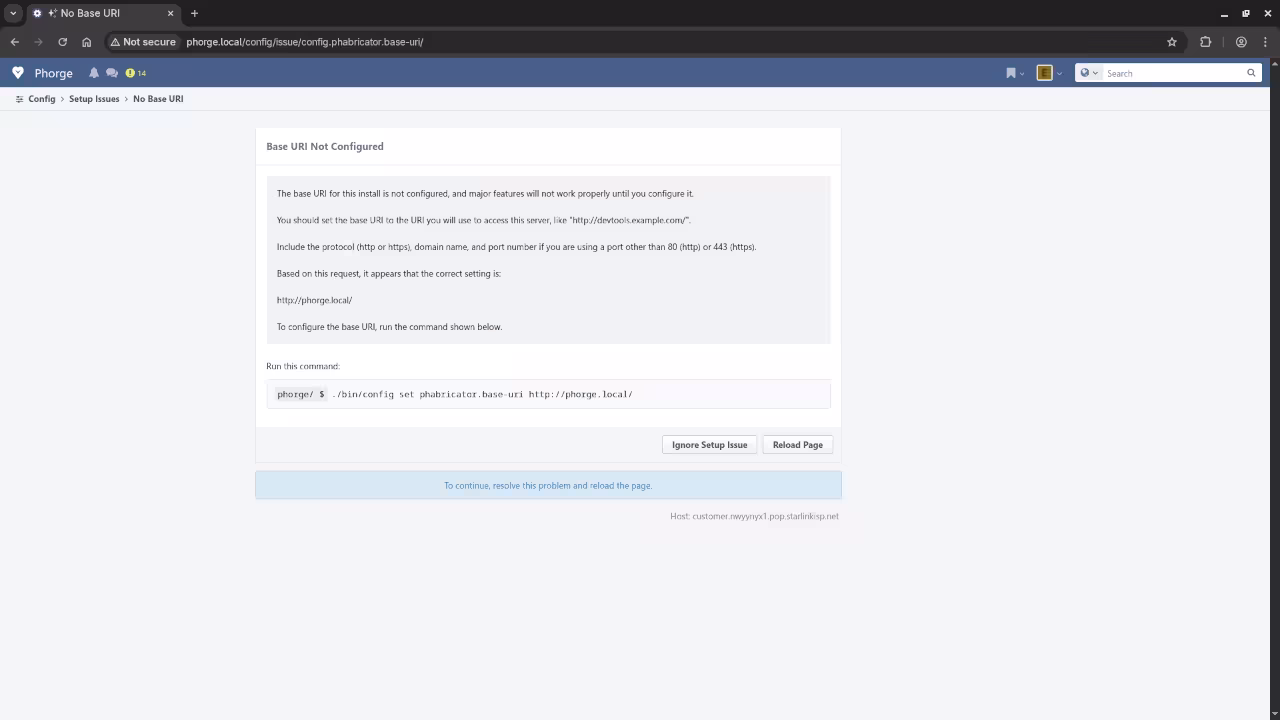
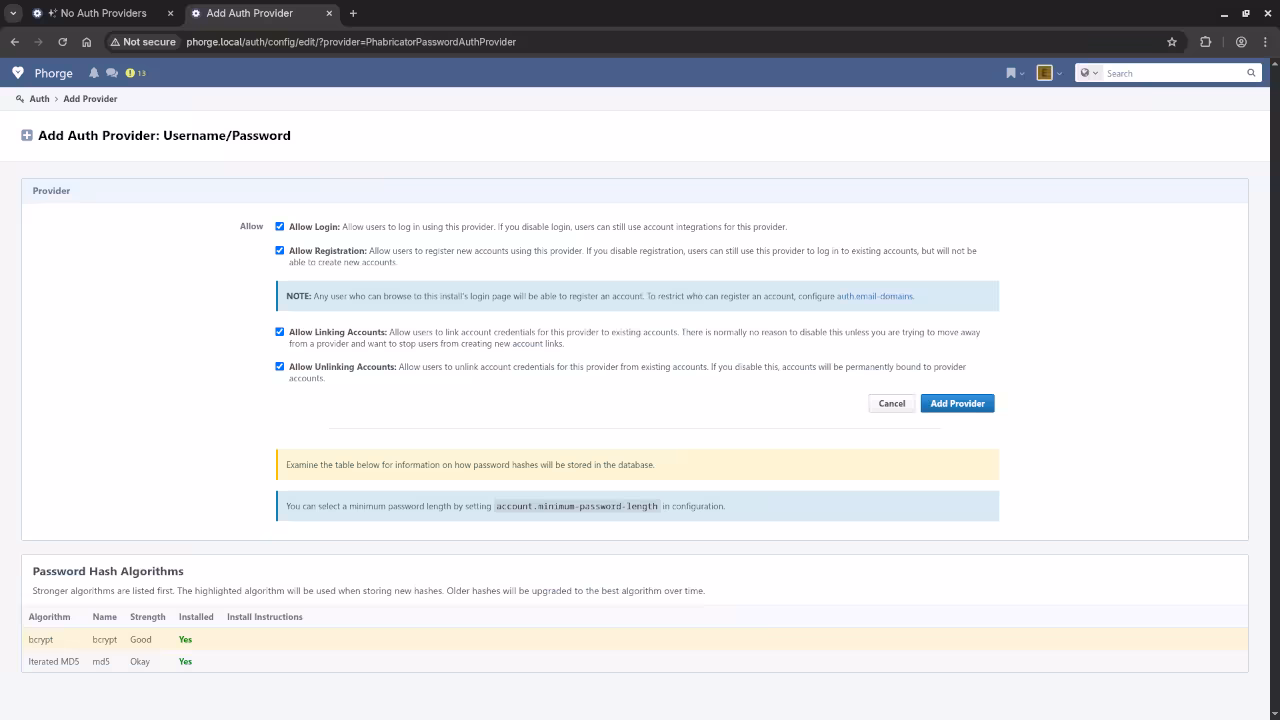
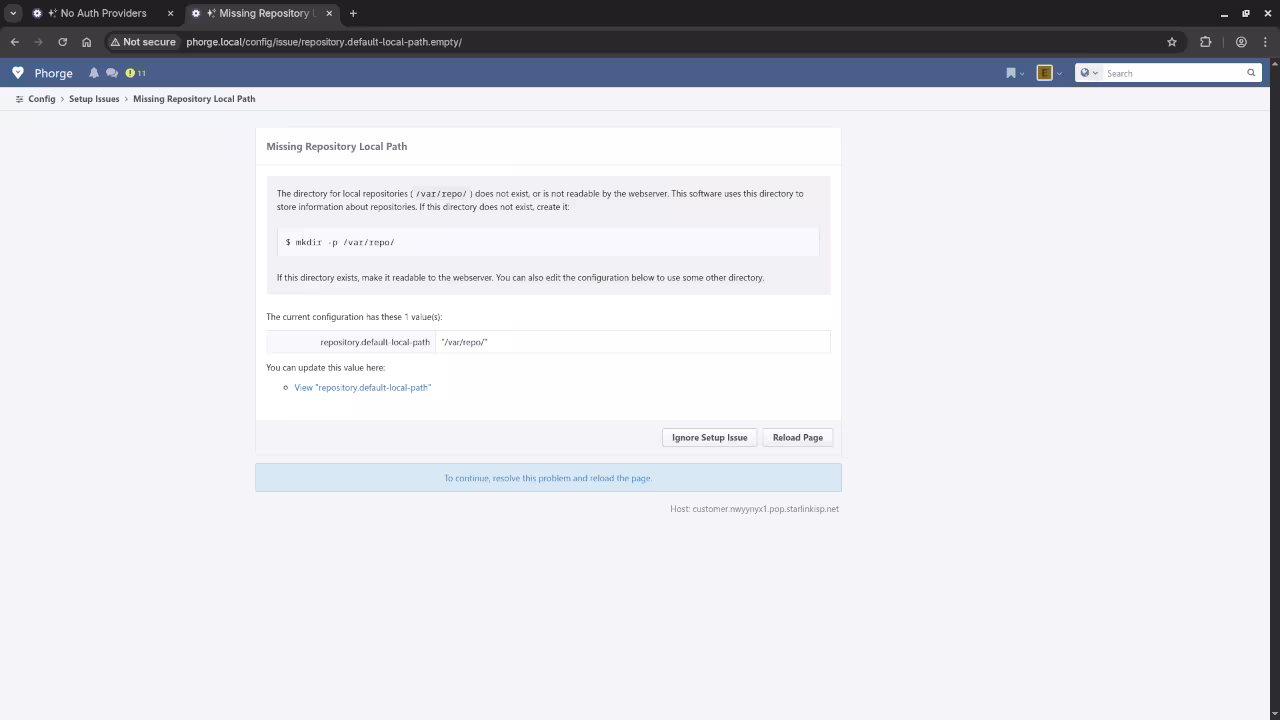
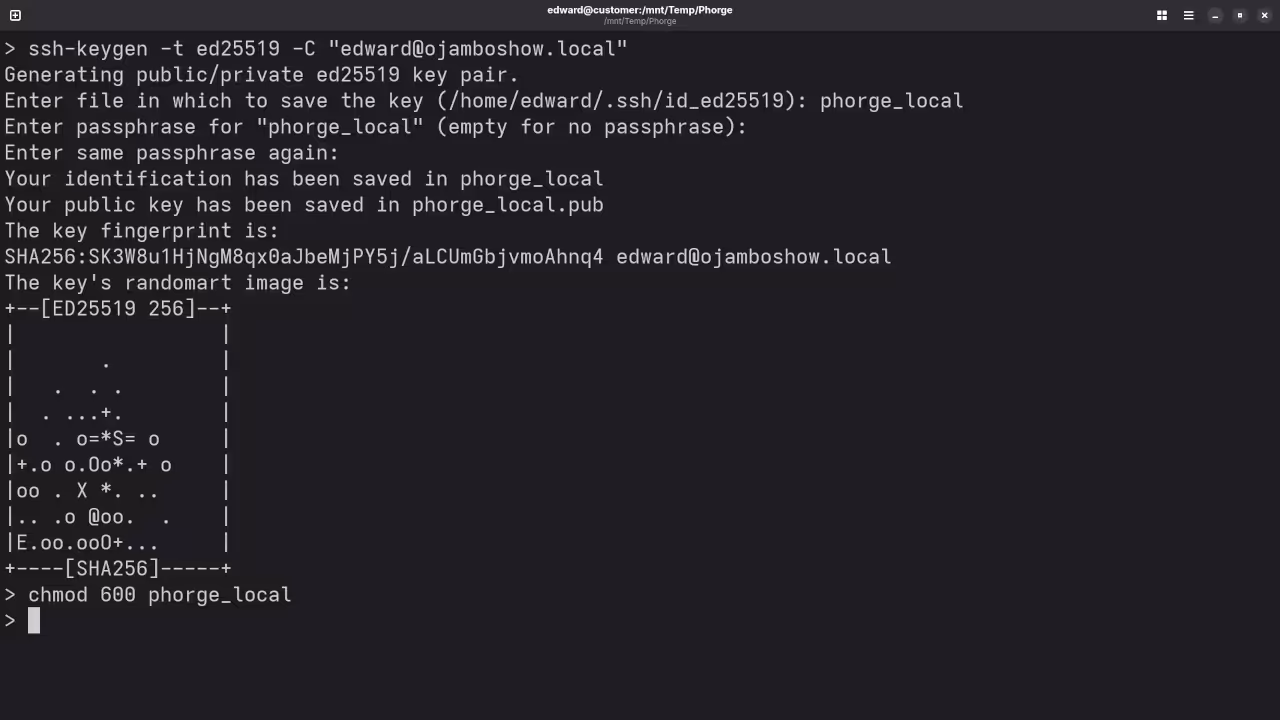
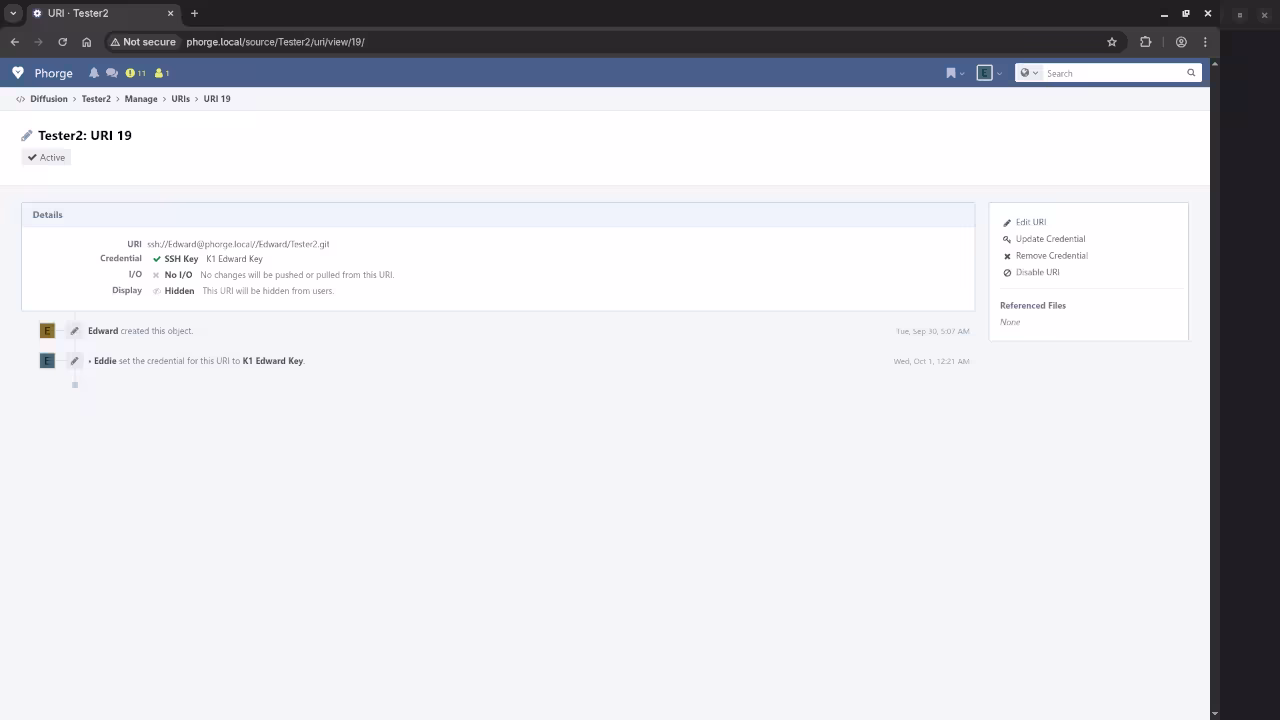
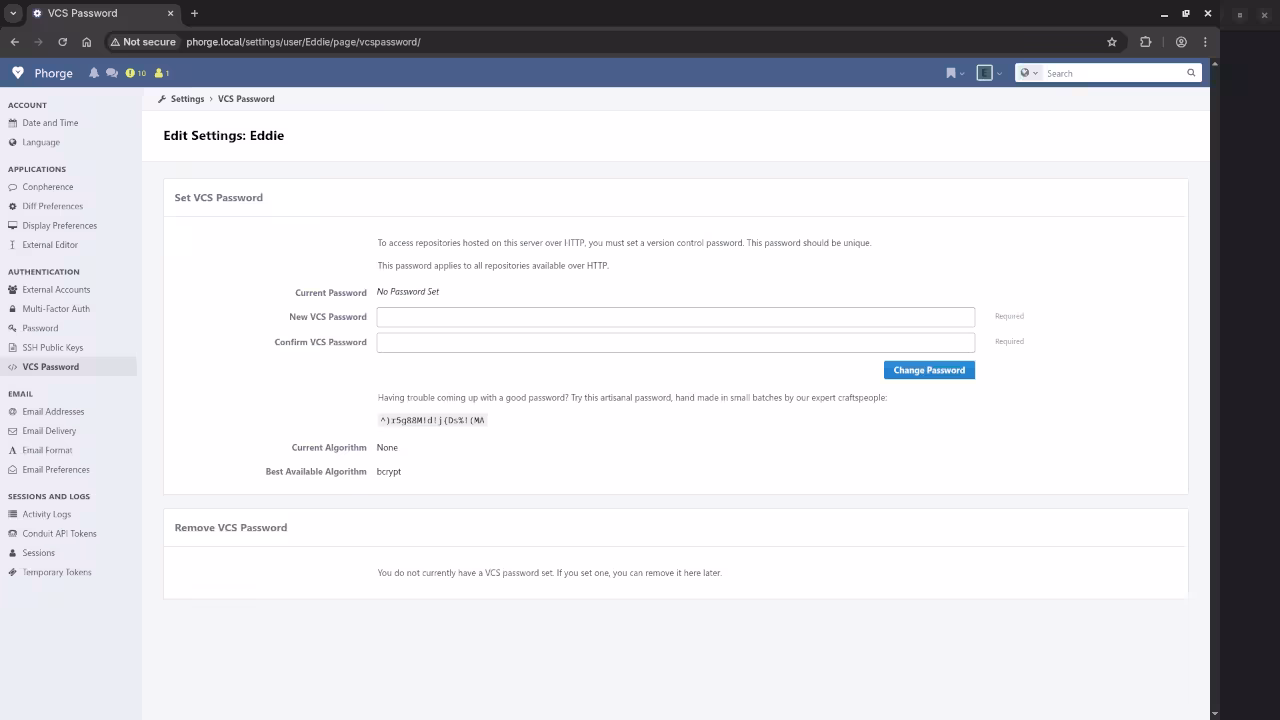
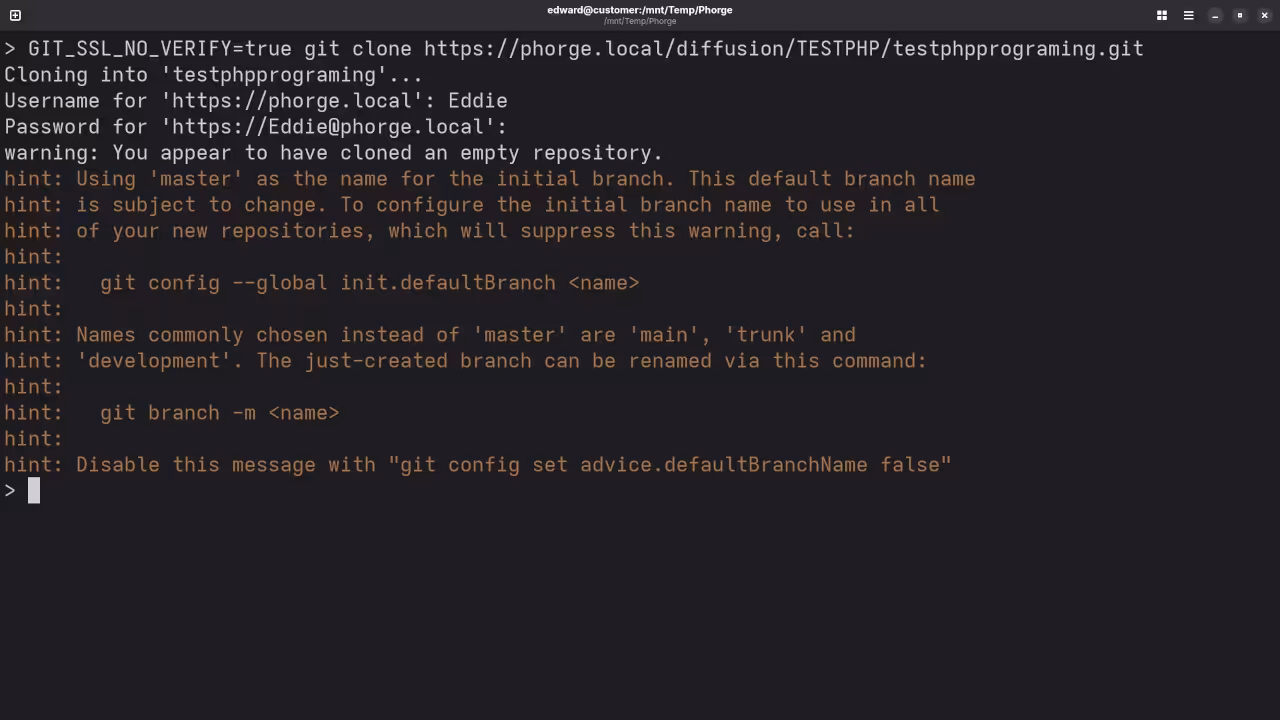
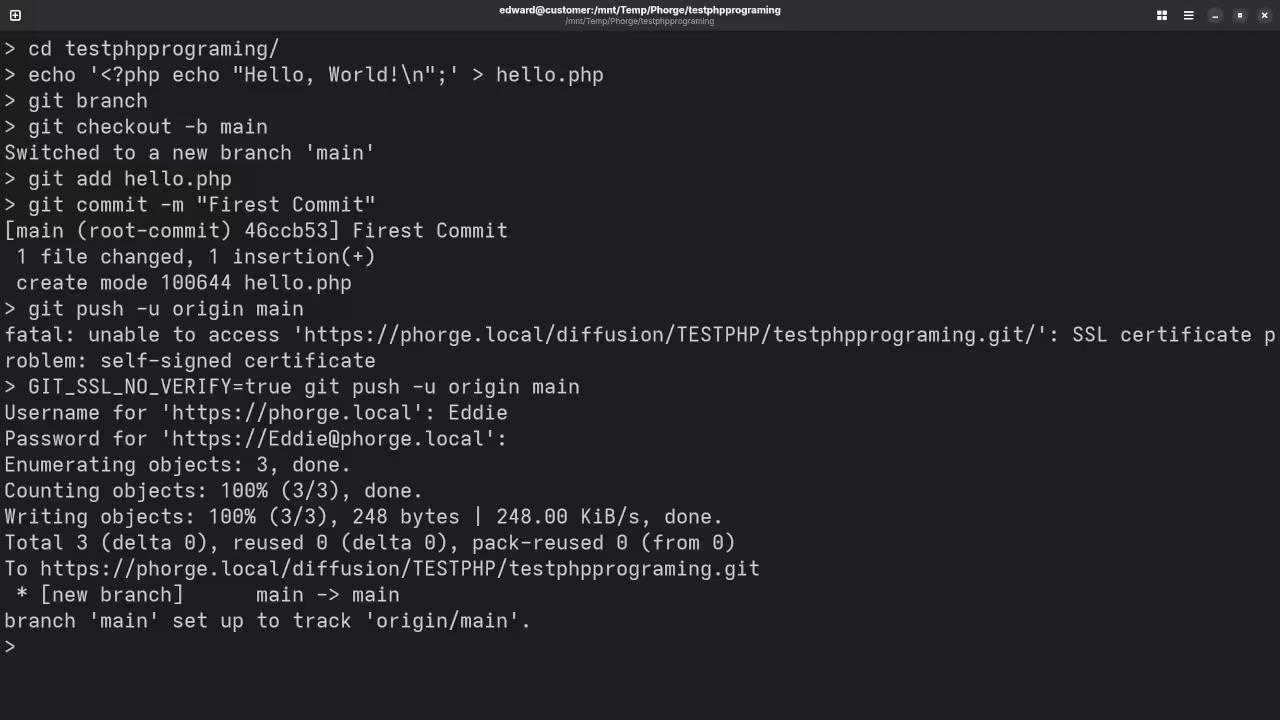
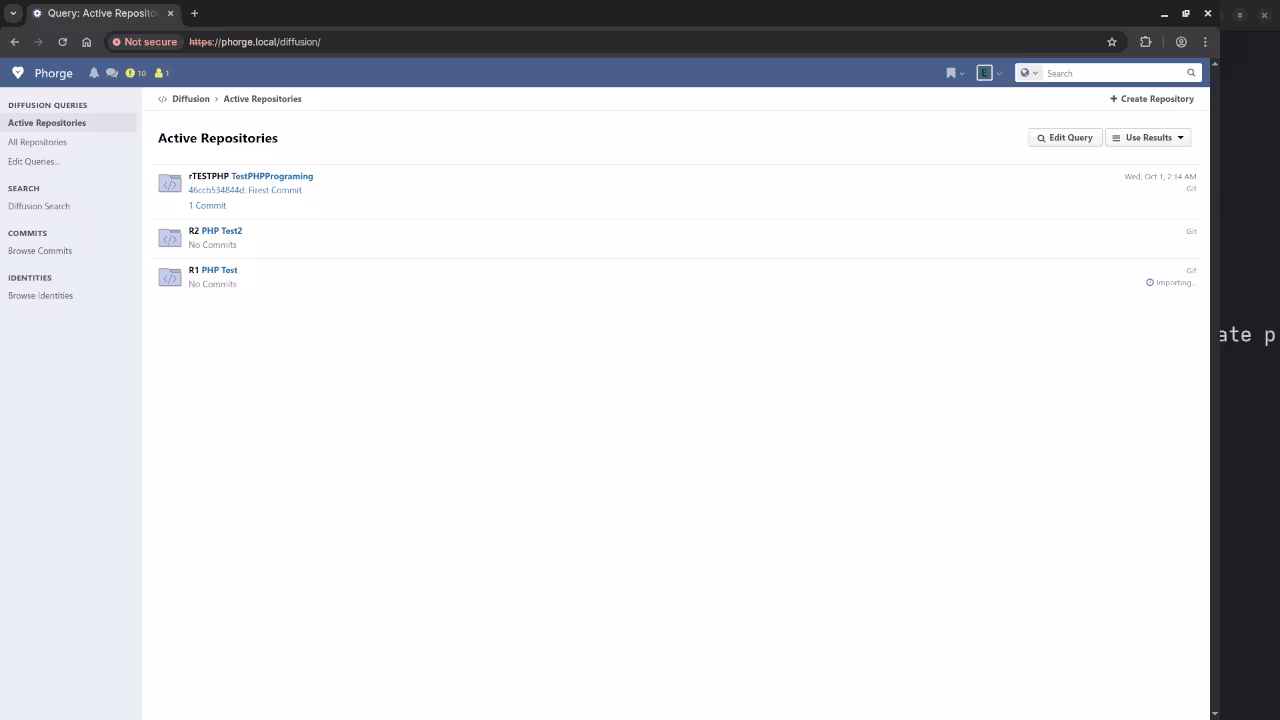
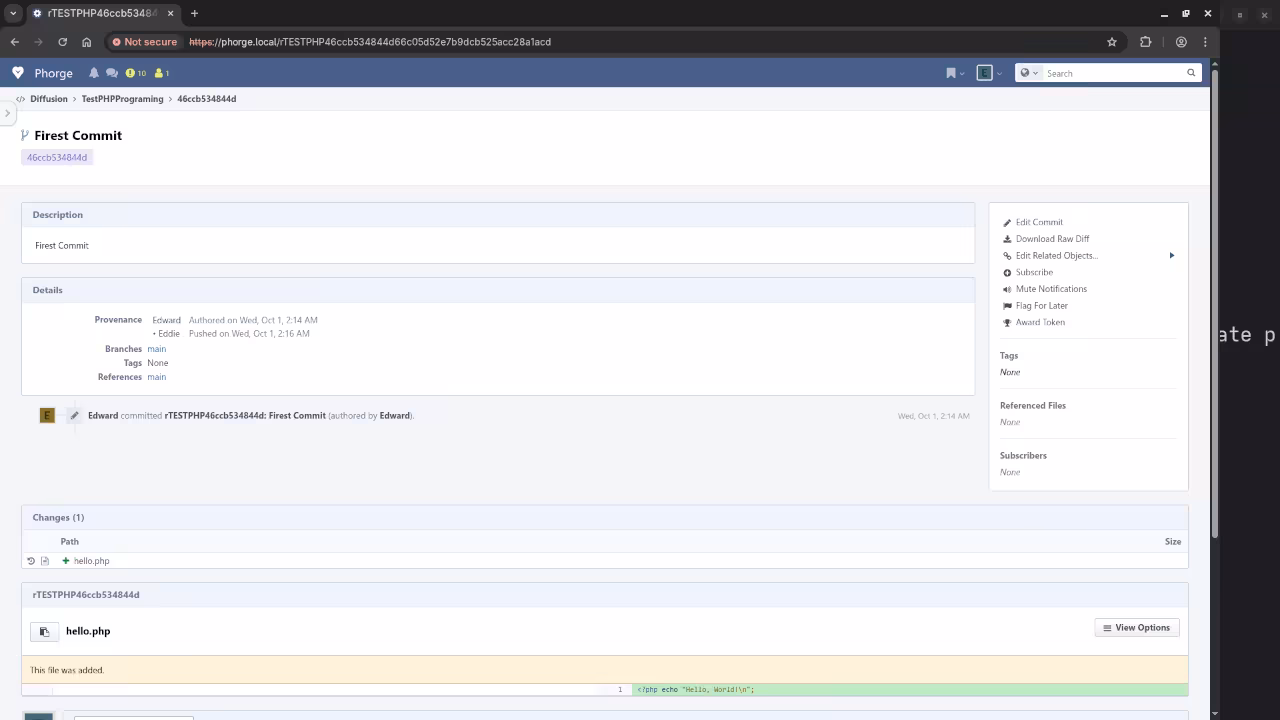
Screenshots and Screencast Tutorial
Learn More with My Programming Books and Courses
Whether you’re just getting started or want to go deeper into development, I’ve created useful resources to help you:
Need Help?
If you’d rather not install Phorge yourself or need assistance migrating Git repositories or setting up your development environment, I’m available for:
Final Thoughts
Phorge gives you enterprise-grade developer tools without the cost or complexity of closed platforms. If you value open source, control, and flexibility, it’s an excellent choice.
Give it a try, and feel free to reach out if you’d like help setting it up.
🚀 Recommended Resources
Disclosure: Some of the links above are referral links. I may earn a commission if you make a purchase at no extra cost to you.