
Creating a Simple Snowman with Blender Python API and Displaying It in the Web Browser with Model-Viewer
Introduction
Creating 3D models with Blender’s Python API is a fun and educational experience, especially when you’re a beginner. In this tutorial, we’ll walk through the process of generating a basic snowman using Python in Blender, and then we’ll display it in a web browser using the model-viewer component. This will involve using some basic shapes like spheres for the snowman’s body, sticks for arms, a button for the chest, and a nose. We’ll also use a High Dynamic Range (HDR) image to light our scene, making it look more realistic. Additionally, we’ll talk about the different image formats supported by web browsers for HDR and offer some open-source alternatives.
Let’s dive in!
Setting Up Blender and Python
Before we get started, ensure you have Blender 4.5 LTS installed. This version of Blender comes with robust Python support and the ability to generate 3D models directly using the Python API.
To run a Python script in Blender, you can use Blender’s scripting tab or execute the script directly from the command line. For the command line, simply navigate to your Blender installation directory and run the following:
blender --background --python my_script.py Where my_script.py is the Python script you want to run.
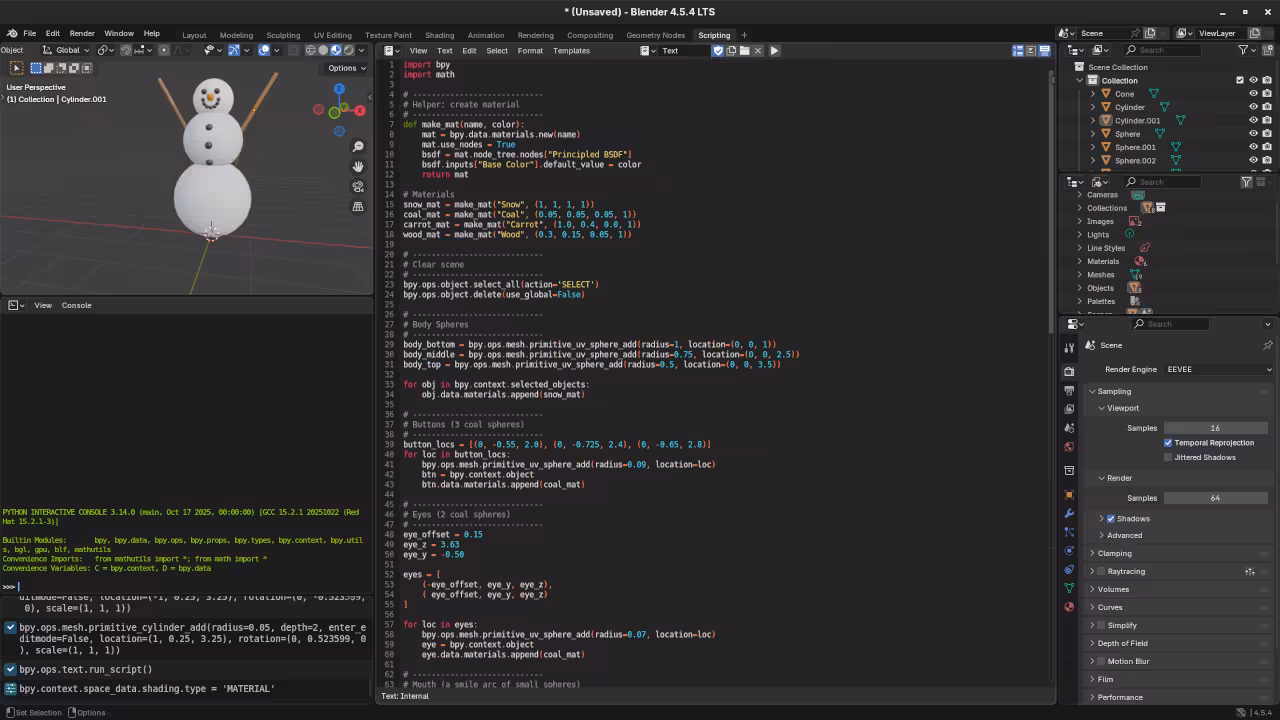
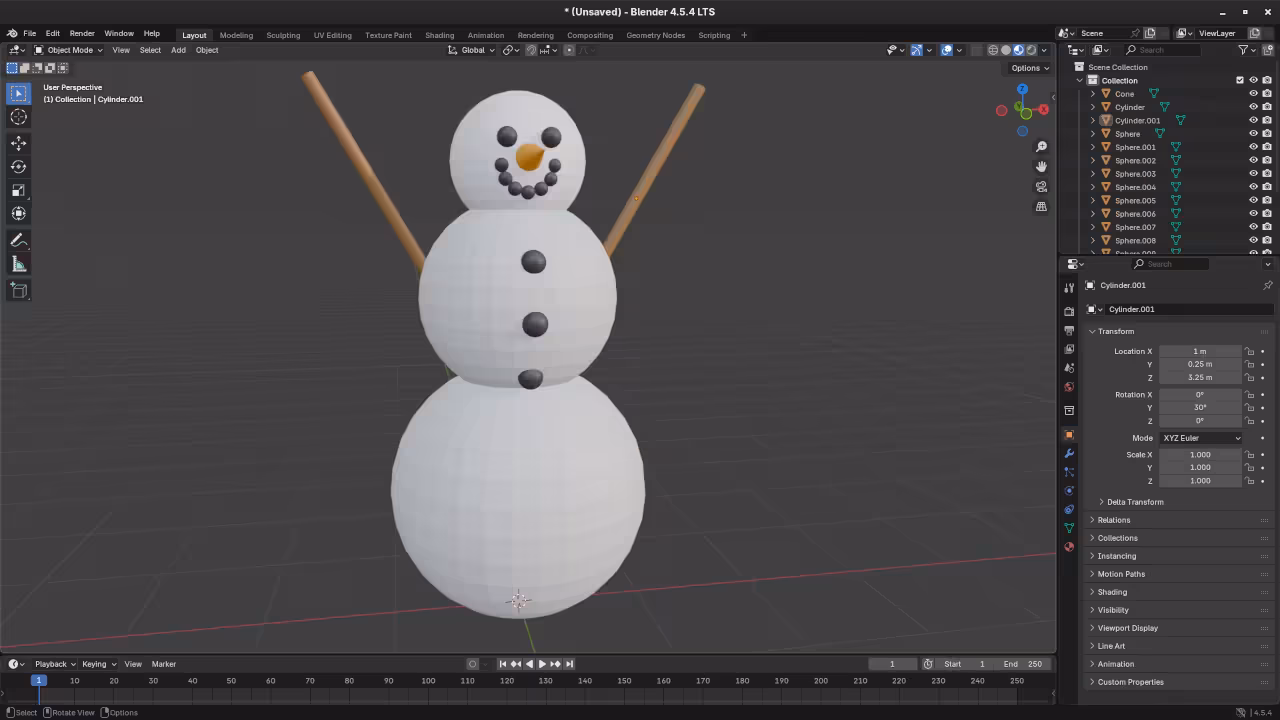
Step 1: Creating the Snowman in Blender using Python
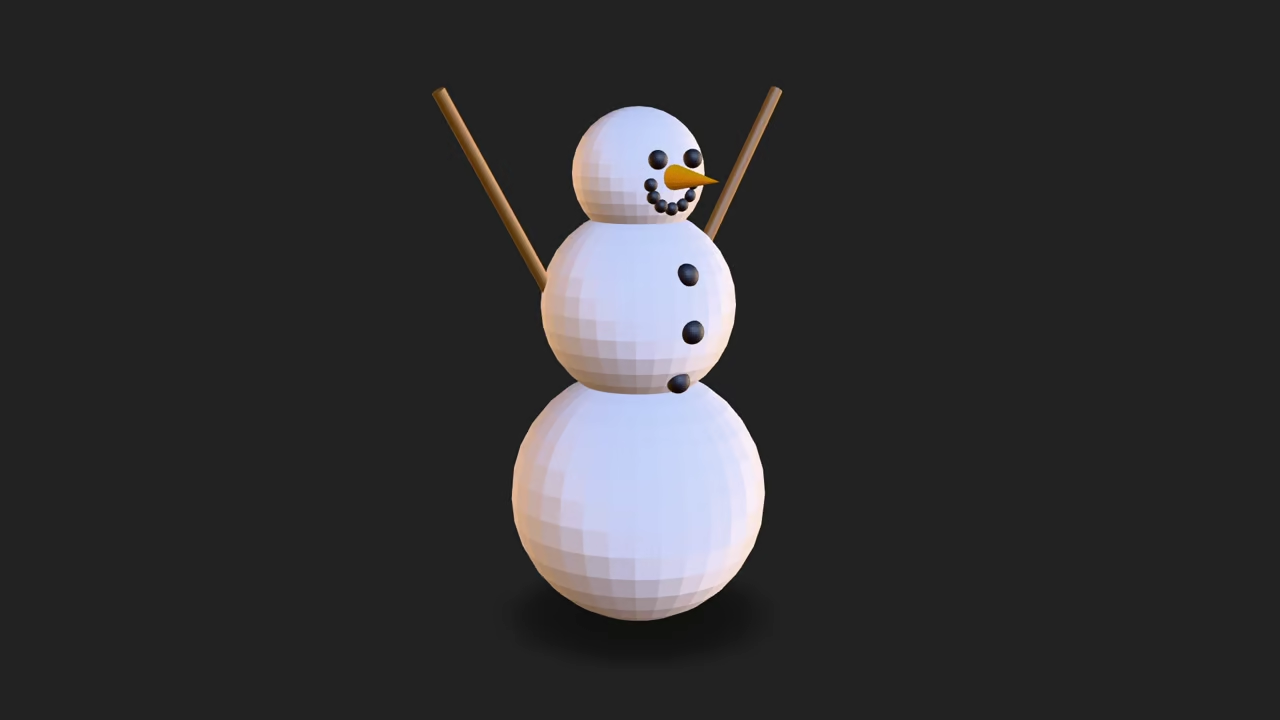
In Blender, you can use the Python API to generate the basic shapes for your snowman. We’ll use spheres for the body, a cone for the nose, and cubes for the buttons. We’ll also use simple cylinders for the sticks (arms). Here’s a Python script to create the basic snowman model:
import bpy
# Clear existing objects
bpy.ops.object.select_all(action='SELECT')
bpy.ops.object.delete(use_global=False)
# Create the body - 3 spheres (bottom, middle, top)
bpy.ops.mesh.primitive_uv_sphere_add(radius=1, location=(0, 0, 1))
bpy.ops.mesh.primitive_uv_sphere_add(radius=0.75, location=(0, 0, 2.5))
bpy.ops.mesh.primitive_uv_sphere_add(radius=0.5, location=(0, 0, 3.75))
# Add buttons to the snowman (just a few spheres on the body)
bpy.ops.mesh.primitive_uv_sphere_add(radius=0.1, location=(0, 0, 2))
bpy.ops.mesh.primitive_uv_sphere_add(radius=0.1, location=(0, 0.3, 2))
bpy.ops.mesh.primitive_uv_sphere_add(radius=0.1, location=(0, -0.3, 2))
# Create a nose (cone) and place it
bpy.ops.mesh.primitive_cone_add(vertices=4, radius1=0, radius2=0.1, depth=0.5, location=(0, 0, 4.2))
# Create sticks (arms) using cylinders
bpy.ops.mesh.primitive_cylinder_add(radius=0.05, depth=2, location=(-1.5, 0, 3.5))
bpy.ops.mesh.primitive_cylinder_add(radius=0.05, depth=2, location=(1.5, 0, 3.5))
# Move the camera and set up the scene
bpy.data.objects['Camera'].location = (5, -5, 5)
bpy.data.objects['Camera'].rotation_euler = (1, 0, 1)
bpy.context.scene.camera = bpy.data.objects['Camera']
# Set up HDR lighting using an EXR file
hdr_image = bpy.data.images.load("path_to_courtyard.exr")
world = bpy.data.worlds['World']
world.use_nodes = True
bg_node = world.node_tree.nodes['Background']
bg_node.inputs[0].default_value = 1.0 # Strength of the light
texture_node = world.node_tree.nodes.new(type='ShaderNodeTexEnvironment')
texture_node.image = hdr_image
world.node_tree.links.new(texture_node.outputs[0], bg_node.inputs[0])
Step 2: Exporting the Model for Web
Now that we’ve created the snowman, we need to export the model to a format that can be used in a web browser. We’ll use the glTF format for this purpose, as it’s widely supported in web applications and lightweight enough for use in interactive 3D viewers like model-viewer.
You can export the model by going to File > Export > Export As glTF (.glb/.gltf). For optimal web use, the .glb format is recommended, as it includes all the necessary textures and materials in a single file.
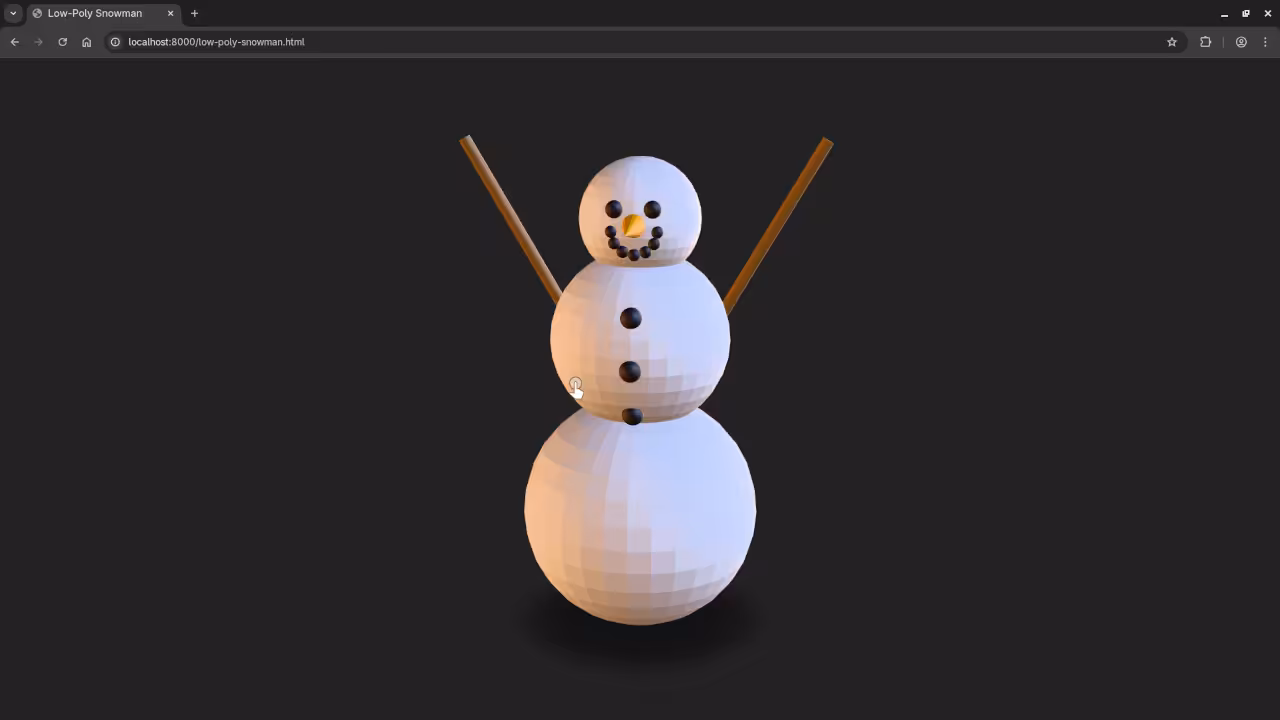
Step 3: Displaying the Snowman in the Web Browser with model-viewer
To display your snowman in a web browser, you can use Google’s model-viewer element, which makes it super easy to embed 3D models in a web page. Here’s how to integrate it into an HTML file:
<h1>My Snowman</h1>
<model-viewer src="path_to_your_model.glb" alt="Snowman" auto-rotate camera-controls background-color="#ffffff" shadow-intensity="1" style="width: 100%; height: 500px;"></model-viewer>
<script type="module" src="https://cdn.jsdelivr.net/npm/@google/model-viewer@3.0.0/dist/model-viewer.min.js"></script>
Make sure to replace "path_to_your_model.glb" with the actual path to your exported .glb model file.
Step 4: Understanding HDR Image Formats for the Web
When using HDR images for lighting, Blender supports several formats like .hdr, .exr, .ktx, and .ktx2. However, web browsers have limited support for these formats:
- .hdr and .exr: These formats are commonly used in 3D rendering, and
.exris the most widely supported format in web applications. - .ktx and .ktx2: These formats are optimized for GPUs and generally offer faster rendering. However, they are not as commonly supported in all browsers as
.exr. - Alternatives: For open-source alternatives, you can convert
.hdrand.exrimages to other formats like.pngor.jpg, but these won’t retain the HDR lighting effects as well as the dedicated formats. For best results, stick with.exror.hdrfor lighting.
📸 Screenshots & Screencast
Resources
If you’re interested in learning more about Python programming or Blender’s Python API, check out my books:
I also offer a course on Python programming:
For personalized one-on-one online tutorials, including Blender Python, feel free to reach out to me:
🚀 Recommended Resources
Disclosure: Some of the links above are referral links. I may earn a commission if you make a purchase at no extra cost to you.