
Creating a Low-Poly Bus in Blender with Python and Displaying It on the Web
Blender is a powerful tool for 3D modeling—and with Python scripting, it becomes even more flexible. In this tutorial, I’ll show you how to generate a low-poly bus model using the Blender Python API, and then display it in a web browser using model-viewer.
Whether you’re new to Blender scripting or want to display your 3D creations online, this beginner-friendly guide has you covered.
🚌 Step 1: Generate the Low-Poly Bus Using Python in Blender
We’ll use Blender’s scripting interface to create the low-poly bus model. Below is a simplified Python script that you can paste directly into Blender 4.3+.
You can find the full source code here:
import bpy
import bmesh
from mathutils import Vector
def clear_scene():
bpy.ops.object.select_all(action='SELECT')
bpy.ops.object.delete(use_global=False)
def create_material(name, color):
mat = bpy.data.materials.get(name)
if not mat:
mat = bpy.data.materials.new(name=name)
mat.diffuse_color = (*color, 1)
return mat
def create_low_poly_bus():
clear_scene()
orange = create_material("DoorOrange", (1.0, 0.5, 0.2))
yellow = create_material("BusYellow", (1.0, 0.8, 0.0))
black = create_material("WheelBlack", (0.05, 0.05, 0.05))
glass = create_material("WindowGlass", (0.2, 0.5, 0.8))
red = create_material("TailLight", (1.0, 0.1, 0.1))
grey = create_material("Grille", (0.3, 0.3, 0.3))
white = create_material("Headlight", (1.0, 1.0, 1.0))
### BUS BODY ###
bpy.ops.mesh.primitive_cube_add(size=2)
body = bpy.context.active_object
body.name = "Bus_Body"
body.scale = (3.0, 1.0, 1.2)
body.location = (0, 0, 1.2)
body.data.materials.append(yellow)
### WINDOWS ###
window_positions = [-2, -1, 0, 1, 2]
for i, x in enumerate(window_positions, start=1):
bpy.ops.mesh.primitive_cube_add(size=1)
win = bpy.context.active_object
win.name = f"Bus_Window_{i}"
win.scale = (0.5, 0.05, 0.5)
win.location = (x, 1.05, 1.8)
win.data.materials.append(glass)
### WHEELS ###
wheel_positions = {
"FL": (-2.2, 1.0),
"FR": ( 2.2, 1.0),
"RL": (-2.2, -1.0),
"RR": ( 2.2, -1.0),
}
for key, (x, y) in wheel_positions.items():
bpy.ops.mesh.primitive_cylinder_add(radius=0.4, depth=0.3, vertices=12)
wheel = bpy.context.active_object
wheel.name = f"Bus_Wheel_{key}"
wheel.rotation_euler = (1.5708, 0, 0)
wheel.location = (x, y, 0.04)
wheel.data.materials.append(black)
### FRONT WINDOW ###
bpy.ops.mesh.primitive_cube_add(size=1)
front_win = bpy.context.active_object
front_win.name = "Bus_Front_Window"
front_win.scale = (0.9, 0.05, 0.6)
front_win.location = (3.05, 0, 1.6)
front_win.rotation_euler = (0, 0, 1.5708) # Rotated 90° on Z axis
front_win.data.materials.append(glass)
### ROOF LIGHTS ###
for i, x in enumerate([-1.5, 0, 1.5], start=1):
bpy.ops.mesh.primitive_cube_add(size=0.3)
light = bpy.context.active_object
light.name = f"Bus_RoofLight_{i}"
light.scale = (1, 0.3, 0.1)
light.location = (x, 0, 2.5)
light.data.materials.append(red)
### FRONT GRILLE ###
bpy.ops.mesh.primitive_cube_add(size=1)
grille = bpy.context.active_object
grille.name = "Bus_Grille"
grille.scale = (0.6, 0.05, 0.3)
grille.location = (3.05, 0, 0.8)
grille.rotation_euler = (0, 0, 1.5708) # Rotated 90° on Z axis
grille.data.materials.append(grey)
### HEADLIGHTS ###
for side, y_offset in [("L", 0.4), ("R", -0.4)]:
bpy.ops.mesh.primitive_cube_add(size=0.3)
headlight = bpy.context.active_object
headlight.name = f"Bus_Headlight_{side}"
headlight.scale = (0.15, 0.05, 0.15)
headlight.location = (3.05, y_offset, 1.1)
headlight.data.materials.append(white)
### BACK DETAIL (Optional: Slight inset to rear)
bpy.ops.mesh.primitive_cube_add(size=1)
back_plate = bpy.context.active_object
back_plate.name = "Bus_Back_Panel"
back_plate.scale = (0.9, 0.05, 1.0)
back_plate.location = (-3.05, 0, 1.2)
back_plate.rotation_euler = (0, 0, 1.5708) # rotate 90° on Z axis
back_plate.data.materials.append(orange)
bpy.ops.mesh.primitive_cube_add(size=0.2)
tail_light = bpy.context.active_object
tail_light.name = "Bus_TailLight"
tail_light.scale = (0.2, 0.05, 0.2)
tail_light.location = (-3.05, 0.5, 1.0)
tail_light.data.materials.append(red)
# Create an empty object named "Bus"
bpy.ops.object.empty_add(type='PLAIN_AXES')
bus_root = bpy.context.active_object
bus_root.name = "Bus"
# List all your bus part names here
bus_parts = [
"Bus_Back_Panel",
"Bus_Body",
"Bus_Front_Window",
"Bus_Grille",
"Bus_Headlight_L",
"Bus_Headlight_R",
"Bus_RoofLight_1",
"Bus_RoofLight_2",
"Bus_RoofLight_3",
"Bus_TailLight",
"Bus_Wheel_FL",
"Bus_Wheel_FR",
"Bus_Wheel_RL",
"Bus_Wheel_RR",
"Bus_Window_1",
"Bus_Window_2",
"Bus_Window_3",
"Bus_Window_4",
"Bus_Window_5"
]
# Parent all parts to the "Bus" empty
for part_name in bus_parts:
obj = bpy.data.objects.get(part_name)
if obj:
obj.parent = bus_root
else:
print(f"Warning: {part_name} not found")
# Deselect all, then select only the "Bus" empty
bpy.ops.object.select_all(action='DESELECT')
bus_root.select_set(True)
bpy.context.view_layer.objects.active = bus_root
bpy.ops.object.parent_set(type='OBJECT')
# Define export path (adjust as needed)
export_path = os.path.join(os.path.expanduser("~"), "low_poly_bus.glb")
# Export selected (the "Bus" empty and children) as GLB
bpy.ops.export_scene.gltf(
filepath=export_path,
export_format='GLB',
export_selected=True,
export_apply=True
)
# Run it
create_low_poly_bus()
Note: If you’re new to Python scripting in Blender, check out my book Learning Python.
⚙️ Running the Script via Command Line
To run the Python script outside Blender’s UI, open a terminal or command prompt and run:
blender --background --python create_low_poly_bus.py Make sure create_low_poly_bus.py is your saved script file, and that Blender is installed and in your system’s PATH.
🌐 Step 2: Export the Model to .glb Format
Once your low-poly bus is generated in Blender:
- Go to File → Export → glTF 2.0 (.glb).
- Check Include Selected Objects and Apply Modifiers.
- Save your model as
low_poly_bus.glb.
💻 Step 3: Display the Model in a Web Browser with model-viewer
Create an HTML file with the following content:
<!DOCTYPE html>
<html lang="en">
<head>
<title>Low Poly Bus Viewer</title>
<script type="module" src="https://unpkg.com/@google/model-viewer/dist/model-viewer.min.js"></script>
<style>
model-viewer {
width: 100%;
height: 500px;
}
</style>
</head>
<body>
<h1>Low Poly Bus</h1>
<model-viewer
src="low_poly_bus.glb"
alt="A low poly bus model"
auto-rotate
camera-controls
ar
shadow-intensity="1"
background-color="#FFF">
</model-viewer>
</body>
</html>
Open the HTML file in your browser. Your 3D bus is now live on the web!
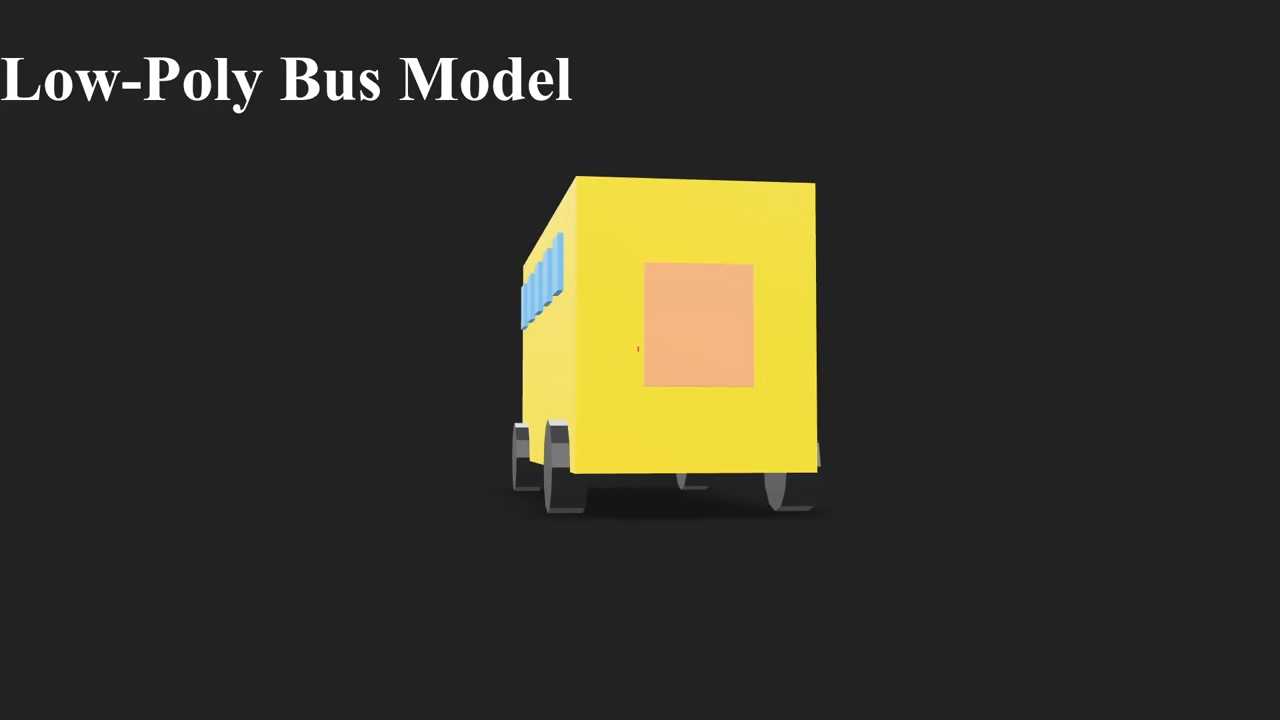
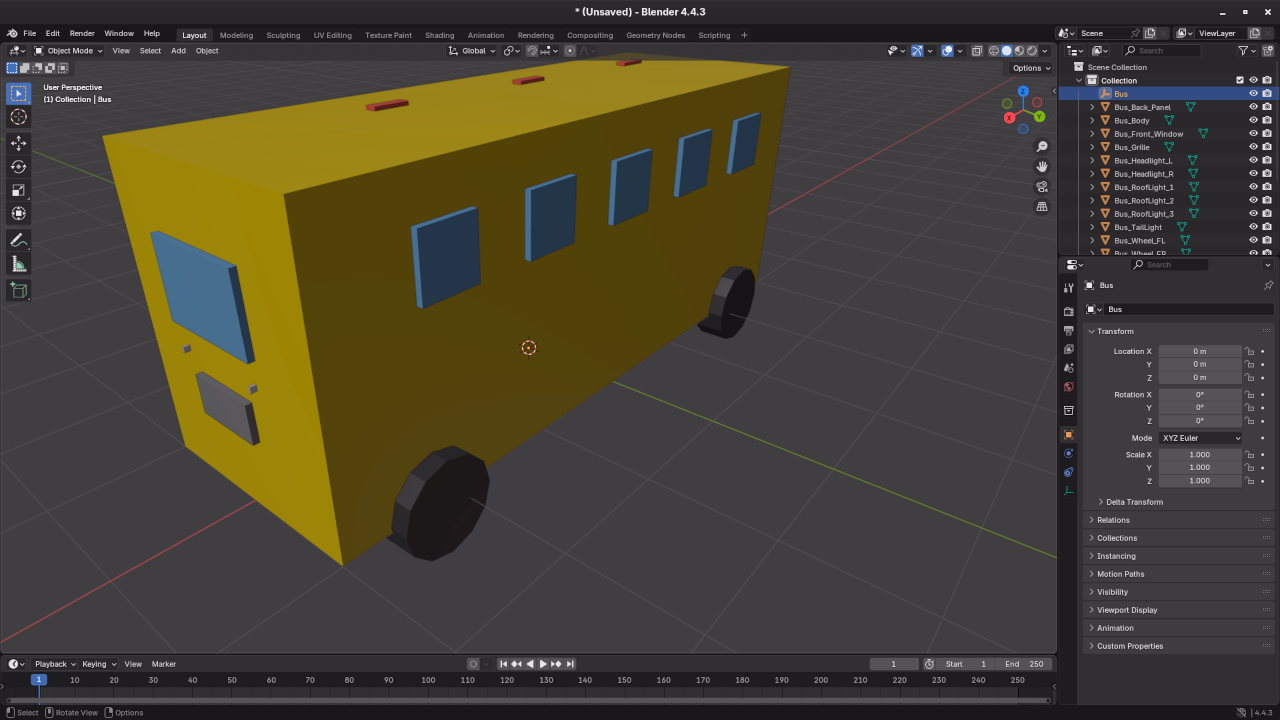
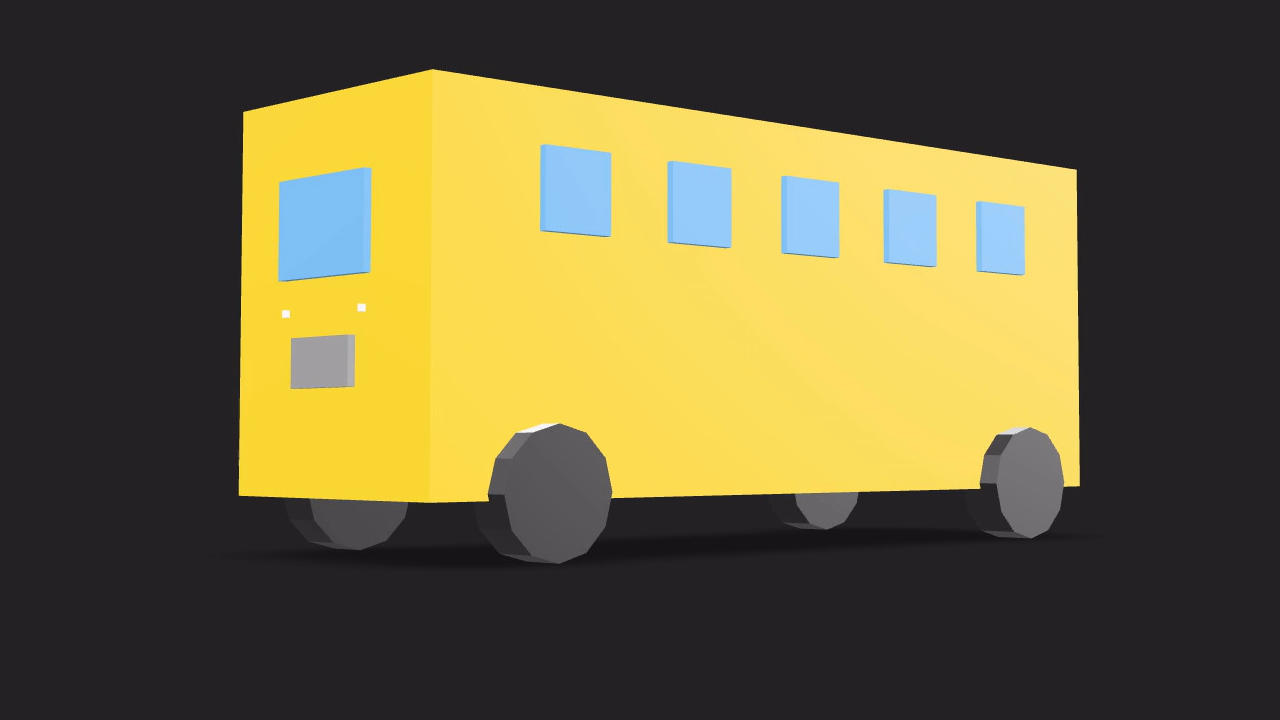
📷 Screenshots

Don’t forget to check out my screencast on generating 3D models with Blender Python API. In the video, I walk through the entire process, from coding the script to displaying the model in the browser.
🎬 Embedded Live Screencast
📚 Learn More and Go Further
Want to go deeper with Python and Blender scripting?
- 📖 Learning Python (Book) – Great for total beginners.
- 📖 Mastering Blender Python API (Book) – Perfect for Blender automation and advanced scripting.
- 🎓 Learning Python (Course) – Hands-on, beginner-friendly Python training.
💬 Need Help? Book a 1-on-1 Session
I offer personalized online Python tutoring, including Blender scripting sessions. You can reach me via my contact page:
🧠 Final Thoughts
With just a few lines of Python and a simple HTML viewer, you can automate 3D modeling in Blender and bring your creations to life online. Give it a try and let me know how it works for you!
🚀 Recommended Resources
Disclosure: Some of the links above are referral links. I may earn a commission if you make a purchase at no extra cost to you.