
Blender Is A 3D Creation Software Tool
Blender is cross-platform for Mac OS including POSIX systems, Windows and Linux.
Blender is written in C++ and Python. It is easy to customize using extensions which include add-ons and themes. Blender comes with a built-in video sequence editor (VSE).
The Text strip can be used to display inserted text in the VSE.
The focus of this tutorial will be using the Blender Python API to create a custom script that generates a text strip for the VSE.
- Remove default objects.
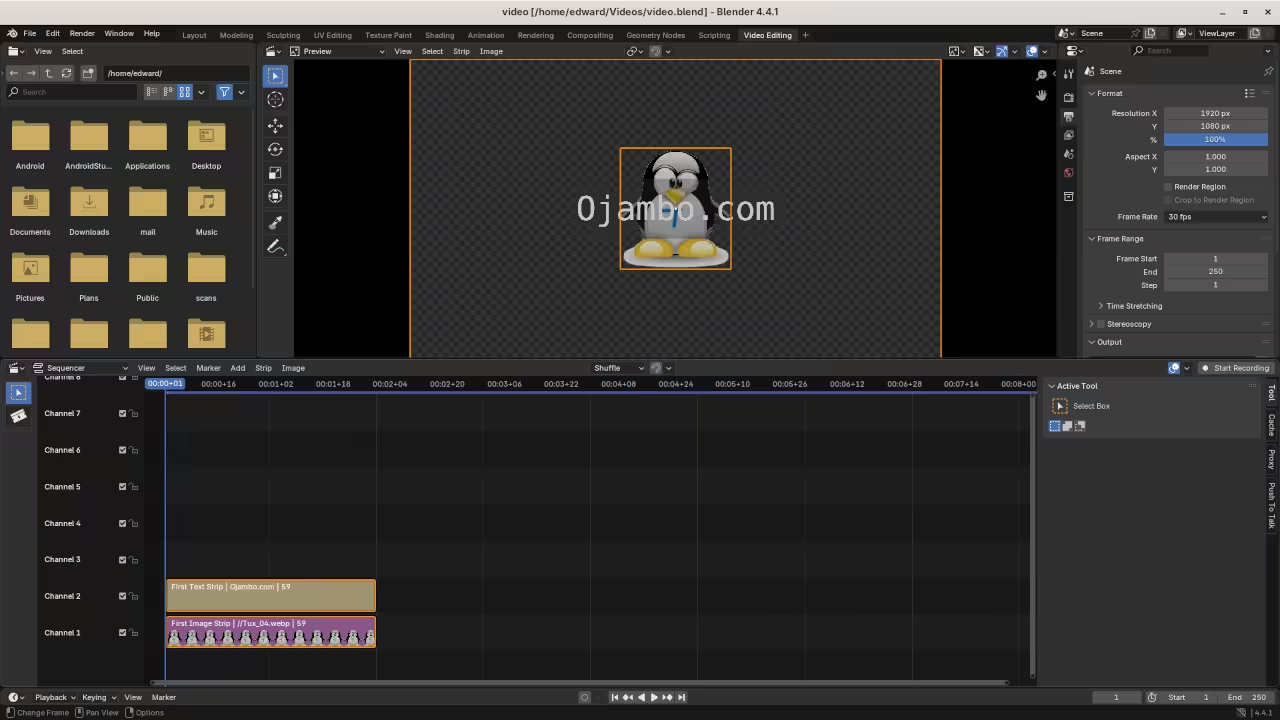
- Add an image strip on the first channel.
- Create a text strip in the VSE on the second channel.
- Tweak render settings
- Create a blend file.
Requirements For Blender Python API
Glossary:
API
Application Programming Interface is a set of rules or protocols that enables software applications to communicate with each other to exchange data, features, and functionality.
UI
User Interface is the point of interaction between humans and machines, allowing effective operation and control of the machine from the human end.
Blender Editors
Used for displaying and modifying different aspects of data.
Blender Areas
Window divided into a number of rectangles that reserve space for Editors.
Blender Workspaces
Predefined window layouts consisting of a set of Areas containing Editors for specific tasks.
Tools
| Name | Description | Example |
|---|---|---|
| Text editor | For creating and editing source code | Apache Netbeans IDE |
| SSH | Secure Shell Client | OpenSSH |
| Shell Access | Access to the command line. | Terminal |
| Name | Description | Example |
Overview:
- Text editor
- Syntax highlighting
- Autocompletion
- Smart indent
- Find and replace
- Run script
Menus:
- File menu.
- Edit menu.
- Render menu.
- Help menu.
Workspaces:
- Scripting Workspace.
- Video Editing Workspace.
Scripting Context Menus:
- Cut
- Copy
- Paste
- Duplicate Line
- Move Line(s) Up
- Move Line(s) Down
- Indent
- Unindent
- Toggle Comments
- Text Auto Complete
import bpy
# Remove Default Objects #
objs = bpy.data.objects
for obj in objs:
objs.remove(obj, do_unlink=True)
# Optionally Set VSE As Default Layout #
#bpy.context.window.workspace = bpy.data.workspaces["Video Editing"]
# Bonus VSE Image Strip #
istr = bpy.context.scene.sequence_editor.sequences.new_image(
name="First Image Strip",
filepath="Tux_04.webp",
channel=1,
frame_start=1
)
istr.frame_final_duration = 59
# Generate VSE Text Strip #
tstr = bpy.context.scene.sequence_editor.sequences.new_effect(
name="First Text Strip",
type="TEXT",
channel=2,
frame_start=1,
frame_end=60
)
tstr.text = "Ojambo.com"
tstr.color = [0.525, 0.933, 0.525, 1.0]
tstr.font_size = 120.0
tstr.use_box = True
tstr.box_color = [0.2, 0.2, 0.2, 0.45]
tstr.box_margin = 0.02
tstr.box_roundness = 0.29
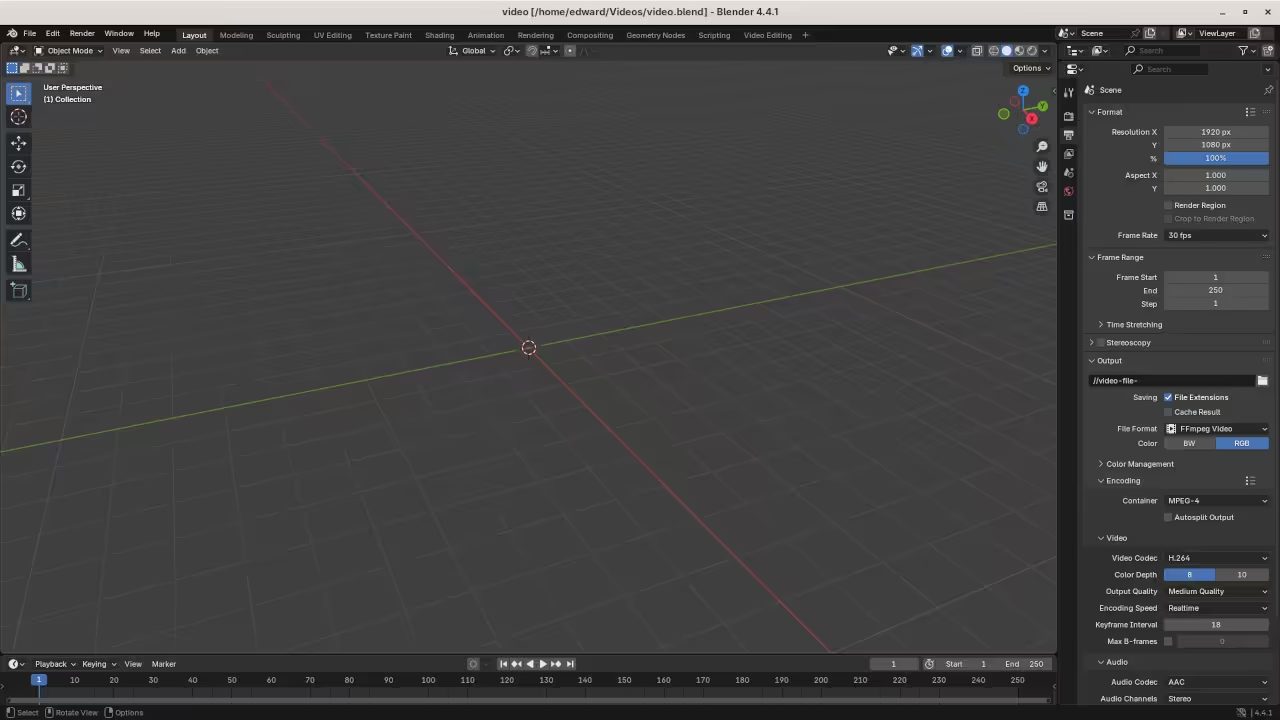
# Render Settings #
bpy.context.scene.render.resolution_x = 1920
bpy.context.scene.render.resolution_y = 1080
bpy.context.scene.render.resolution_percentage = 100
bpy.context.scene.render.fps = 30
bpy.context.scene.render.filepath = "//video-file-"
bpy.context.scene.render.ffmpeg.format = "MPEG4"
bpy.context.scene.render.ffmpeg.codec = "H264"
bpy.context.scene.render.ffmpeg.audio_codec = "AAC"
bpy.context.scene.render.ffmpeg.audio_channels = "STEREO"
bpy.context.scene.render.ffmpeg.constant_rate_factor = "MEDIUM"
bpy.context.scene.render.ffmpeg.ffmpeg_preset = "REALTIME"
# Generate Blend File #
bpy.ops.wm.save_as_mainfile(filepath="video.blend")
Usage
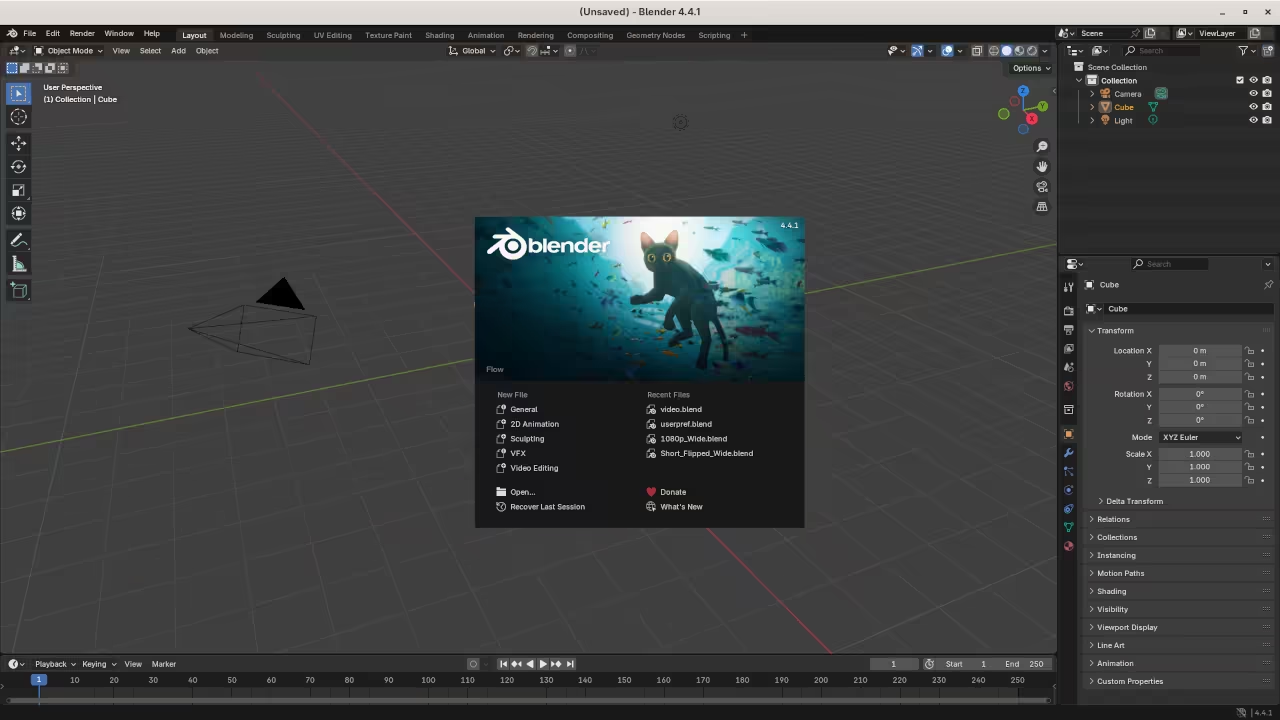
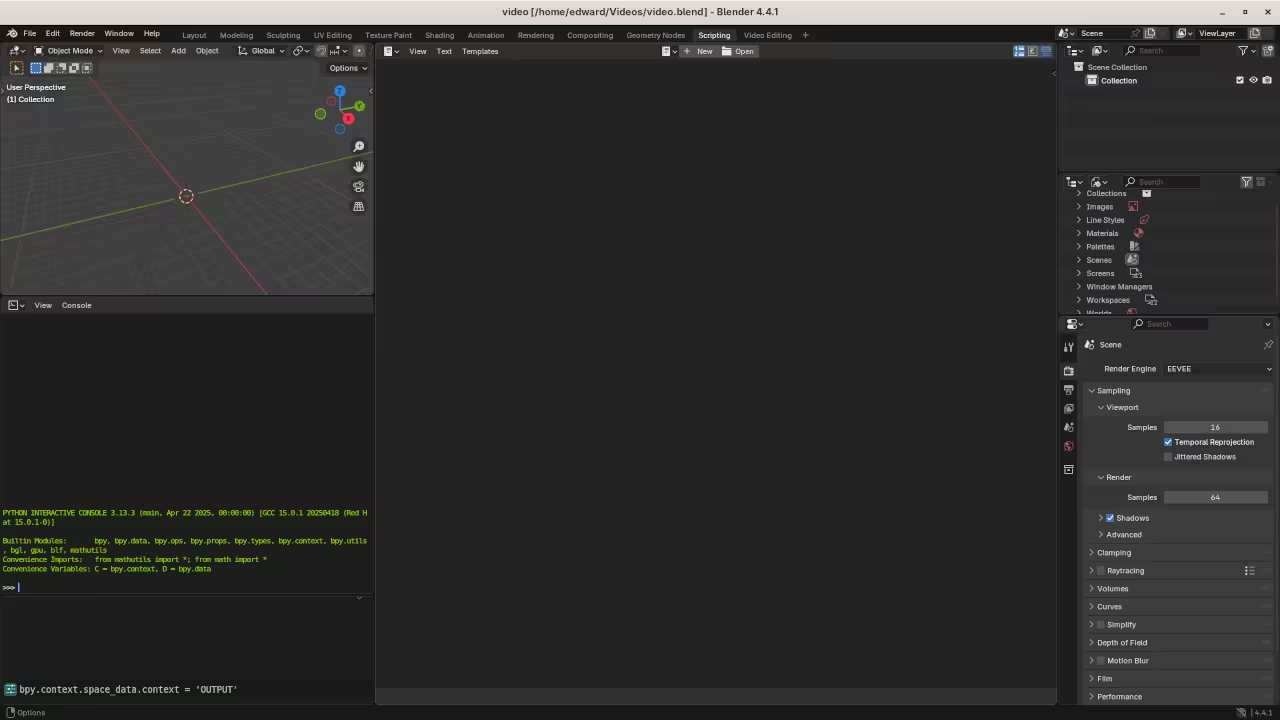
Blender can be installed at the any time before or after installing Python. Blender can be downloaded from Blender project. Python can be downloaded from Python language. The initial screen displays a default cube, camera and light source. The scripting screen displays a Python Interactive console window and an editor window. It is possible to open a custom python file or paste code into the editor. Editor features such as line numbers, word wrap, syntax highlighting, and zoom are available.
Open Source
Blender is licensed under the GNU General Public License, version 2 or later. The copyleft license comes with strict rules and requirements to ensure the software remains free and open-source. It allows commercial use, modification, distribution, and allows making derivatives proprietary, consult the license for more specific details.
Python is licensed under the Python Software Foundation License. The permissive license requires the preservation of the copyright notice and disclaimer. It allows commercial use, modification, distribution, and allows making derivatives proprietary, consult the license for more specific details.
Conclusion:
Install the Blender application by compiling from source or downloading binaries for your device. Use Python to create custom scripts or extensions for Blender customization. The Blender Python API can be used to dynamically generate text strips for the video sequence editor.
If you enjoy this article, consider supporting me by purchasing one of my WordPress Ojambo.com Plugins or programming OjamboShop.com Online Courses or publications at Edward Ojambo Programming Books or become a donor here Ojambo.com Donate
References:
- Customer Sets Price Plugin for WooCommerce on Ojambo.com
- Learning JavaScript Course on OjamboShop.com
- Learning Python Course on OjamboShop.com
- Learning PHP Course on OjamboShop.com
- Learning JavaScript Paperback on Amazon
- Learning JavaScript Ebook on Amazon
- Learning Python Ebook on Amazon
- Learning PHP Ebook on Amazon
- OjamboServices.com For Custom Websites, Applications & Tutorials
🚀 Recommended Resources
Disclosure: Some of the links above are referral links. I may earn a commission if you make a purchase at no extra cost to you.