
HTML5 Video Uploads with Fetch API: Building a Beautiful Frontend (Part 1)
Welcome to the first part of our guide on handling video uploads! We’re diving into the exciting world of HTML5, the Fetch API, and building a beautiful, user-friendly frontend. In this post, we’ll focus on creating the client-side experience, including drag-and-drop, video resizing options, and selecting the perfect placeholder image using a scrubber.
Designing the Ultimate Video Uploader UI
A great user interface (UI) makes complex tasks feel simple. For video uploads, that means making the file selection process painless and providing immediate control over the video’s presentation.
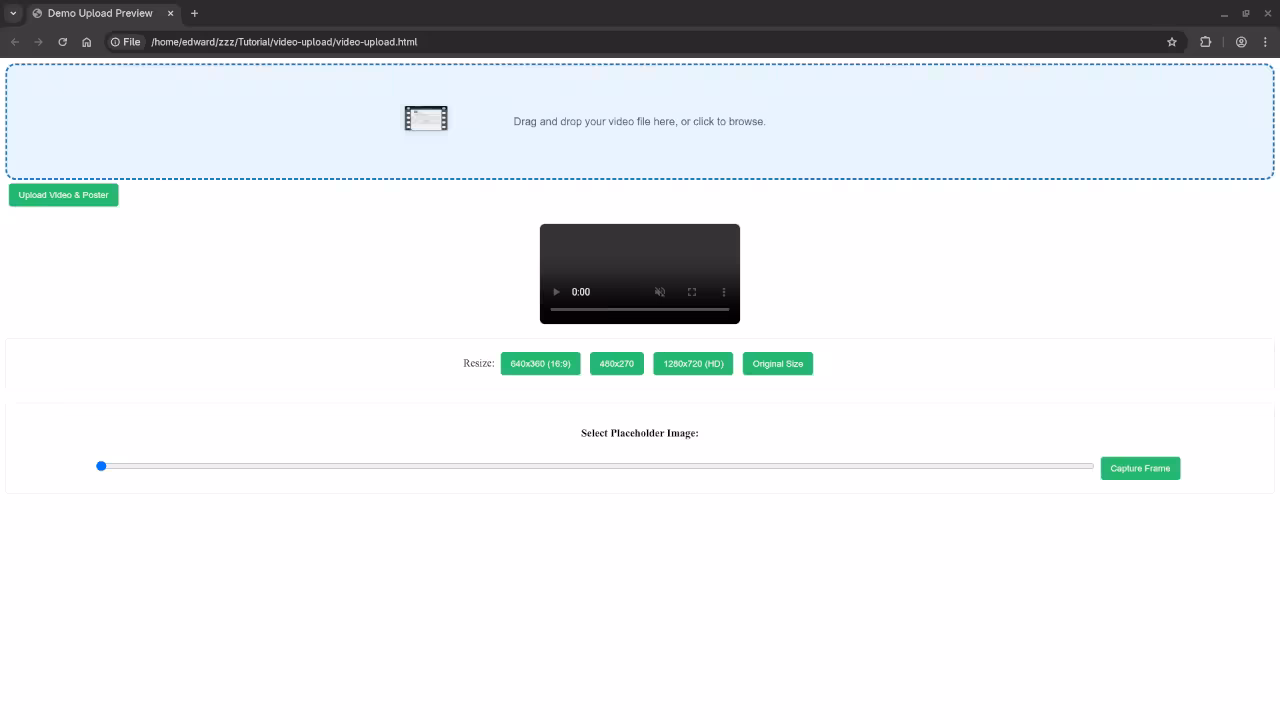
1. The Drag-and-Drop Zone
The first element is a clear, inviting area where users can drop their video files. This improves usability significantly over just clicking a small ‘Choose File’ button.
HTML Structure
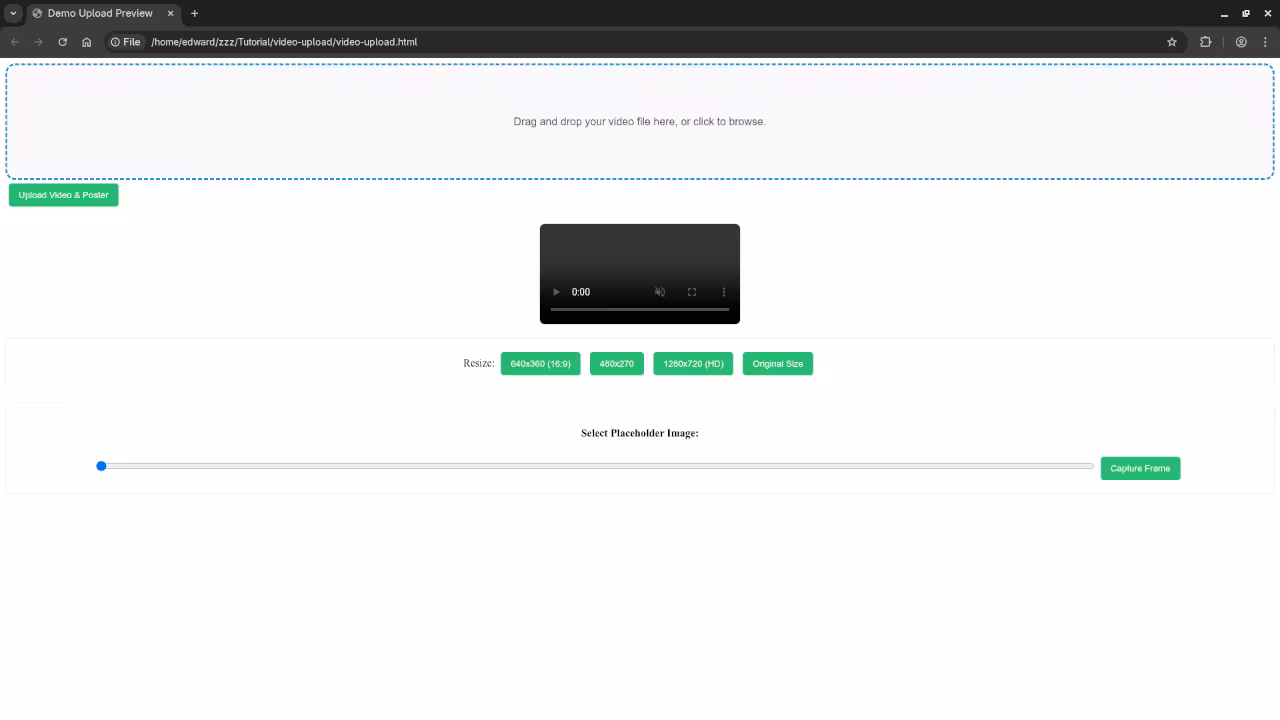
<div id="dropZone">
<p>Drag and drop your video file here, or click to browse.</p>
<input type="file" id="videoFile" accept="video/*" hidden>
</div>
<button id="uploadButton">Upload Video & Poster</button>
<p id="statusMessage" style="color: green;"></p>
Using JavaScript, we’ll add event listeners to handle the **dragover**, **dragleave**, and most importantly, the **drop** events. When a file is dropped, we’ll immediately load it into a video element for preview and manipulation.
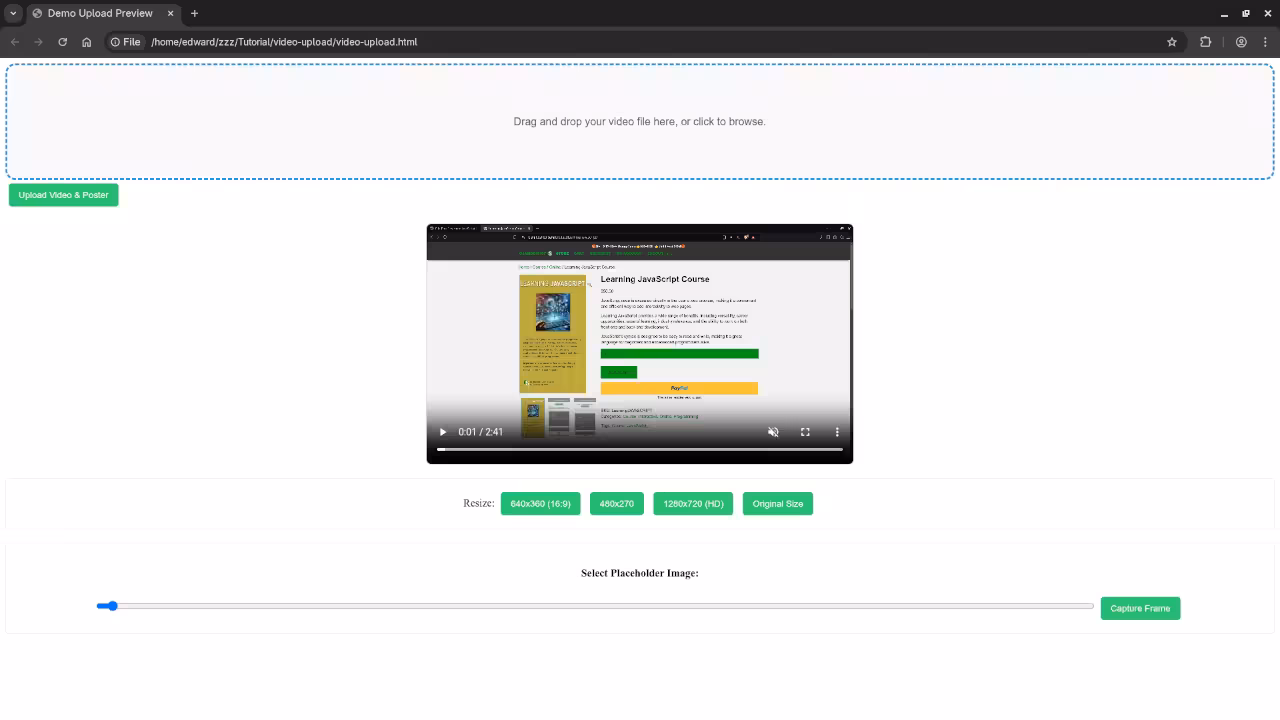
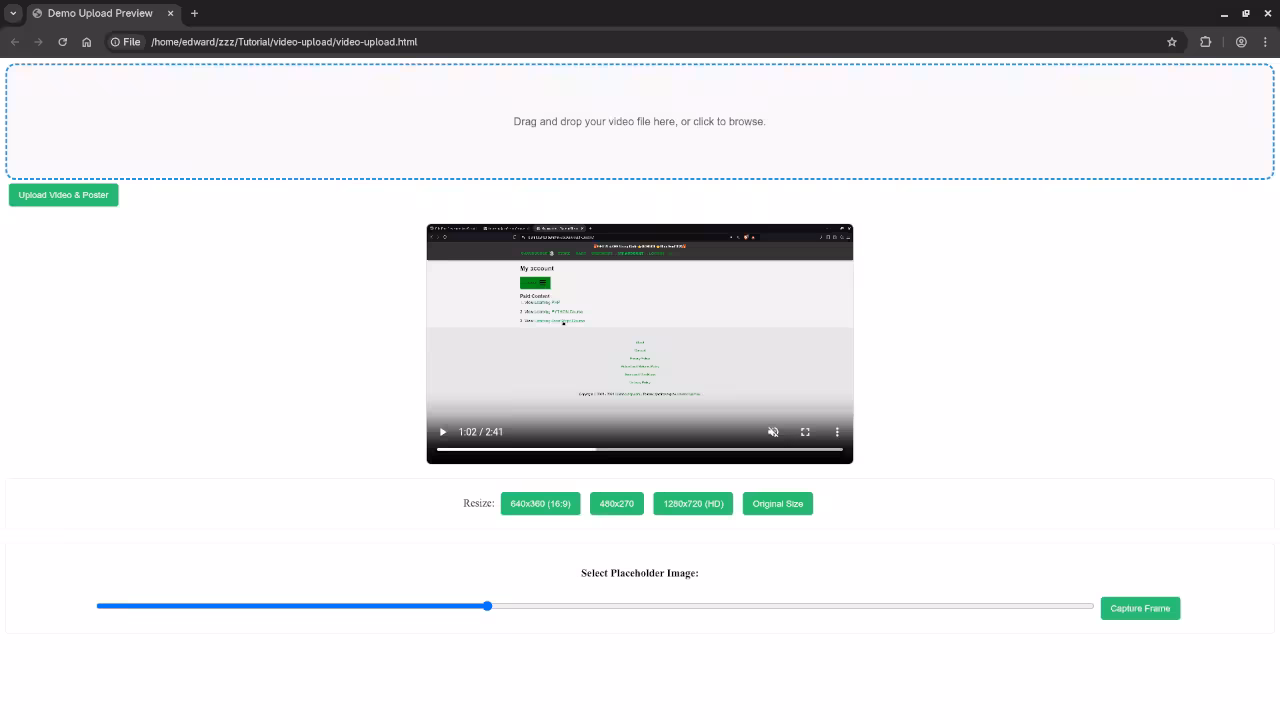
2. Live Video Preview and Resizing Controls
Once a video is loaded, we need to show it and give the user options.
HTML Structure
<video id="videoPreview" controls muted></video>
<div id="resizeOptions">
<label>Resize:</label>
<button data-width="640" data-height="360">640x360 (16:9)</button>
<button data-width="480" data-height="270">480x270</button>
<button data-width="1280" data-height="720">1280x720 (HD)</button>
<button id="resetSize">Original Size</button>
</div>
We’ll use JavaScript to capture the click on these buttons and dynamically change the video element’s width and height properties, giving the user instant visual feedback on how the final video will look.
3. Scrubbing for the Perfect Placeholder
The placeholder (or ‘poster’ image) is the first impression your video makes before it’s played. Using a video scrubber allows the user to easily pick the most engaging frame.
HTML Structure
<div id="posterSelection">
<h4>Select Placeholder Image:</h4>
<input type="range" id="scrubber" min="0" max="100" value="0" step="0.1">
<button id="captureFrame">Capture Frame</button>
<canvas id="posterCanvas" style="display:none;"></canvas>
</div>
The scrubber (input type="range") will be linked to the video’s current time. By changing the scrubber’s value, we update the video’s currentTime property. When the user clicks **Capture Frame**, we use the **HTML5 Canvas API** to ‘draw’ the video’s current frame onto a canvas and convert it into a data URL or a Blob for upload.
4. Preparing for Upload: The Fetch API Foundation (JavaScript)
We need the JavaScript that gathers all the data from our UI and prepares to send it. This function will be triggered by the ‘Upload Video’ button.
The Placeholder Endpoint
For now, we’ll define a clear URL where our data will be sent. This URL is the endpoint. The server-side processing for this will be the focus of **Part 2**.
// The placeholder URL for our backend script.
// This is the address where the Fetch API will send the data.
const UPLOAD_ENDPOINT = '/wp-json/my-video-plugin/v1/upload';
The Upload JavaScript Function
document.getElementById('uploadButton').addEventListener('click', async () => {
const videoFile = document.getElementById('videoFile').files[0];
const posterCanvas = document.getElementById('posterCanvas');
const statusMessage = document.getElementById('statusMessage');
if (!videoFile) {
alert("Please select a video file first!");
return;
}
// 1. Get the resized dimensions
const videoElement = document.getElementById('videoPreview');
const videoWidth = videoElement.style.width || videoElement.videoWidth;
const videoHeight = videoElement.style.height || videoElement.videoHeight;
// 2. Convert the canvas to a Blob (a file-like object)
posterCanvas.toBlob(async (posterBlob) => {
// 3. Create the FormData object (like a digital shipping box)
const formData = new FormData();
formData.append('video', videoFile);
formData.append('poster', posterBlob, 'poster.jpg'); // Add the poster blob
formData.append('width', videoWidth);
formData.append('height', videoHeight);
statusMessage.textContent = 'Uploading... Please wait.';
// 4. Use the Fetch API to send the data (The 'POST' method is used for sending data)
try {
const response = await fetch(UPLOAD_ENDPOINT, {
method: 'POST',
body: formData
});
const result = await response.json();
if (response.ok) {
statusMessage.textContent = "Success! Server message: " + result.message;
} else {
statusMessage.textContent = "Error: " + (result.message || 'Upload failed.');
}
} catch (error) {
statusMessage.textContent = "Network Error: Could not reach the server.";
console.error('Fetch Error:', error);
}
}, 'image/jpeg', 0.9); // Convert to JPEG format with 90% quality
});
5. Integrating the Styling (CSS)
For a beginner WordPress site, you can place this CSS in the **Appearance > Customize > Additional CSS** section.
The Essential CSS
/* --- 1. Styling the Drag and Drop Zone --- */
#dropZone {
/* Visual Boundary */
border: 3px dashed #3498db; /* Blue dashed line */
border-radius: 15px;
background-color: #f9f9f9;
/* Spacing and Alignment */
padding: 60px 20px;
text-align: center;
font-family: sans-serif;
color: #555;
cursor: pointer;
/* Animation for feedback */
transition: background-color 0.3s, border-color 0.3s;
}
/* Style when the user is dragging a file over the zone */
#dropZone.highlight {
background-color: #e8f5ff; /* Light blue background */
border-color: #2980b9;
}
/* --- 2. Styling the Video and Controls --- */
#videoPreview {
/* Ensure video scales nicely */
max-width: 100%;
height: auto;
display: block;
margin: 20px auto; /* Center the video and give some space */
border: 1px solid #ddd;
border-radius: 8px;
}
/* Ensure controls are clearly separated */
#resizeOptions, #posterSelection {
margin: 20px 0;
padding: 15px;
border: 1px solid #eee;
border-radius: 5px;
background-color: #fff;
text-align: center;
}
/* Style the buttons */
#resizeOptions button, #uploadButton, #captureFrame {
padding: 10px 15px;
margin: 5px;
border: none;
border-radius: 5px;
background-color: #2ecc71; /* Nice green for action buttons */
color: white;
cursor: pointer;
transition: background-color 0.2s;
}
#resizeOptions button:hover, #uploadButton:hover, #captureFrame:hover {
background-color: #27ae60;
}
/* Styling the scrubber (range input) */
#scrubber {
width: 80%;
margin: 10px 0;
}
Screenshots and Screencast
What’s Next?
This JavaScript code in Part 1 is only the messenger! In **Part 2**, we’ll dive deep into the server-side scripting (the **backend**) to handle the data that arrives at the /wp-json/my-video-plugin/v1/upload endpoint. We’ll cover how the server saves the video, processes the resizing request, and stores the poster image.
Keep Learning JavaScript
Ready to take your JavaScript skills to the next level?
- Check out my book, **”Learning JavaScript: A Programming Beginner Guide”** on Amazon: https://www.amazon.com/Learning-JavaScript-Programming-Beginner-Guide/dp/B0DRDB2P2P.
- For a comprehensive, guided educational experience, consider the related course, **”Learning JavaScript”**: https://ojamboshop.com/product/learning-javascript.
If you need personalized guidance on your coding journey, including JavaScript, I’m available for **one-on-one programming tutorials**. Feel free to reach out and schedule a session: https://ojambo.com/contact.
🚀 Recommended Resources
Disclosure: Some of the links above are referral links. I may earn a commission if you make a purchase at no extra cost to you.