
DeepSeek-R1 32B on Fedora: Launching the Local AI Web Chat (Moving Beyond the CLI)
Introduction
Following our previous exploration of the powerful DeepSeek-R1 32B Large Language Model (LLM) via the command line (as detailed here), we’re ready for the next step. While the terminal is excellent for validation, a proper web interface provides a much better and more accessible user experience.
This guide will show you how to move from that initial command-line setup to a custom, clean web application on your Fedora system. We will utilize your existing Ollama installation and leverage Python’s requests and json libraries to build a basic, framework-free chat front-end.
DeepSeek-R1 32B: Open Source Powerhouse
The DeepSeek-R1 LLM remains an impressive and crucial example of the value of open-source AI. Running it locally gives you complete control over privacy and performance.
- Model: DeepSeek-R1 32B
- License: The model weights for the DeepSeek-R1 series are released under the highly permissive MIT License. This allows for free use, modification, distribution, and commercialization of the software, provided the terms are respected.
Installation: Setting up DeepSeek-R1 32B on Fedora
Since you’ve already installed Ollama from the Fedora repositories, setting up the model and its server endpoint is straightforward.
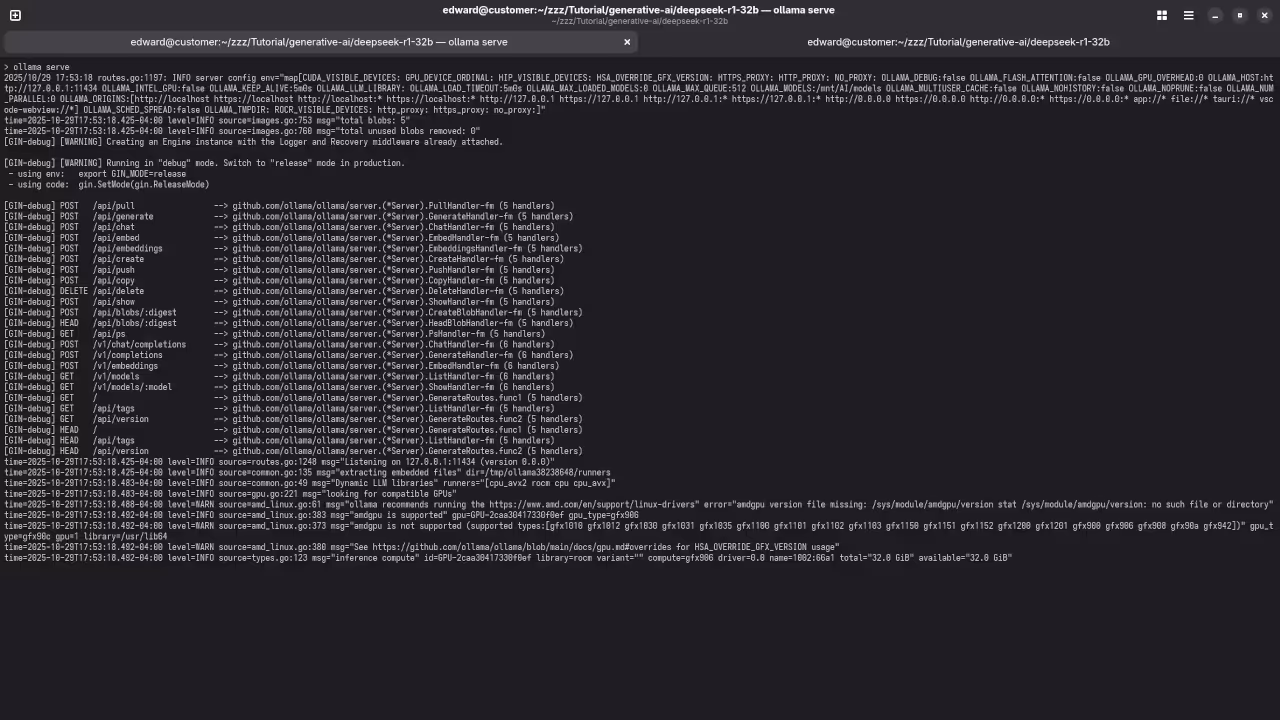
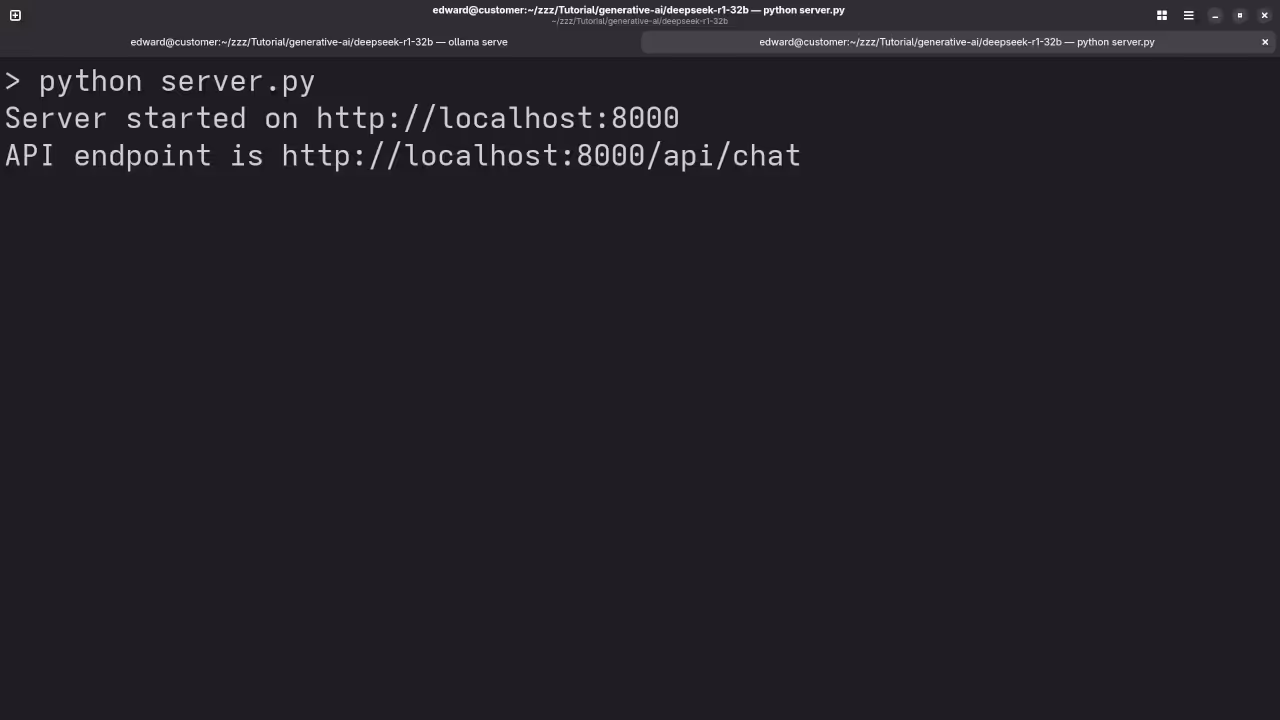
1. Verify and Start Ollama
Ensure the Ollama service is running to expose the local API endpoint (usually on http://localhost:11434):
ollama serve & (Run this command if your Ollama service is not already active in the background.)
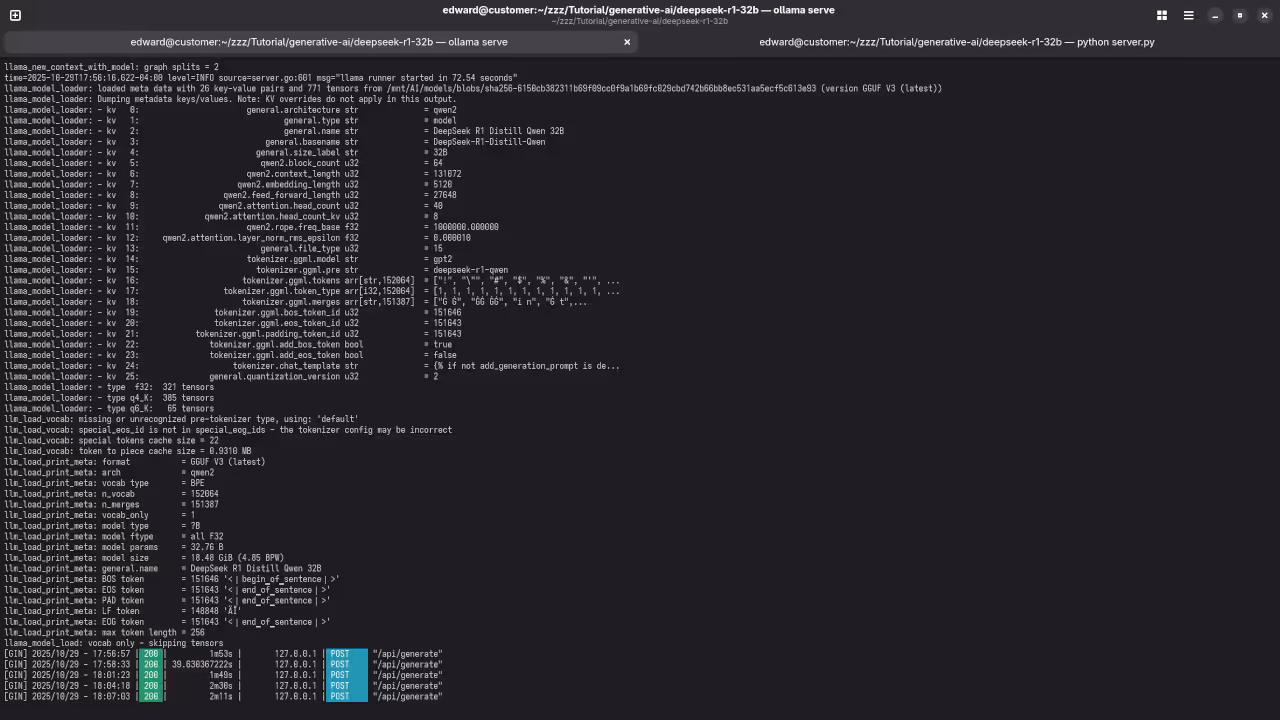
2. Pull the DeepSeek-R1 32B Model
If you haven’t already, use the Ollama CLI to download the 32 Billion parameter version:
ollama pull deepseek-r1:32b This ensures the model is downloaded and ready for your new web application to communicate with via the Ollama API.
The Web Interface: Python, HTML, and Custom Styling
We will create a simple, custom application using three files to demonstrate connecting to the local AI without relying on large web frameworks: index.html, style.css, and the Python backend logic.
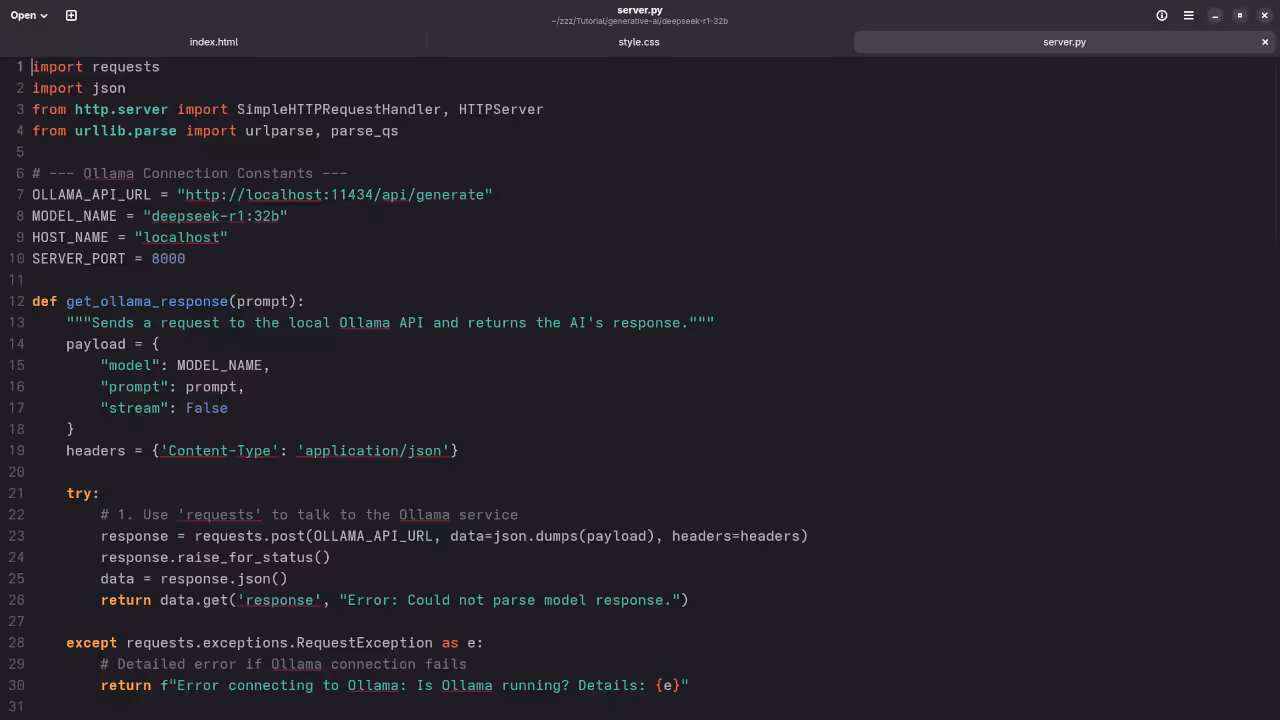
Step 1: The Python Backend Logic (app.py)
This Python logic is the crucial middleman, handling the communication with the Ollama API using requests and json. Note that in a full web setup, you’d need a web server to expose this logic as an endpoint.
import requests
import json
OLLAMA_API_URL = "http://localhost:11434/api/generate"
MODEL_NAME = "deepseek-r1:32b"
def get_deepseek_response(prompt):
"""Sends a request to the local Ollama API and returns the AI's response."""
payload = {
"model": MODEL_NAME,
"prompt": prompt,
"stream": False # Request a single, complete response
}
headers = {'Content-Type': 'application/json'}
try:
# Send the prompt to the local Ollama endpoint
response = requests.post(OLLAMA_API_URL, data=json.dumps(payload), headers=headers)
response.raise_for_status() # Check for HTTP errors
# Extract the response text from the JSON data
data = response.json()
if 'response' in data:
return data['response']
else:
return "Error: Could not parse model response."
except requests.exceptions.RequestException as e:
return f"Error connecting to Ollama: {e}"
# NOTE: In a complete solution, you would set up an HTTP server
# to call this function when the web page sends a request.
if __name__ == "__main__":
test_prompt = "Explain why the MIT License is suitable for open-source LLMs."
print(f"**Query:** {test_prompt}")
answer = get_deepseek_response(test_prompt)
print(f"**DeepSeek-R1 32B:** {answer}")
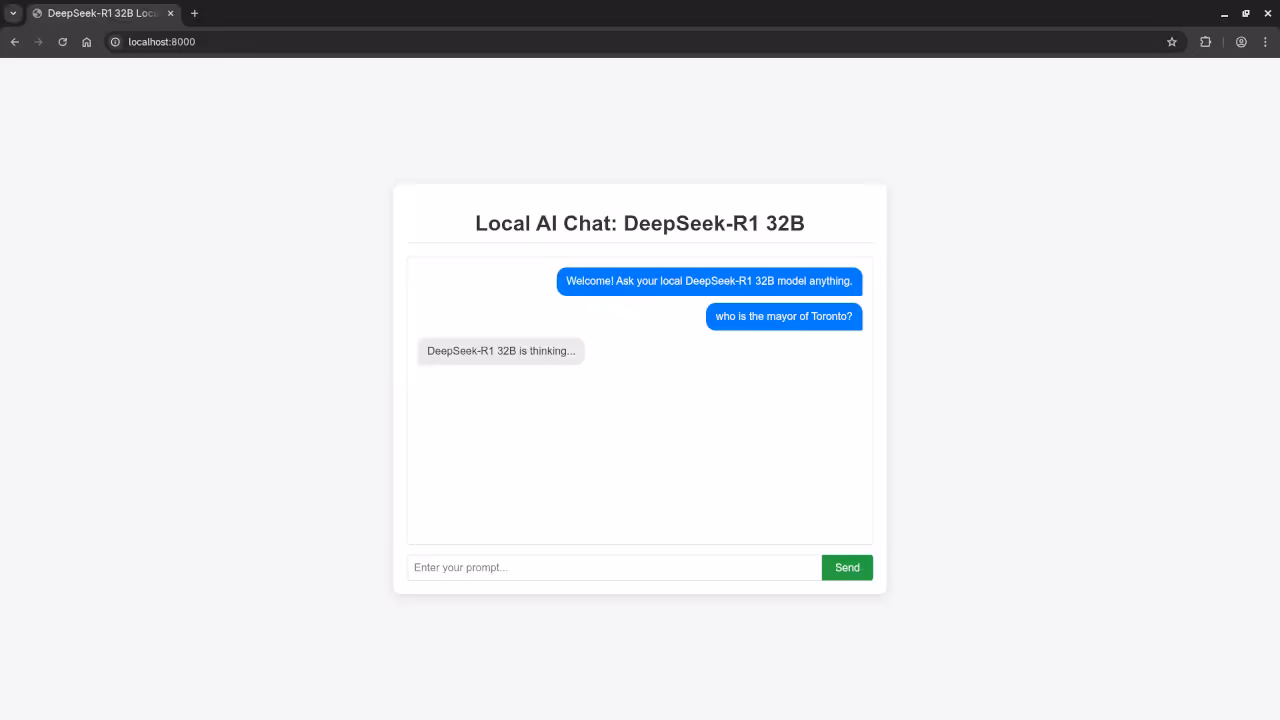
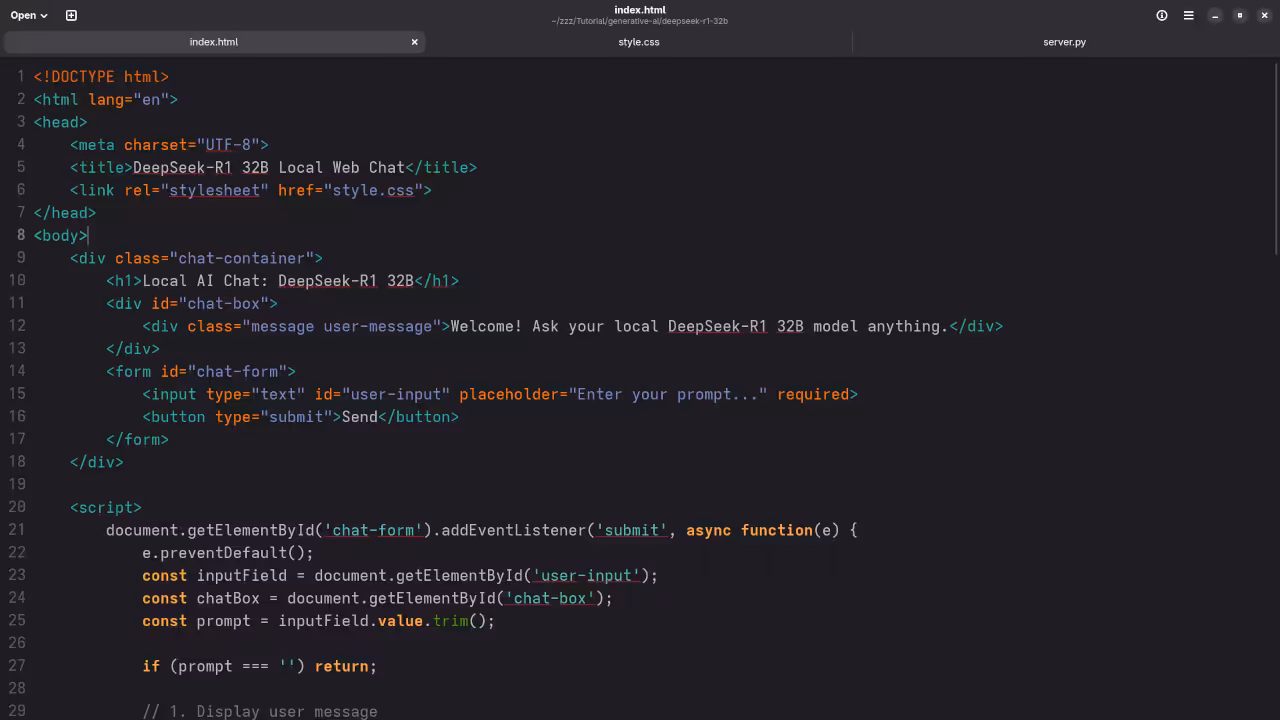
Step 2: The HTML Front-end (index.html)
This file provides the chat interface structure. Custom JavaScript handles sending the input and displaying the AI’s response.
<div class="chat-container">
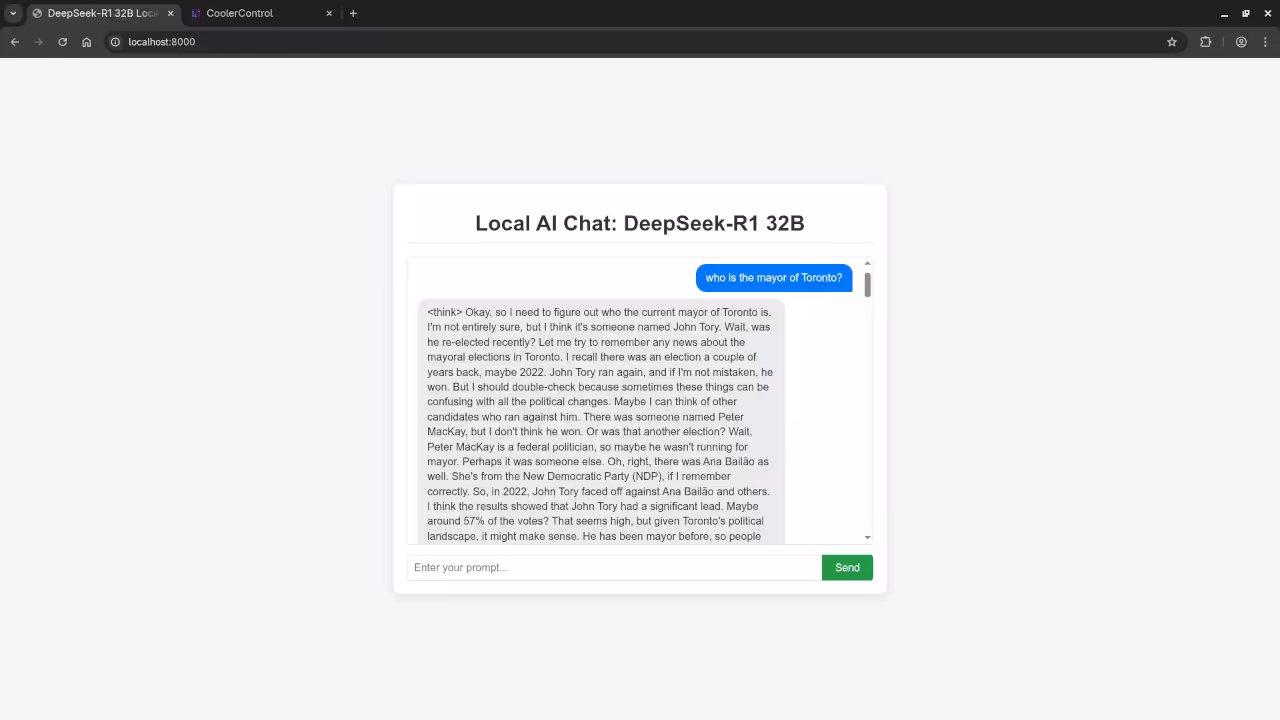
<h1>Local AI Chat: DeepSeek-R1 32B</h1>
<div id="chat-box">
<!-- Messages will appear here -->
<div class="message user-message">Welcome! Ask your local DeepSeek-R1 32B model anything.</div>
</div>
<form id="chat-form">
<input type="text" id="user-input" placeholder="Enter your prompt..." required>
<button type="submit">Send</button>
</form>
</div>
<script>
document.getElementById('chat-form').addEventListener('submit', async function(e) {
e.preventDefault();
const inputField = document.getElementById('user-input');
const chatBox = document.getElementById('chat-box');
const prompt = inputField.value.trim();
if (prompt === '') return;
// 1. Display user message
const userMsg = document.createElement('div');
userMsg.className = 'message user-message';
userMsg.textContent = prompt;
chatBox.appendChild(userMsg);
inputField.value = ''; // Clear input
chatBox.scrollTop = chatBox.scrollHeight; // Scroll to bottom
// 2. Display "Thinking..." message
const thinkingMsg = document.createElement('div');
thinkingMsg.className = 'message ai-message thinking';
thinkingMsg.textContent = 'DeepSeek-R1 32B is thinking...';
chatBox.appendChild(thinkingMsg);
chatBox.scrollTop = chatBox.scrollHeight;
try {
// *** IMPORTANT: Replace this placeholder with your actual fetch call ***
// You must configure your Python script (like app.py) to run as an API
// endpoint that the browser can contact.
// Placeholder response for simple demonstration
const aiText = await new Promise(resolve => setTimeout(() => resolve("The MIT License is great because it grants broad rights to use, copy, modify, and distribute the software with minimal restrictions, fostering an open ecosystem for LLM research and commercial deployment."), 2000));
// 3. Update with AI response
thinkingMsg.classList.remove('thinking');
thinkingMsg.textContent = aiText;
} catch (error) {
thinkingMsg.classList.remove('thinking');
thinkingMsg.textContent = 'Error: Could not get a response from the AI backend.';
console.error('Fetch error:', error);
}
chatBox.scrollTop = chatBox.scrollHeight;
});
</script>
Step 3: Custom CSS Styling (style.css)
A simple, professional style for your chat application.
body {
font-family: Arial, sans-serif;
background-color: #f4f7f6;
display: flex;
justify-content: center;
align-items: center;
min-height: 100vh;
margin: 0;
}
.chat-container {
width: 100%;
max-width: 700px;
background-color: #ffffff;
border-radius: 10px;
box-shadow: 0 4px 15px rgba(0, 0, 0, 0.1);
padding: 20px;
}
h1 {
color: #333;
text-align: center;
border-bottom: 2px solid #eee;
padding-bottom: 10px;
margin-bottom: 20px;
}
#chat-box {
height: 400px;
overflow-y: auto;
border: 1px solid #ddd;
padding: 15px;
margin-bottom: 15px;
border-radius: 5px;
display: flex;
flex-direction: column;
}
.message {
padding: 10px 15px;
margin-bottom: 10px;
border-radius: 15px;
max-width: 80%;
line-height: 1.4;
word-wrap: break-word;
}
.user-message {
background-color: #007bff;
color: white;
align-self: flex-end;
border-bottom-right-radius: 3px;
}
.ai-message {
background-color: #e9ecef;
color: #333;
align-self: flex-start;
border-bottom-left-radius: 3px;
}
#chat-form {
display: flex;
}
#user-input {
flex-grow: 1;
padding: 10px;
border: 1px solid #ddd;
border-radius: 5px 0 0 5px;
font-size: 16px;
}
button[type="submit"] {
padding: 10px 20px;
background-color: #28a745;
color: white;
border: none;
border-radius: 0 5px 5px 0;
cursor: pointer;
font-size: 16px;
transition: background-color 0.3s;
}
button[type="submit"]:hover {
background-color: #218838;
}
Screenshots and Screencast
Here’s where you’ll find a visual walkthrough of setting up DeepSeek-R1 32B using Alpaca Ollama on your local system:


Results:
Who is the mayor of Toronto?
Produced inaccurate outdated answer to Olivia Chow as the mayor of Toronto.
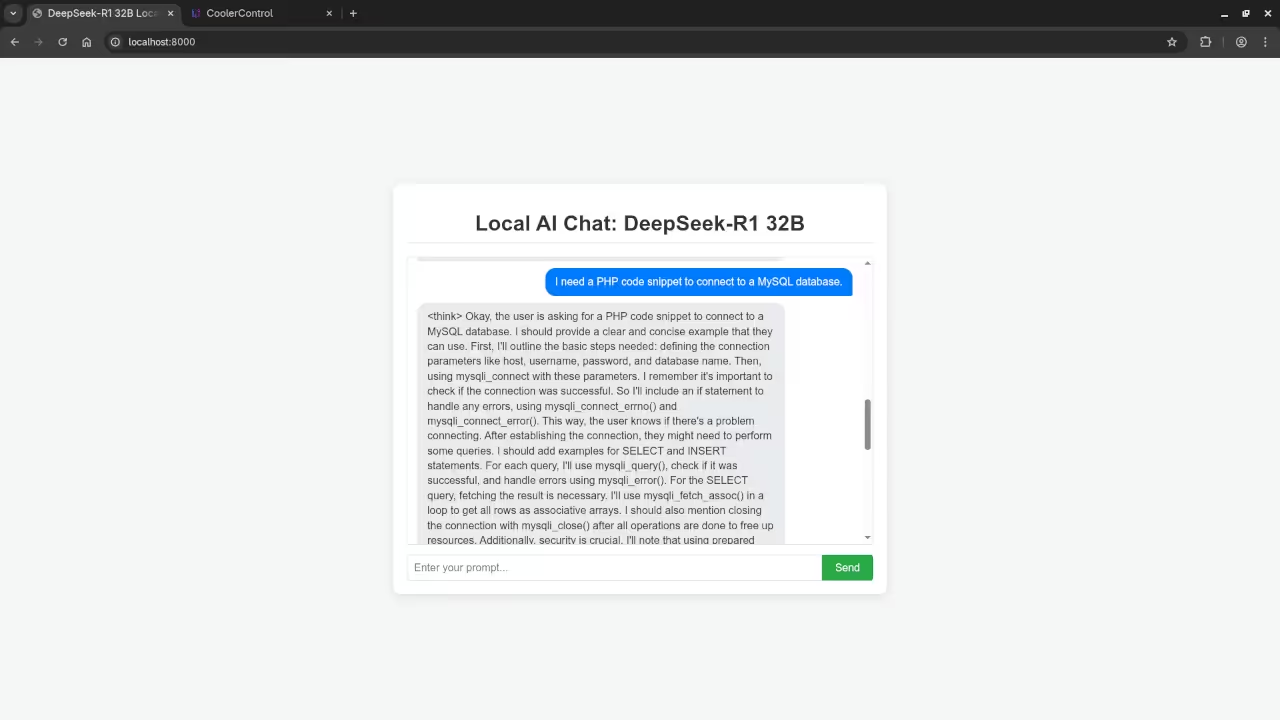
I need a PHP code snippet to connect to a MySQL database.
Produced correct syntax PHP code snippet to connect to a MySQL database.
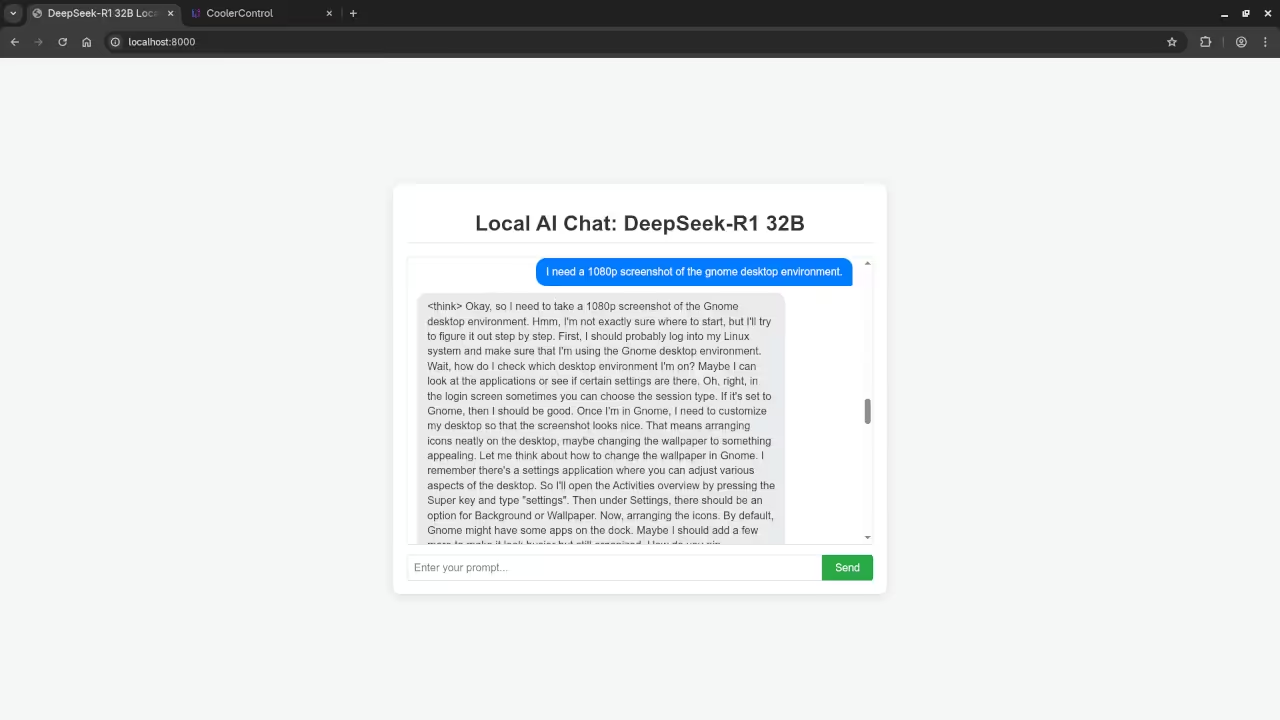
I need a 1080p screenshot of the gnome desktop environment.
Accurately provided instructions to generate a 1080p screenshot of Gnome desktop environment because it is a text-based AI lacking ability.
I need a kotlin code snippet to open the camera using Camera2 API and place the camera view on a TextureView.
Produced untested Kotlin code snippet.
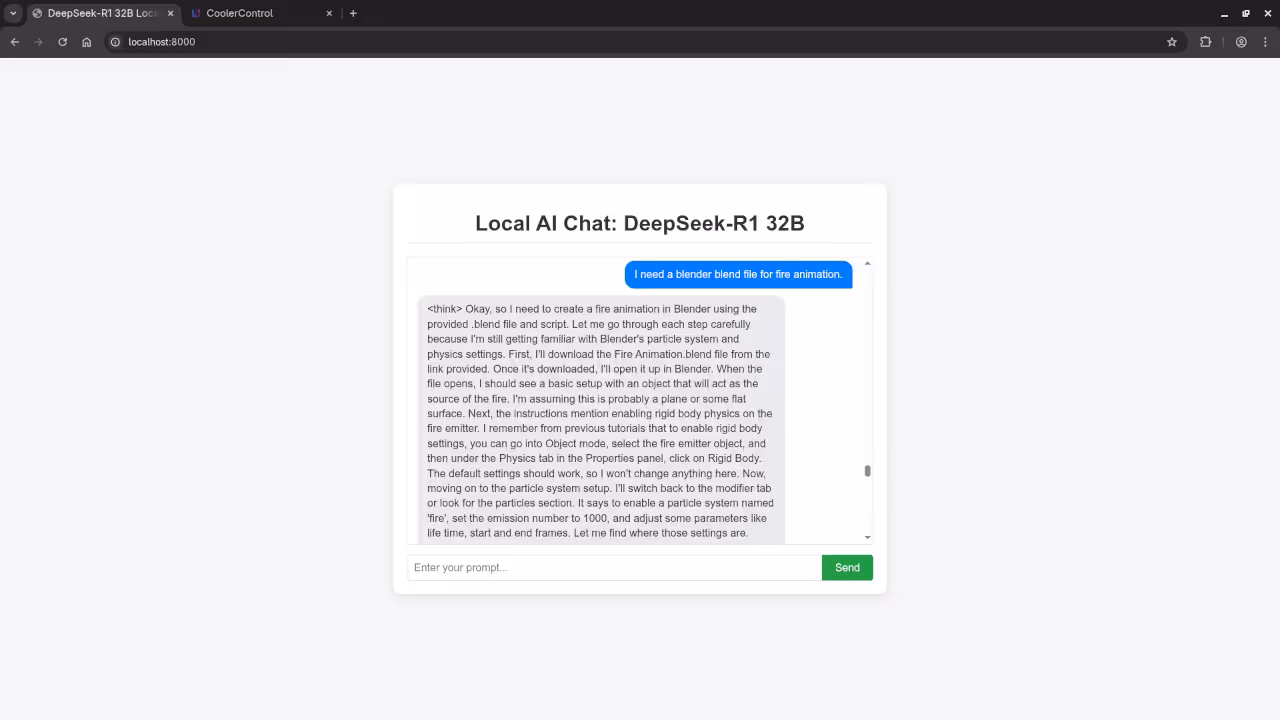
I need a blender blend file for fire animation.
Accurately detected inability to generate Blender Blend file for a fire animation because it is a text-based AI lacking ability.
Level Up Your Python Skills
This simple web integration is just the beginning of what you can do with Python and powerful local LLMs.
- My Book: Deepen your Python knowledge with my book, “Learning Python”: https://www.amazon.com/Learning-Python-Programming-eBook-Beginners-ebook/dp/B0D8BQ5X99
- My Course: Get structured learning and hands-on practice with my “Learning Python” online course: https://ojamboshop.com/product/learning-python
Professional AI and Python Services
Need expert help setting up this powerful technology or mastering your coding skills?
- One-on-One Tutorials: I offer dedicated one-on-one online Python tutorials tailored to your learning pace and goals: https://ojambo.com/contact
- LLM Installation and Migration: I can professionally install the DeepSeek-R1 32B LLM– or migrate it- to your machine or server environment to ensure smooth, optimal performance. Contact me for professional AI services: https://ojamboservices.com/contact
🚀 Recommended Resources
Disclosure: Some of the links above are referral links. I may earn a commission if you make a purchase at no extra cost to you.