
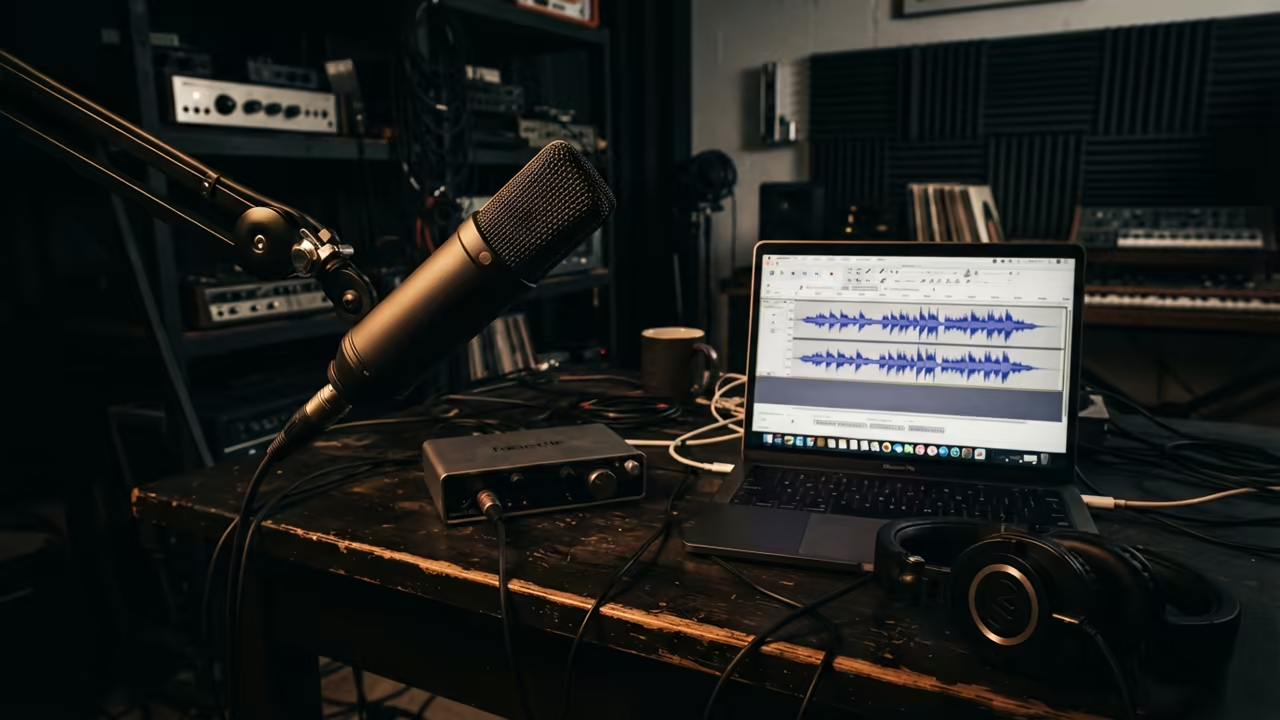
The Hidden Sabotage of Audio Quality
Most creators waste hundreds on new microphones while the real culprit is a cheap cable. They fight phantom noise for months without knowing the simple software fix available.
This hidden audio sabotage ruins professional recordings and destroys the listener experience instantly. You do not need an expensive studio to find the source of the problem.
Disclaimer: I may earn a commission from purchases made through these links at no extra cost to you.


The Professional Engineering Experience
There is a distinct relief when that annoying ground hum finally vanishes from your track. You feel like a professional engineer after seeing the noise spike disappear in real time.
The process of isolating hardware failure becomes a science when you use the right tools. You can stop guessing and start measuring your audio quality with precision.
Identifying Electrical Interference
Start by recording ten seconds of absolute silence in your room. This creates a clean profile of your current noise floor for deep analysis.
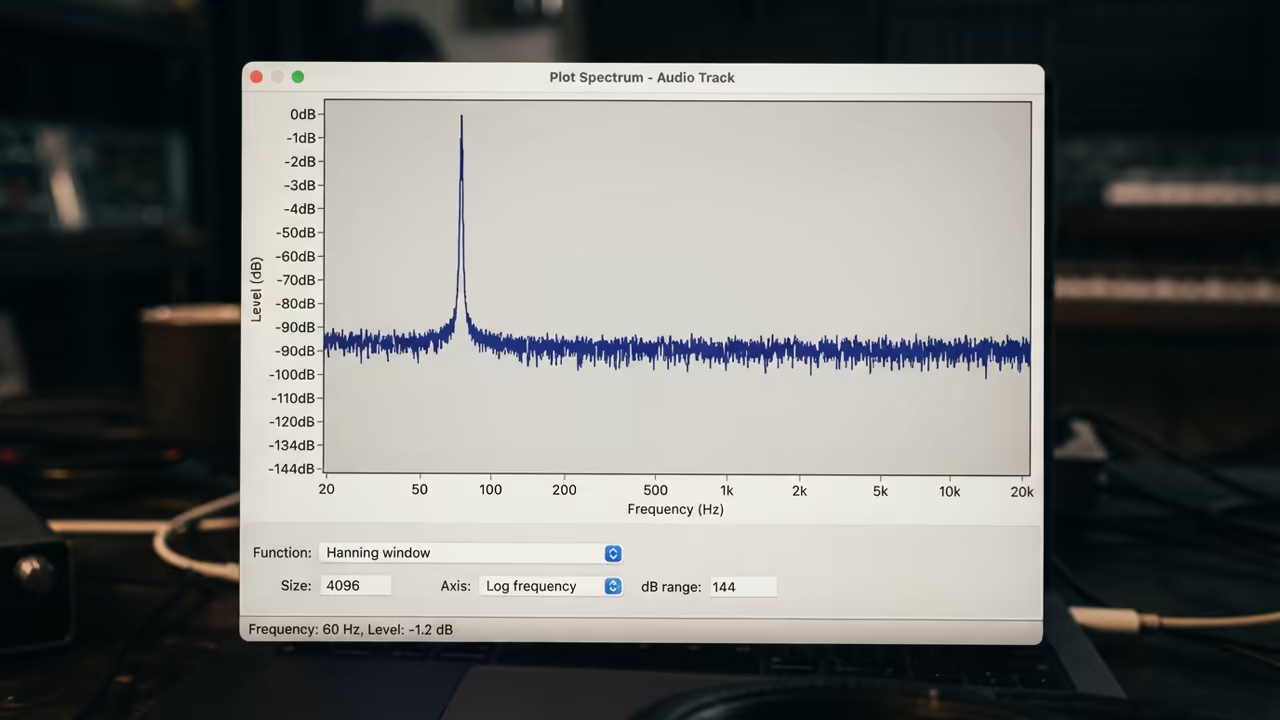
Open the Analyze menu and select the Plot Spectrum tool for a visual breakdown. This reveals exactly which frequencies are polluting your audio signal right now.
Look for a sharp spike at exactly 60Hz or 50Hz on the frequency graph. This is the smoking gun for an electrical ground loop in your system.
If the peak is narrow and tall you are dealing with mains hum. This often happens when your computer and audio interface share a dirty power source.
Diagnosing Cable and Component Failure
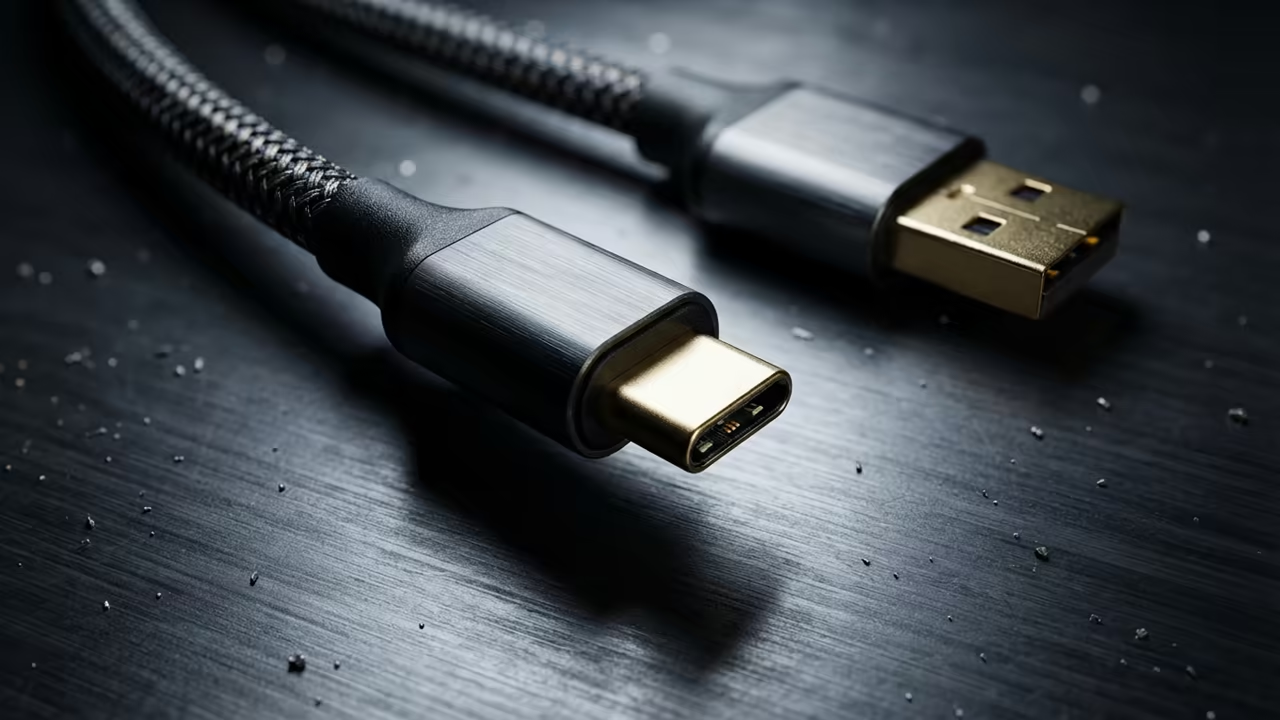
Bad USB cables often manifest as random pops or intermittent crackling during recording. These artifacts appear as sudden vertical lines in the waveform view.
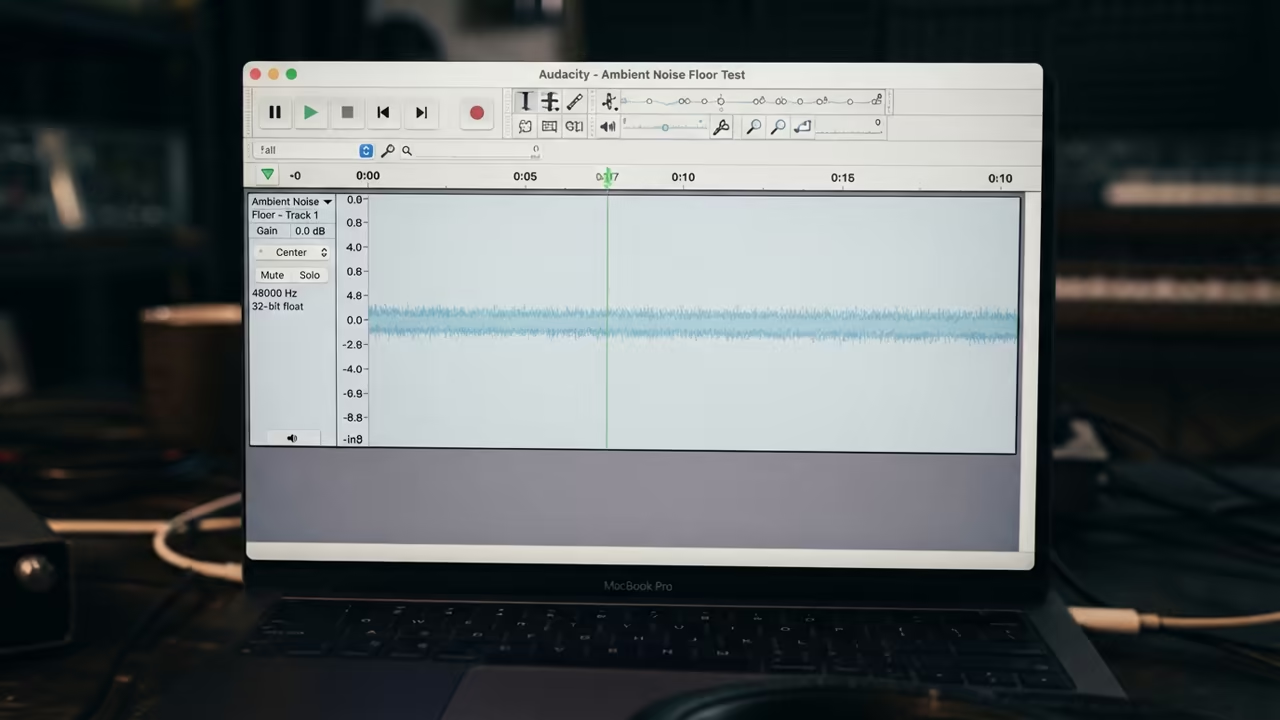
Gently wiggle the cable near the connectors while recording a steady tone. If the waveform jumps or drops out your cable shielding has failed.
Cheap cables act like antennas and pick up interference from nearby power bricks. This creates a high frequency hiss that sounds like distant radio static.
A bad microphone typically shows a consistent high floor of white noise. This hiss remains even after you swap cables and change USB ports.
The Physical Stress Test
Try touching the metal body of your microphone during a silent recording. If the hum changes volume the internal grounding of the microphone is faulty.
This physical test separates a cable issue from a permanent hardware failure. You can now identify exactly which component needs to be replaced immediately.
| Parameter | Description | Value |
|---|---|---|
| Ground Hum | Spike at 60Hz | Ground Loop |
| Bad Cable | Random Pops | Cable Shielding |
| Bad Mic | Constant Hiss | Component Failure |
| USB Noise | High Frequency Whine | Power Interference |
| Parameter | Description | Value |
Surgical Noise Removal
Apply a Notch Filter to remove specific frequencies without damaging your voice. Set the frequency to 60Hz with a narrow Q value for surgical precision.
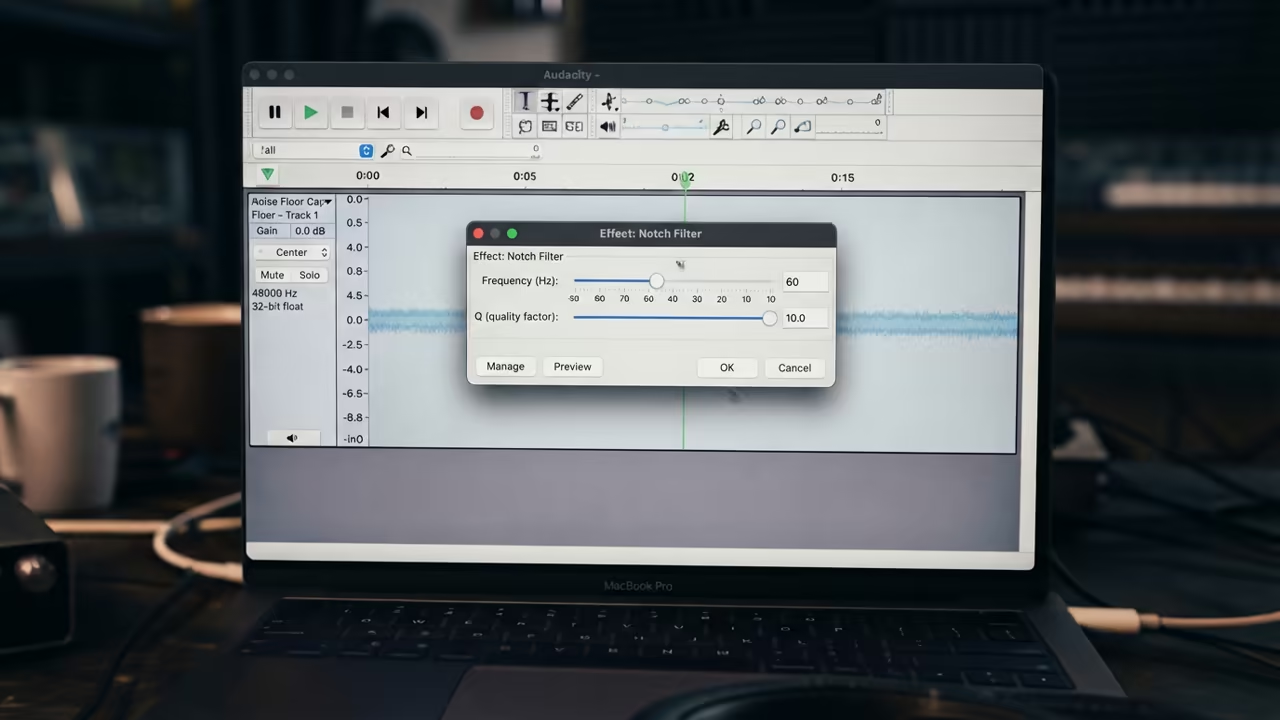
This technical trick saves recordings that would otherwise be completely unusable for clients. It is a secret weapon for creators working in non treated rooms.
Reference our previous deep dives into hardware optimization to further refine your signal chain. These architectural breakthroughs ensure your audio remains pristine across all platforms.
Learning and Support
Get a custom audit of your recording chain to eliminate all audio artifacts. Dive deeper with our technical guides to master your home studio setup.
Online Tutorials & Technical Help: https://ojambo.com/contact
🚀 Recommended Resources
Disclosure: Some of the links above are referral links. I may earn a commission if you make a purchase at no extra cost to you.