
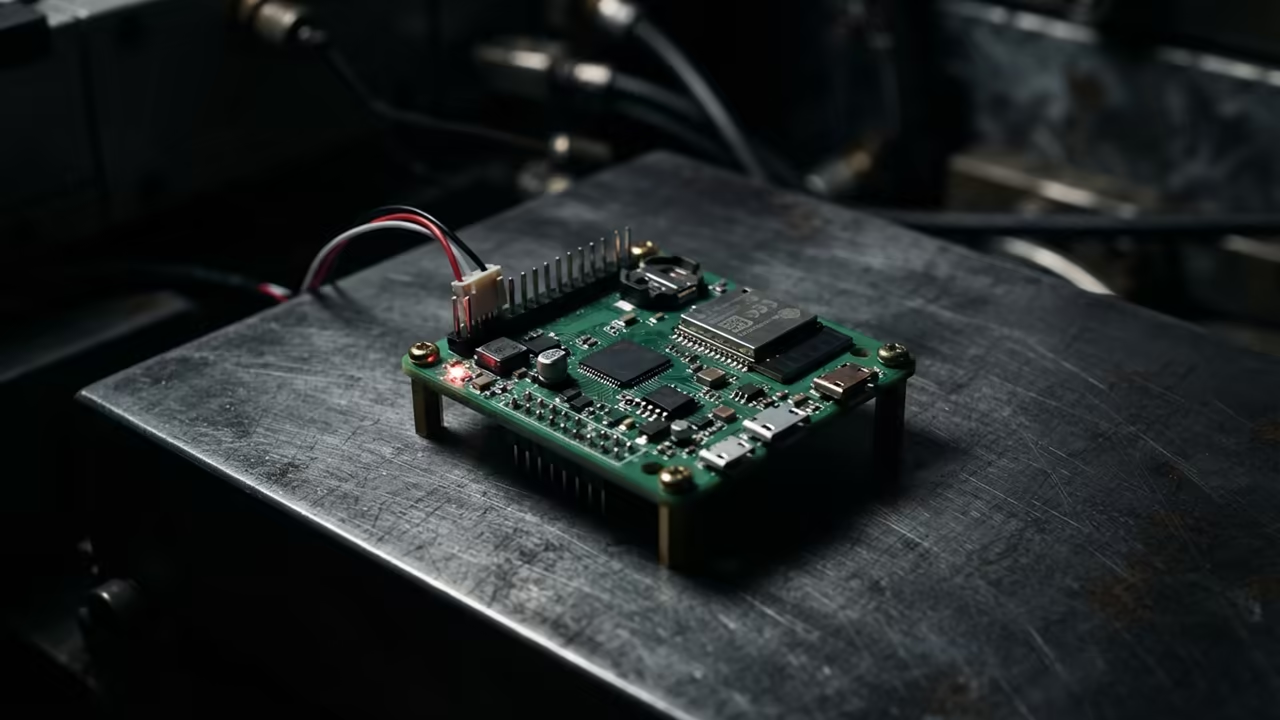
The Hidden Power of Minimalist Monitoring
Most tech enthusiasts treat the Raspberry Pi Zero W like a simple toy. They struggle with laggy VNC sessions that crash the tiny CPU. This guide turns your Zero W into a precision monitoring tool.
Remote management often feels like a battle against hardware limitations. Most users simply give up when the screen freezes during a boot. You deserve a system that responds instantly to every command.
Disclaimer: I may earn a commission from purchases made through these links at no extra cost to you.


The Synergy of VNC and Htop
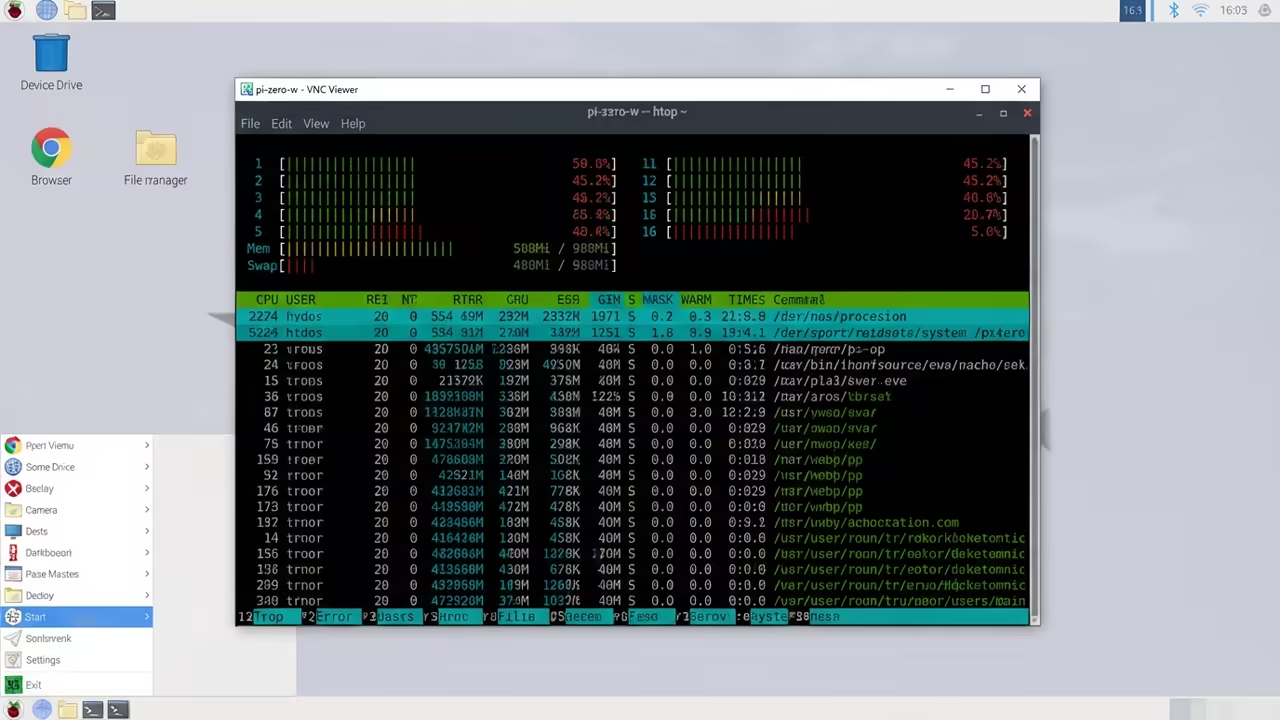
The secret lies in the synergy between VNC and a lightweight monitor. Running htop allows you to see every single process in real time. It provides a window into the soul of your hardware.
Seeing htop glide across a remote screen on a Zero W is pure magic. The latency vanishes when you optimize the backend correctly. You feel the power of absolute hardware control from your desk.
Deploying the Headless Architecture
Setting up the environment requires a few precise terminal commands. You must first ensure your system is fully updated and ready. Start by updating the package list to avoid dependency errors.
sudo apt update
sudo apt upgrade -y
Next you need to install the htop utility for monitoring. This tool is far superior to the standard top command. It offers a visual representation of CPU and RAM usage.
sudo apt install htop -y
Now you must enable the VNC server via the configuration tool. This allows you to access the graphical interface without a monitor. Open the raspi config menu to toggle the server on.
sudo raspi-config
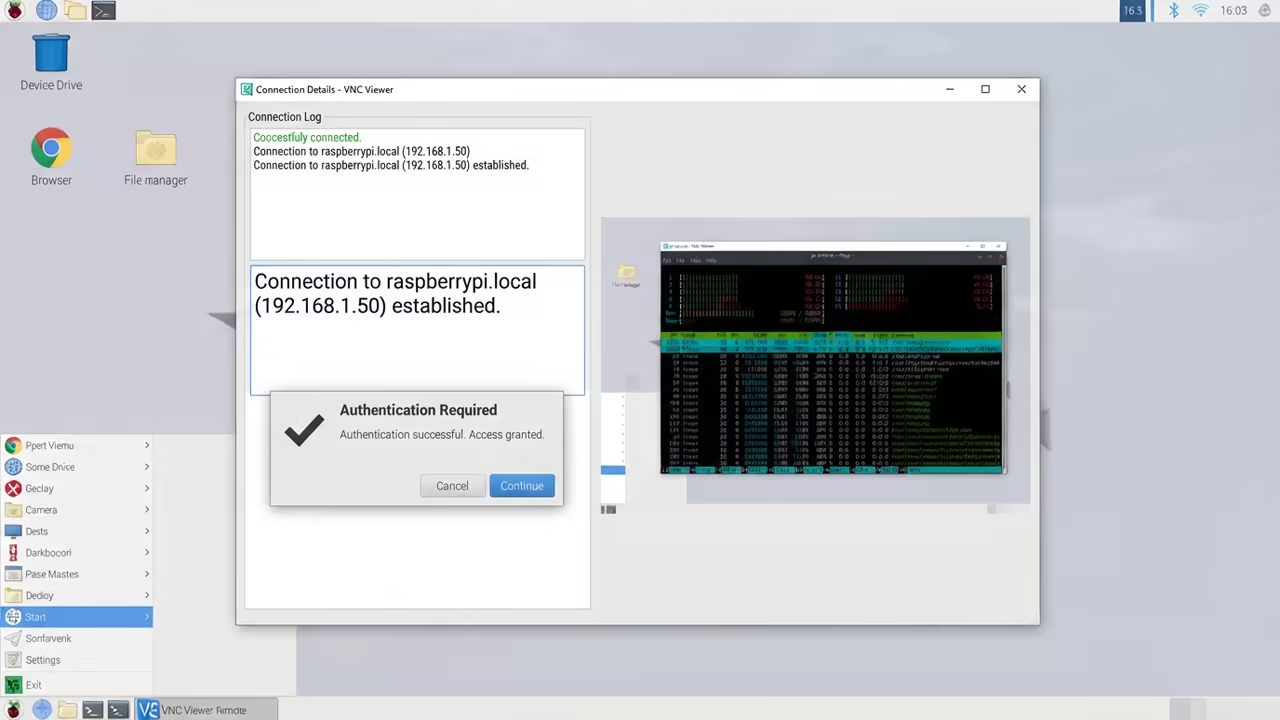
Navigate to Interface Options and select VNC to enable the service. Restart the Pi to ensure the changes take effect immediately. Your device is now broadcasting its desktop over the network.
The Virtual Resolution Secret
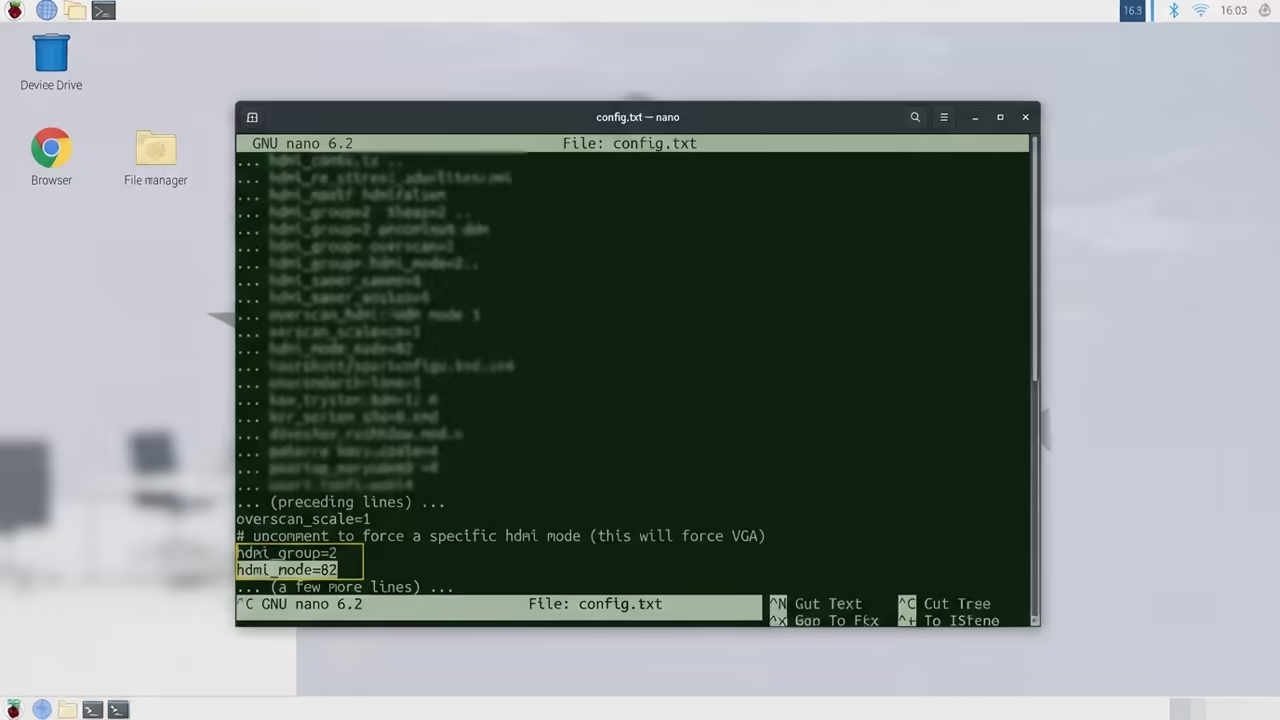
A critical insider detail involves the virtual resolution of the display. Without a monitor the Pi Zero W may refuse to render. You must force a resolution in the config file.
Edit the config.txt file to set a fixed HDMI group. Use hdmi_group=2 and hdmi_mode=82 for a stable 720p output. This prevents the VNC server from crashing on startup.
sudo nano /boot/config.txt
Add those lines to the bottom of the configuration file. Save the file and reboot your system one more time. Your VNC session will now launch with perfect clarity.
Performance Benchmarks and Scaling
| Parameter | Description | Value |
|---|---|---|
| CPU Cores | Single board power | 1 Core |
| RAM Size | Total memory | 512 MB |
| VNC Lag | Response time | High |
| Power Use | Electricity cost | Very Low |
| Parameter | Description | Value |
This optimization connects to previous technical deep dives on server management. It mirrors the architectural breakthroughs we explored in our GPU clustering guides. Efficiency is the common thread in all high performance setups.
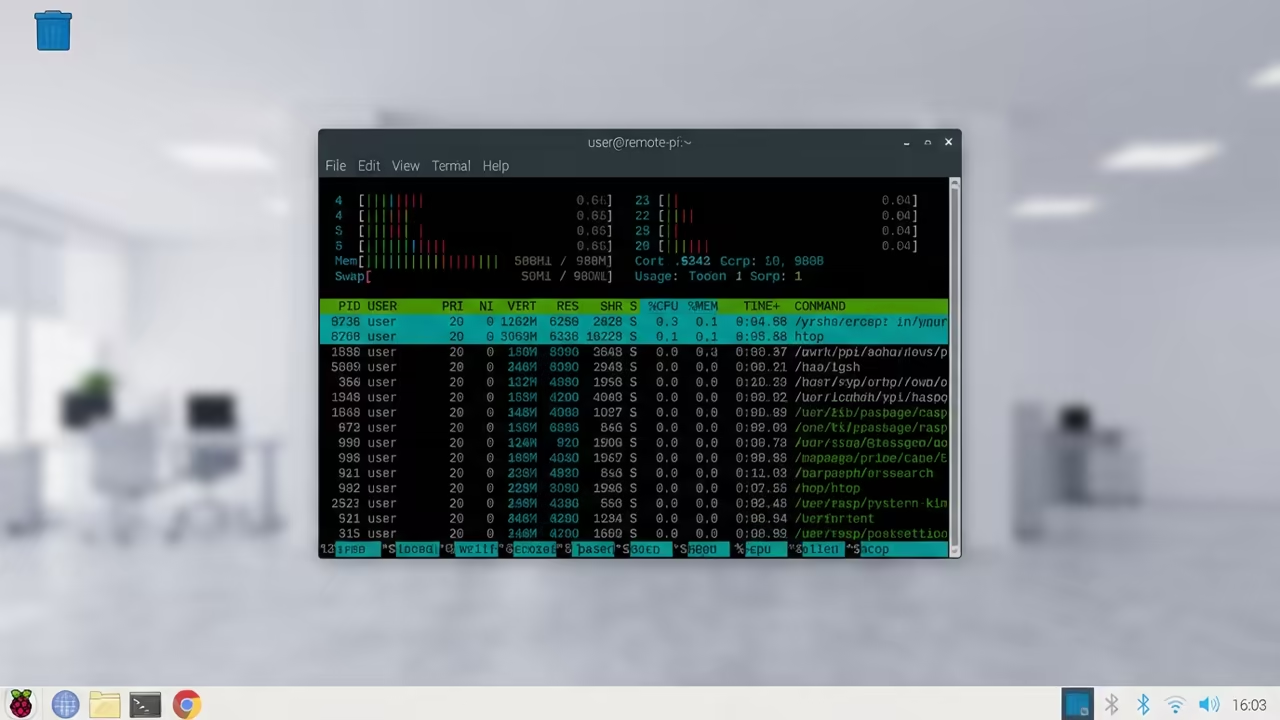
Launch htop inside your VNC session to monitor your resources. You can now track CPU spikes and memory leaks visually. The interface remains responsive thanks to the resolution tweak.
htop
Mastering Lean Infrastructure
Maintaining a headless server requires a commitment to lean software. Avoid installing heavy desktop environments if you only need htop. A lightweight Window Manager will save your CPU cycles.
This setup transforms a cheap board into a professional monitoring node. You can deploy dozens of these across a large network. They provide essential telemetry without wasting expensive electricity.
Learning and Support
Reach out for personalized technical help to optimize your home lab. Dive deeper with our online tutorials to master the professional stack.
Online Tutorials and Technical Help: https://ojambo.com/contact
🚀 Recommended Resources
Disclosure: Some of the links above are referral links. I may earn a commission if you make a purchase at no extra cost to you.
Leave a Reply