Creating a “Blingy” Drag-and-Drop File Upload Animation with PHP & HTML5 (No Libraries)
In this beginner-friendly tutorial, we’ll create a drag-and-drop file upload animation using PHP and HTML5-all without relying on any external libraries or frameworks. We’ll keep it simple yet fun with some “blingy” animation effects. This will help you learn how to build a fully functional and visually engaging file upload system with just basic HTML5, CSS, and PHP.
What Will We Build?
We’ll create an interactive drag-and-drop interface where users can drag files into a designated area on the webpage. When the files are dropped, they will be uploaded to the server using PHP. Along with the basic file upload functionality, we’ll add some “blingy” animations using CSS to make the process visually appealing.
Why Use Just HTML5 & PHP?
In many modern web projects, libraries like jQuery, React, or Vue.js are commonly used to simplify things. However, this tutorial focuses on using only HTML5 for the frontend and native PHP for the backend, making it a perfect starting point for beginners who want to understand the core concepts of web development without extra complexity.
By the end of this tutorial, you’ll have:
- A working drag-and-drop file upload form.
- A “blingy” animation that enhances the user experience.
- Knowledge of basic PHP file handling and the file upload process.
Setting Up the HTML5 Drag-and-Drop Interface
Let’s start by creating a single HTML file with the necessary markup, styles, and JavaScript.
<!DOCTYPE html>
<html lang="en">
<head>
    <meta charset="UTF-8">
    <meta name="viewport" content="width=device-width, initial-scale=1.0">
    <title>Blingy Drag-and-Drop File Upload</title>
    <style>
        body {
            font-family: Arial, sans-serif;
            background-color: #f0f0f0;
            display: flex;
            justify-content: center;
            align-items: center;
            height: 100vh;
            margin: 0;
        }

        .upload-container {
            width: 400px;
            height: 200px;
            border: 2px dashed #007BFF;
            border-radius: 10px;
            text-align: center;
            padding: 20px;
            background-color: #ffffff;
            transition: all 0.3s ease-in-out;
        }

        .upload-container:hover {
            background-color: #e0f7fa;
            box-shadow: 0 0 15px rgba(0, 123, 255, 0.3);
        }

        .upload-text {
            color: #007BFF;
            font-size: 18px;
            font-weight: bold;
        }

        .upload-container.dragover {
            background-color: #007BFF;
            color: white;
            border-color: #004085;
        }

        .uploaded-files {
            margin-top: 20px;
            font-size: 16px;
        }
    </style>
</head>
<body>
    <div class="upload-container" id="uploadArea">
        <p class="upload-text">Drag and Drop Files Here</p>
        <form id="uploadForm" action="upload.php" method="post" enctype="multipart/form-data">
            <input type="file" id="fileInput" name="files[]" multiple style="display: none;">
            <div id="fileList"></div>
        </form>
    </div>

    <script>
        const uploadArea = document.getElementById('uploadArea');
        const fileInput = document.getElementById('fileInput');
        const fileList = document.getElementById('fileList');

        uploadArea.addEventListener('dragover', (e) => {
            e.preventDefault();
            uploadArea.classList.add('dragover');
        });

        uploadArea.addEventListener('dragleave', () => {
            uploadArea.classList.remove('dragover');
        });

        uploadArea.addEventListener('drop', (e) => {
            e.preventDefault();
            uploadArea.classList.remove('dragover');

            const files = e.dataTransfer.files;
            fileInput.files = files;

            displayFileNames(files);
        });

        function displayFileNames(files) {
            fileList.innerHTML = '';
            Array.from(files).forEach(file => {
                const fileItem = document.createElement('div');
                fileItem.textContent = file.name;
                fileList.appendChild(fileItem);
            });
        }
    </script>
</body>
</html>
PHP Backend: Handling File Uploads
Now, let’s create a simple PHP script called upload.php to handle the uploaded files. This script will check if files are uploaded correctly and save them to a designated folder on the server.
<?php
$uploadDirectory = 'uploads/';

// Create the directory if it doesn't exist
if (!is_dir($uploadDirectory)) {
    mkdir($uploadDirectory, 0777, true);
}

if ($_SERVER['REQUEST_METHOD'] == 'POST' && isset($_FILES['files'])) {
    $uploadedFiles = $_FILES['files'];
    $uploadedFileNames = [];

    foreach ($uploadedFiles['name'] as $index => $fileName) {
        $fileTmpName = $uploadedFiles['tmp_name'][$index];
        $fileError = $uploadedFiles['error'][$index];

        if ($fileError === 0) {
            $targetPath = $uploadDirectory . basename($fileName);
            if (move_uploaded_file($fileTmpName, $targetPath)) {
                $uploadedFileNames[] = $fileName;
            }
        }
    }

    if (!empty($uploadedFileNames)) {
        echo json_encode(['status' => 'success', 'files' => $uploadedFileNames]);
    } else {
        echo json_encode(['status' => 'error', 'message' => 'No files were uploaded']);
    }
} else {
    echo json_encode(['status' => 'error', 'message' => 'Invalid request']);
}
?>
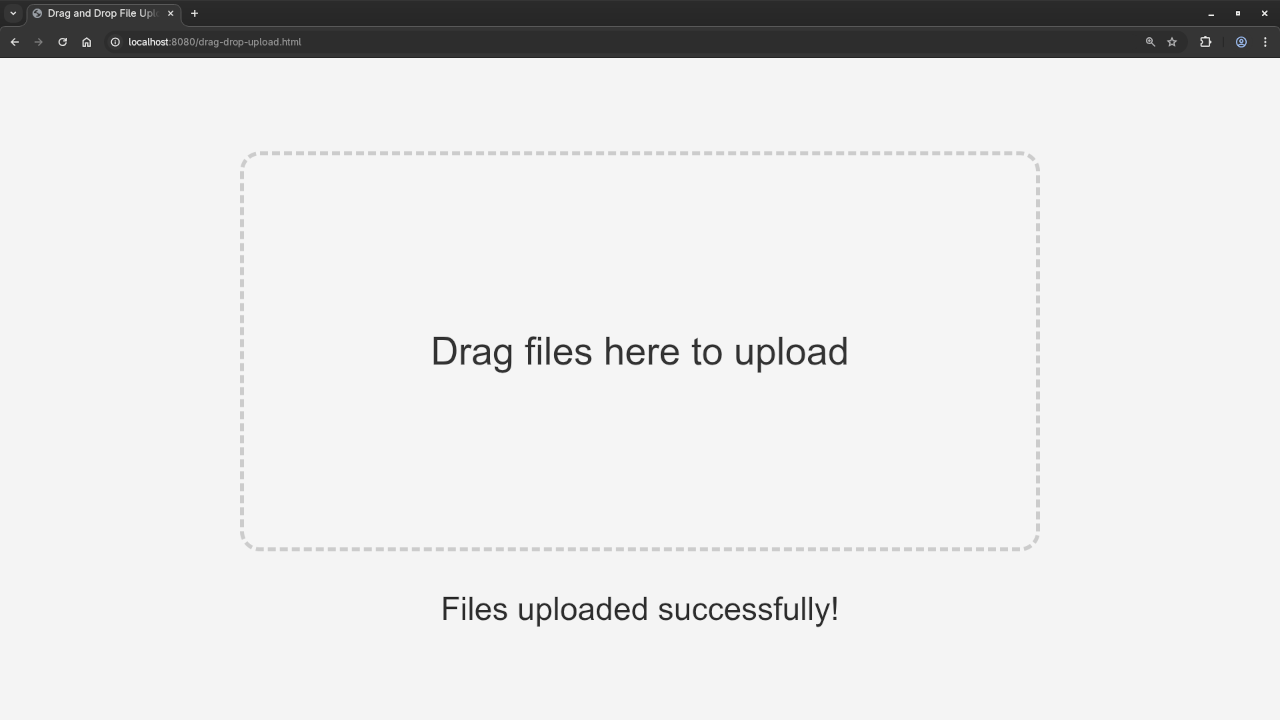
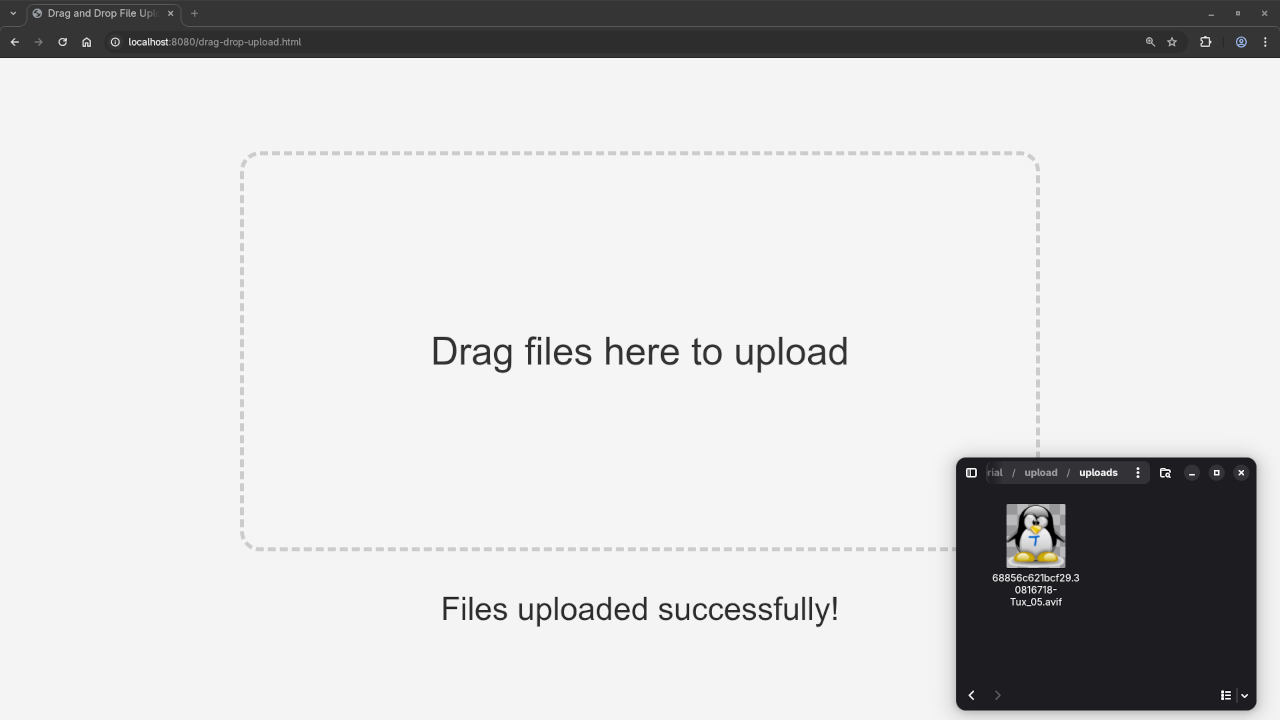
Testing Your Upload System
- Run the PHP Server: To test the code locally, use the built-in PHP server by navigating to the folder where your files are located and running:
php -S localhost:8000 - Access the Page: Open your browser and visit
http://localhost:8000/your-html-file.html. - Test Drag-and-Drop: Drag a file into the upload area and check that the file gets uploaded and saved in the
uploads/folder.
Screenshots and Screencast
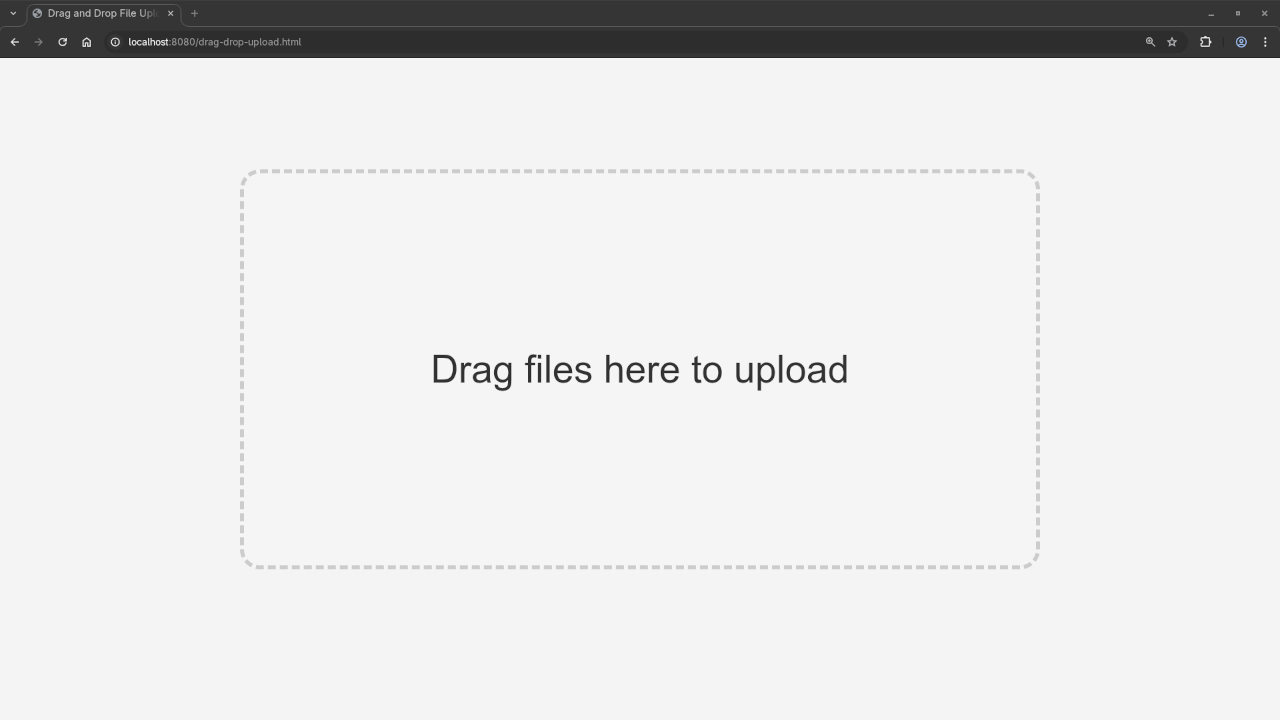
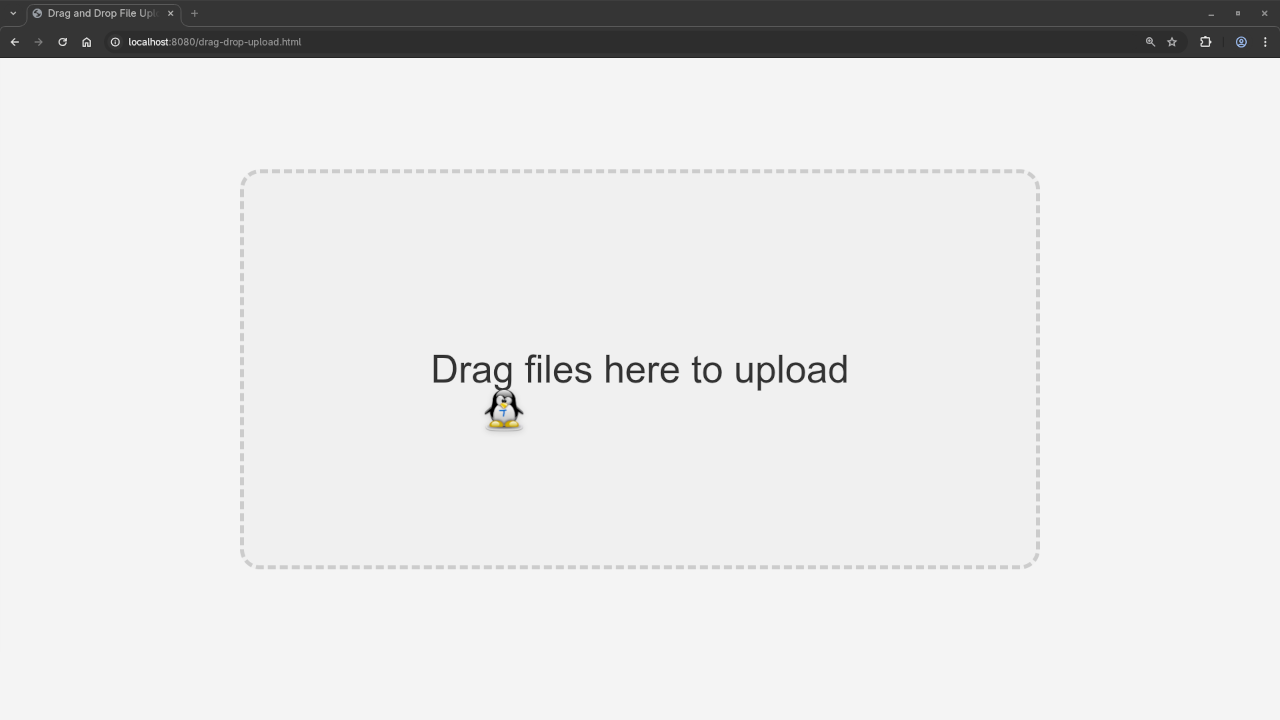
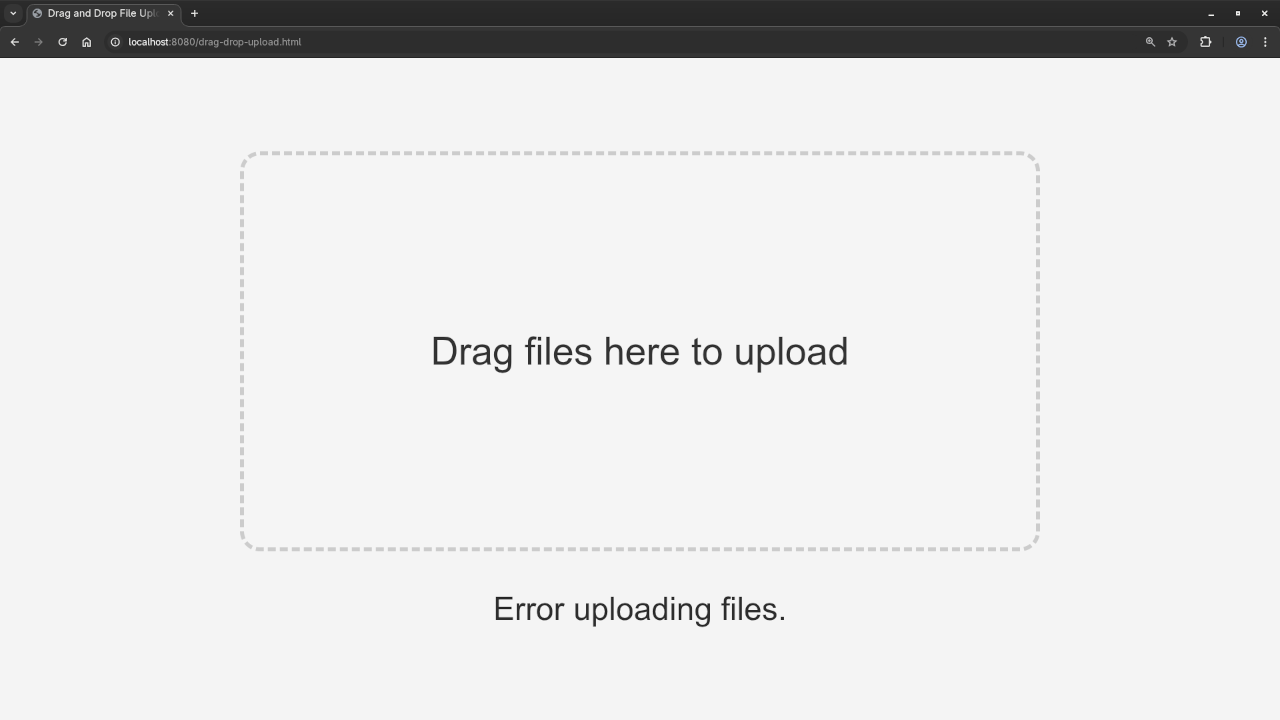
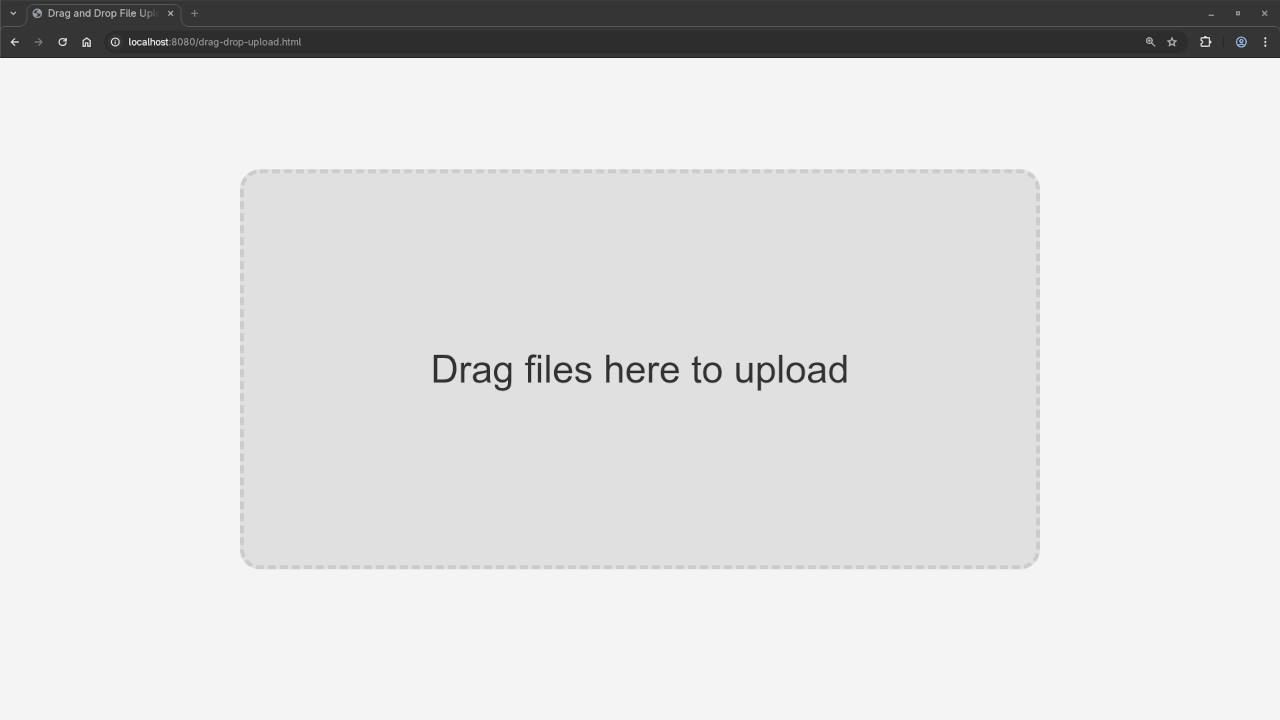
Conclusion
In this tutorial, we’ve built a drag-and-drop file upload system using only HTML5 for the front end and PHP for the back end. No libraries were used, which keeps the code clean and simple-perfect for beginners.
If you’re interested in diving deeper into PHP development, check out my book, “Learning PHP”, and my course, “Learning PHP”. Both are excellent resources to help you level up your PHP skills.
If you’re struggling with programming or need help with PHP applications, I offer one-on-one programming tutorials and PHP application updates or migration services. Feel free to contact me to get started!
Final Thoughts:
This beginner-level tutorial has shown you how to use HTML5 and PHP to create a drag-and-drop upload animation. The “blingy” animation adds some excitement, and by keeping everything simple and without libraries, you now have a good understanding of how drag-and-drop file uploads work.
Disclosure: Some of the links above are referral (affiliate) links. I may earn a commission if you purchase through them - at no extra cost to you.
