
FuelPHP is a robust PHP framework that follows the popular Model-View-Controller (MVC) architecture pattern. Whether you’re a beginner or an experienced developer, FuelPHP offers a clean and structured way to build scalable web applications. In this blog post, we’ll walk through how to set up a simple FuelPHP application that connects to a MariaDB database and outputs the results as HTML.
What is FuelPHP?
FuelPHP is an open-source PHP framework that adheres to the MVC pattern. It is designed to be simple and flexible, providing developers with tools to build applications quickly and efficiently. One of its key features is its ability to support multiple request types (such as RESTful requests), making it ideal for modern web application development.
FuelPHP provides several benefits, including:
- MVC architecture for separation of concerns
- Simple routing system
- Excellent support for ORMs (Object-Relational Mapping) for working with databases
- Flexible and extensible architecture
In this tutorial, we’ll use the latest version of FuelPHP to build a simple application that connects to a MariaDB database. Let’s get started!
Step 1: Installing FuelPHP
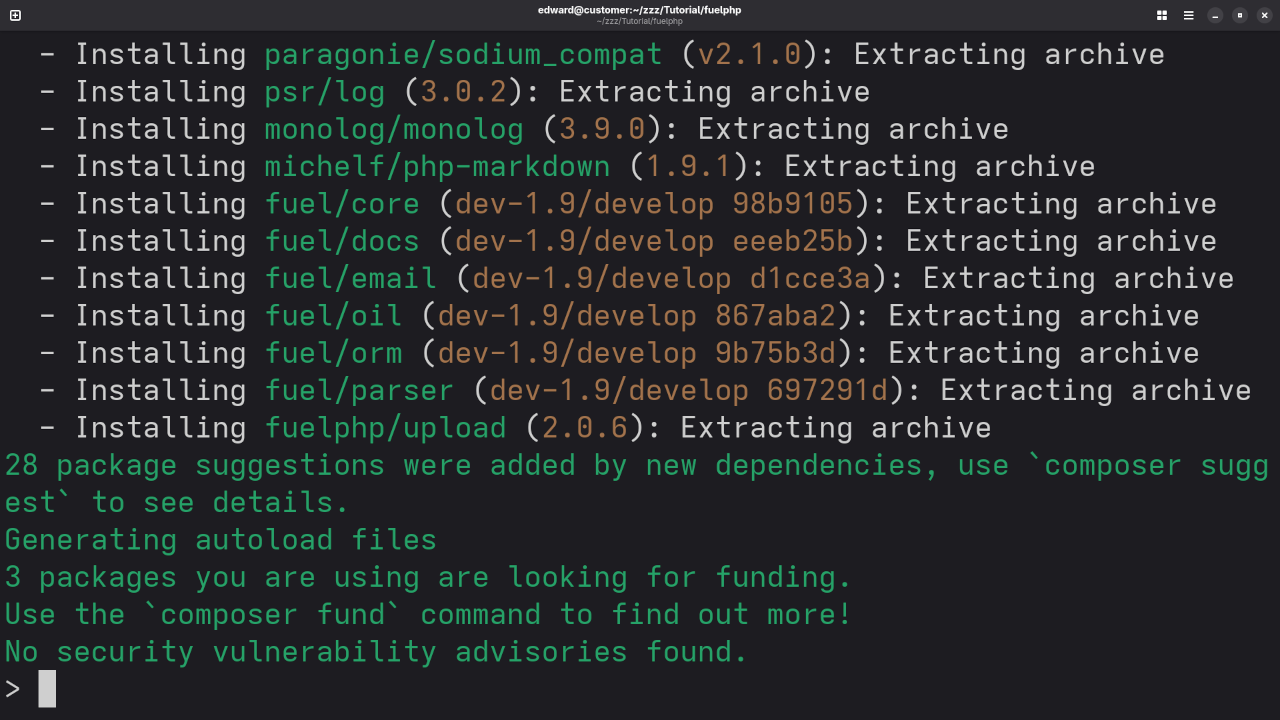
To start with, we’ll install FuelPHP using Composer, which is the recommended way to install modern PHP frameworks. If you don’t have Composer installed, you can download it here.
Here’s how to install FuelPHP using Composer:
composer create-project fuel/fuel your-app-name This will create a new FuelPHP application in the your-app-name folder. Once the installation is complete, navigate to your project directory:
cd your-app-name FuelPHP also supports Podman-Compose for containerized environments. If you want to use Podman-Compose instead of Composer for installation, check if your PHP version is compatible with FuelPHP. If PHP 8.4 is not supported, you’ll need to use the Podman-Compose method. Here’s how you can install FuelPHP with Podman:
- Ensure you have Podman installed.
- Clone the FuelPHP repository into a containerized environment.
- Follow the Podman-Compose setup instructions to deploy the application.
Step 2: Setting Up MariaDB Database
FuelPHP supports multiple databases, including MariaDB. For this tutorial, we’ll use MariaDB to store and retrieve data. First, you’ll need to set up your MariaDB server.
Create a Database
Log into your MariaDB server and create a new database and table for this example:
CREATE DATABASE fuelphp_example;
USE fuelphp_example;
CREATE TABLE users (
id INT AUTO_INCREMENT PRIMARY KEY,
name VARCHAR(100) NOT NULL,
email VARCHAR(100) NOT NULL
);
INSERT INTO users (name, email) VALUES
('John Doe', 'john@example.com'),
('Jane Smith', 'jane@example.com');
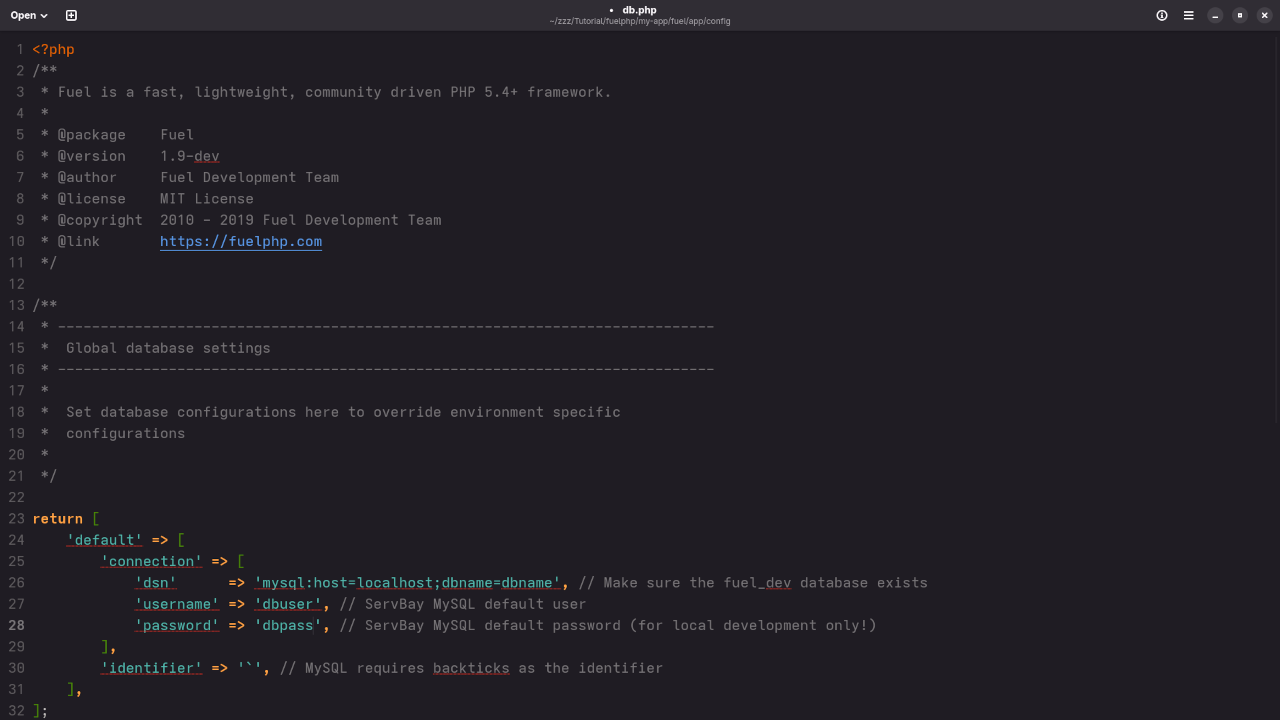
Make sure your database credentials (username, password, etc.) are stored in your fuelphp/config/db.php configuration file.
Step 3: Writing the FuelPHP Application
Now that the database is set up, let’s write a simple FuelPHP application that fetches all the users from the users table and displays them as HTML.
Create a Controller
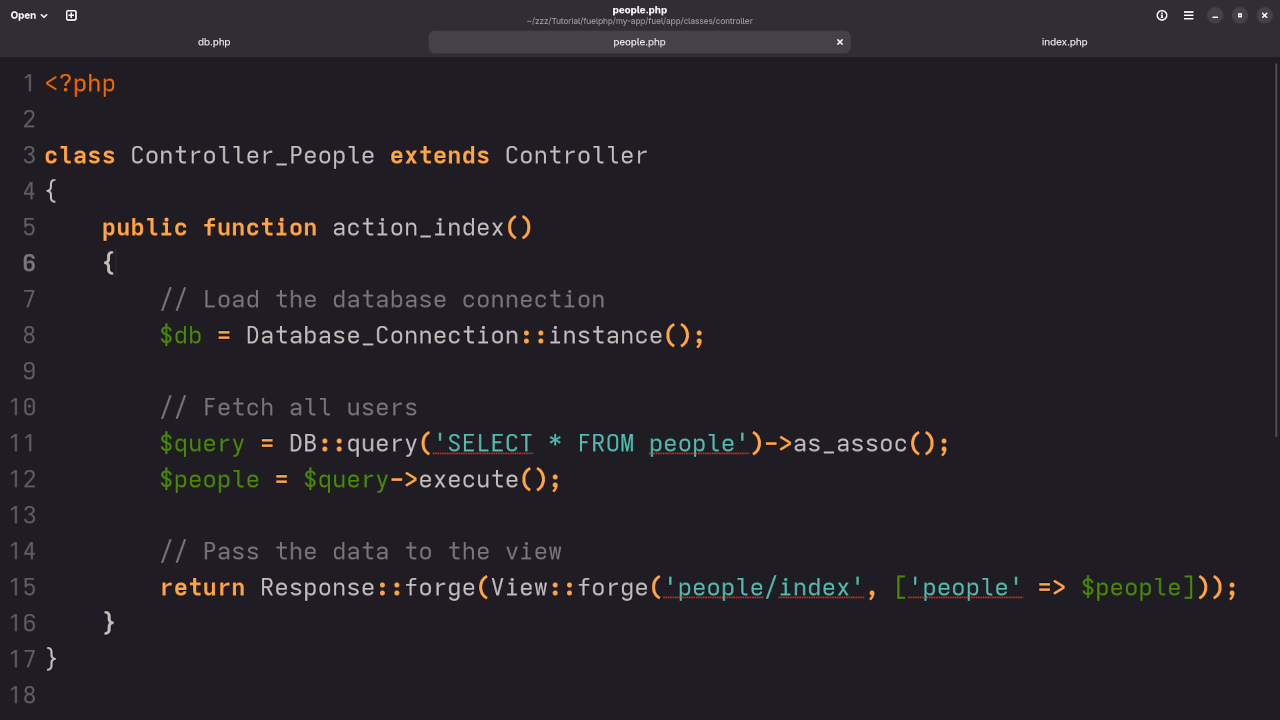
In FuelPHP, controllers handle the logic of your application. Let’s create a controller that will fetch the users from the database.
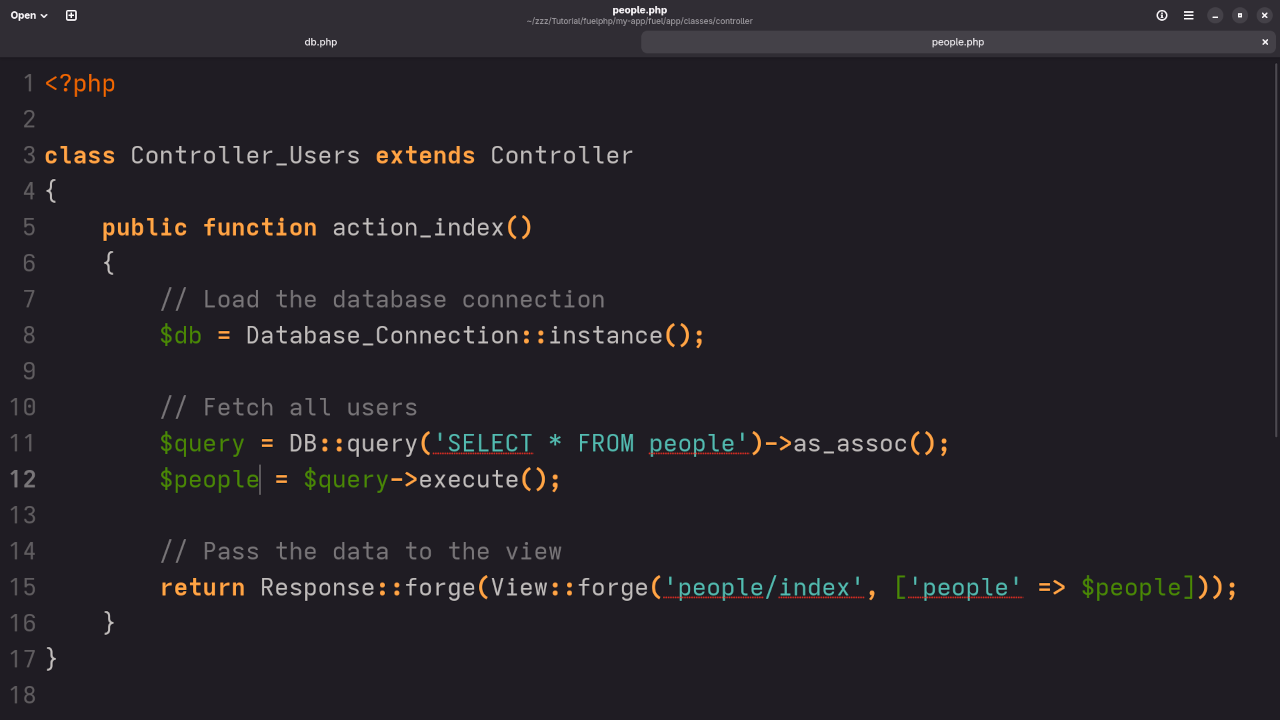
Create a file fuel/app/classes/controller/users.php:
class Controller_Users extends Controller
{
public function action_index()
{
// Load the database connection
$db = Database_Connection::instance();
// Fetch all users
$query = DB::query('SELECT * FROM users')->as_assoc();
$users = $query->execute();
// Pass the data to the view
return Response::forge(View::forge('users/index', ['users' => $users]));
}
}
Create a View
Views are responsible for displaying data to the user. Let’s create a simple view to display the users.
Create the file fuel/app/views/users/index.php:
<h1>User List</h1>
<table border="1">
<thead>
<tr>
<th>ID</th>
<th>Name</th>
<th>Email</th>
</tr>
</thead>
<tbody>
<?php foreach ($users as $user): ?>
<tr>
<td><?php echo $user['id']; ?></td>
<td><?php echo $user['name']; ?></td>
<td><?php echo $user['email']; ?></td>
</tr>
<?php endforeach; ?>
</tbody>
</table>
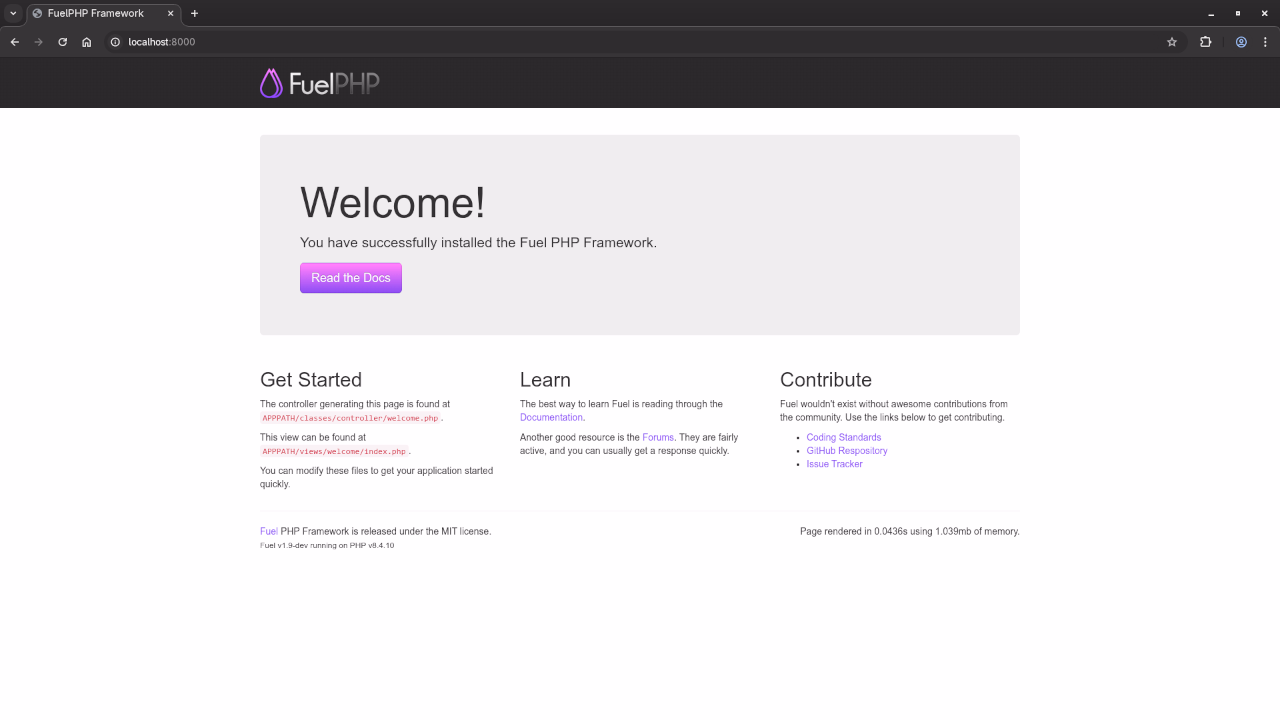
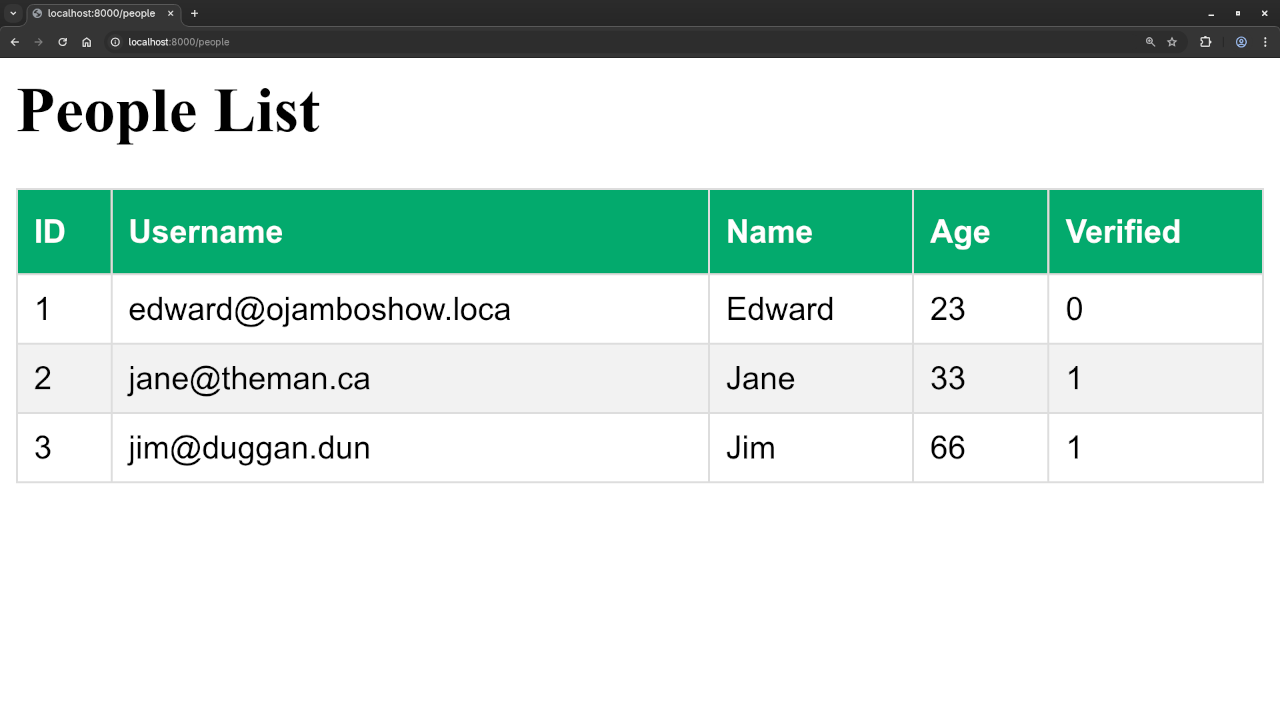
Test Your Application
Start the application by running the built-in FuelPHP server:
php oil server Now, you should be able to visit your application in your browser at http://localhost:8000/users and see the list of users fetched from the MariaDB database displayed as an HTML table.
Step 4: Embedding a Screenshots and a Screencast
To make this tutorial even easier to follow, I’ve created a live screencast demonstrating the entire process. You can watch it below for a step-by-step walkthrough:
Conclusion
In this post, we’ve learned how to set up a simple FuelPHP application that connects to a MariaDB database, fetches data, and outputs it as HTML. FuelPHP’s MVC architecture makes it easy to organize your code and interact with databases, helping you build efficient and maintainable web applications.
If you’re new to PHP development, consider checking out my book Learning PHP for more in-depth coverage on PHP programming. I also offer a comprehensive Learning PHP Course for those who prefer a more structured approach to learning.
Additionally, I offer one-on-one programming tutorials, as well as assistance with updating or migrating FuelPHP Framework applications. You can learn more and reach out here.
🚀 Recommended Resources
Disclosure: Some of the links above are referral links. I may earn a commission if you make a purchase at no extra cost to you.