
Blender is a powerful tool for 3D modeling, and by using the Blender Python API, you can automate the creation of complex 3D objects. In this tutorial, we’ll walk through how to generate a metallic equilateral triangle in Blender using Python, apply a rustic metallic material, and then display it directly in your web browser using Model-Viewer, an easy-to-use web component.
What You’ll Need
- Blender (preferably version 3.0 or above)
- Basic understanding of Python (if you’re a beginner, check out my book Learning Python to get started)
- A text editor (for running Python scripts)
- A web browser (to view the model using <model-viewer>)
Before we dive into the code, make sure you have Blender installed. If you’re new to Blender or programming in Python, I recommend reading my books Learning Python and Mastering Blender Python API for a deeper understanding of the topics covered.
Step 1: Setting Up Blender with Python API
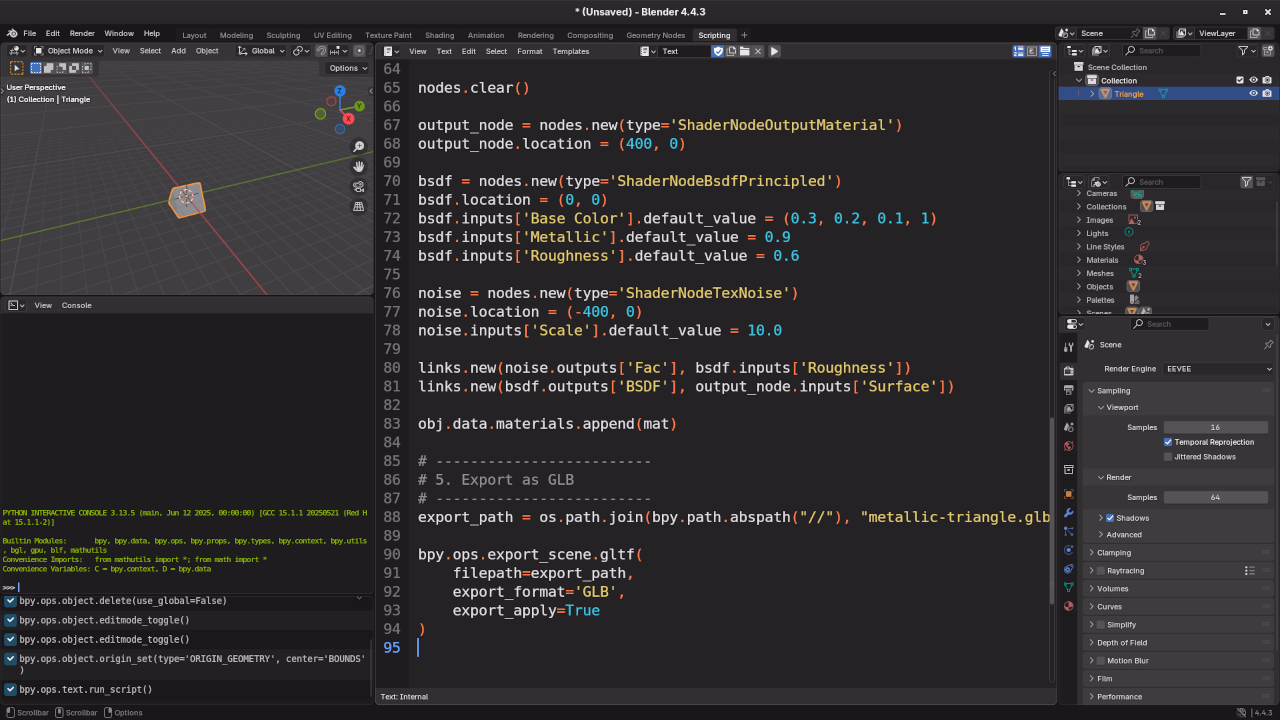
First, open Blender and navigate to the Scripting tab. This is where you’ll write and run the Python code.
To get started, let’s use the Blender Python API to create a simple 3D model — a metallic triangle.
The Python Script
import bpy
import bmesh
import math
import os
# Cleanup the scene
bpy.ops.object.select_all(action='SELECT')
bpy.ops.object.delete(use_global=False)
# Create equilateral triangle mesh
a = 2 # side length
h = (math.sqrt(3) / 2) * a # triangle height
verts = [
(-a / 2, -h / 3, 0), # bottom-left
(a / 2, -h / 3, 0), # bottom-right
(0, (2 * h) / 3, 0) # top-center
]
faces = [(0, 1, 2)]
# Create mesh and object
mesh = bpy.data.meshes.new("Triangle")
obj = bpy.data.objects.new("Triangle", mesh)
bpy.context.collection.objects.link(obj)
# Generate mesh data
mesh.from_pydata(verts, [], faces)
mesh.update()
# Apply thickness to the triangle
bpy.context.view_layer.objects.active = obj
obj.select_set(True)
bpy.ops.object.mode_set(mode='EDIT')
bm = bmesh.from_edit_mesh(mesh)
bmesh.ops.recalc_face_normals(bm, faces=bm.faces)
bmesh.ops.solidify(bm, geom=bm.faces, thickness=2.0)
bmesh.update_edit_mesh(mesh)
bpy.ops.object.mode_set(mode='OBJECT')
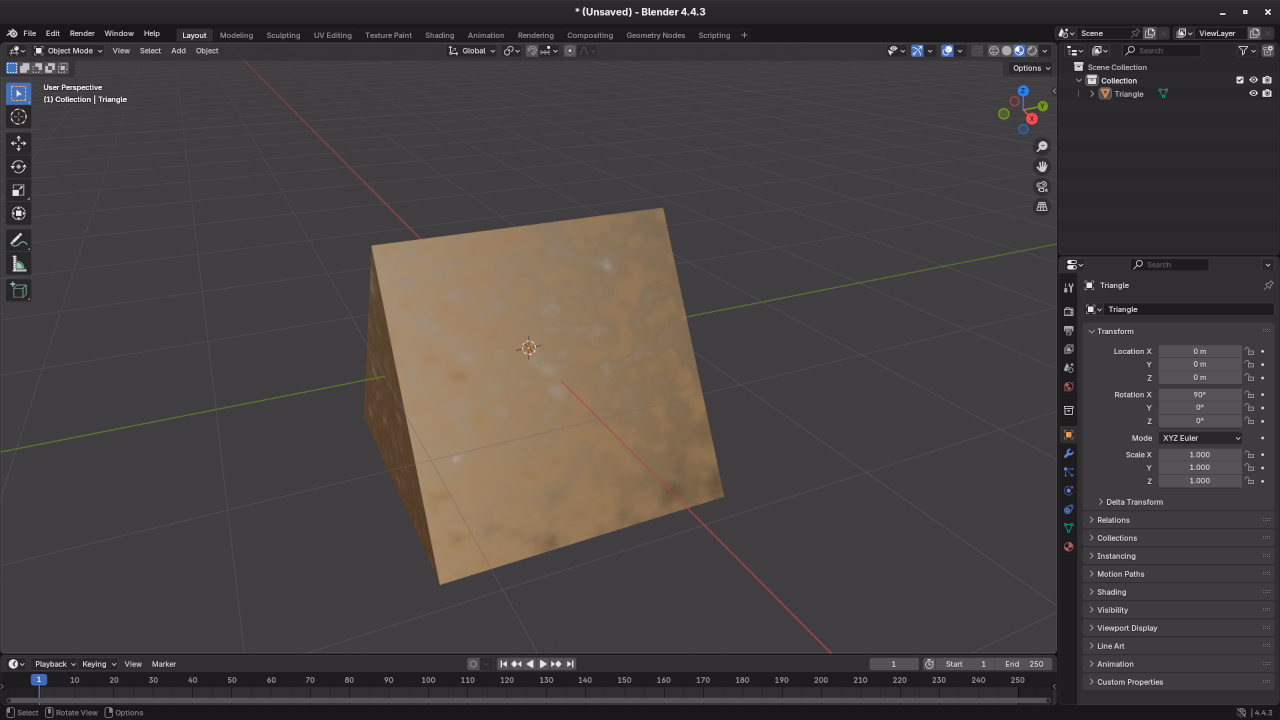
# Re-center and rotate the object
bpy.ops.object.origin_set(type='ORIGIN_GEOMETRY', center='BOUNDS')
obj.location = (0, 0, 0)
obj.rotation_euler[0] = math.radians(90)
# Add material with a metallic look
mat = bpy.data.materials.new(name="RusticMetal")
mat.use_nodes = True
nodes = mat.node_tree.nodes
links = mat.node_tree.links
nodes.clear()
output_node = nodes.new(type='ShaderNodeOutputMaterial')
output_node.location = (400, 0)
bsdf = nodes.new(type='ShaderNodeBsdfPrincipled')
bsdf.location = (0, 0)
bsdf.inputs['Base Color'].default_value = (0.3, 0.2, 0.1, 1) # Brownish metallic color
bsdf.inputs['Metallic'].default_value = 0.9
bsdf.inputs['Roughness'].default_value = 0.6
noise = nodes.new(type='ShaderNodeTexNoise')
noise.location = (-400, 0)
noise.inputs['Scale'].default_value = 10.0
links.new(noise.outputs['Fac'], bsdf.inputs['Roughness'])
links.new(bsdf.outputs['BSDF'], output_node.inputs['Surface'])
obj.data.materials.append(mat)
# Export the object to .glb format
export_path = os.path.join(bpy.path.abspath("//"), "triangle.glb")
bpy.ops.export_scene.gltf(
filepath=export_path,
export_format='GLB',
export_apply=True
)
Step 2: Run the Python Script on the Command Line
To run the Python script, you’ll need to use Blender’s command-line interface.
Here’s how you can do it:
- Save your Python script in a .py file, for example: generate_triangle.py
- Open your command line (Terminal).
- Navigate to the folder where the script is saved.
- Run the following command (replace
path_to_blenderwith the correct path to Blender on your system):
path_to_blender/blender --background --python generate_triangle.py This command tells Blender to:
- Run in background mode (no UI)
- Execute the Python script (
generate_triangle.py)
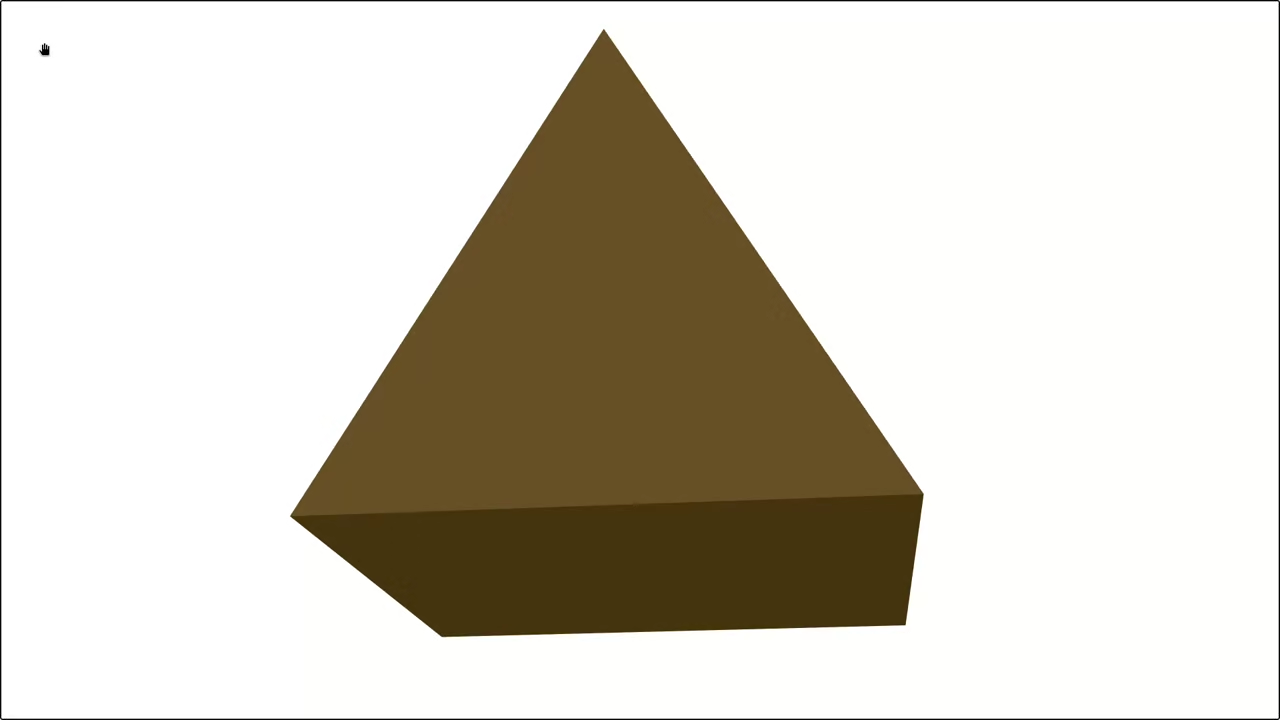
Once the script is run, Blender will generate your 3D metallic triangle and export it as a .glb file.
Step 3: Display the Triangle in the Web Browser Using Model-Viewer
Now that we’ve generated and exported the 3D model (triangle.glb), it’s time to display it in the web browser using Model-Viewer, a web component developed by Google for displaying 3D models.
To use it, create a simple HTML file:
HTML Code to Display the Triangle:
<!DOCTYPE html>
<html lang="en">
<head>
<meta charset="UTF-8">
<title>3D Rustic Triangle</title>
<script type="module" src="https://unpkg.com/@google/model-viewer/dist/model-viewer.min.js"></script>
<style>
body {
margin: 0;
background: #222;
}
model-viewer {
width: 100vw;
height: 100vh;
}
</style>
</head>
<body>
<model-viewer
src="triangle.glb"
alt="Rustic 3D Triangle"
auto-rotate
camera-controls
environment-image="neutral"
exposure="1"
shadow-intensity="1"
ar
ar-modes="webxr scene-viewer quick-look">
</model-viewer>
</body>
</html>
How to Test It:
- Place both
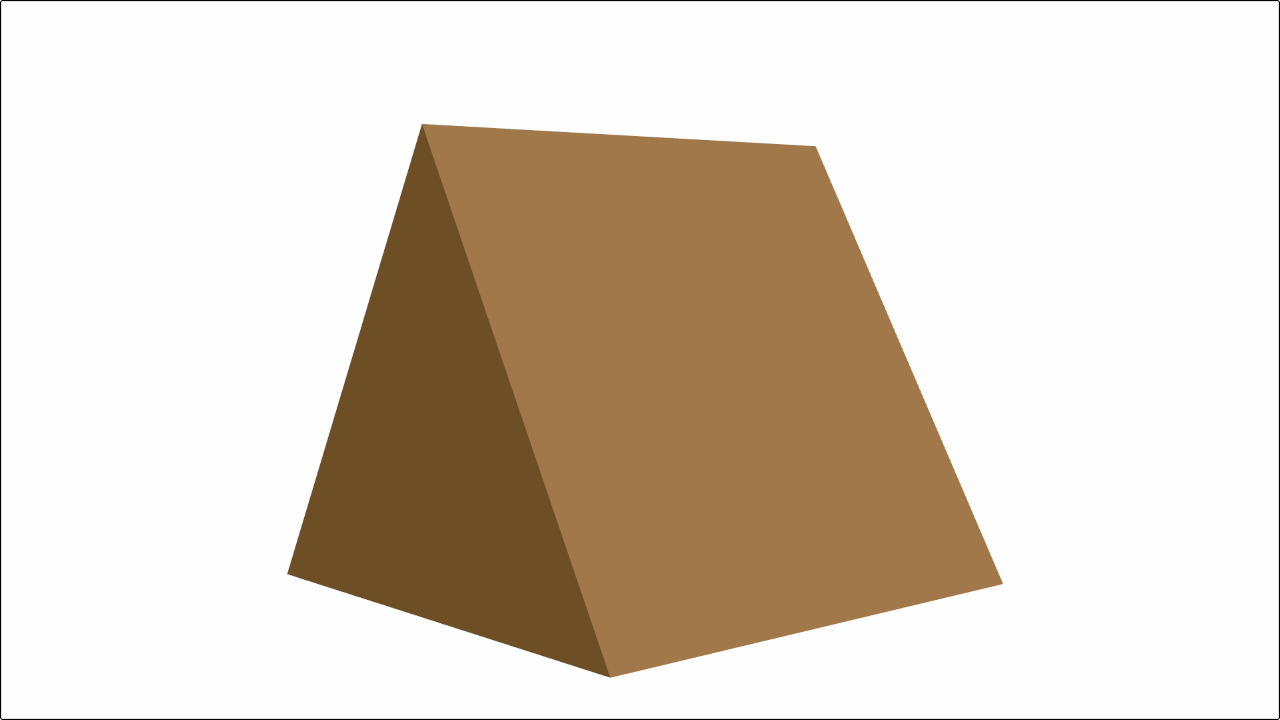
triangle.glbandindex.htmlin the same folder. - Open the
index.htmlfile in your web browser. - Voilà! Your 3D metallic triangle will now appear in your browser.
Step 4: Conclusion and Further Learning
By following this tutorial, you’ve learned how to:
- Use the Blender Python API to create a 3D model.
- Apply rustic metallic materials for a realistic look.
- Export the model as .glb for easy integration into web applications.
- Display the model in your browser with Model-Viewer.
If you’re just starting out with Python, check out my book Learning Python, and for more advanced Blender topics, I highly recommend Mastering Blender Python API.
You can also deepen your knowledge through my Learning Python course, where I guide you through Python programming basics step-by-step.
If you’re looking for more hands-on help, I offer one-on-one online Python tutorials, including sessions specifically for Blender Python API. You can find out more and book a session with me here: Contact Me.
Screenshots & Embedded Screencast
🚀 Recommended Resources
Disclosure: Some of the links above are referral links. I may earn a commission if you make a purchase at no extra cost to you.