
Underpowered Hardware Hidden Capability
You are wasting money on expensive retro gaming consoles. The original Doom runs flawlessly on a five dollar single board computer. Most people never discover this hidden capability of the Raspberry Pi Zero W.
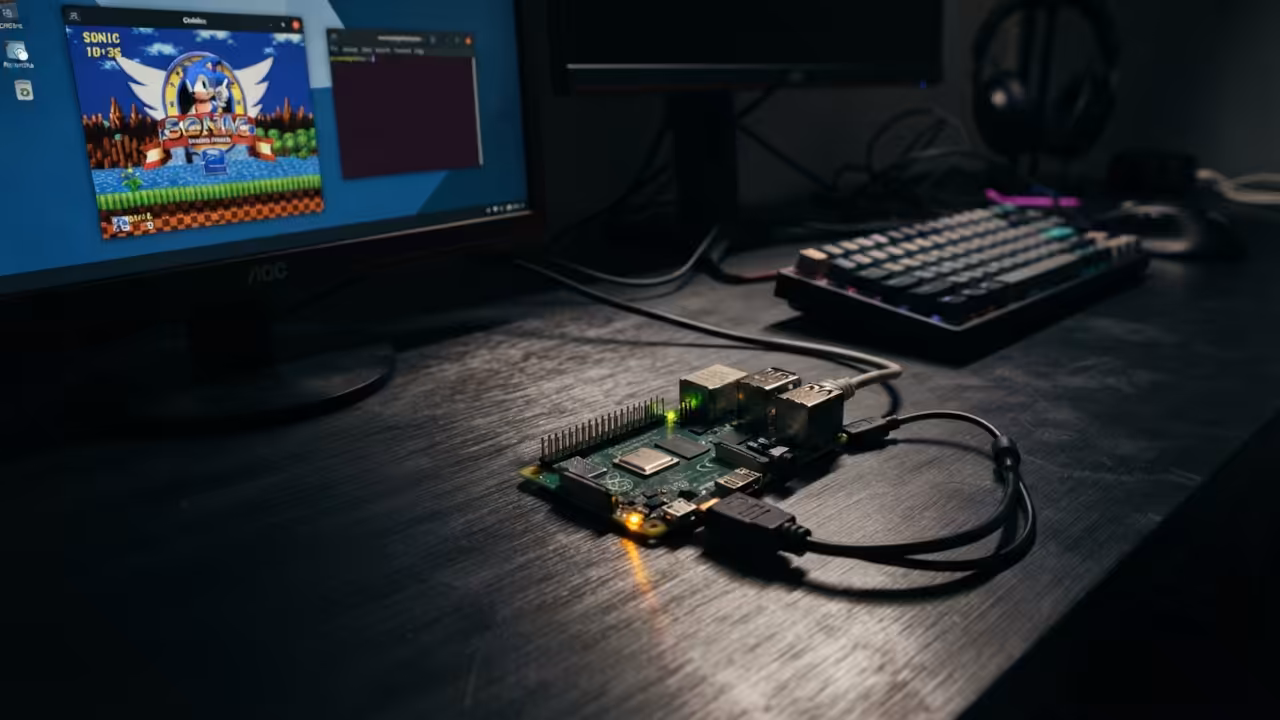
Your workstation already has everything you need to control it remotely. This setup requires zero monitors and zero keyboards for the Pi itself. The entire experience streams directly to your existing desktop screen.
The Raspberry Pi Zero W is severely underpowered by modern standards. It sports a single core one gigahertz ARM processor. It carries only five hundred and twelve megabytes of RAM.
Yet this tiny board handles the classic Doom engine without breaking a sweat. The secret lies in choosing the right source port and optimizing the display pipeline. Crispy Doom delivers an enhanced sixty forty by four hundred resolution.
Installation and Build Process
The installation process demands precision and patience. You begin by flashing Raspberry Pi OS Lite onto a microSD card. Then you enable SSH through a blank file on the boot partition.
A simple SSH connection from your Fedora workstation gives you full terminal access. The build dependencies include Git, CMake, and several SDL2 development libraries. You clone the Crispy Doom repository directly from GitHub.
Build Commands for Crispy Doom
sudo apt update
sudo apt install git cmake libsdl2-dev libsdl2-mixer-dev libsdl2-net-dev libsamplerate0-dev zlib1g-dev libpng-dev
git clone https://github.com/fabiangreffrath/crispy-doom.git
cd crispy-doom
mkdir build
cd build
cmake ..
make -j1
sudo make install
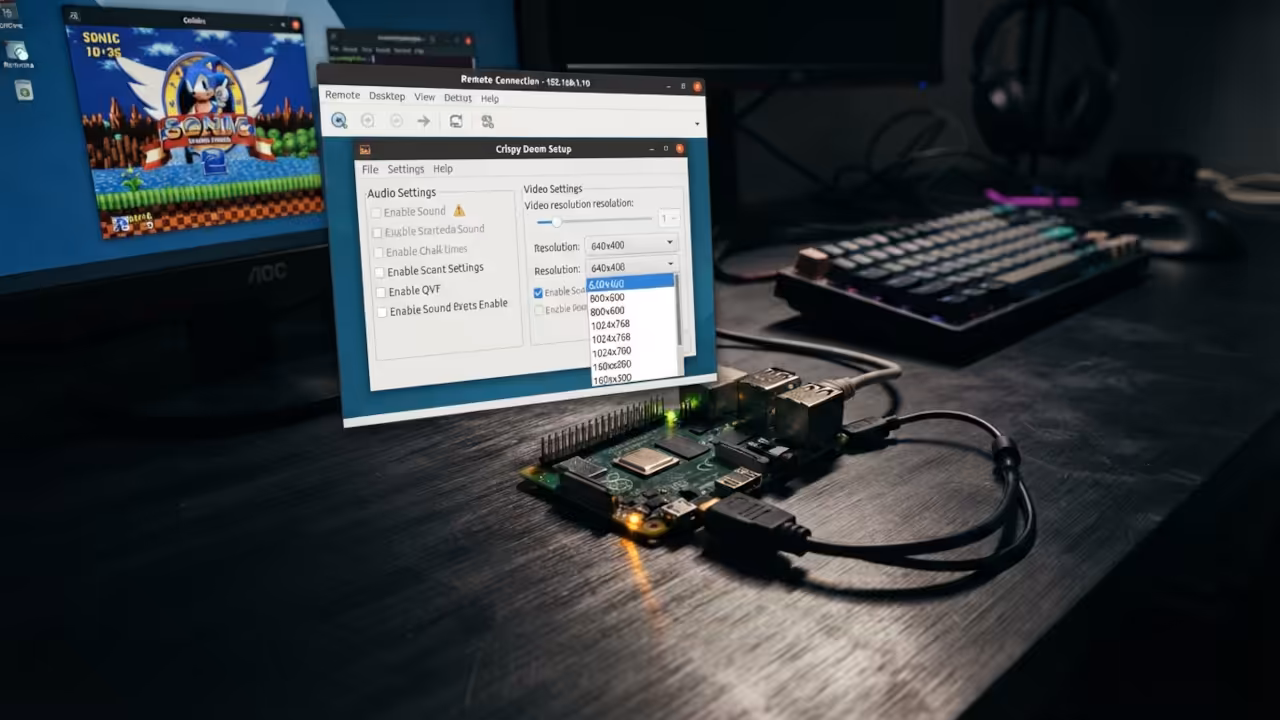
The compilation process completes in just a few minutes on the Pi. Here is where most guides fail to warn you about a critical detail. The Crispy Doom setup utility lets you lower the internal screen resolution.
Dropping below sixty forty by four hundred dramatically improves frame rates. You can also disable sound entirely to eliminate ALSA underrun errors. These audio glitches cause stuttering and crackling during intense gameplay sessions.
Remote Desktop Access
Remote desktop access transforms this headless board into a playable gaming terminal. You have two excellent options for streaming the desktop to your workstation. TightVNC provides reliable low latency screen sharing over your local network.
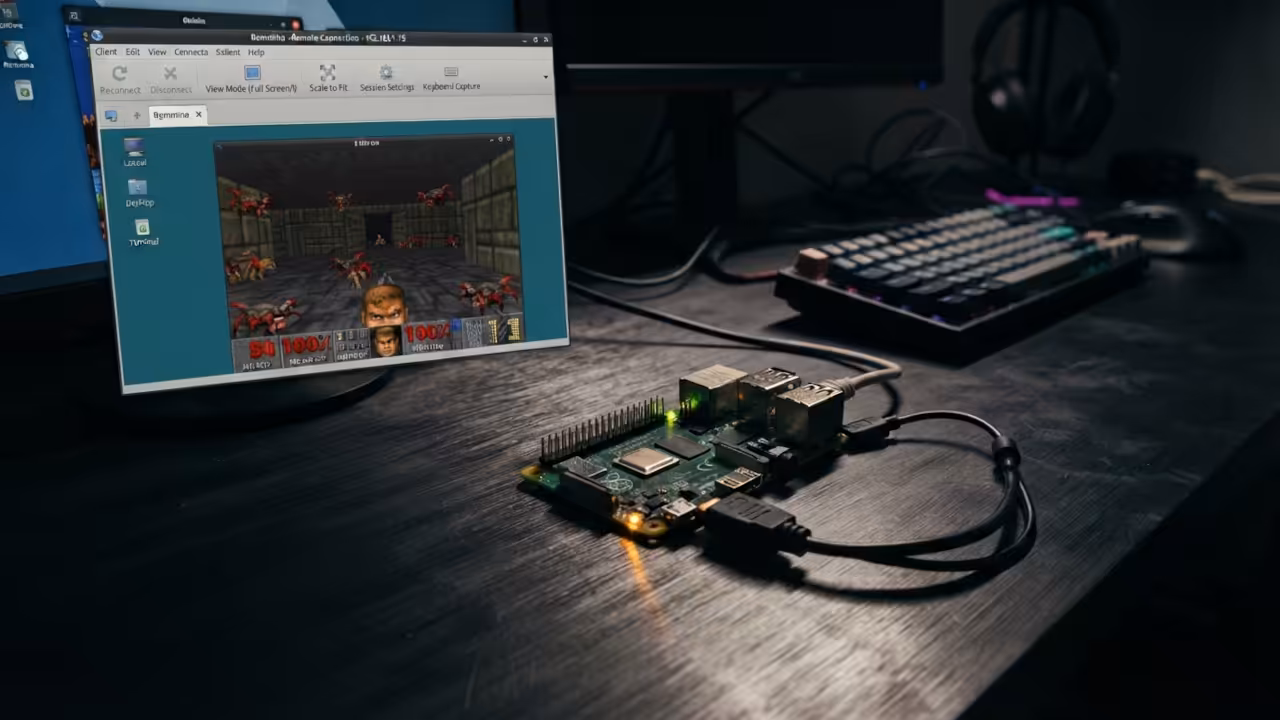
XRDP offers native RDP protocol compatibility with the Remmina client on Fedora. Both methods deliver smooth enough performance for classic Doom gameplay. The Remmina RDP connection feels particularly responsive on a wired network.
The Experience
The experience of playing Doom through a remote desktop on a Pi Zero W is genuinely surprising. The controls respond with minimal input lag over a local connection. Weapon fire feels snappy and enemy sprites animate at acceptable frame rates.
You are essentially running a 1993 masterpiece on hardware worth less than a coffee. The nostalgia factor combined with the technical achievement creates an unforgettable experience.
Master the Professional Stack
Every complex system architecture begins with a solid theoretical foundation. My Amazon books provide the deep technical knowledge required to master these projects.
- Books: https://www.amazon.com/stores/Edward-Ojambo/author/B0D94QM76N
- Blueprints: https://ojamboshop.com
- Tutorials: https://ojambo.com/contact
- Consultations: https://ojamboservices.com/contact
| Parameter | Description | Value |
|---|---|---|
| CPU | Processor specification | Single Core 1GHz ARM11 vs Quad Core 1GHz Cortex-A53 vs Quad Core 2.4GHz Cortex-A76 |
| RAM | Memory capacity | 512MB vs 512MB vs 8GB |
| Crispy Doom Performance | Gameplay quality assessment | Playable at reduced resolution vs Smooth at native resolution vs Exceptional with mods |
| Price | Board cost | 5 Dollars vs 15 Dollars vs 80 Dollars |
| Remote Desktop Viability | Remote access suitability | Good for lightweight use vs Excellent vs Overkill |
| Parameter | Description | Value |
Architectural Continuity
The raw build commands for Crispy Doom on the Pi require specific dependency installations. You must install the SDL2 development packages before attempting compilation. The CMake configuration step detects your system libraries automatically.
A parallel make command accelerates the build process significantly. The resulting binary runs directly from the terminal with your chosen WAD file. This project connects directly to previous deep dives into headless Raspberry Pi configurations.
The architectural principles remain identical across all remote access scenarios. Understanding the underlying network protocols empowers you to troubleshoot any connection issues. The same TightVNC and XRDP configurations apply to more demanding workloads.
🚀 Recommended Resources
Disclosure: Some of the links above are referral links. I may earn a commission if you make a purchase at no extra cost to you.
Leave a Reply