
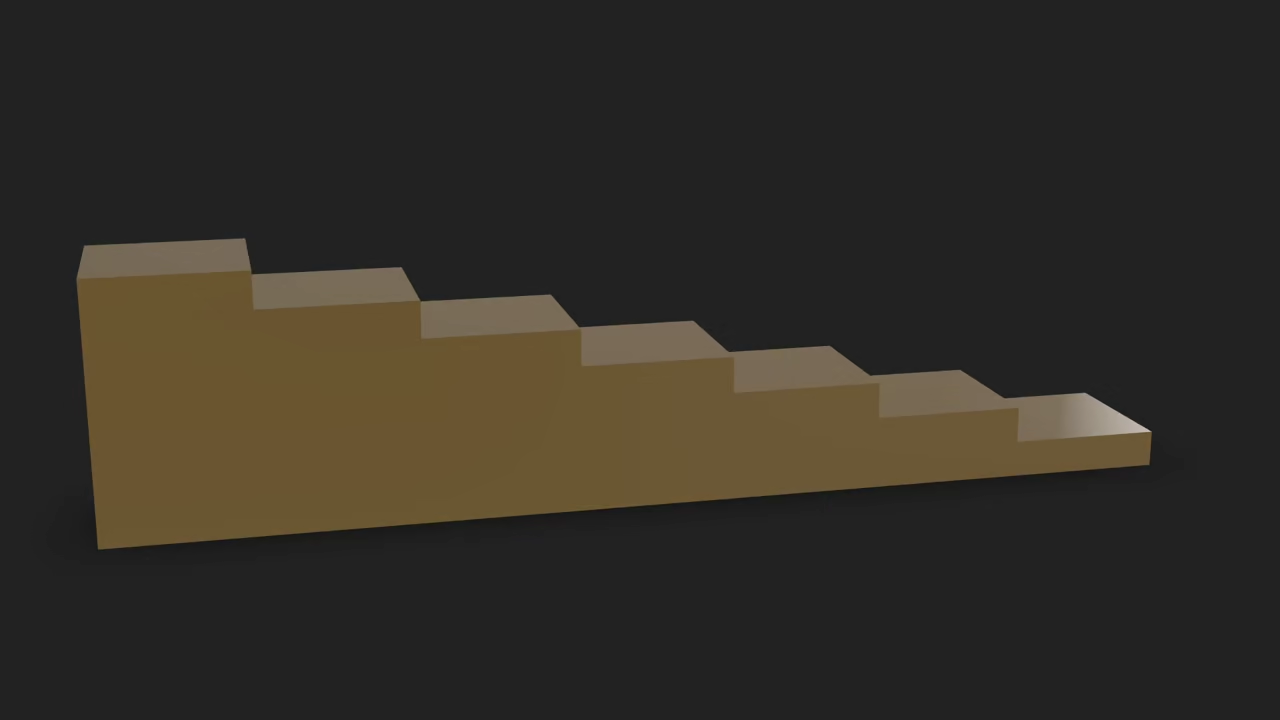
Generate Wood Stairs in Blender Using Python and Display in Browser with Model-Viewer
This beginner-friendly tutorial walks you through how to:
- Script wood stairs in Blender using Python
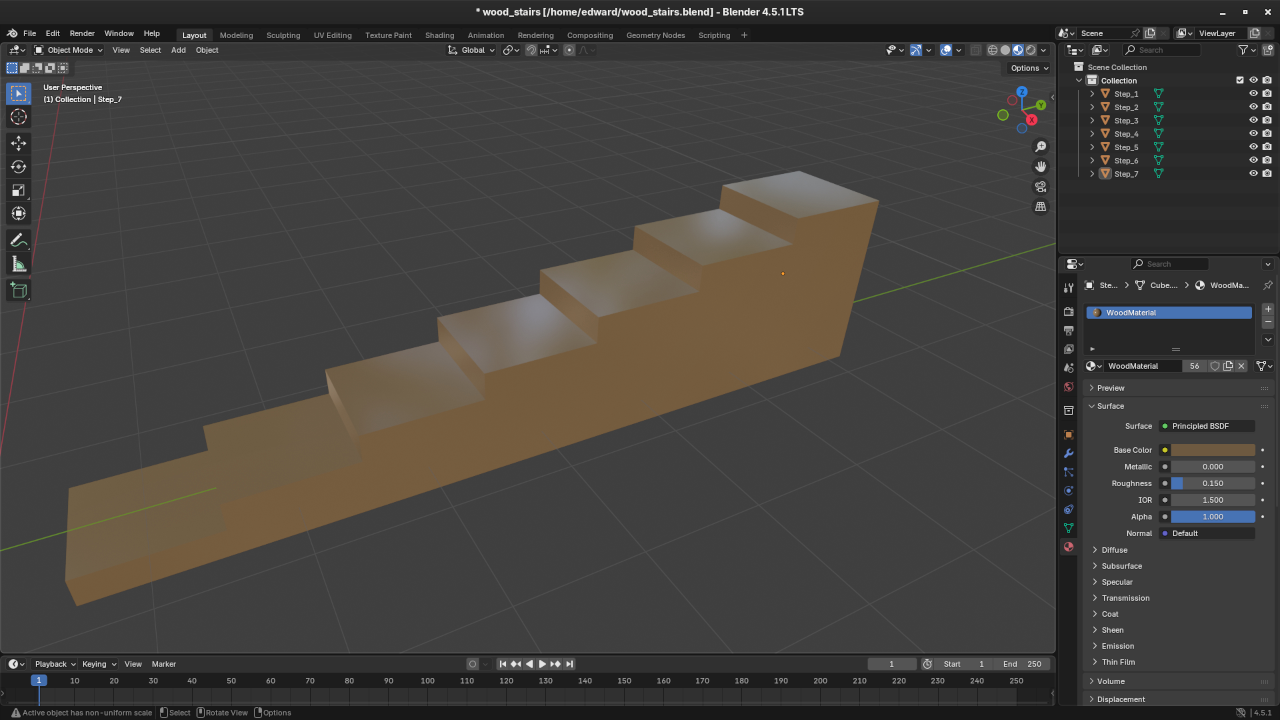
- Create and apply a basic wooden material
- Save the model as a .blend file
- Export the model as a .glb file
- Use an HDR environment background
- Display the model in a web browser using
model-viewer
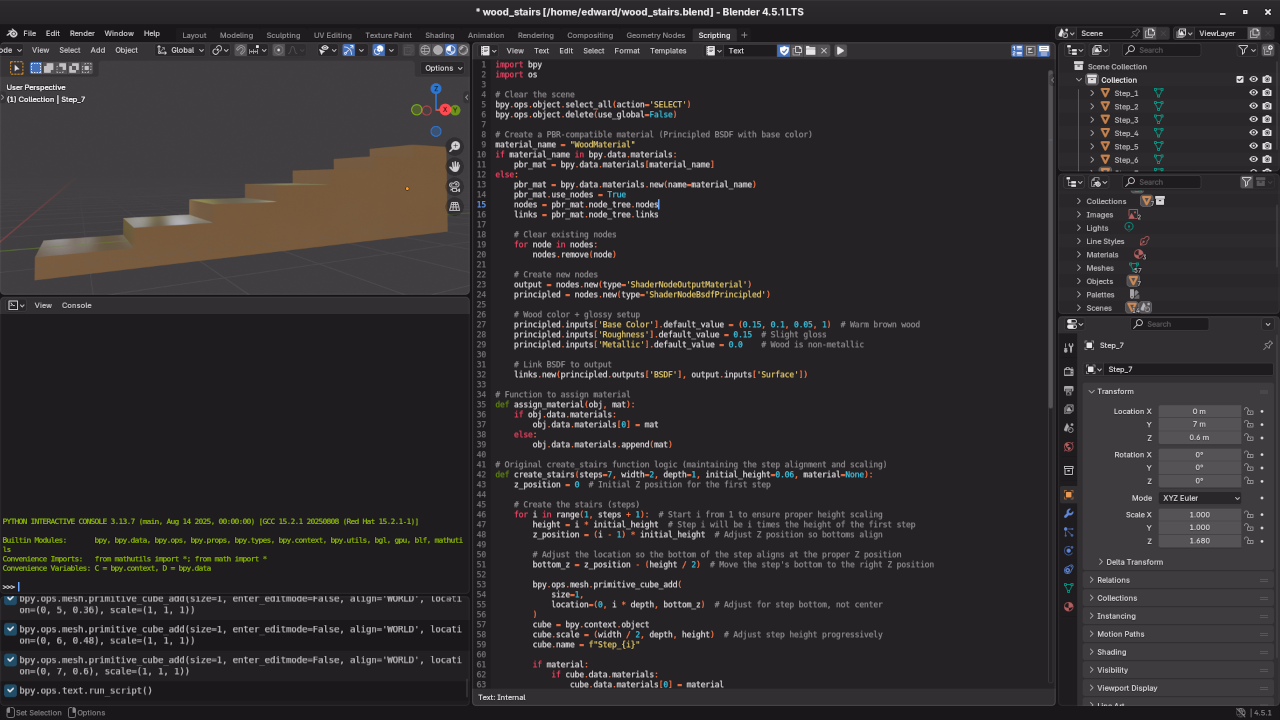
Step 1: Python Script to Create Stairs, Save .blend, and Export .glb
Create a file called create_wood_stairs.py with the following content:
import bpy
import os
# Clear the scene
bpy.ops.object.select_all(action='SELECT')
bpy.ops.object.delete(use_global=False)
# Create a PBR-compatible material (Principled BSDF with base color)
material_name = "WoodMaterial"
if material_name in bpy.data.materials:
pbr_mat = bpy.data.materials[material_name]
else:
pbr_mat = bpy.data.materials.new(name=material_name)
pbr_mat.use_nodes = True
nodes = pbr_mat.node_tree.nodes
links = pbr_mat.node_tree.links
# Clear existing nodes
for node in nodes:
nodes.remove(node)
# Create new nodes
output = nodes.new(type='ShaderNodeOutputMaterial')
principled = nodes.new(type='ShaderNodeBsdfPrincipled')
# Wood color + glossy setup
principled.inputs['Base Color'].default_value = (0.15, 0.1, 0.05, 1) # Warm brown wood
principled.inputs['Roughness'].default_value = 0.15 # Slight gloss
principled.inputs['Metallic'].default_value = 0.0 # Wood is non-metallic
# Link BSDF to output
links.new(principled.outputs['BSDF'], output.inputs['Surface'])
# Function to assign material
def assign_material(obj, mat):
if obj.data.materials:
obj.data.materials[0] = mat
else:
obj.data.materials.append(mat)
# Original create_stairs function logic (maintaining the step alignment and scaling)
def create_stairs(steps=7, width=2, depth=1, initial_height=0.06, material=None):
z_position = 0 # Initial Z position for the first step
# Create the stairs (steps)
for i in range(1, steps + 1): # Start i from 1 to ensure proper height scaling
height = i * initial_height # Step i will be i times the height of the first step
z_position = (i - 1) * initial_height # Adjust Z position so bottoms align
# Adjust the location so the bottom of the step aligns at the proper Z position
bottom_z = z_position - (height / 2) # Move the step's bottom to the right Z position
bpy.ops.mesh.primitive_cube_add(
size=1,
location=(0, i * depth, bottom_z) # Adjust for step bottom, not center
)
cube = bpy.context.object
cube.scale = (width / 2, depth, height) # Adjust step height progressively
cube.name = f"Step_{i}"
if material:
if cube.data.materials:
cube.data.materials[0] = material
else:
cube.data.materials.append(material)
# Create stairs with the updated material
create_stairs(steps=7, width=2, depth=1.00, initial_height=0.24, material=pbr_mat)
# Save .blend file
blend_save_path = bpy.path.abspath("//wood_stairs.blend")
bpy.ops.wm.save_as_mainfile(filepath=blend_save_path)
# Export to GLB with compatible options
output_path = os.path.join(bpy.path.abspath("//"), "wood_stairs.glb")
bpy.ops.export_scene.gltf(
filepath=output_path,
export_format='GLB',
export_materials='EXPORT',
export_normals=True
)
Step 2: Run the Script via Command Line
Run the script using Blender in background mode:
blender --background --python create_wood_stairs.py This will:
- Generate wooden stairs
- Apply a simple wood texture
- Set HDR lighting (if the file exists)
- Save the project as
wood_stairs.blend - Export the stairs as
wood_stairs.glb
Step 3: HDRI Background on Linux
If Blender was installed using your Linux distro’s package manager (such as apt or dnf), HDRI files are often located at:
/usr/share/blender/datafiles/studiolights/world/ You can list available HDRs with:
ls /usr/share/blender/datafiles/studiolights/world/ Use one of the HDRIs like forest.exr in your script.
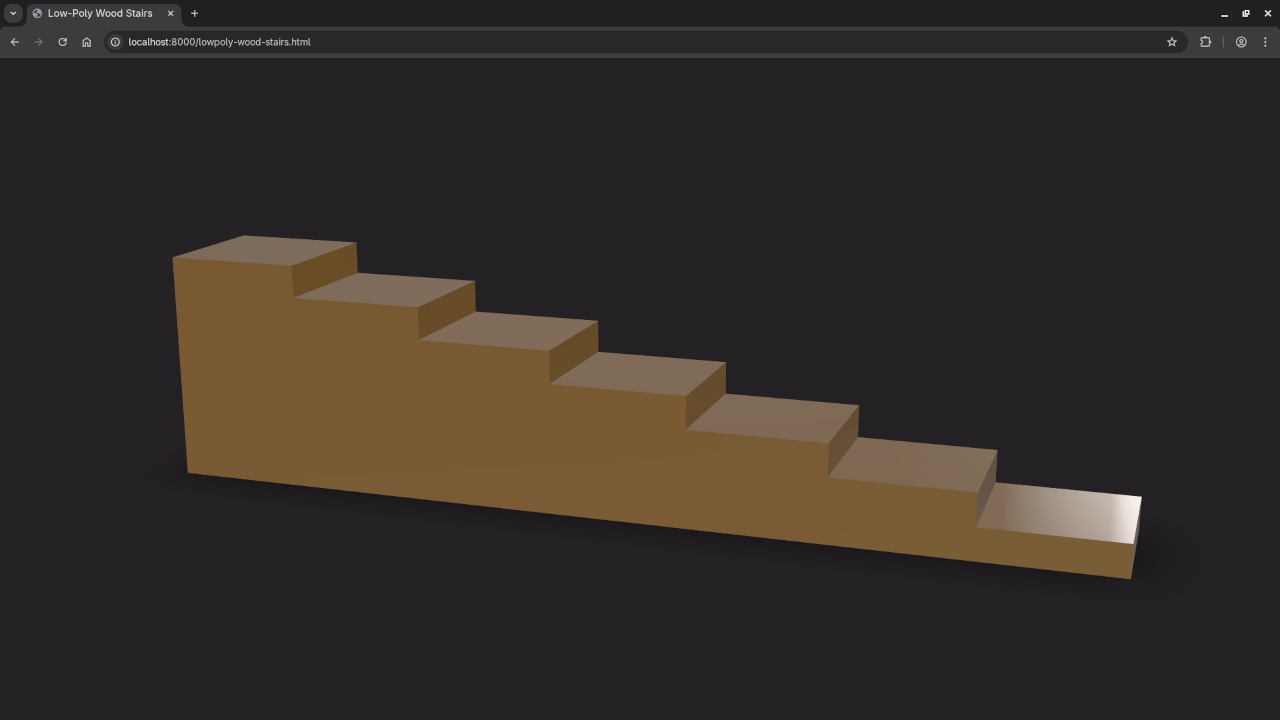
Step 4: View the Model with model-viewer in the Browser
Upload the exported wood_stairs.glb to your website and embed it like this:
<script type="module" src="https://unpkg.com/@google/model-viewer/dist/model-viewer.min.js"></script>
<model-viewer src="wood_stairs.glb" alt="Wooden Stairs"
auto-rotate camera-controls ar
style="width: 100%; height: 500px;">
</model-viewer>
📸 Screenshots & Screencast
Learn More with Books and Courses
If you’d like to go further with Python or Blender scripting, check out the following:
- Learning Python (Book) – For absolute beginners
- Mastering Blender Python API (Book) – Advanced Blender scripting
- Learning Python Online Course – With practical exercises
- One-on-One Python & Blender Tutoring – Get personalized help
🚀 Recommended Resources
Disclosure: Some of the links above are referral links. I may earn a commission if you make a purchase at no extra cost to you.