
Gitblit: Your Easy Open Source Git Server for Beginners
Are you new to programming and looking for a simple, self-hosted way to manage your Git repositories? Look no further than Gitblit!
What is Gitblit?
In simple terms, Gitblit is a pure Java stack for managing, viewing, and accessing Git repositories. Think of it as your own personal, lightweight GitHub that you can run on your own server or even your laptop. It’s incredibly easy to set up and is an excellent choice for individuals, small teams, or anyone who needs a private Git solution without the complexity of larger enterprise tools.
One of the best things about Gitblit is that it is open source. This means it’s code is freely available, constantly being reviewed and improved by a community of developers, and you don’t have to pay a licensing fee to use it!
Why Choose Gitblit?
- Ease of Use: Gitblit is famous for its simple, user-friendly interface. Getting a repository set up and browsing the code is a breeze.
- Lightweight: It doesn’t require a large amount of resources, making it perfect for smaller servers or running locally for testing.
- Cross-Platform: Since it’s built with Java, it runs effortlessly on Windows, macOS, and Linux.
- No Databases Required: Gitblit can use files for user authentication and repository storage, simplifying the initial setup immensely.
Installation Example: Running Gitblit with Podman
For modern deployments, using a containerization tool like Podman (or Docker) is the easiest and most reliable way to get Gitblit running. We’ll use a podman-compose setup, which is similar to Docker Compose, to define and run the service.
First, you’ll need Podman and Podman-Compose installed on your system.
1. Create a podman-compose.yaml file:
This file tells Podman exactly how to build and run your Gitblit container.
version: '3.8'
services:
gitblit:
image: gitblit/gitblit:latest
container_name: gitblit_server
# Map a directory on your computer to where Gitblit stores its data and repositories
volumes:
- ./data:/opt/gitblit/data
# Map the container's port 8080 (HTTP) and 29418 (Git Protocol)
# to accessible ports on your machine.
ports:
- "8080:8080"
- "29418:29418"
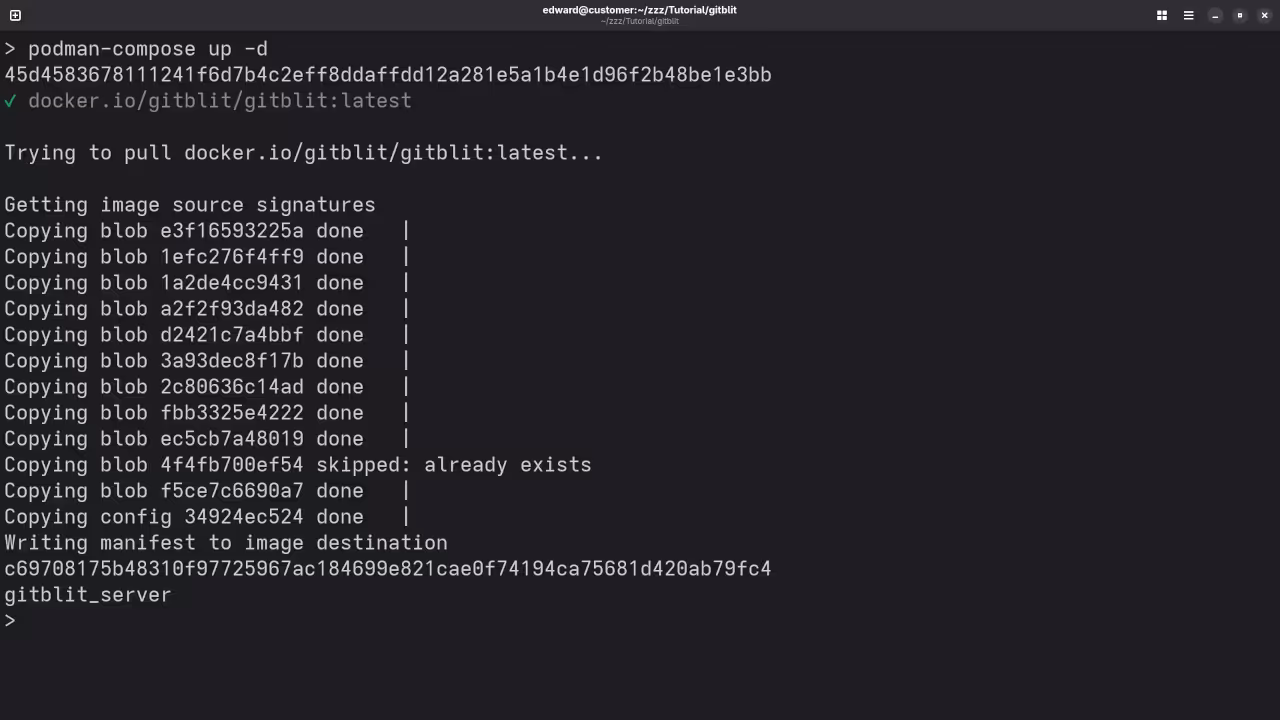
restart: always 2. Run the Service:
Navigate to the directory where you saved the podman-compose.yaml file and run:
podman-compose up -d The -d flag runs the container in “detached” mode, meaning it will run in the background.
3. Access Gitblit:
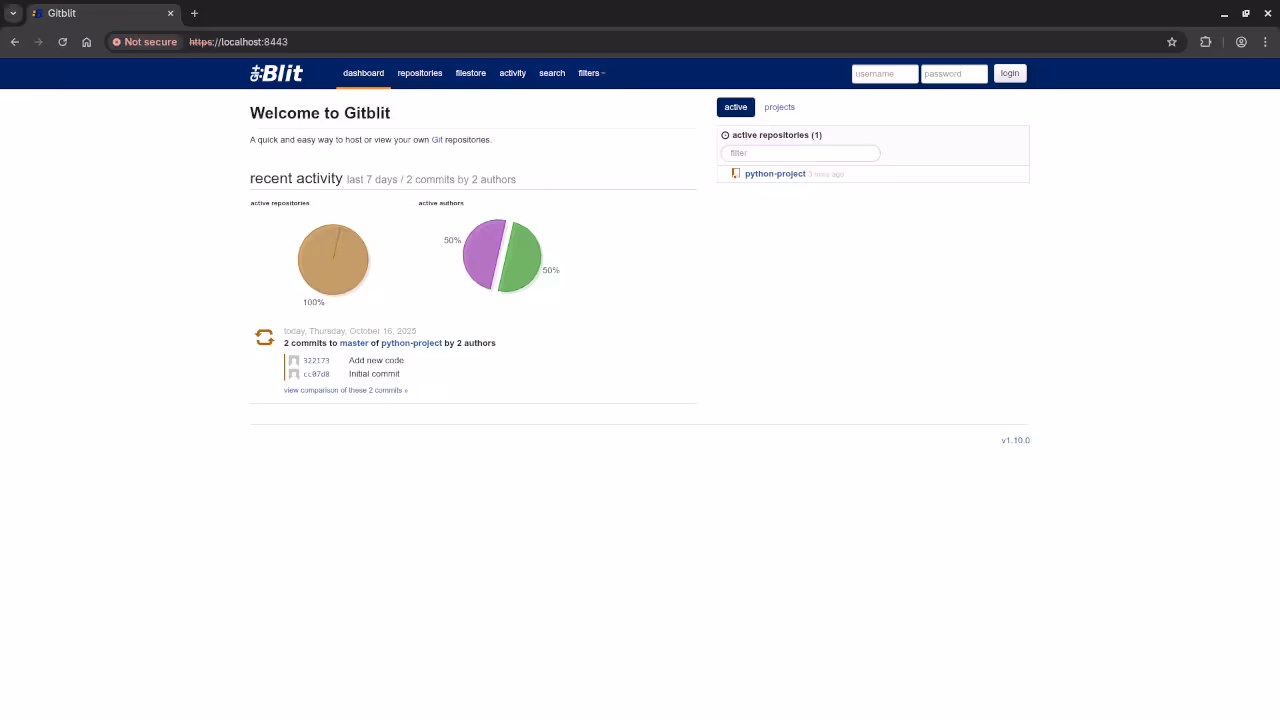
After a few moments, your Gitblit server will be running! You can access the web interface by opening your browser and navigating to:
http://localhost:8080
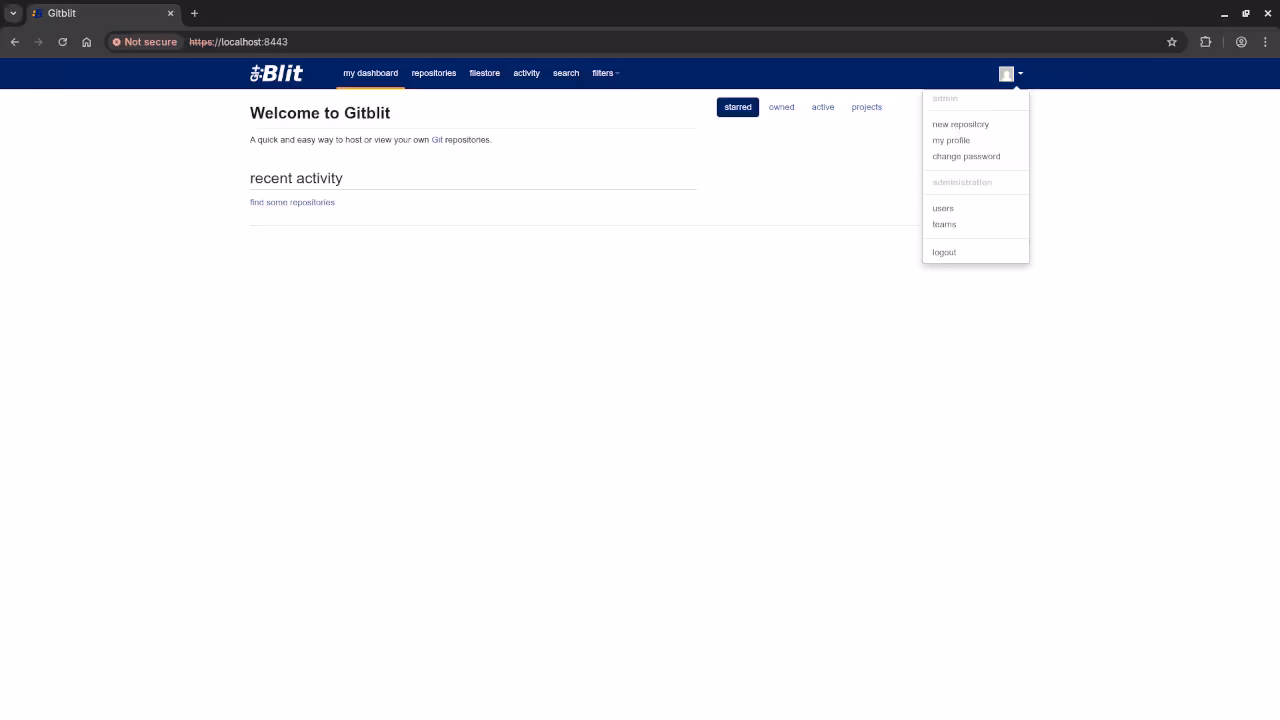
The default administrator username is admin and the password is admin. Make sure to change this immediately after your first login!
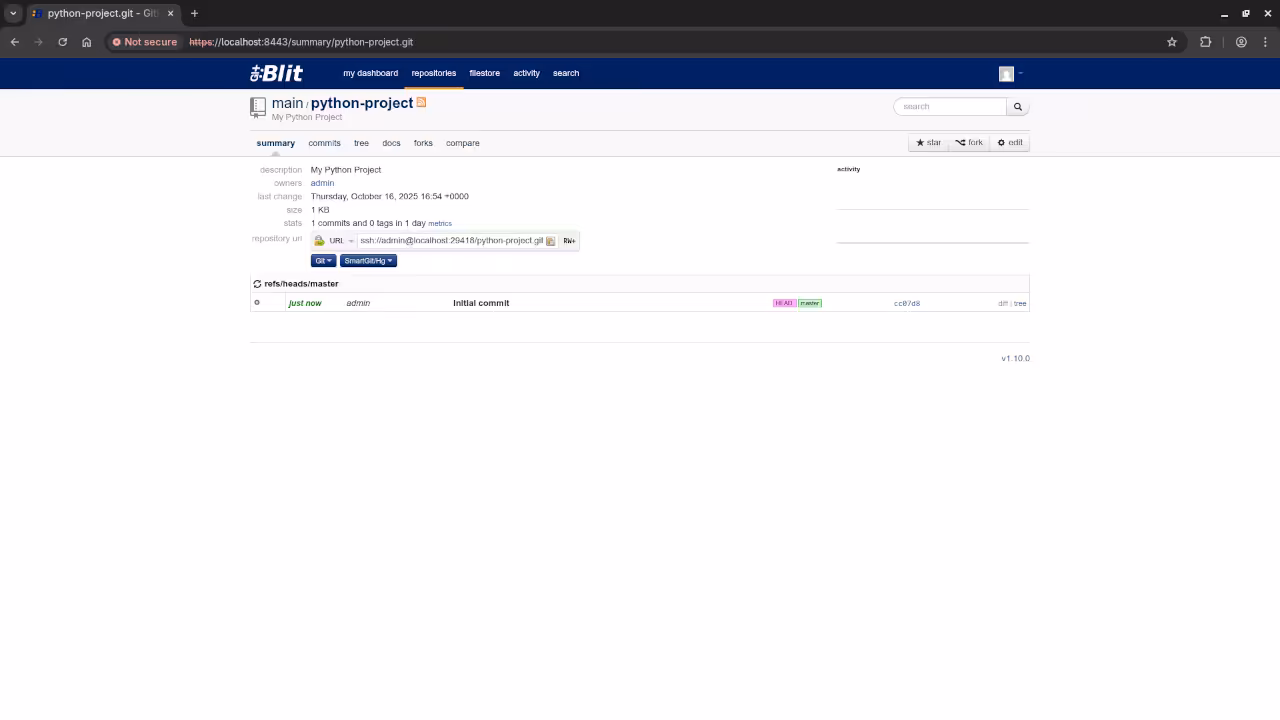
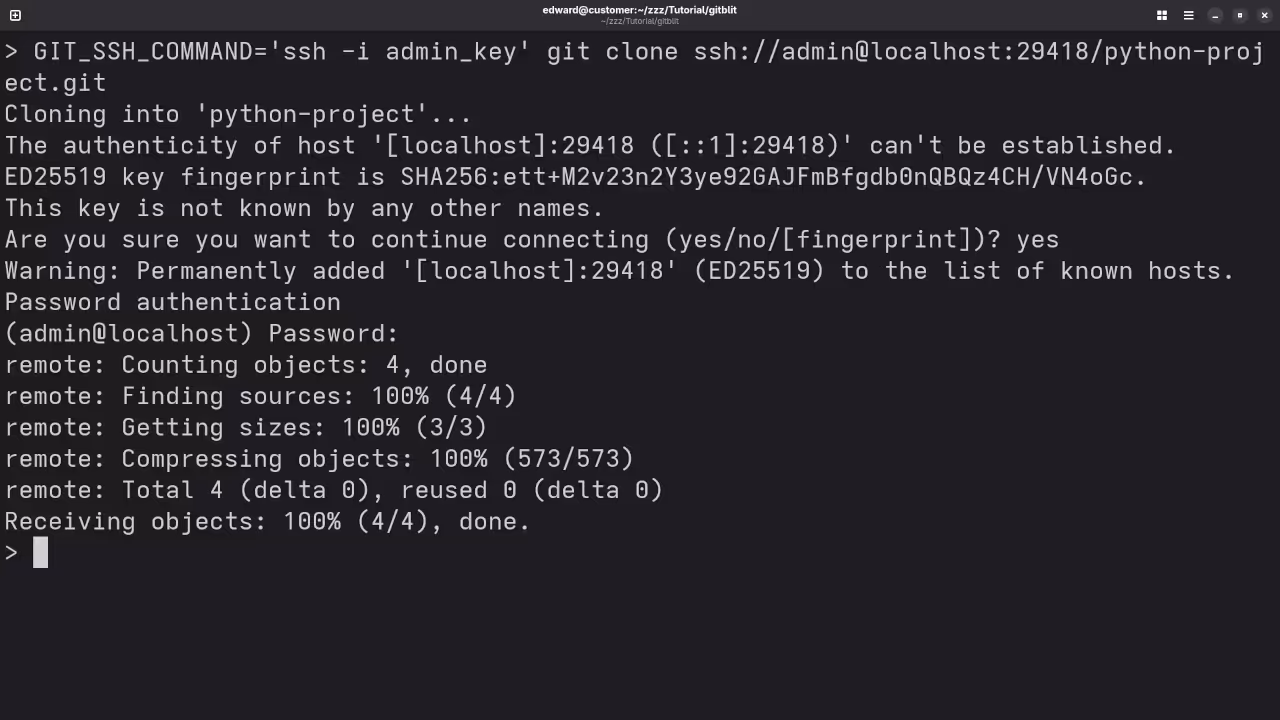
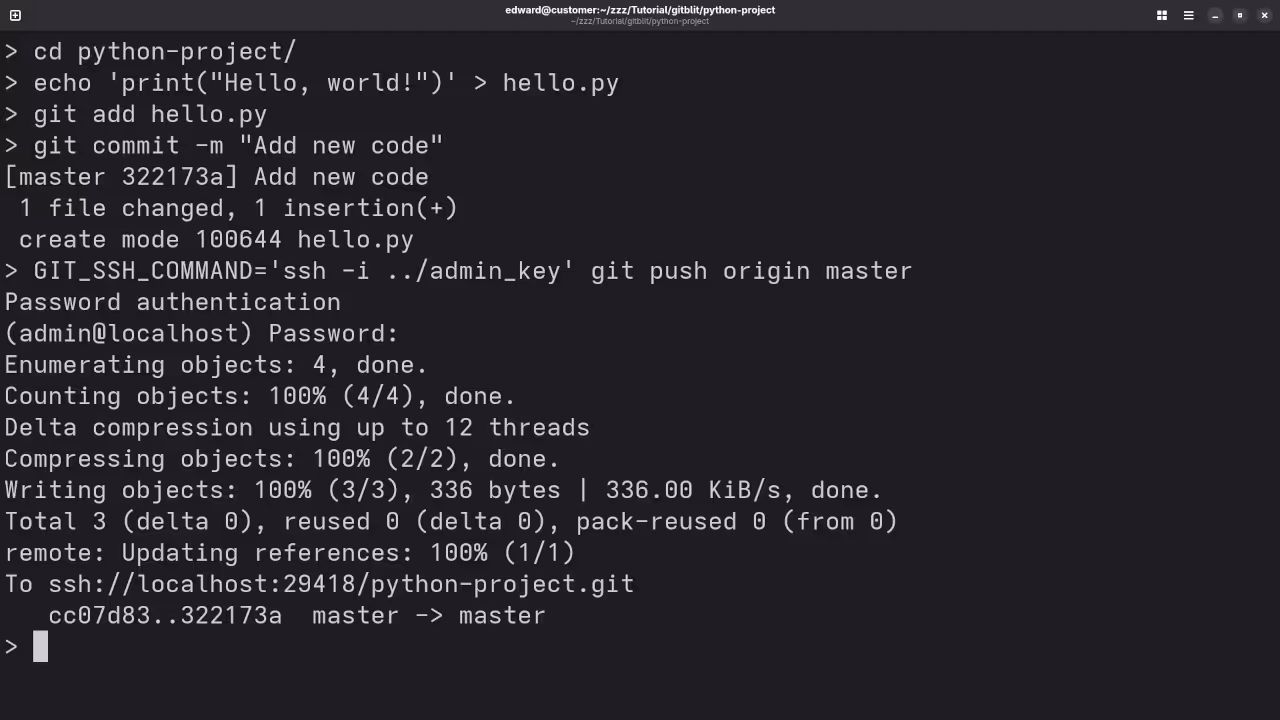
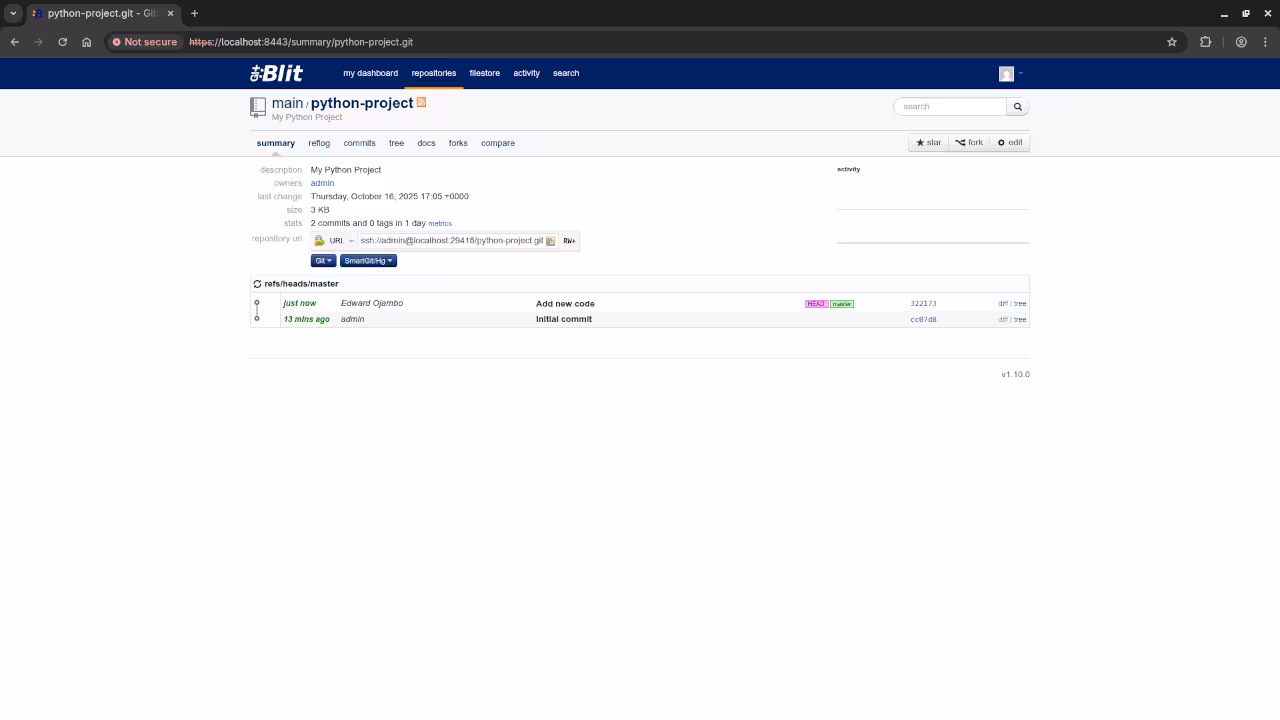
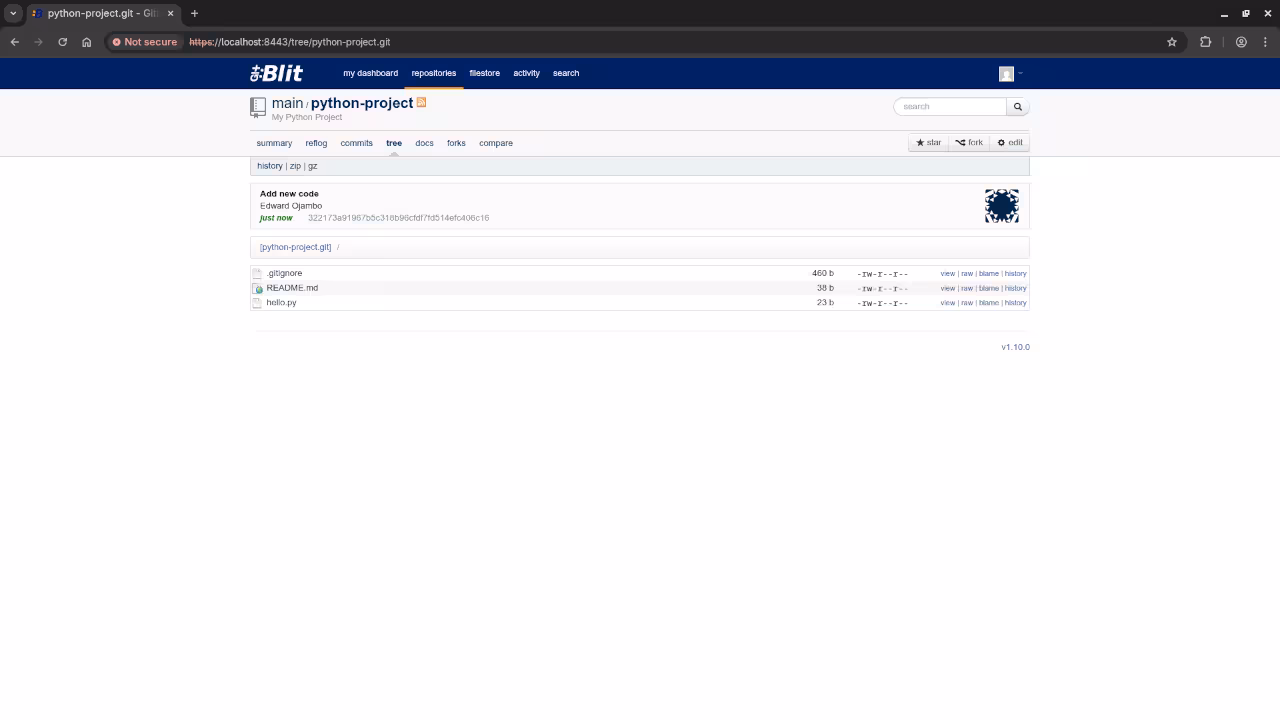
Screenshots and Screencast Tutorial


Ready to Learn More?
If you’re interested in diving deeper into programming, version control, and setting up tools like Gitblit, I can help!
- Programming Books: Check out my published programming books on Amazon:
https://www.amazon.com/stores/Edward-Ojambo/author/B0D94QM76N - Online Programming Courses: Enroll in my structured programming courses:
https://ojamboshop.com/product-category/course - One-on-One Programming Tutorials: For personalized help and guidance, book a one-on-one session with me:
https://ojambo.com/contact - Professional Services: Need Gitblit installed professionally, or do you need to migrate existing repositories? I offer services for installing Git, Gitblit, and migrating repositories. Contact me for professional assistance:
https://ojamboservices.com/contact
Happy coding, and enjoy your new open-source Git server!
🚀 Recommended Resources
Disclosure: Some of the links above are referral links. I may earn a commission if you make a purchase at no extra cost to you.