
Git is an essential tool for modern software development, allowing developers to track changes in their code and collaborate efficiently with others. Whether you’re just starting out or looking to improve your development skills, understanding the basic Git commands is crucial.
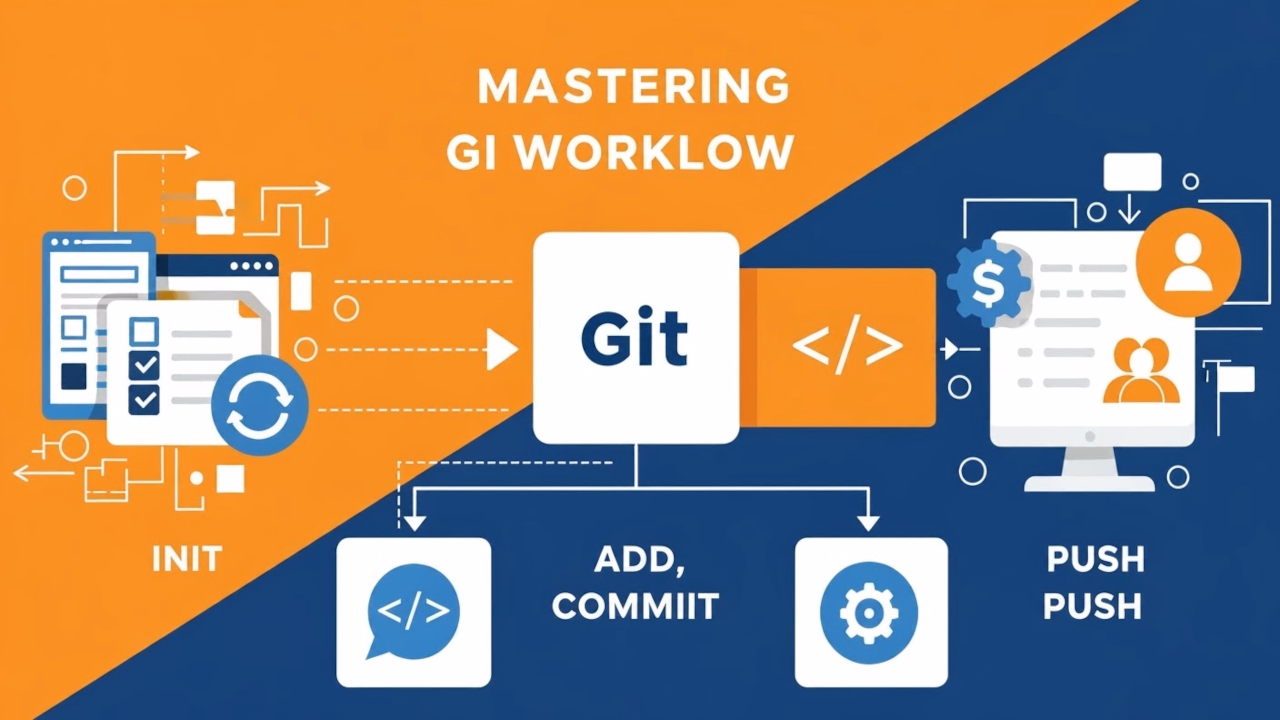
In this post, we will walk you through the four most basic Git commands:
- git init
- git add
- git commit
- git push
Let’s dive in and explore how to use them effectively!
What is Git?
Git is an open-source version control system that tracks changes to your files and allows you to collaborate with other developers on coding projects. It helps prevent the loss of work and lets you revisit previous versions of your project when needed.
1. git init: Initializing a New Git Repository
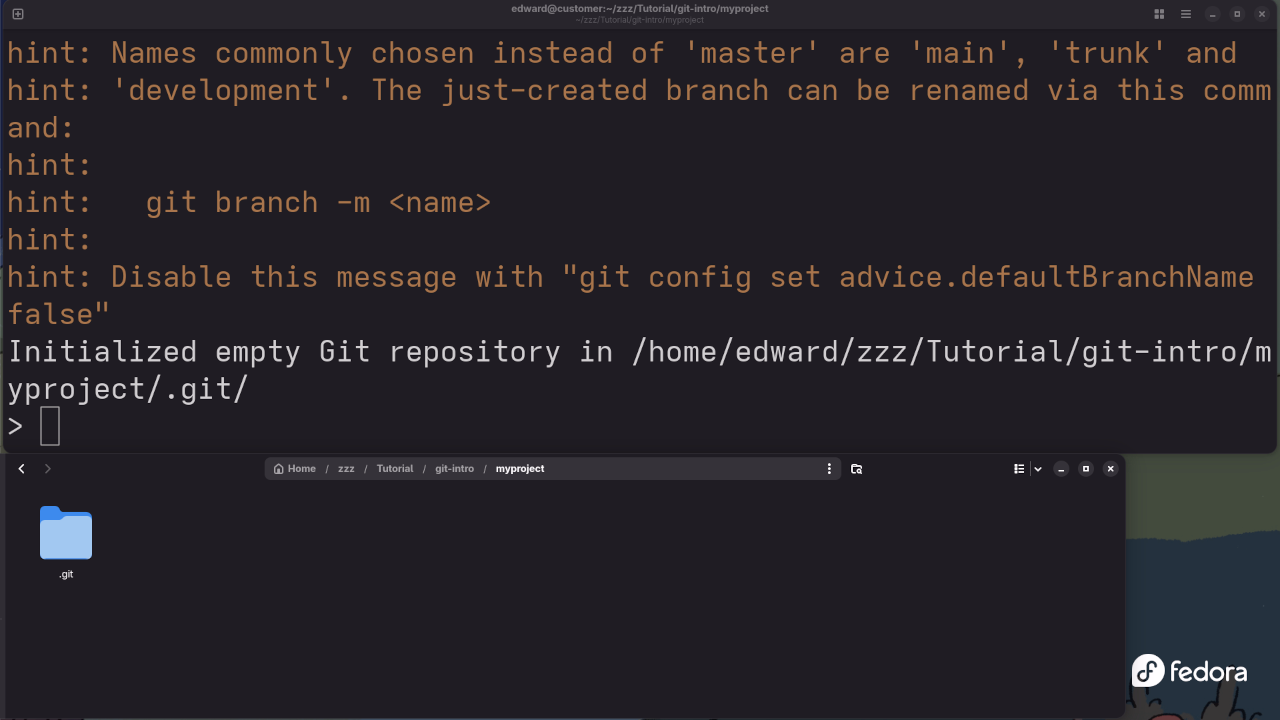
Before you can start using Git in your project, you first need to initialize a new Git repository. This is where Git will track all of your files.
How to Use: To initialize a new repository, open your terminal or command prompt and run:
git init This command creates a new .git folder in your project directory, which Git will use to track changes.
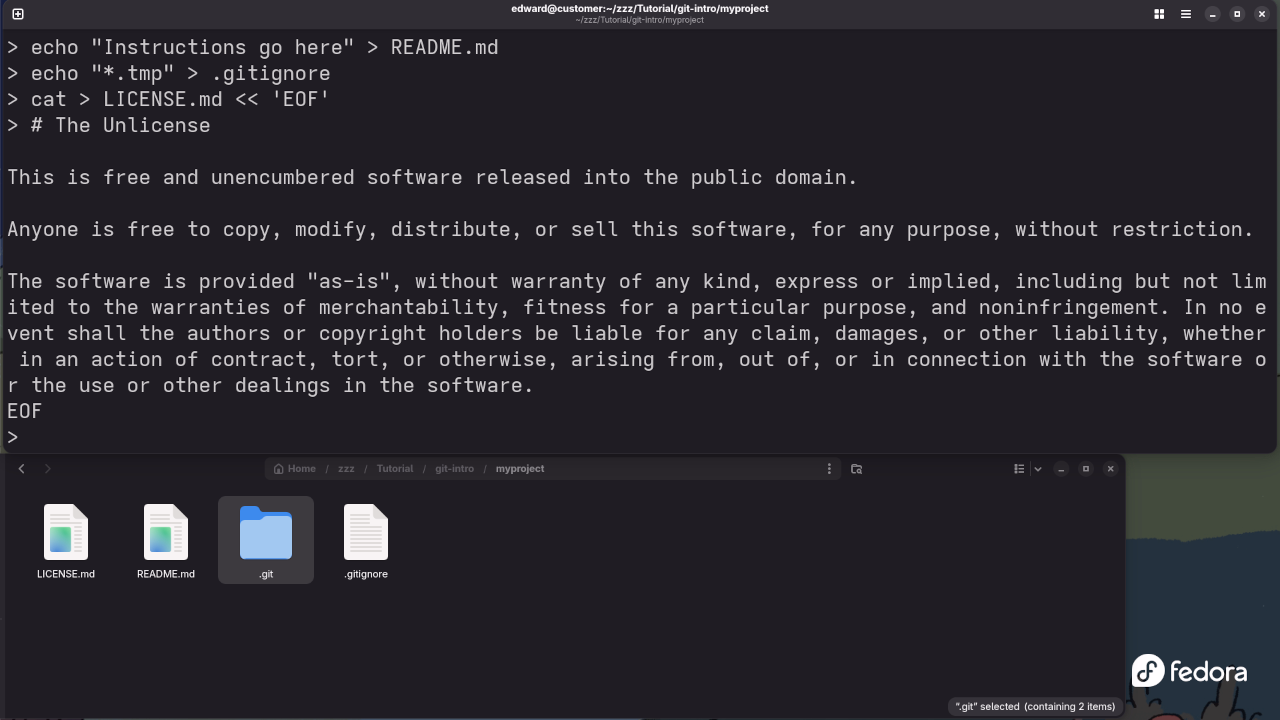
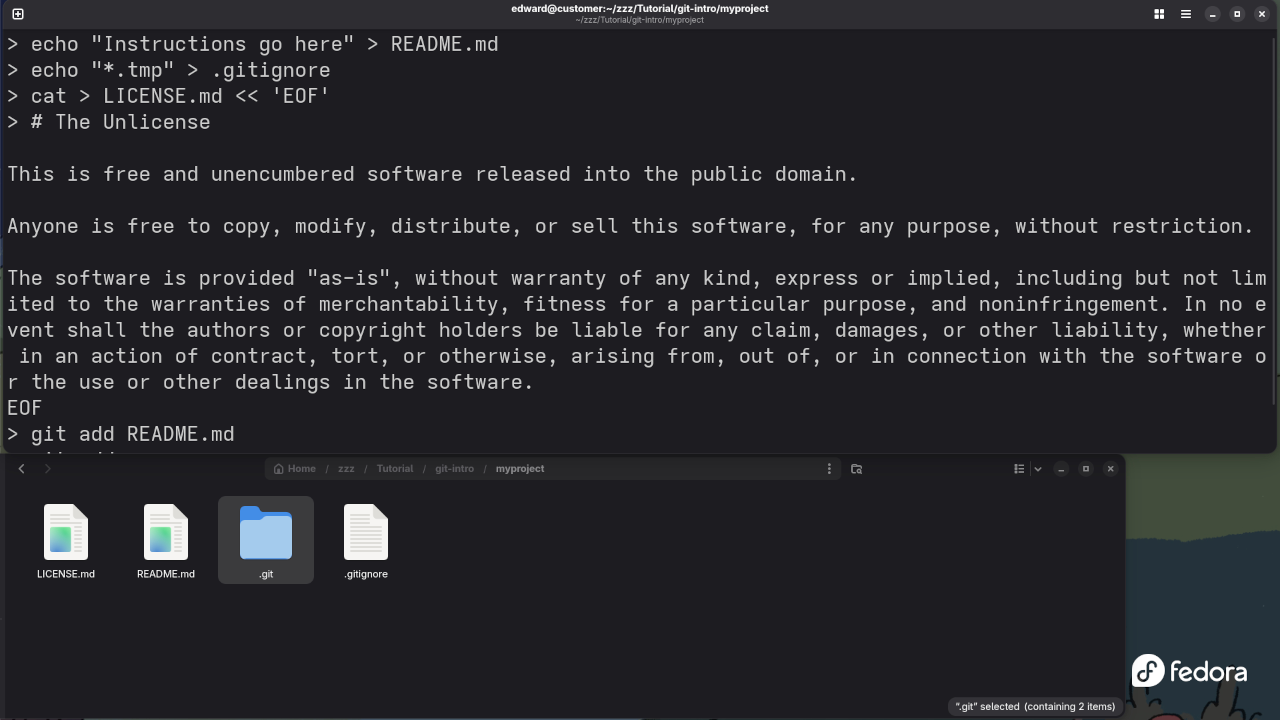
2. git add: Staging Changes for Commit
Once you’ve made changes to your files, you need to stage them before committing. This tells Git which changes to include in the next snapshot (commit).
How to Use: To add all modified files to the staging area:
git add . Alternatively, you can add individual files:
git add filename This command doesn’t actually save the changes to your repository, it just stages them. You’ll need to commit them next.
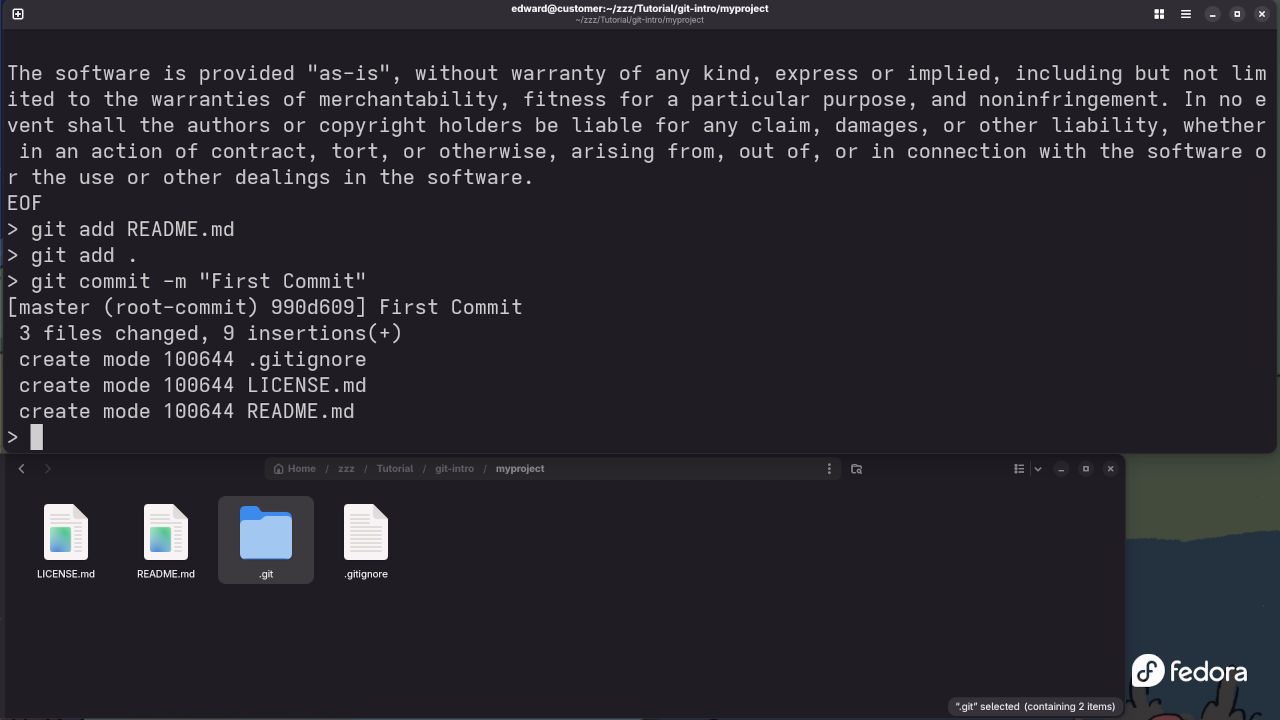
3. git commit: Committing Changes
Once your changes are staged, the next step is to commit them. Committing saves a snapshot of the changes to your repository. Each commit includes a message describing what changes were made.
How to Use: Run the following command:
git commit -m "Your commit message here" The -m flag allows you to include a brief message about what was changed. For example:
git commit -m "Added new feature to homepage" 4. git push: Uploading Changes to a Remote Repository
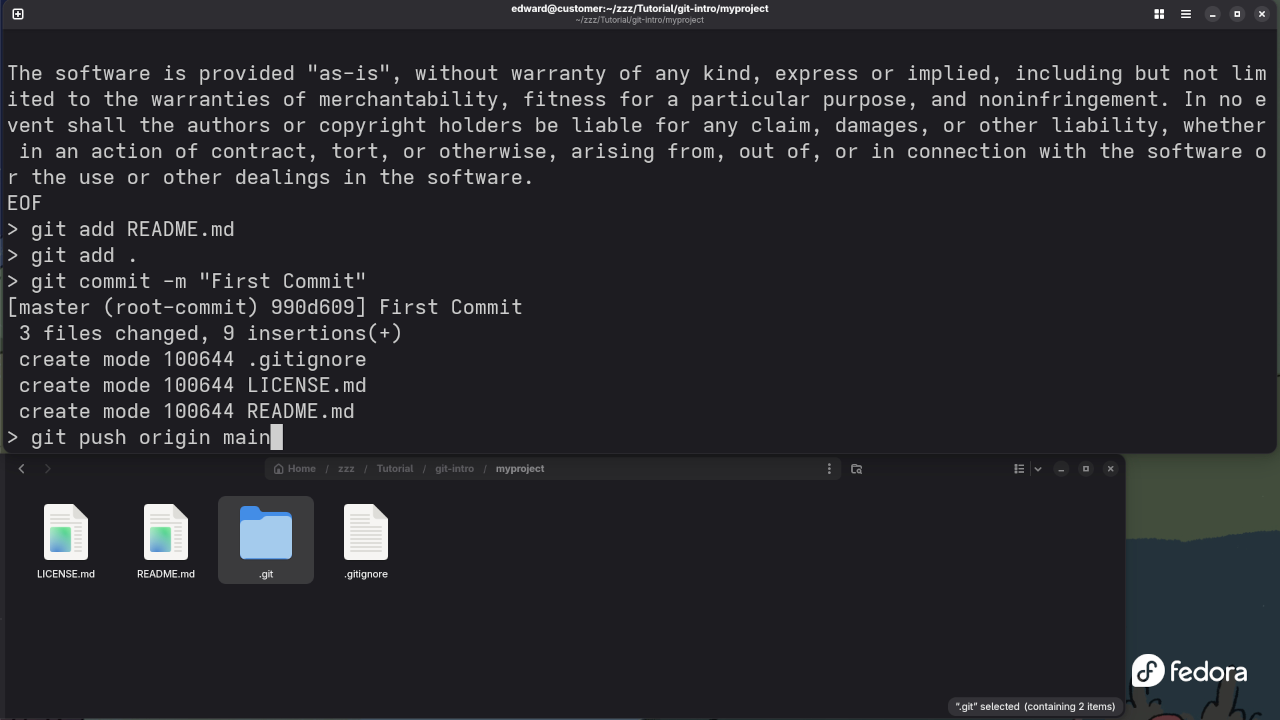
Finally, once you have committed your changes, you’ll want to upload them to a remote repository (like GitHub, GitLab, or Bitbucket). This is where git push comes in.
How to Use: To push your local commits to a remote repository, run:
git push origin main In this command:
originrefers to the name of the remote repository.mainis the default branch name (it may bemasterin some older repositories).
Watch the Live Screencast
If you’re a visual learner, I’ve created a live screencast that demonstrates these commands in action! Watch it below:
Why Git? The Power of Open Source
Git is not just a version control system; it’s a tool that fosters collaboration and supports open-source development. Open-source software is developed and maintained by communities of developers who contribute to it for free. Git enables seamless collaboration between developers across the globe, making it easier to contribute to open-source projects and manage your own code.
Want to Learn More About Programming?
If you’re interested in diving deeper into programming, I have some great resources for you:
- Programming Books: Check out my collection of programming books on Amazon.
- Online Programming Courses: Learn at your own pace with my online courses.
- One-on-One Programming Tutorials: Need more personalized help? You can book a one-on-one tutorial with me.
Conclusion
Mastering the basics of Git is the first step toward becoming a more efficient and effective developer. With these four commands-git init, git add, git commit, and git push-you’ll be able to manage your code more effectively and collaborate with other developers.
As you grow in your programming journey, Git will become an indispensable tool in your development toolkit.
Let me know if you have any questions, or feel free to reach out for more personalized help!
🚀 Recommended Resources
Disclosure: Some of the links above are referral links. I may earn a commission if you make a purchase at no extra cost to you.