
How to Set Up Shlink on Your Server with Podman: A Beginner’s Guide
If you’ve ever wanted a self-hosted URL shortener that is both efficient and secure, Shlink might be just what you’re looking for. In this guide, we’ll walk through installing Shlink using Podman, an open-source container management tool that is an alternative to Docker. Shlink is open-source, so you have full control over your URL shortening needs and can customize it to your heart’s content.
Let’s dive in and get Shlink up and running with Podman. By the end of this guide, you’ll have your own Shlink instance ready to shorten and manage URLs. You’ll also be able to view a live screencast that demonstrates the installation process.
What is Shlink?
Shlink is an open-source URL shortening service. It allows you to create and manage shortened links, track link statistics, and even customize URLs. What sets Shlink apart from other URL shorteners is its self-hosted nature, meaning you can have full control over your data, privacy, and custom features.
Prerequisites for Shlink Installation
Before we start, you’ll need the following:
- A server (local or cloud-based) with access to a terminal.
- Podman installed on your server.
- A basic understanding of the command line.
- Docker Compose (optional but helpful for managing services).
If you haven’t installed Podman yet, you can follow the official installation guide for your operating system.
Installing Shlink with Podman
Now, let’s go through the steps to install Shlink using Podman.
Step 1: Pull the Shlink Docker Image
Shlink is available as a Docker image, but since we’re using Podman, it’s compatible because Podman can run Docker images.
podman pull shlinkio/shlink Step 2: Create a Podman Container
To run Shlink, you’ll need to set up a container. Use the following command to create a container from the Shlink image:
podman run -d -p 8080:8080 --name shlink shlinkio/shlink This command will:
- Run Shlink in detached mode (
-d). - Expose port 8080 to access the Shlink web interface.
- Name the container “shlink”.
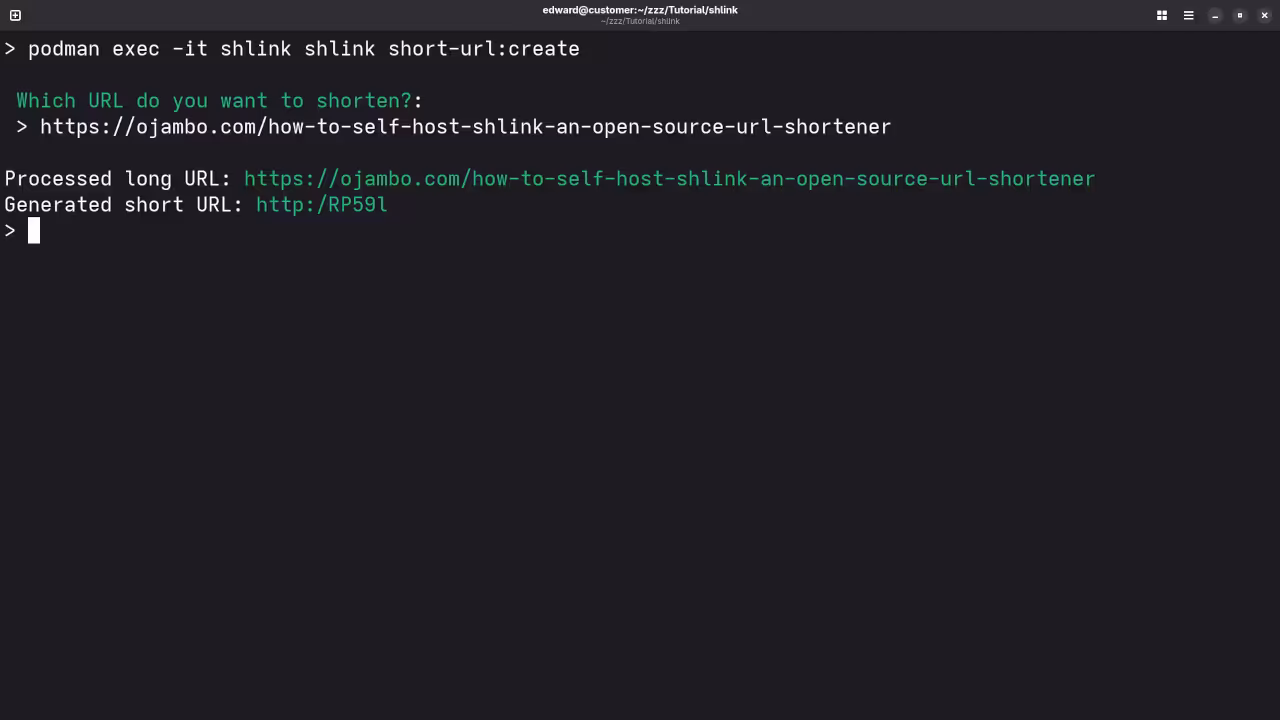
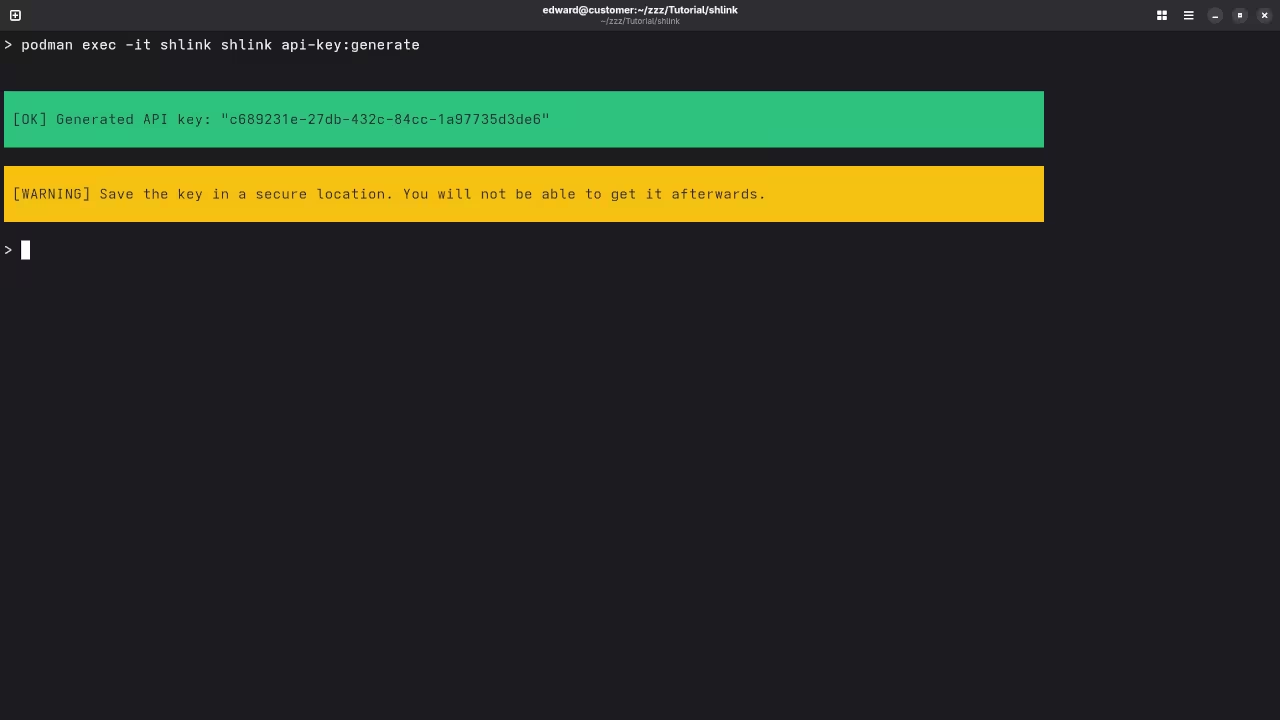
Step 3: Set Up Shlink for the First Time
Once the container is running, you can access Shlink by navigating to http://<your-server-ip>:8080 in your browser.
You will need to configure Shlink the first time you access it. Shlink supports various configuration options, such as connecting it to a database, setting up SSL, and more. For simplicity, we’ll assume you’re using the default configuration.
Step 4: (Optional) Configure with Podman Compose
If you want to make managing Shlink and its dependencies easier, you can use Podman Compose (similar to Docker Compose). This will allow you to define a docker-compose.yml file that automates the creation of containers and the configuration of services.
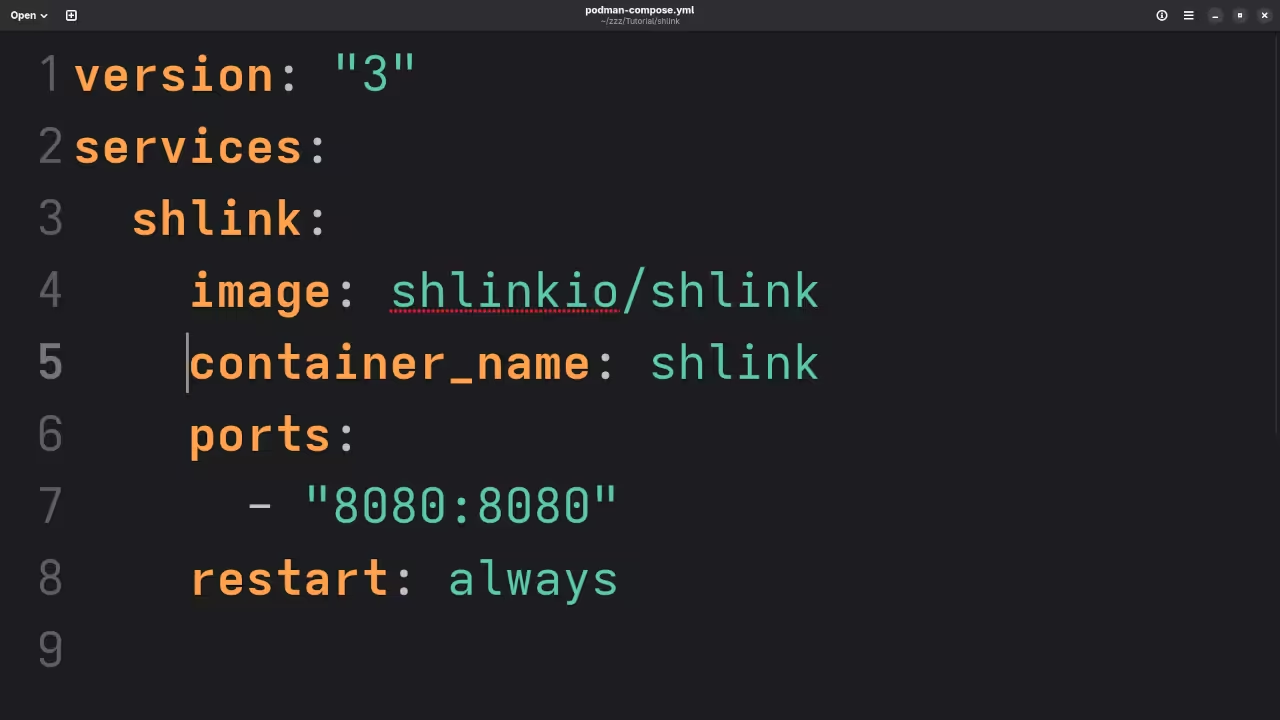
Here’s an example docker-compose.yml file:
version: "3"
services:
shlink:
image: shlinkio/shlink
container_name: shlink
ports:
- "8080:8080"
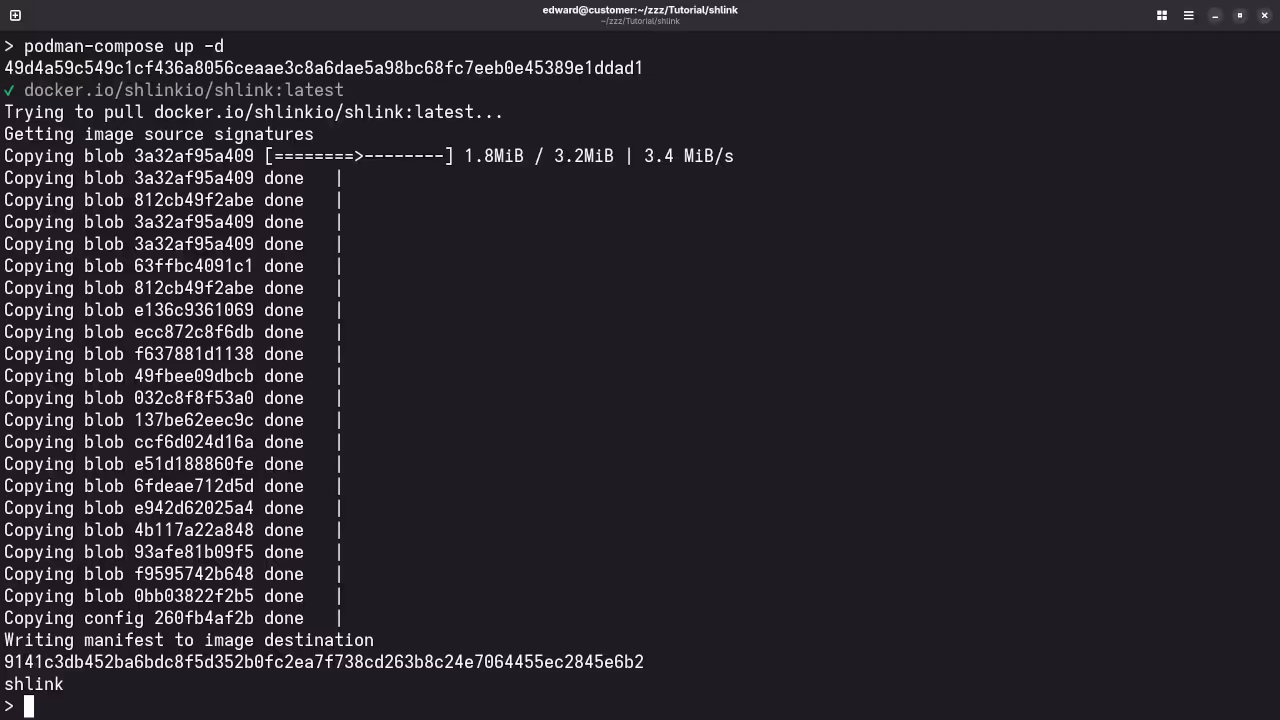
restart: always Save this file and run the following command to start Shlink using Podman Compose:
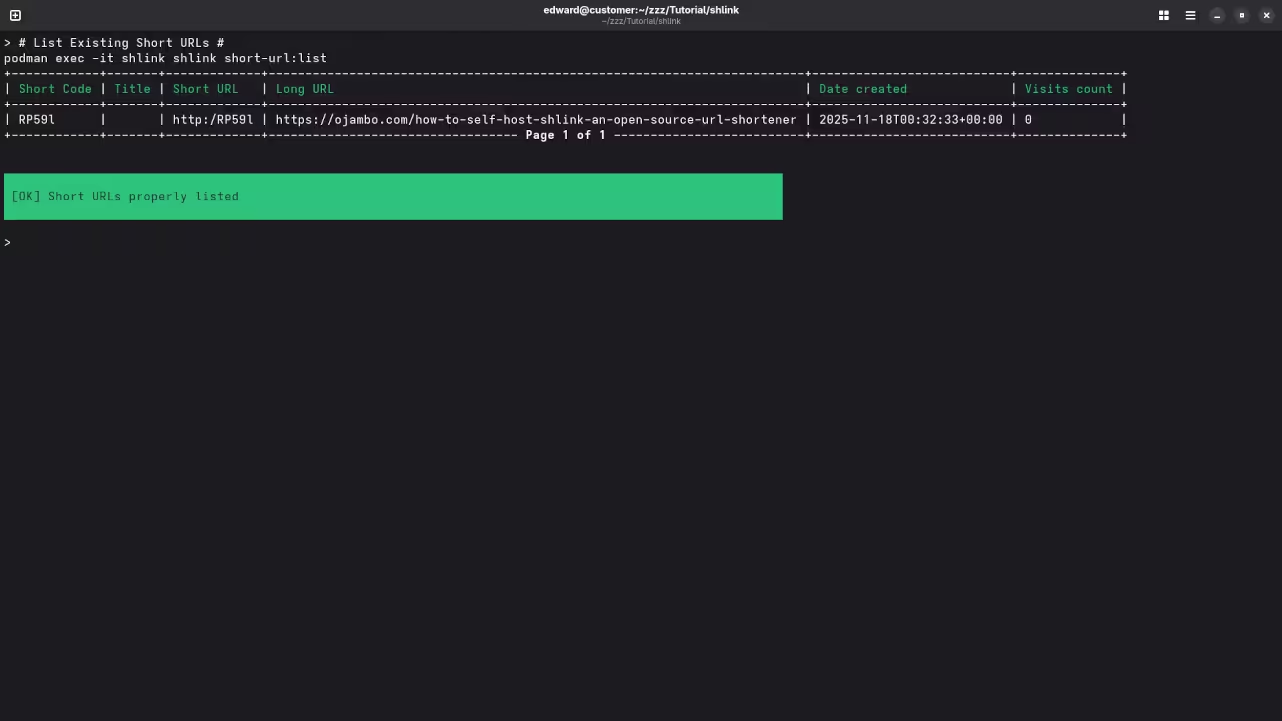
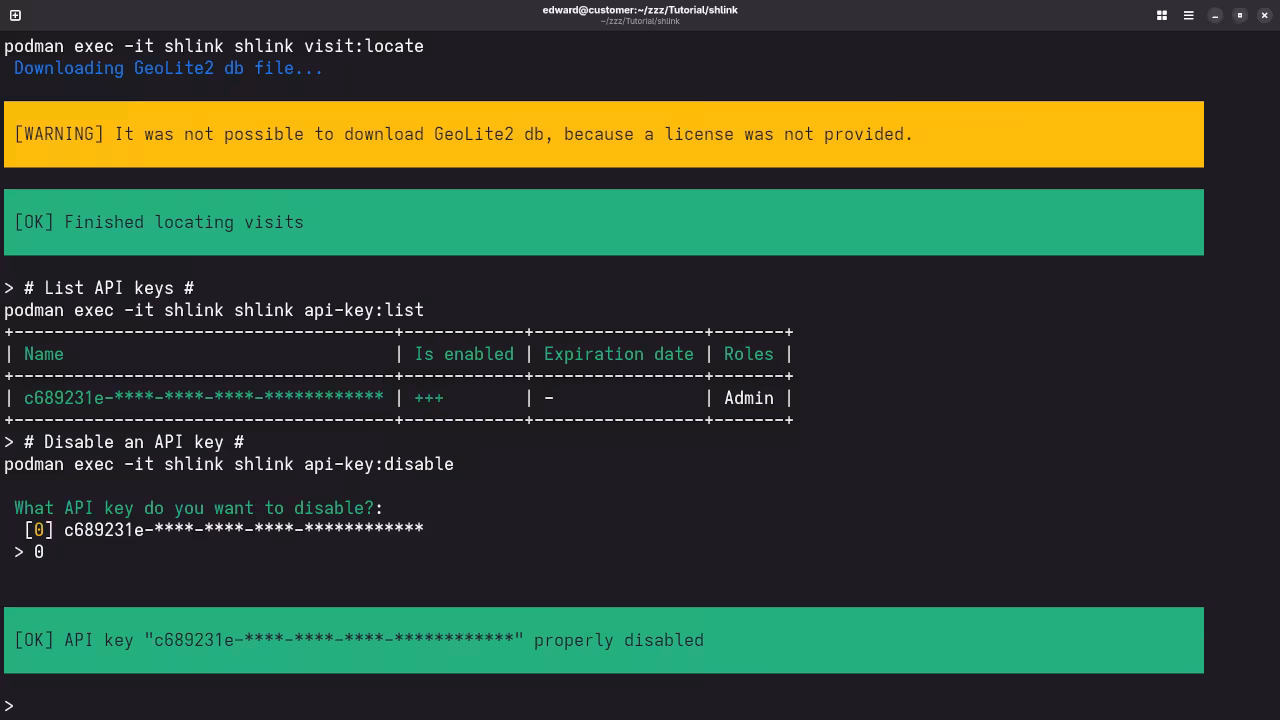
podman-compose up -d 📱 Screenshots & Screencast
Additional Resources & Links
If you’re interested in learning more about programming or need help with installation and configuration, I have a variety of resources available:
- Programming Books: Check out my programming books on Amazon.
- Online Programming Courses: Visit my programming courses page to find courses on a range of topics.
- One-on-One Online Programming Tutorials: I offer personalized tutorials to help you improve your programming skills. You can contact me through my contact page.
- Shlink Installation or Migration Services: Need help setting up Shlink or migrating it? I offer services to install or migrate Shlink to your server. Reach out through my Shlink service page.
Conclusion
Setting up Shlink using Podman is a straightforward process that can be done in just a few steps. By self-hosting your own URL shortener, you gain control over your data and have the flexibility to customize your links. Whether you’re looking to run Shlink for personal use or for business, it’s a powerful, open-source tool that can meet your needs.
Happy linking!
🚀 Recommended Resources
Disclosure: Some of the links above are referral links. I may earn a commission if you make a purchase at no extra cost to you.