

Introduction to Git and GitHub
Git and GitHub are essential tools for developers, offering version control and collaboration features that make managing your projects easier. Whether you’re working solo or as part of a team, Git helps you track changes in your code, while GitHub allows you to host your code online and collaborate with others. In this post, we’ll walk through the process of setting up Git and creating your first repository on GitHub. Plus, we’ll dive into how open-source projects can benefit from these tools.
What Is Open Source?
Open-source software means the source code is available for anyone to view, modify, and distribute. This fosters a collaborative environment where developers from all over the world contribute to projects, making them more robust and innovative.
Step 1: Installing Git on Your Local Machine
Before you start using Git and GitHub, you need to install Git on your computer.
For Windows:
- Download Git from the official website.
- Run the installer and follow the installation steps (the default options are usually fine).
- Once installed, open Git Bash (you should see it in your Start menu).
- Verify the installation by typing:
- You should see a message displaying the installed version of Git.
git --version For macOS:
- Open Terminal.
- Type:
- If Git is not already installed, you’ll be prompted to install it via the Xcode command line tools.
git --version For Linux:
Use the package manager for your distribution to install Git. For example, on Ubuntu:
sudo apt-get update
sudo apt-get install git Step 2: Setting Up Your GitHub Account
- Go to GitHub and sign up for an account if you don’t already have one.
- Once signed up, you can create repositories and start collaborating with other developers.
Step 3: Configuring Git with Your GitHub Account
Once you’ve installed Git and set up your GitHub account, you need to configure Git with your name and email (the email should match the one associated with your GitHub account).
Configure your name and email in Git:
Open your terminal or Git Bash and run the following commands:
git config --global user.name "Your Name"
git config --global user.email "your-email@example.com" This ensures that your commits are associated with the correct name and email on GitHub.
Step 4: Creating Your First Repository on GitHub
- Log into GitHub and click the + button in the top right corner of the screen.
- Choose New repository from the dropdown menu.
- Give your repository a name (e.g.,
my-first-repo). - Optionally, add a description for your project.
- Choose Public to make your repository open source (anyone can view and contribute).
- Click Create repository.
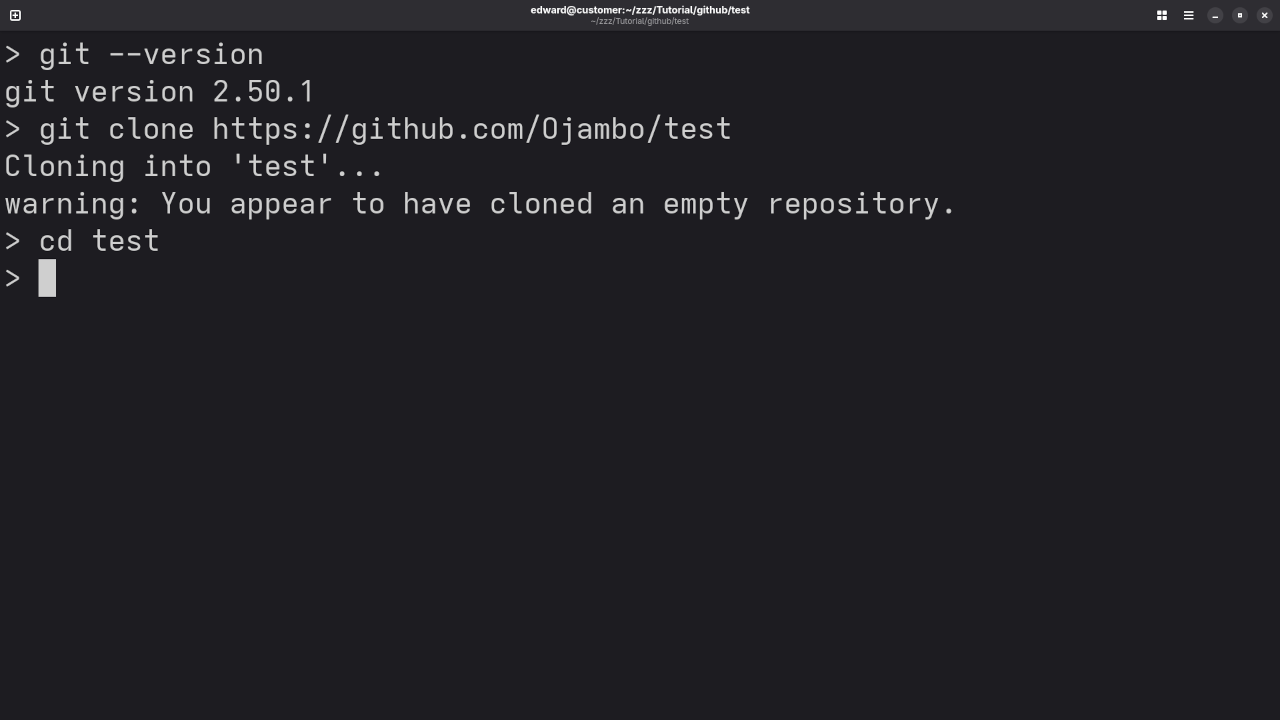
Step 5: Cloning Your GitHub Repository to Your Local Machine
Now that your repository is created, let’s clone it to your local machine so you can start working with it.
- On your GitHub repository page, click the Clone or download button.
- Copy the HTTPS URL provided.
Now, open your terminal or Git Bash and run the following command:
git clone https://github.com/yourusername/my-first-repo.git This command creates a local copy of your repository on your computer.
Step 6: Making Changes and Pushing to GitHub
Now that your repository is cloned locally, you can start working on it. Let’s add a new file and push the changes back to GitHub.
- Navigate to the folder where you cloned the repository. You can do this via the command line:
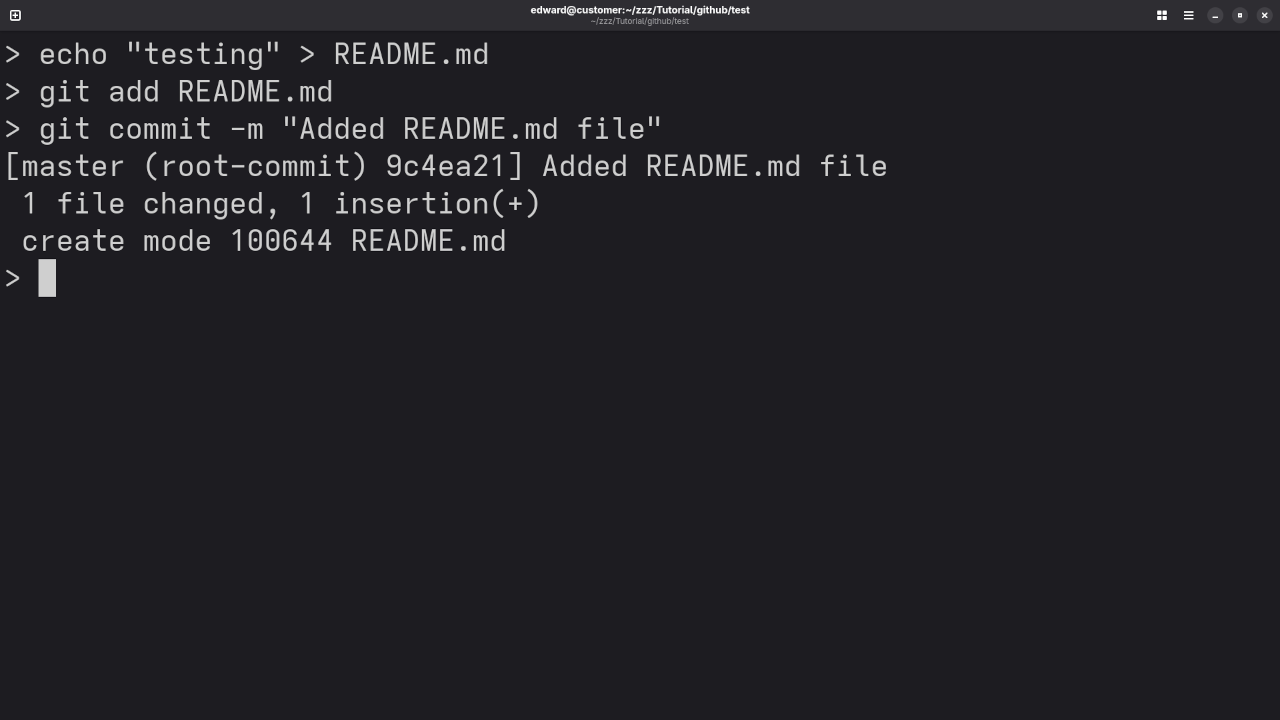
cd my-first-repo - Create a new file (for example,
index.htmlorREADME.md). - Add the file to Git’s staging area by typing:
git add index.html - Commit your changes:
git commit -m "Added index.html file" - Push your changes back to GitHub:
git push origin main
Step 7: Viewing Your Changes on GitHub
After pushing your changes, head back to your GitHub repository page. You should see the newly added file(s) there.
Conclusion
Congratulations! You’ve now set up Git and GitHub, created your first repository, and pushed your first commit. Git and GitHub are powerful tools that can help you manage your code and collaborate with others, especially for open-source projects.
If you want to dive deeper into Git and GitHub, be sure to check out my programming books and online courses for more in-depth tutorials:
For personalized guidance, I’m also available for one-on-one programming tutorials. Feel free to reach out to me here.
Check out this live screencast for a hands-on walkthrough of these steps:
This is just a simple start to working with Git and GitHub. As you continue, you’ll explore more advanced features like branching, pull requests, and working with other developers on open-source projects.
🚀 Recommended Resources
Disclosure: Some of the links above are referral links. I may earn a commission if you make a purchase at no extra cost to you.